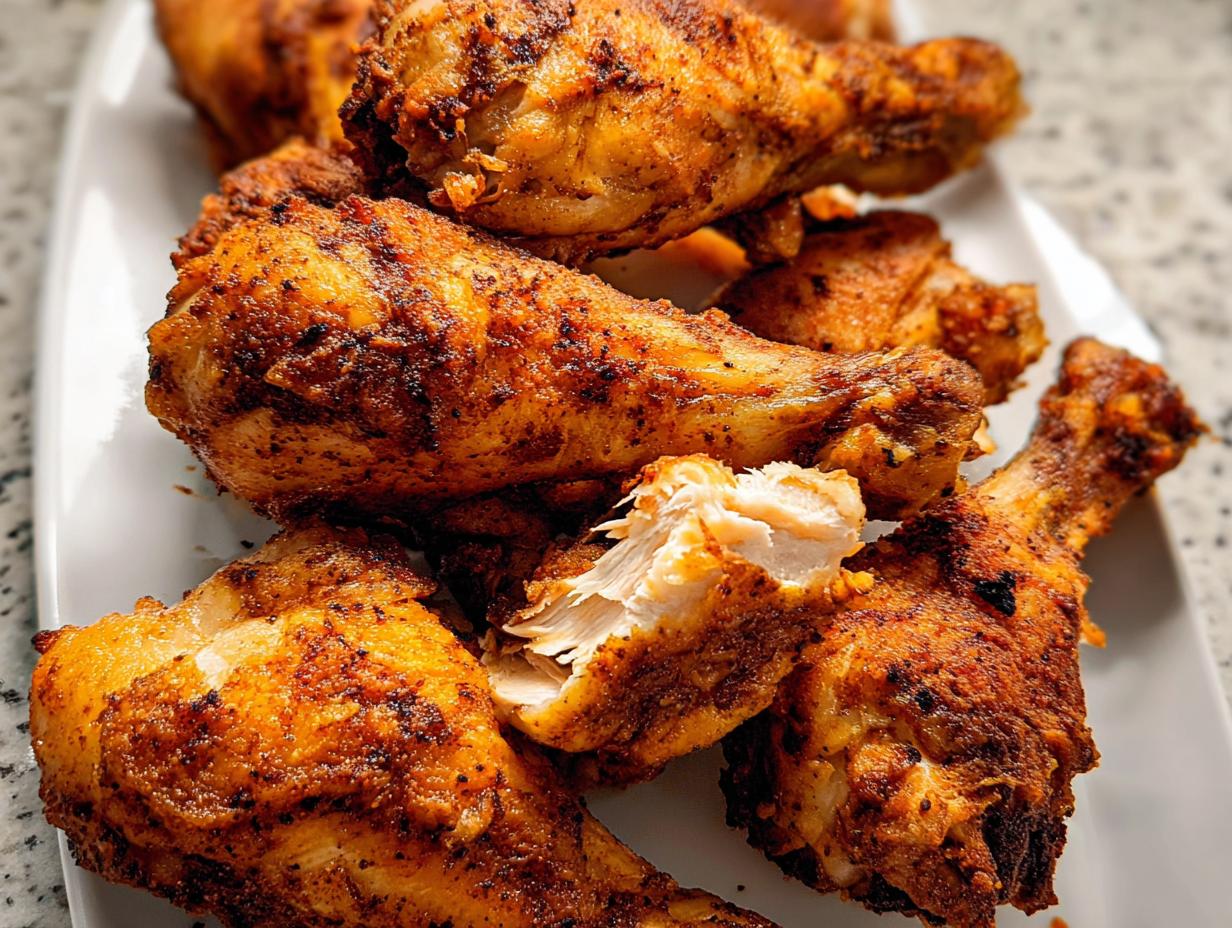
Oh, trust me when I say you do NOT need to break out the deep fryer to get that perfect, crackly, mouthwatering skin on your chicken! We used to have summer BBQs every weekend at my childhood house, and the smell of that grilled chicken is pure magic. But when gluten sensitivity popped up in my life, getting that classic crispy, savory goodness felt like a real challenge. It felt like I had to choose between nostalgia and health.
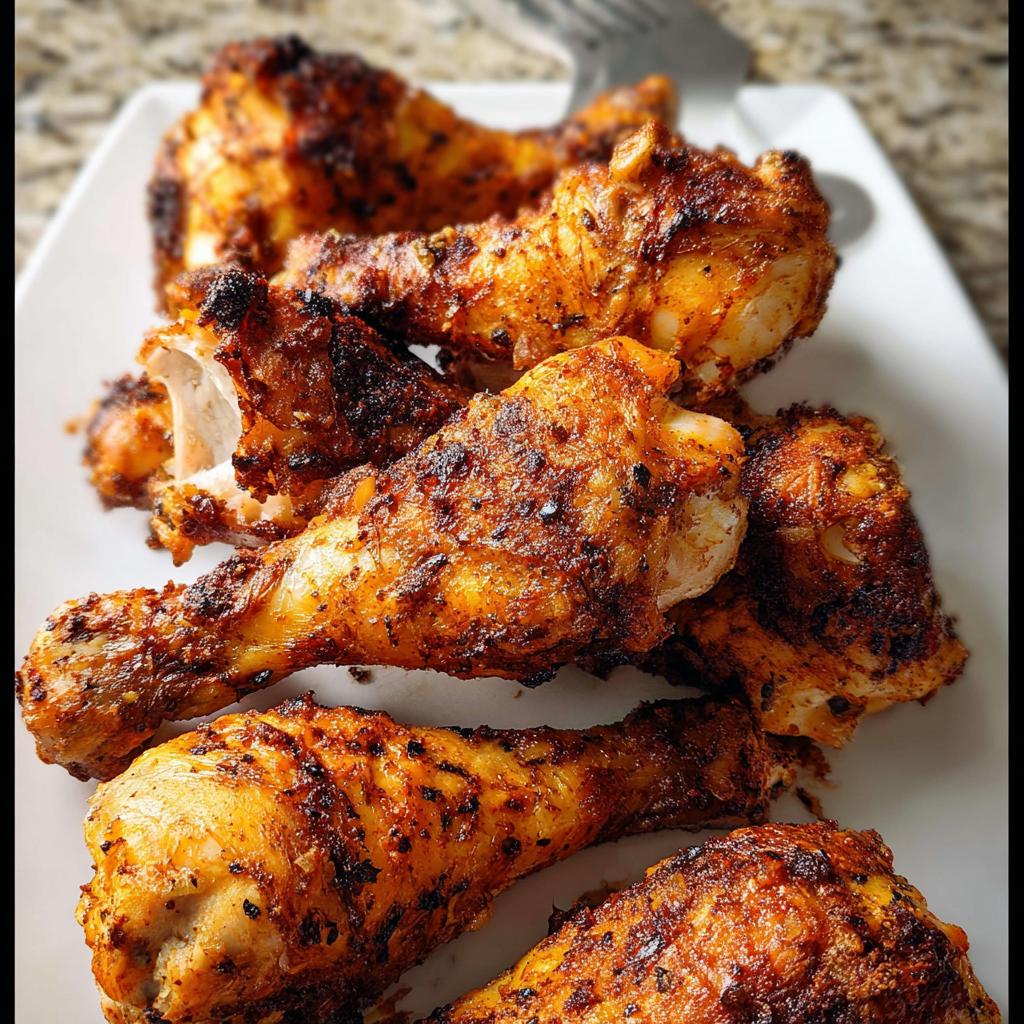
But guess what? I found the trick! By tweaking our old family favorites, I cracked the code for the most unbelievably Crispy Oven Baked Chicken Drumsticks. These aren’t just good; they bring back that summer feeling, they are totally gluten-free, and honestly? They are so simple it feels like cheating. Get ready for your new favorite budget friendly meal!

Why You Will Love These Crispy Oven Baked Chicken Drumsticks
Seriously, the reasons to make these tonight are piling up faster than my grocery list!
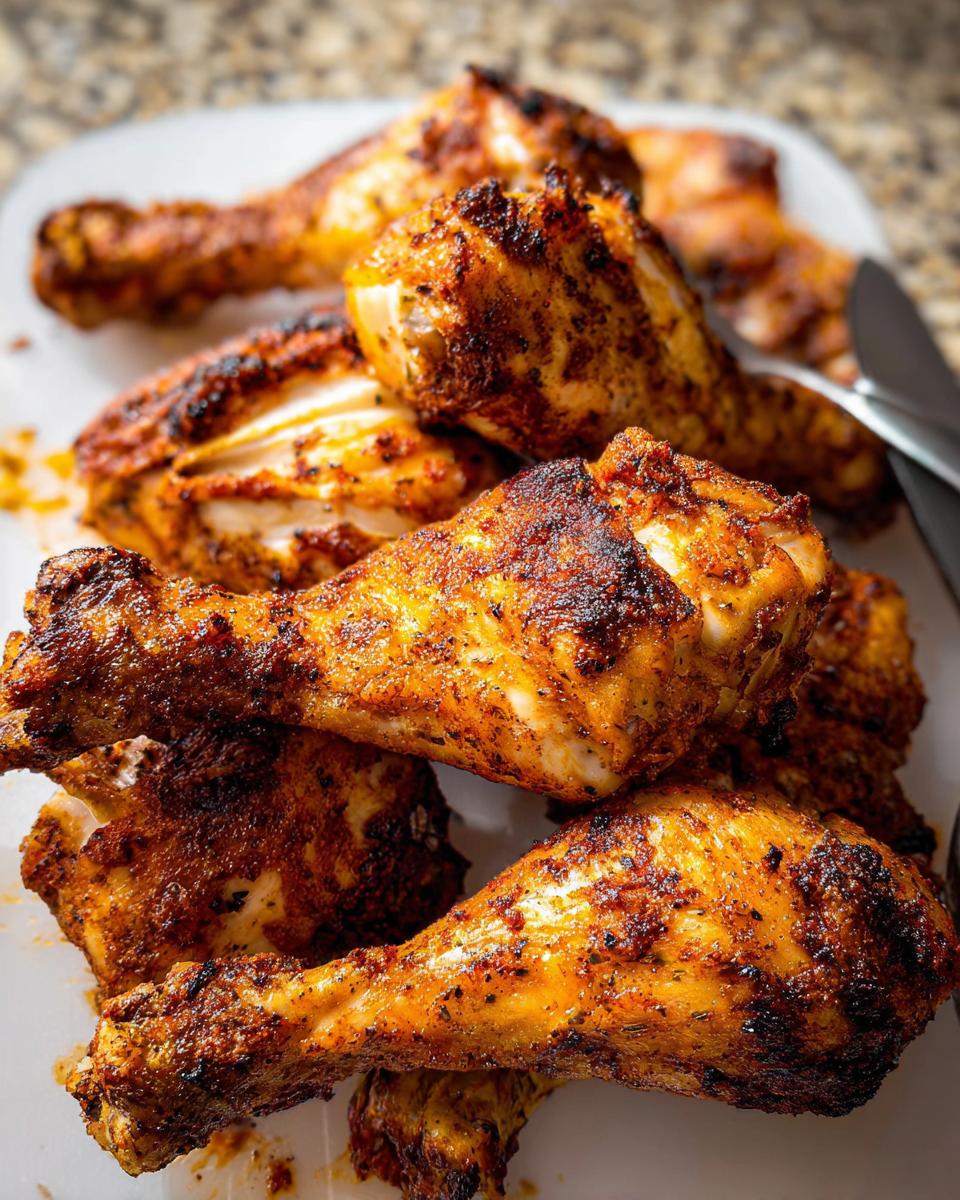
- They deliver unbelievable crispiness—all from the oven! No messy frying needed.
- We nail that savory, comfort-food flavor every single time.
- They are naturally gluten-free, making them a lifesaver for sensitive tummies.
- Look, these are exactly the kind of budget friendly meals that stretch your dollars.
- If you need easy kid friendly dinners that everyone actually devours, stop scrolling—this is it!
It’s pure, crispy satisfaction without the fuss.
Essential Ingredients for Crispy Oven Baked Chicken Drumsticks
Okay, let’s talk about what goes into these amazing drumsticks. You won’t believe how simple the ingredient list is! We are relying on quality chicken and a punchy spice blend, nothing complicated here. You’ll need about three packs of pasture-raised chicken drumsticks—that usually gives us around 13 or 14 pieces, perfect for a big family or meal prepping.
For the flavor, we use three tablespoons of olive oil, salt, garlic powder, chili powder, oregano, paprika, and pepper. That’s your entire flavor profile right there! Trust me, this mix is absolute gold for making a fantastic baked drumsticks recipe.
Ingredient Notes and Substitutions for Your Crispy Oven Chicken
I have to give you a big heads-up on the prep: drying the skin! Get those paper towels out and pat every single drumstick until they feel dry to the touch. If the skin holds onto moisture, you end up steaming the chicken instead of crisping it up. That is my number one secret for beautiful skin!
Also, regarding the oil: I list three tablespoons, but I always keep a fourth one handy. If you’re using larger drumsticks or you like a heavier coating, don’t be afraid to use that extra go-around. The oil helps the spices cling and jump-starts that gorgeous browning process in the oven. It’s all about creating that delicious crispy oven chicken!
Equipment Needed for the Best Crispy Oven Baked Chicken Drumsticks
You don’t need fancy gadgets for this, thank goodness! Having the right setup makes all the difference when we are aiming for that crispy oven chicken finish. You definitely want a large bowl for tossing everything together without making a huge mess, which is always a plus in my book.
The real MVPs here, though, are the baking sheet and, most importantly, the wire rack! The rack is what allows the heat to cook the bottom of the chicken, stopping it from sitting in its own juices and getting soggy. And don’t forget the paper towel—that simple item is crucial for getting that skin perfectly dry before seasoning!
Step-by-Step Instructions for Crispy Oven Baked Chicken Drumsticks
Alright, let’s get cooking! This process is super straightforward, but paying attention to the prep and the flipping is what makes these the best baked drumsticks recipe you’ll ever try. First things first, make sure your oven is screaming hot at 420 degrees Fahrenheit. That initial blast of heat is important for setting the skin.
Prepping the Chicken and Seasoning Mix
Remember what I said about drying? Grab those paper towels and really go to town making sure every drumstick is bone dry. Excess moisture is the enemy of crispiness, you hear me? Once they are dry, throw them in your big bowl. Drizzle on that olive oil and toss them around—we want every piece slicked up nicely. Then, it’s sprinkle time! Add every bit of your salt, garlic powder, chili powder, oregano, paprika, and pepper. Mix it all by hand until the seasoning paste sticks perfectly to every surface. Make sure the skin isn’t bunched up either; you want it smooth so it crisps evenly.
Baking Setup and Timing for Crispy Oven Chicken
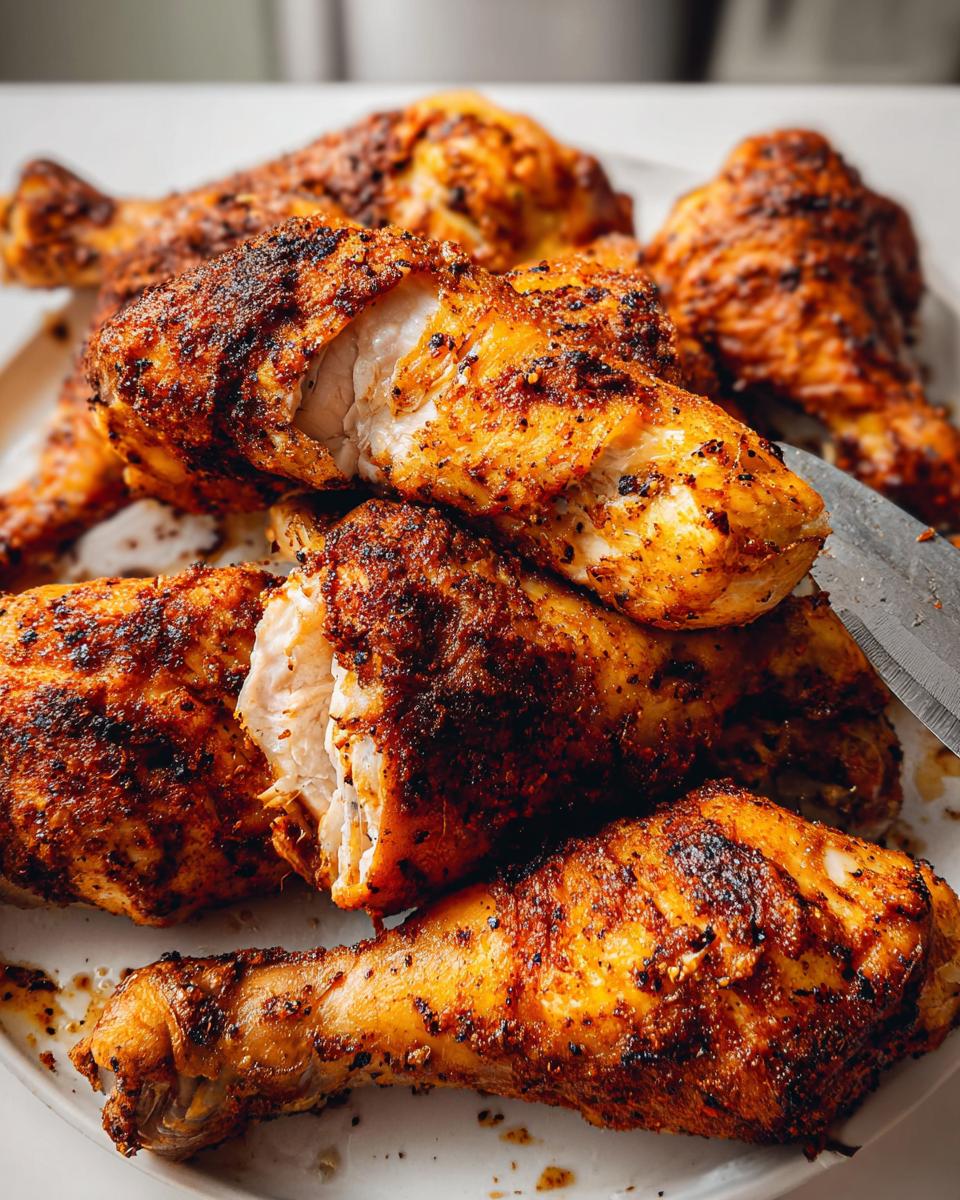
Time to assemble the magic contraption for our crispy oven chicken! Spray your wire rack generously with oil—this stops sticking later—and place that rack right on top of your baking sheet. Now, arrange the seasoned drumsticks on the rack, making sure there’s a little bit of space between each one so the hot air can swirl around. Bake them hard for 35 minutes. The best part? You take them out, flip every single one over, and slide them back in for another 15 minutes. That flip is essential! When they come out, they should be deeply golden, totally crisp, and smelling absolutely incredible.
Expert Tips for Perfect Crispy Oven Baked Chicken Drumsticks
Now that you know the basic steps for this fantastic crispy oven baked chicken drumsticks recipe, I want to share a few things I learned over years of tweaking this recipe. These little adjustments right here are what take the drumsticks from “good” to “I need to make these every week!”
First, the temperature control is everything. That 420 degrees is not a suggestion; it’s the minimum heat needed to render that chicken fat and crisp up the skin before the meat gets dry. If your oven runs cool, your chicken might need closer to 55 minutes total instead of 50, so use an instant-read thermometer if you have one—165 degrees F is the safe zone.
For maximum crispiness, I sometimes turn on the broiler for the *last two minutes* only, but you have to watch it like a hawk! I mean it—broilers work fast, and we want golden color, not charcoal. This last-second blast really seals the deal on that perfect crunch we are chasing. It seems intense, but trust me, it makes these the ultimate crispy oven chicken!
Serving Suggestions for Your Crispy Oven Baked Chicken Drumsticks
These drumsticks are so flavorful, they honestly only need a couple of simple sides to make a complete, satisfying meal. Since we are aiming for easy, budget friendly meals that work for the kids but still feel special, I always pair them with something fresh and something starchy!
For the veggie side, you can’t go wrong with something green that roasts beautifully alongside the chicken. I adore roasting asparagus—it takes no fuss! If you want a guaranteed winner that looks fancy but is super quick, try my recipe for roasted asparagus with parmesan. The salty cheese is just divine next to that spicy chicken.
If the kids are skipping the veggies (it happens!), you need a good starch. Mashed potatoes are classic comfort, but quinoa is such a quick, healthy swap. I actually love stuffing bell peppers with quinoa, which is a great way to pack in extra nutrients! You can find my favorite way to make quinoa stuffed bell peppers linked here. They look colorful, which always helps with those picky eaters when we are trying to serve up healthy, kid friendly dinners!
Storing and Reheating Your Crispy Oven Baked Chicken Drumsticks
Even though these are so good you’ll probably be fighting over the last one, sometimes you end up with leftovers! And nobody wants soggy, sad chicken the next day, especially when we worked so hard to get that amazing crunch.
If you do stash some away, make sure they are totally cooled down first. Do not put hot chicken in an airtight container! That traps steam, and steam equals mushy skin. Once they are room temperature, pop them into a good, sealed container. I usually get about three to four days out of them stored correctly in the fridge. My system for simple weekly lunch meal prep includes making an extra batch just for weekday lunches!
Now, for the important part: reheating! You absolutely cannot use the microwave unless you enjoy chewy chicken skin, which I do not. To bring back that glorious crispiness, you need the oven or an air fryer!
- Oven Method (Best for multiple pieces): Pop the drumsticks directly onto a clean wire rack placed over a baking sheet. Heat the oven back up to 375 degrees Fahrenheit and bake for about 8 to 10 minutes. This dries out the skin again and re-crisps it beautifully.
- Air Fryer Method (Perfect for one or two pieces): If you just have one or two left, the air fryer works miracles! Set it to 360 degrees F and cook for about 4 to 6 minutes. It’s super fast and brings back that deep-fried texture without any added oil.
Take it from me—it’s worth the three minutes in the oven to get that fresh-off-the-rack crunch back! Don’t compromise on the re-crisp!
Frequently Asked Questions About Crispy Oven Chicken
I totally get it—when you find a new favorite like this recipe, you’re going to have questions! Cooking chicken perfectly every time can be tricky, especially when you’re trying to keep things easy and gluten-free. Here are some of the top things people ask me when they first try making these!
Can I use chicken thighs instead of drumsticks in this baked drumsticks recipe?
Oh yes, you absolutely can swap them out! Chicken thighs are delicious, but they are meatier and have more fat, so they need a little extra time in the oven compared to the drumsticks. I usually suggest adding about 10 to 15 minutes to the total cook time. Keep checking the internal temperature, though, because the thickness varies so much. They won’t get quite as uniformly crispy as the drumsticks because of the skin shape, but they will still be tasty!
How do I ensure my Crispy Oven Baked Chicken Drumsticks stay crispy after cooling?
This is the golden ticket question! The absolute best way to restore that crunch is to avoid the microwave at all costs. Seriously, the microwave turns crispy skin into sad, rubbery skin. For leftovers, you’ve got to use dry heat. Either pop them back on a wire rack in a 375-degree oven for about 8 minutes, or just throw them in the air fryer for 4 minutes. That dry, concentrated heat pulls the moisture right back out of the skin, making them nearly as good as fresh!
Hopefully, these tips help you master the art of the baked drumsticks recipe. Happy cooking!
Estimated Nutritional Information for Crispy Oven Baked Chicken Drumsticks
When you’re cooking for a family, knowing what’s on the plate is just as important as how it tastes, right? Since we made a few ingredient choices—like using olive oil instead of deep frying, and just sticking to simple spices—this recipe winds up being fantastic for balancing flavor with nutrition.
Here is the estimated nutritional breakdown based on serving 13 drumsticks (one serving is one drumstick). Keep in mind that these numbers are just my best guess based on average ingredient sizes and the spices we used. If you use much fattier chicken or load up on extra oil, your numbers will shift a little!
It’s a high-protein, simple meal that really fits well into a lot of different eating styles, especially since we kept the carbs super low!
- Calories: Approximately 230 kcal – 250 kcal per drumstick
- Total Fat: Around 13g – 15g (This varies a lot depending on the skin fat rendered)
- Protein: About 23g – 25g (Great source!)
- Carbohydrates: Less than 1g (Just the trace amounts from the spices!)
See? That’s a beautiful breakdown for a satisfying and easy dinner. It hits all the marks: it’s satisfying, it’s gluten-free, and it’s low in sugar and carbs. Enjoy knowing you’re eating something genuinely good for you!
Crispy Oven Baked Chicken Drumsticks
Ingredients
Equipment
Method
- Preheat your oven to 420 degrees Fahrenheit.
- Pat all of the drumsticks dry with a paper towel to remove excess moisture, then add them to a large bowl.
- Once all drumsticks are in the bowl, make sure the skin is covering the drumstick and is not folded over. Toss with olive oil, then add your seasonings and mix until everything is fully coated.
- Prepare a baking sheet and rack by spraying them with oil. Stack the rack on top of the baking sheet to allow air to circulate around the drumsticks while cooking. Add each drumstick to the pan. Bake for 35 minutes. Remove the pan, flip the drumsticks, and bake for the remaining 15 minutes.
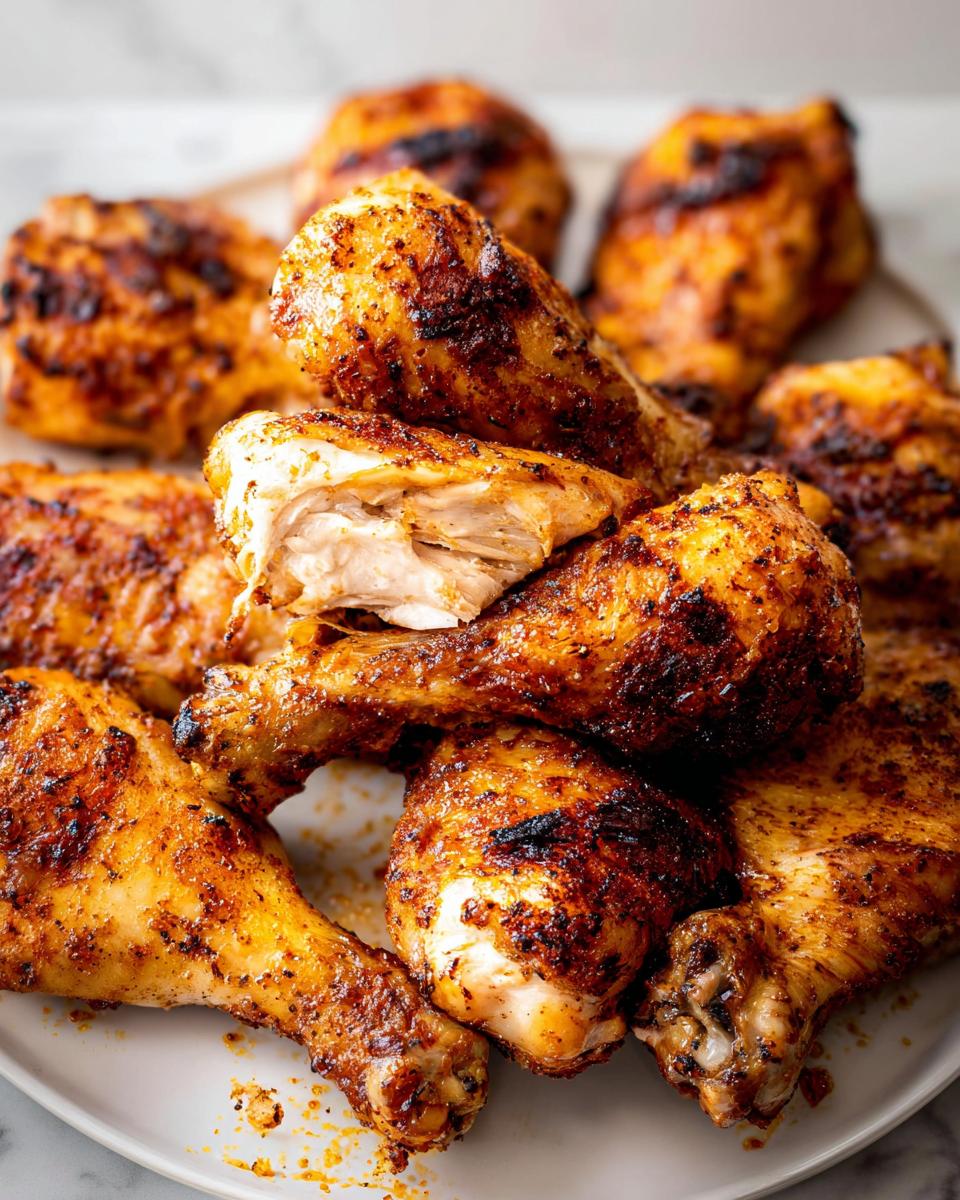
- The drumsticks are done when they are golden and crispy. Enjoy your meal.
- Store any leftover, cooked drumsticks in an airtight container in the refrigerator for up to 3 to 4 days.
Notes
Tried this recipe?
Let us know how it was!
Gluten-Free Culinary Storyteller & Recipe Heritage Specialist
Getting diagnosed with non-celiac gluten sensitivity in my late twenties felt like losing my Italian identity. Growing up in nonna’s Brooklyn kitchen, learning traditional techniques that suddenly became off-limits—I decided to fight for those family food traditions instead of giving up.
With my food journalism background and European baking training, I became obsessed with recreating authentic flavors in gluten-free formats. I’ve adapted 400+ traditional recipes from various cultures, with my gnocchi recipe winning “Recipe of the Year” from the National Gluten-Free Living Awards in 2022.
I collaborate with the Italian-American Cultural Center to document traditional family recipes and volunteer with the Westchester Celiac Support Group, teaching monthly pasta-making classes.
Food is the heart of family storytelling. No one should sacrifice their cultural heritage due to dietary restrictions.