Oh, the smells of autumn! There is nothing quite like that cozy feeling when the air gets crisp, and you pull a dish out of the oven scented with cinnamon and ginger. For years, I missed those iconic holiday flavors after my youngest son’s celiac diagnosis. I wanted him to feel completely included in our family traditions, those moments that always centered around big, gorgeous desserts.
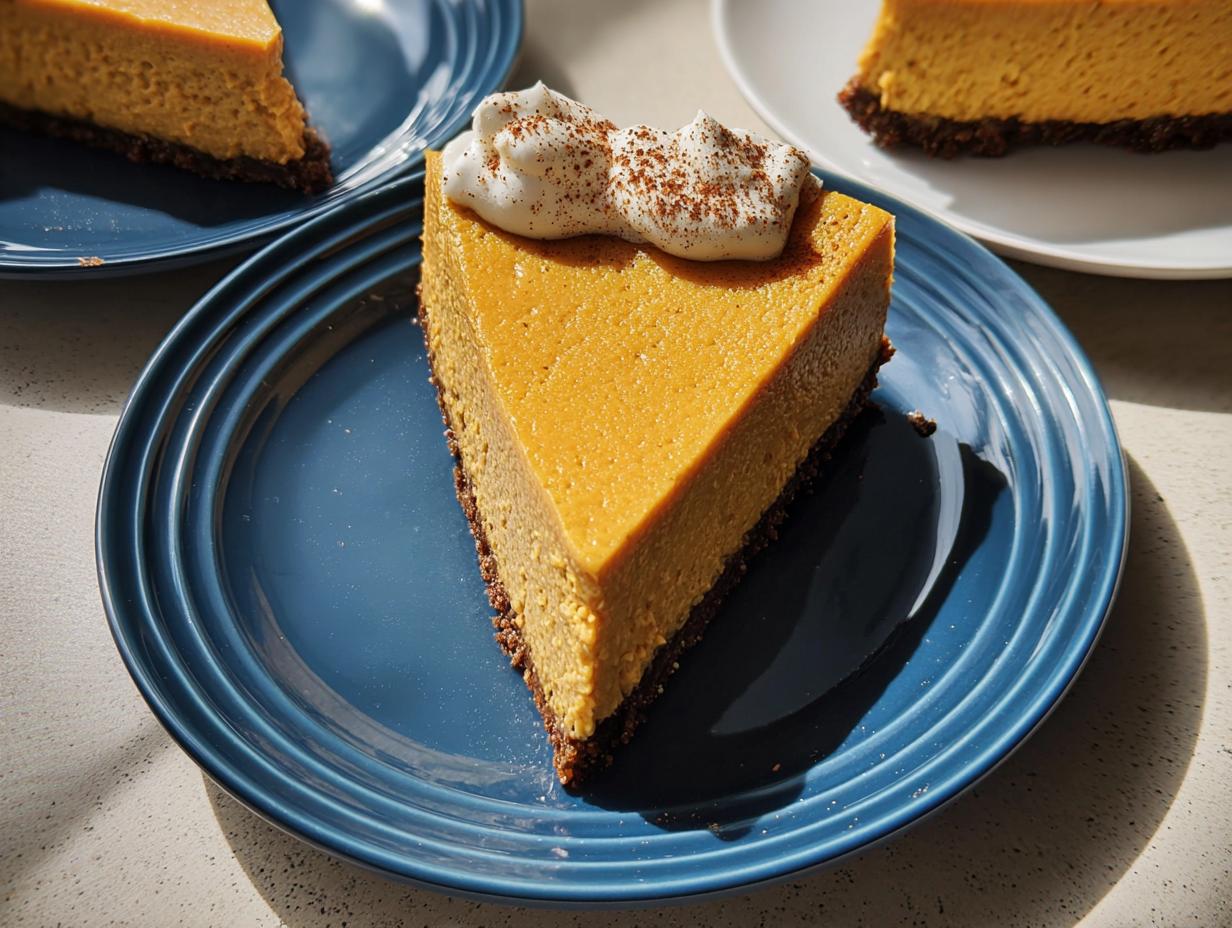
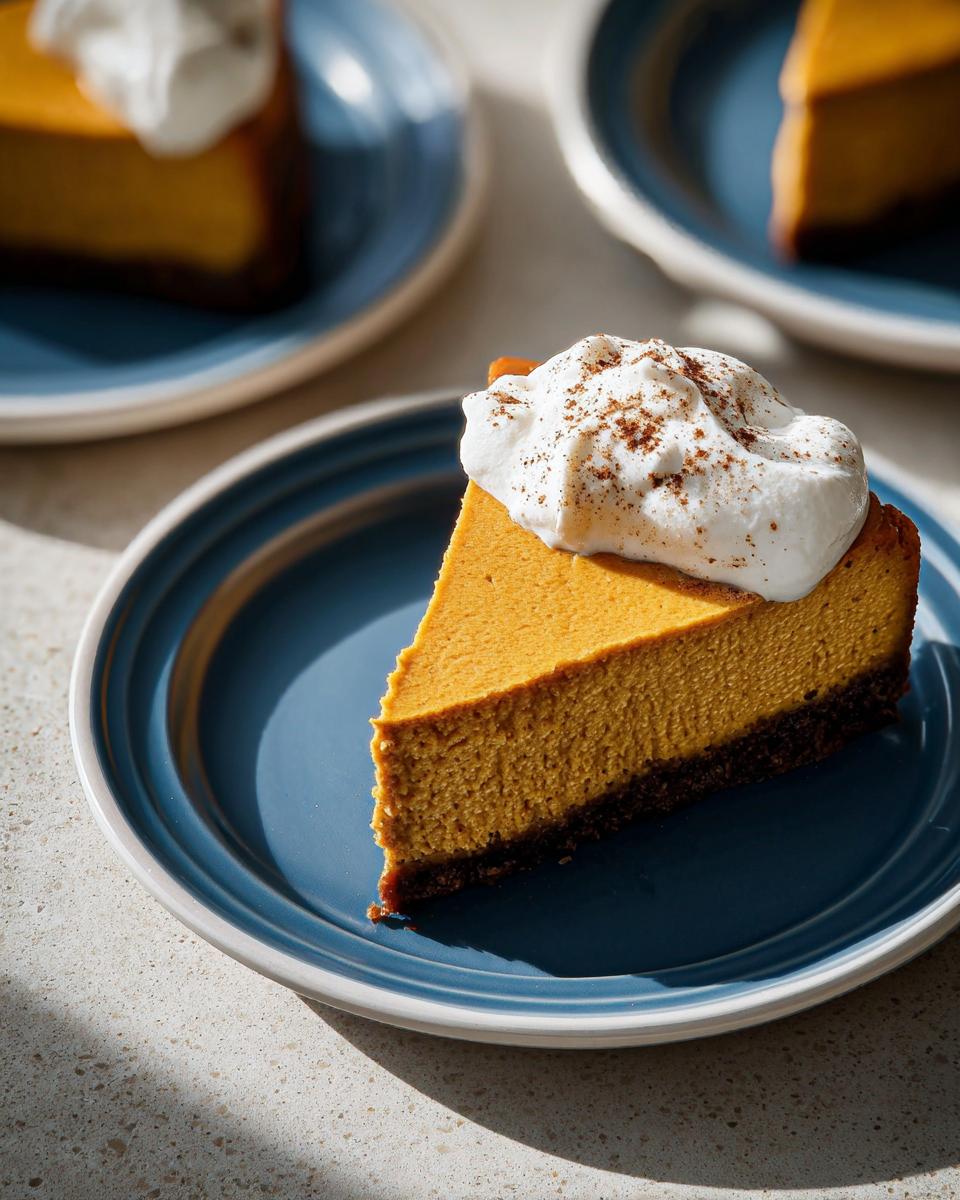
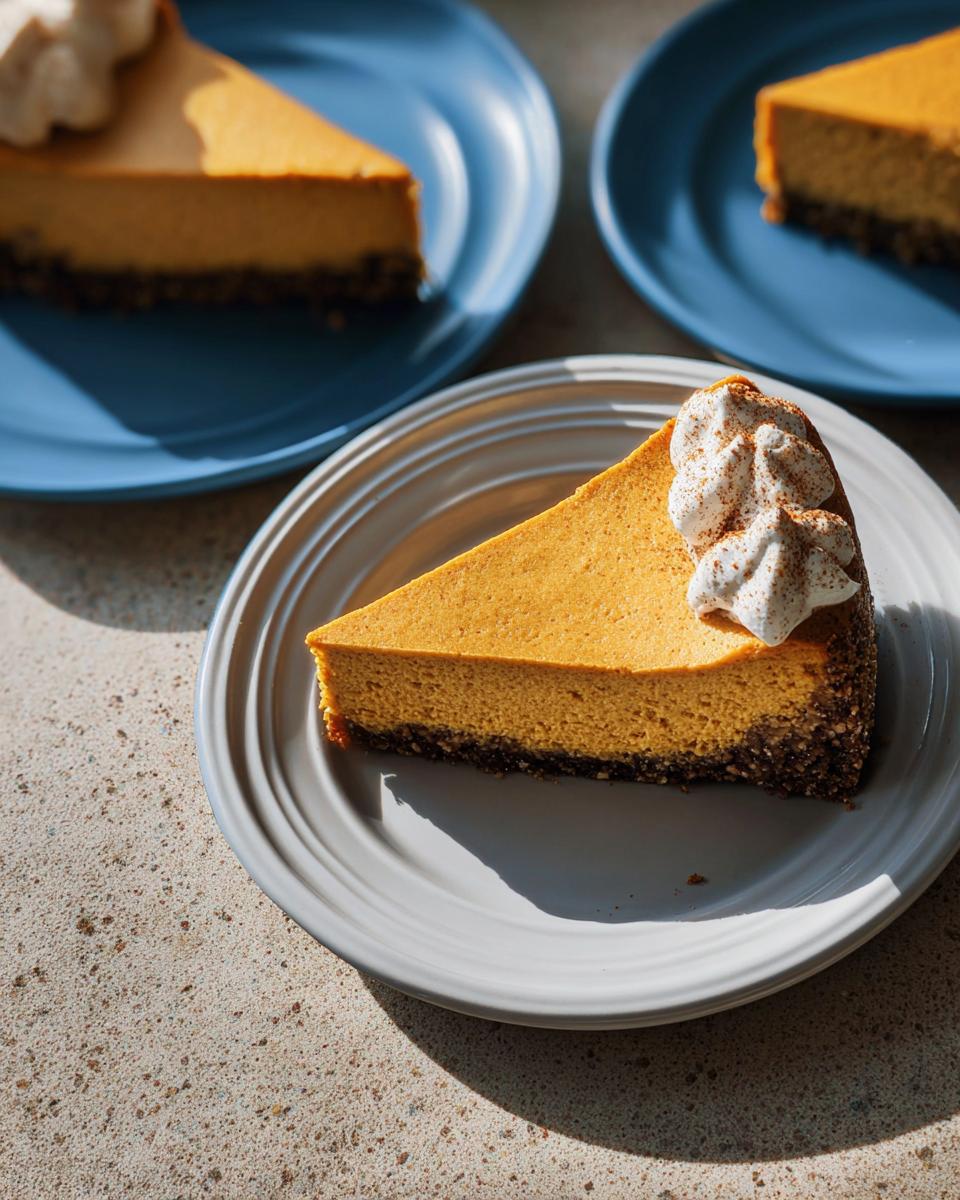
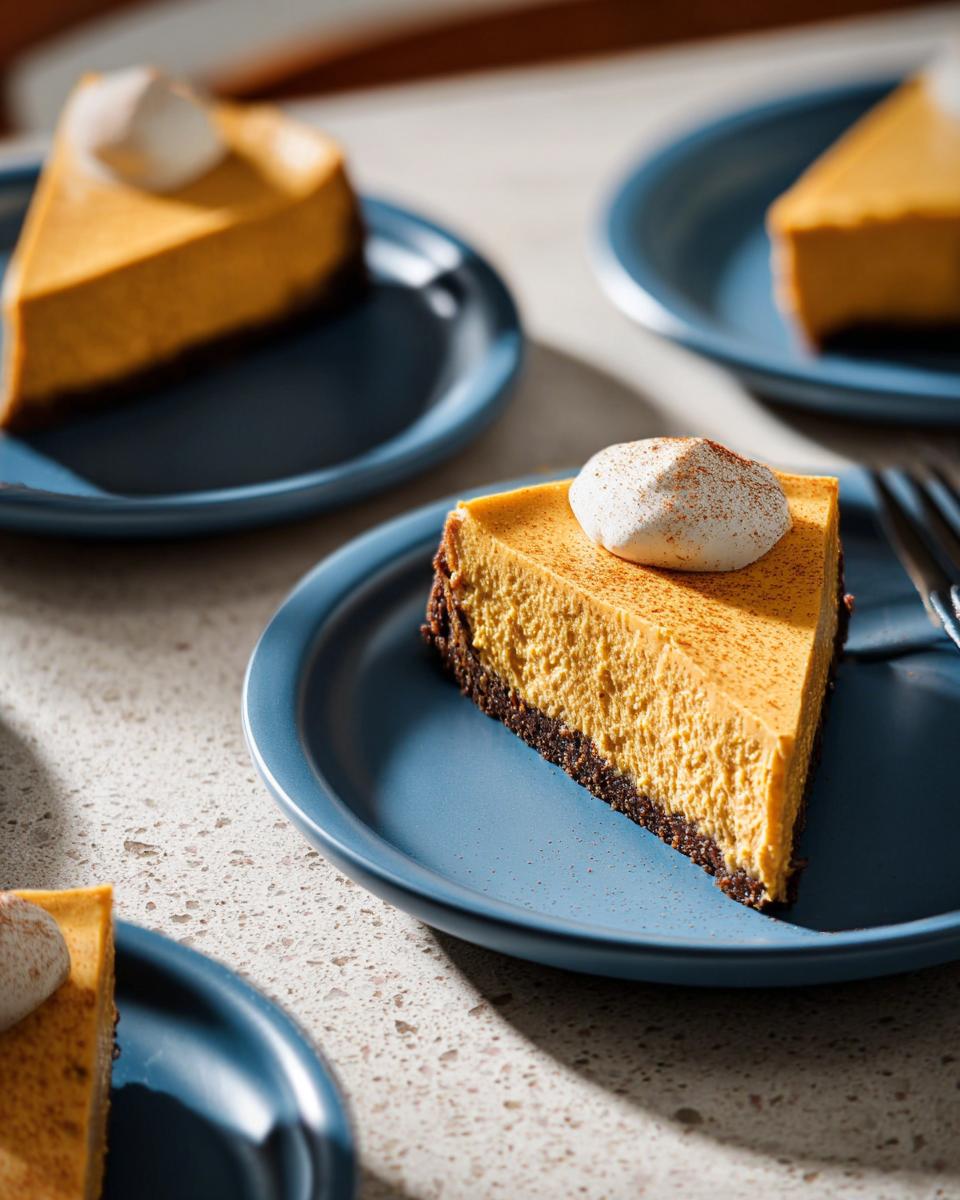
That’s why I poured all my heart into perfecting this Pumpkin Spice Cheesecake with Gingersnap Crust. As a Gluten-Free Chef, I needed something that tasted utterly decadent but was safe for him. When I first mixed that creamy filling over the spiced, crumbly crust, I was instantly transported back to my childhood in Brazil, where every single meal was a celebration!
The moment I watched my son’s face light up taking that first bite at Thanksgiving, I knew I nailed it. That joy, that feeling of belonging—that’s what this recipe is truly about. Trust me, this cheesecake proves that gluten-free doesn’t mean compromising on any of the rich, beautiful flavors we crave.
Why This Pumpkin Spice Cheesecake with Gingersnap Crust Is Your New Favorite Fall Dessert Ideas
If you’re looking for the showstopper among all your standard fall dessert ideas, you’ve found it! This Pumpkin Spice Cheesecake with Gingersnap Crust is just heavenly—creamy, spiced, and the perfect end to any autumn meal. It checks every box, especially if you’re watching gluten intake. It’s rich, it holds together beautifully, and the flavor profile screams cozy holidays!
The Perfect Gluten-Free Alternative
You read that right—this recipe delivers big on flavor while keeping things safe for my gluten-sensitive friends. Gingersnaps are naturally gluten-free in many brands, which is amazing! Crushing them up creates a crust that is intensely spiced and sturdy. No one will ever guess it’s the gluten-free option at the table; they’ll just ask for a second slice!
Creamy Texture Achieved Through Technique
Listen, a perfect cheesecake isn’t an accident; it’s planned. We use specific baking techniques here, like that slow, gentle cooling right in the oven after baking. That little trick is how we guarantee that unbelievably smooth, lump-free texture. You won’t have to deal with any ugly cracks on top, which makes presentation an absolute breeze.
Essential Equipment for Your Pumpkin Spice Cheesecake with Gingersnap Crust
Okay, before you even think about crushing those gingersnaps, let’s get your tools lined up! Baking a perfect cheesecake requires a few solid players in your kitchen arsenal. Don’t worry, it’s not a massive gathering of gadgets; just the essentials for success.
You’ll definitely need your reliable 10-inch round springform pan. That’s non-negotiable for an easy release later on. Also, grabbing your food processor makes turning those cookies into perfect crumbs take literally seconds. Finally, a good mixer, whether it’s stand or hand-held, is crucial for getting that filling silky smooth. Having these ready means you can jump right into the fun part!
Gathering Ingredients for the Gingersnap Crust
First things first, let’s concentrate on the foundation: that spicy, crunchy gingersnap crust. This is where the magic starts, and it’s so simple! You’ll need about a cup and a quarter of those wonderful gingersnap cookie crumbs—I use the pre-crushed ones to save my poor wrists, but crushing them yourself is great too. Add in just a touch of flour, about a quarter cup, plus some brown sugar for richness.
You also need the ground ginger itself, since we want that flavor booming! Stir in about two tablespoons of melted butter to bind everything together. Don’t forget, a great crust is the difference between a good cheesecake and an unforgettable one. You can browse more brilliant gluten-free baking tips on my resource page!
Preparing the Creamy Filling for the Pumpkin Spice Cheesecake
Now we move to the star of the show—the filling! Honestly, the silky texture relies 100% on getting your ingredients just right temperature-wise. You need three whole packages of cream cheese, and please, please make sure it’s softened perfectly. Warm it up just enough so you can press a finger into it easily, but not so much that it looks greasy. Same goes for those five large eggs; room temperature prevents scrambled cheesecake!
We’re building layers of flavor here, so grab your granulated sugar, your vanilla extract, and all those lovely spices: cinnamon, ginger, nutmeg, and cloves. Don’t forget the flour—yes, we use a little bit to help it set! Stir in that deep, earthy pumpkin purée and the sour cream last. I always mix the sour cream in by hand—it keeps things extra gentle. You can check out a great reference for high-quality ingredients over at King Arthur Baking if you need supplier ideas!
Step-by-Step Instructions for the Pumpkin Spice Cheesecake with Gingersnap Crust
Alright, deep breath! We’re putting this amazing Pumpkin Spice Cheesecake with Gingersnap Crust together. It looks complicated, but it’s really just a few straight shots of execution. First thing, always—get that oven preheated to 350°F and take a moment to lightly grease your 10-inch springform pan. We want everything to release beautifully later!
Baking and Cooling the Gingersnap Crust
Time to make that crust smell divine! Toss all your crust components—the cookie crumbs, flour, brown sugar, and melted butter—into the food processor. Pulse it until it looks like wet sand. Press that mixture firmly into the bottom and about an inch up the sides of your prepared pan. Pop it into the oven for about 10 to 15 minutes. You’ll know it’s ready not just by the clock, but when you actually catch that gorgeous, sharp scent of gingersnaps wafting out. That’s your cue! Pull it out and immediately drop that oven temperature down to 300°F for the filling.
Mixing the Cheesecake Filling Smoothly
This is where technique really matters, and you need to be patient! Set your mixer to low and beat that room-temperature cream cheese until it’s totally smooth—no lumps allowed! Now, add in your sugar, the small amount of flour, and all those warm spices—cinnamon, nutmeg, cloves, ginger. Stop your mixer at least twice; I mean it! Scrape down the sides and the bottom of that bowl, or you’ll end up with pockets of unmixed sugar. Once the vanilla and pumpkin are in, add the eggs one at a time, waiting until each one is fully incorporated before introducing the next. Finally, gently stir in the sour cream by hand. See? Super gentle folding keeps everything airy and consistent!
The Crucial Slow Cooling Method
This step is legendary for stopping cracks, so don’t skip it! Once the filling is in the crust and has baked for about 50 to 60 minutes—it should still wobble a bit in the center, remember that 170°F reading near the edge—it’s time to cheat the system. Turn the oven OFF. Seriously, shut it down completely. Prop the oven door open just a crack using a wooden spoon or a folded towel. We let this beautiful cheesecake cool down slowly inside the warmth for a full hour. This gradual temperature shift is what prevents that sudden contraction that causes cracks. After that hour of basking, pull it out and send it to the fridge!

Tips for Perfect Pumpkin Cheesecake Baking Techniques
When people ask me how I get my cheesecake baking techniques so spot-on every single time, I always tell them it’s not about speed; it’s about respect for the ingredients! This isn’t like whipping up a box cake mix; cheesecake demands a little attention to detail, but I promise the results are worth every second. We are aiming for that perfectly smooth, crack-free surface worthy of any big holiday spread.
Ingredient Temperature Matters
I can’t stress this enough: Cold ingredients are the enemy of smooth cheesecake! When your cream cheese is too cold, you end up beating it forever trying to get rid of those annoying little lumps. And when you beat it forever, you introduce too much air, which leads straight into the next problem!
Room temperature eggs blend seamlessly. If your eggs are cold when they hit that creamy base, they shock the mixture, and things start to curdle slightly. I usually take my cream cheese and eggs—and even the sour cream—out right before I start prepping the crust. Trust your sense of touch; if it’s soft and yielding, you’re good to go!
Avoiding Overmixing
This is the number one rookie mistake with any delicious pumpkin cheesecake. When you overmix, especially once the eggs are in, you are folding massive amounts of air bubbles into the batter. Those bubbles are tiny traps!
When the cake bakes, those air pockets expand rapidly. Then, when the oven cools off, those pockets collapse, leaving you with a dramatic sinkhole or a nasty crack right across the top. That’s why we mix the eggs one by painstaking one, and why I always insist you stir in the sour cream by hand at the very end. Keep it gentle, keep it slow, and your cheesecake will stay beautifully flat and perfect.
Storage and Serving Suggestions for Your Pumpkin Spice Cheesecake
Okay, the hard part is over, but now you need patience! You absolutely must chill this beauty for a minimum of four to eight hours. I usually make mine the day before Thanksgiving, honestly. That long chill time allows the cheesecake to fully set up and lets those warm pumpkin spice flavors really meld together—it’s magic!
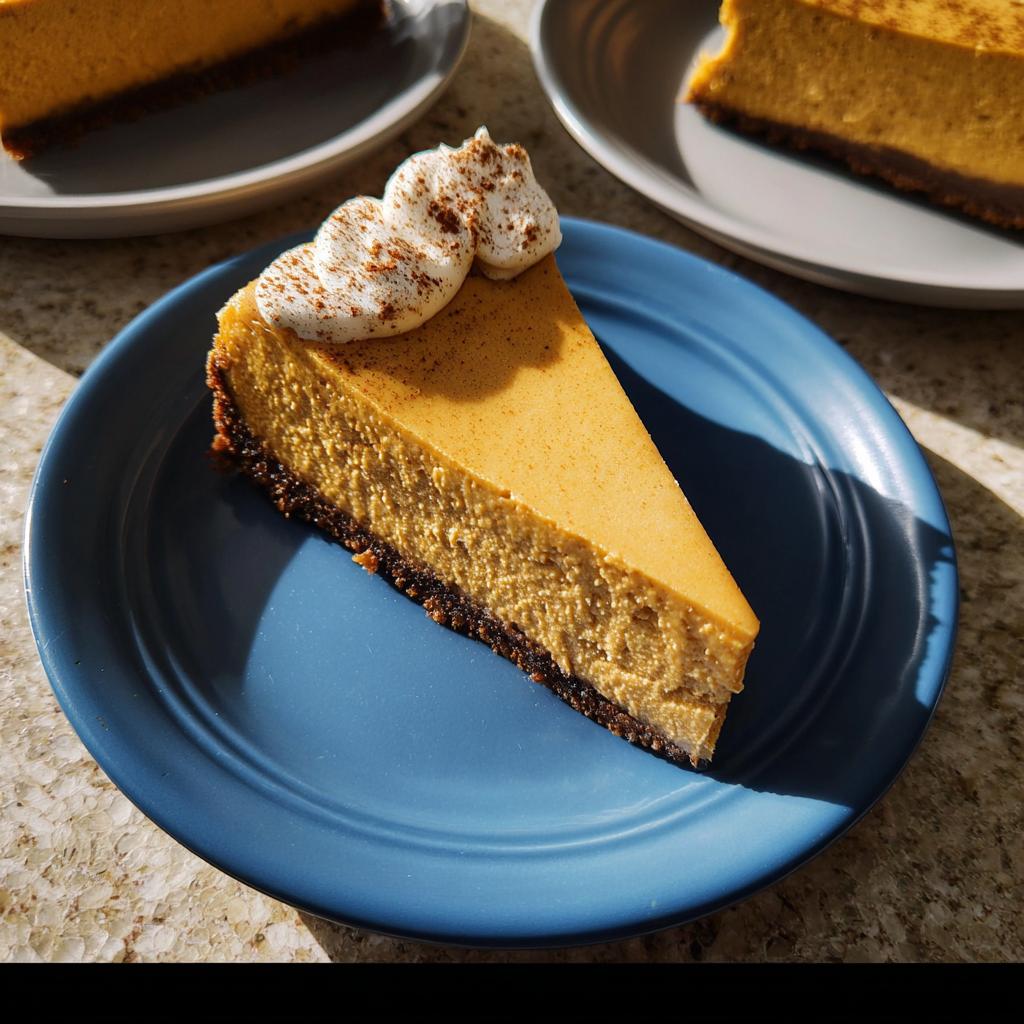
When you serve it, skip the heavy stuff. A light dollop of fresh whipped cream is perfect. Sometimes I add a tiny sprinkle of extra cinnamon or even some candied pecans if I’m feeling extra fancy. This amazing pumpkin cheesecake is perfect on its own, though. Store leftovers tightly covered in the fridge!
Frequently Asked Questions About Pumpkin Cheesecake
I know you might have a few lingering questions, especially when trying a new recipe for your big holiday baking recipes lineup. Cheesecakes can seem intimidating, but once you know the tricks, this pumpkin cheesecake becomes easy as pie—well, maybe easier than pie! Here are the top things I always get asked.
Can I make the gingersnap crust ahead of time?
Yes, you absolutely can! This is one of my favorite time-savers, especially when I’m making a ton of food for Thanksgiving dinner. You can press your mixture into the pan, bake it completely (following the instructions to pre-bake for 10-15 minutes), let it cool, and then wrap the entire pan tightly in plastic wrap. Store it in the fridge for up to two days, or even freeze it for a month! Just make sure it’s completely cool before you cover it, or you might steam the crust a little bit.
What is the best way to serve this pumpkin cheesecake?
While this pumpkin cheesecake is divine all on its own—and sometimes I just dust it with a simple layer of powdered sugar so the spice flavor shines—I love dressing it up a bit for company. Since the crust is already spicy, you don’t want to overload it. Try a small swirl of salted caramel sauce around the edge, or maybe a dollop of freshly sweetened whipped cream that you’ve infused with a tiny bit of bourbon or rum extract. It adds a nice contrast to the richness!
How does this recipe compare to traditional fall dessert ideas?
That’s a great question when planning your holiday baking recipes! Traditional fall desserts like pumpkin pie are wonderful, but honestly, they rely on that delicate, egg-y custard filling and a flaky crust. This cheesecake is completely different! It’s dense, it’s thick, and it offers that smooth, cool mouthfeel that only cream cheese can give you. The gingersnap crust brings a serious punch of spice that pies sometimes flatten out under. It’s a richer, more luxurious take on the season, perfect for when you need a centerpiece that sticks to your ribs!
Nutritional Estimates for Pumpkin Spice Cheesecake with Gingersnap Crust
Now, look, as a gluten-free chef, I love talking about flavor and texture, but I know a lot of you are counting numbers, too! So, here are the approximate nutritional facts for one slice of this gorgeous Pumpkin Spice Cheesecake with Gingersnap Crust. Remember, these numbers are just estimates. I mean, I’m using real butter and spices, not laboratory perfect ingredients, right?
The exact amount can change based on what brand of gingersnaps you grab or how much butter you decide to drizzle while pressing the crust. But as a general idea for you fellow planners out there, here’s what you’re looking at, serving 12 slices:
- Calories: About 450! Worth every single one, trust me.
- Fat: Roughy 25g total, with about 15g of that being saturated fat—remember, that’s the richness from the cream cheese and butter coming through!
- Carbohydrates: Around 45g.
- Sugar: About 30g, mostly from that sweet base and the dairy.
- Protein: We get about 8g of protein per slice.
- Cholesterol and Sodium: Roughly 100mg and 300mg, respectively.
- Fiber: A measly 1g, but hey, it’s dessert, not a side salad!
Keep in mind, because we are using natural ingredients like pumpkin and relying on the structure of the cream cheese, these figures can shift a little depending on your exact measurements. But this gives you a solid benchmark for planning your holiday menus!
Share Your Baking Success
Now that you’ve conquered the oven and pulled out that gorgeous, creamy, spiced masterpiece, I need to hear all about it! Seriously, seeing your creations is the absolute best part of sharing these cherished family recipes. Baking is about connection, right? I want to know how this Pumpkin Spice Cheesecake with Gingersnap Crust fit into your autumn celebrations.
Did it make your son’s face light up just like mine did? Did your guests even notice it was gluten-free? Tell me everything! Please, take a picture of that perfect slice—especially showing off that spicy, crunchy gingersnap crust—and tag me on social media. I check my tags all the time!
And if you have a moment, leaving a rating right here on the recipe page is super helpful for other bakers thinking about trying this one out. Your feedback helps them feel brave enough to start! I love connecting with all of you fellow home cooks. Don’t forget to check out the About Me section to see more of my journey!
Pumpkin Spice Cheesecake with Gingersnap Crust
Ingredients
Equipment
Method
- Preheat the oven to 350°F. Lightly grease a 10" round springform pan.
- For the crust: Combine all of the crust ingredients in the bowl of a food processor and pulse until evenly mixed. Press the mixture into the bottom of the springform pan, and at least 1" up the sides of the pan. Bake for 10 to 15 minutes, just until you smell the gingersnaps.
- Remove the crust from the oven, and reduce the oven temperature to 300°F.
- For the filling: Place the cream cheese in the bowl of your mixer. Blend on low speed for a few minutes, until no more lumps remain.
- Add the sugar, flour, and spices and mix for an additional 2 to 3 minutes. Stop the mixer at least twice to scrape down the sides and bottom of the bowl.
- Add the vanilla and pumpkin and mix to combine. Add the eggs one at a time, mixing well after each egg is added.
- Stir in the sour cream by hand. Pour the mixture into the prepared pan/crust and bake for 50 to 60 minutes.
- The cake is ready when the center 2" of the cake is still a bit wobbly. The temperature measured 1" from the side of the cake will read 170°F. Turn off the oven, prop open the door, and allow the cake to slowly cool in the oven for one hour.
- Remove the cake from the oven and chill, lightly covered for 4 to 8 hours before serving.
Nutrition
Notes
Tried this recipe?
Let us know how it was!
Gluten-Free Chef & Latin Cuisine Innovation Specialist
My youngest son’s celiac diagnosis at four changed everything. Suddenly, all those traditional Brazilian and Portuguese recipes from my avó needed to be completely reimagined without losing their soul.
After graduating from Johnson & Wales and working Miami’s Latin fusion scene, my son’s diagnosis became my calling. How do you make gluten-free empanadas that taste like childhood? Over eight years, I’ve developed 320+ gluten-free recipes celebrating authentic Latin flavors using cassava flour and plantain alternatives.
My gluten-free empanada recipe won “Best Appetizer” at the 2023 Miami Gluten-Free Food Festival. I ran “Sabores Sin Gluten,” a catering business serving Miami’s Latino community—quinceañeras, family gatherings, all the celebrations that matter.
Food is culture, and everyone deserves to experience the joy of sharing traditional family meals, regardless of dietary restrictions.