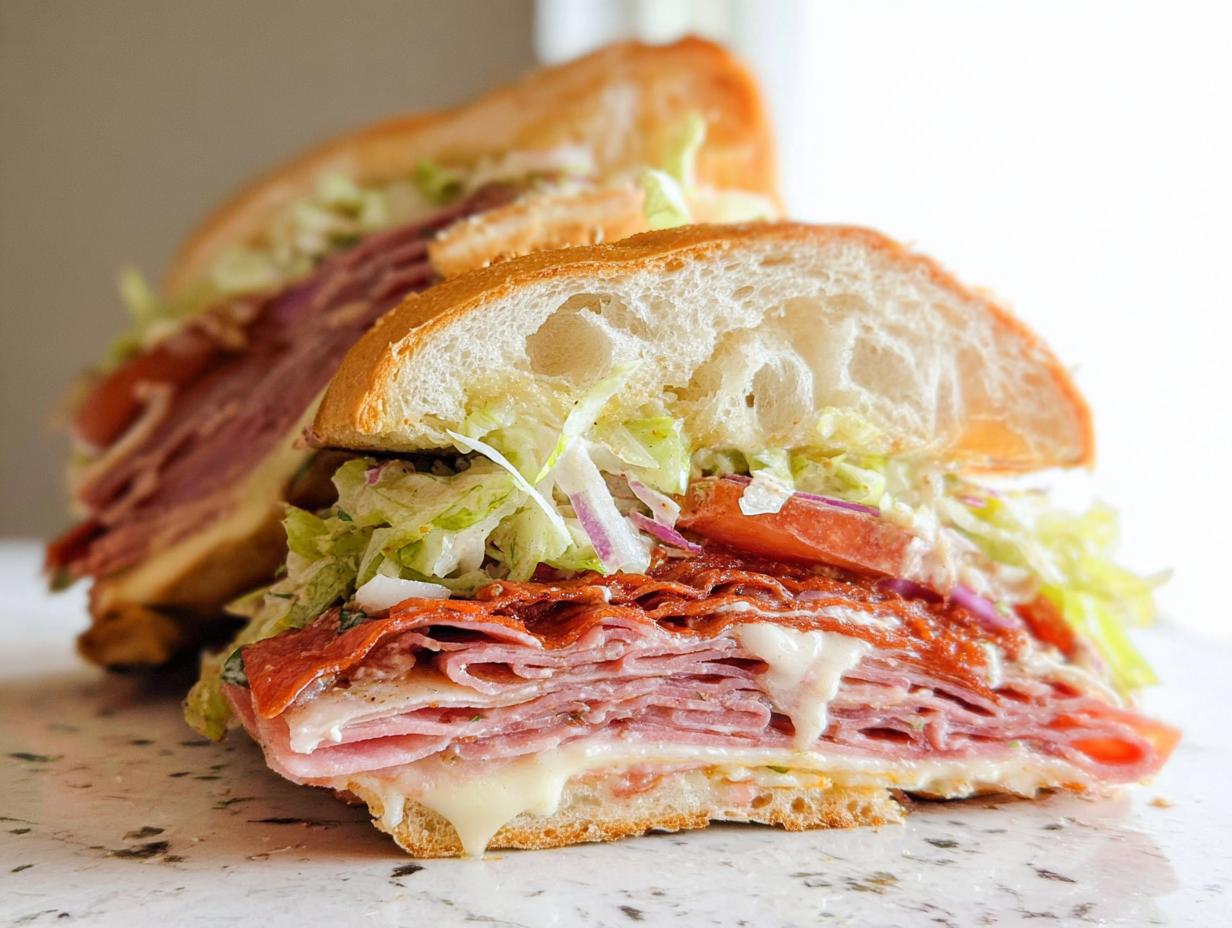
Man, the smell inside a proper Italian deli—it just hits you, doesn’t it? That beautiful mix of salty air, sharp cheese, and fresh bread always pulled me right in. When I lived down in Miami, grabbing a loaded sub was my go-to lunch, especially that incredible Italian Grinder Salad Sandwich with all those fresh, crunchy toppings.
But when my youngest got diagnosed with celiac disease, suddenly those perfect, crusty hoagies felt like a memory I’d lost forever. I just wasn’t willing to give up that flavor! So, I started tinkering away in the kitchen, using the best produce I could find and making sure every bite felt familiar and joyful. This recipe, my version of the Italian Grinder Salad Sandwich, is proof you can have big, vibrant deli flavor without any worry. This sub is hearty, loaded, and ready in under 30 minutes!
Why This Italian Grinder Salad Sandwich Recipe Works for Everyone
I get it; you want flavor that packs a punch, but you also need meals that fit into a busy week. This recipe nails that balance. It honors the classic deli flavor profile while being ridiculously fast to put together. Seriously, 25 minutes, and you have this beast of a sandwich!
The beauty here is that once you have the grinder salad ready, the rest is just layering. This recipe isn’t just about Italian meats, either; it’s designed to take substitutions like a champ. I’ve made plenty of versions using just turkey and ham when I couldn’t find everything. It always results in that perfect texture clash—soft bread, melty cheese, and that super crisp slaw.
- Incredible Flavor: Those sharp, tangy elements in the salad cut right through the richness of the meats and cheese.
- Lightning Fast Prep: The total time is under 30 minutes, making it perfect for a lunch routine. Meal prep for days!
- Built for Adaptability: It’s sturdy enough to handle gluten-free bread or alternative cheeses without falling apart.
- Perfect Texture Contrast: You get that creamy crunch from the salad against the warm, savory meats.
Gathering Ingredients for the Ultimate Italian Grinder Salad Sandwich
Okay, getting the right stuff is half the battle. Trust me on this—the quality of your veggies and the precision of your cuts really do change the game when you’re building this sandwich. It sounds simple, but those tiny details make the difference between a good sub and a legendary one. We need to organize this into two camps: the creamy heart of the salad, and all the glorious stuff that piles into the bread.
When you go to the deli counter, be specific! We want thin layers of meat, not thick chunks. For the fresh components, remember that crunch is your best friend here.
For the Creamy Grinder Salad
This is where the tang comes from. Make sure your lettuce is shredded paper-thin. If it’s chunky, it won’t blend right with the dressing when you bite into it—we want a cohesive slaw, not just loose veggies.
- Mayonnaise: You need about half a cup, the creamy base for everything.
- Iceberg Lettuce: Half a head, but it MUST be shredded finely.
- Red Onion: Half a cup, sliced super thinly so it distributes evenly.
- Banana Peppers: About a third of a cup of those sliced tangy little guys.
- Red Wine Vinegar: Just one tablespoon to give it that sharp kick.
- Seasonings: Don’t forget the garlic powder and oregano for that classic Italian deli flavor, plus salt and pepper to taste.
For Assembling the Italian Grinder Salad Sandwich
Here’s the heavy lifting! You’ll need three good sub rolls for this batch, of course, and aim for about four ounces of meat total per sandwich to keep it satisfyingly stuffed. And that provolone needs to be ready for melting!
- Sub Rolls: Three of them, sturdy enough to handle the ingredients.
- Meats: Equal parts Salami and Pepperoni (about a quarter pound each), and the same amount of deli Turkey.
- The Cheese: A quarter pound of Provolone cheese, sliced ready for the broiler.
- Fresh Tomato: One, sliced up nicely.
- The Finisher: A generous third of a cup of freshly grated Parmesan cheese to sprinkle over everything before you close it up.
Once you have all this staged, hop over and see how we put it all together! We’ll cover the exact stacking order next.
Step-by-Step Instructions for Your Italian Grinder Salad Sandwich
Alright, we have all our beautiful ingredients lined up—now it’s build time! We have to make that incredible grinder salad first, which needs a few minutes to sit so the flavors can mingle. Then we hit the meat and cheese with a little heat. Moving logically prevents us from having a big, soggy mess on our hands later, which is exactly what we are trying to avoid with this fresh sandwich!
Make sure your oven broiler is set to high before you start layering your meats. If you wait, you might end up with room-temperature provolone, and nobody wants that sad vibe on a grinder! Check out this guide for pro tips on layering if you need a visualization.
Making the Tangy Grinder Salad Dressing Base
Grab that large bowl we talked about! We’re starting with the wet stuff for the salad dressing. Pour in your mayonnaise and then drizzle in that red wine vinegar. Now, toss in your seasonings: the garlic powder, the oregano, the salt, and your pepper. You absolutely have to whisk this together well until it looks smooth and creamy. You want zero clumps of mayo hanging around!
Combining the Salad Vegetables
This is where it gets colorful! Add your finely shredded iceberg lettuce, those thinly sliced red onions, and all those wonderful banana peppers right into that creamy dressing base. Now, gently fold everything together. Don’t smash the lettuce! We want it coated, sure, but we need to keep that delicate crunch intact—that’s the whole point of the salad component.
Prepping and Melting the Meats and Cheese
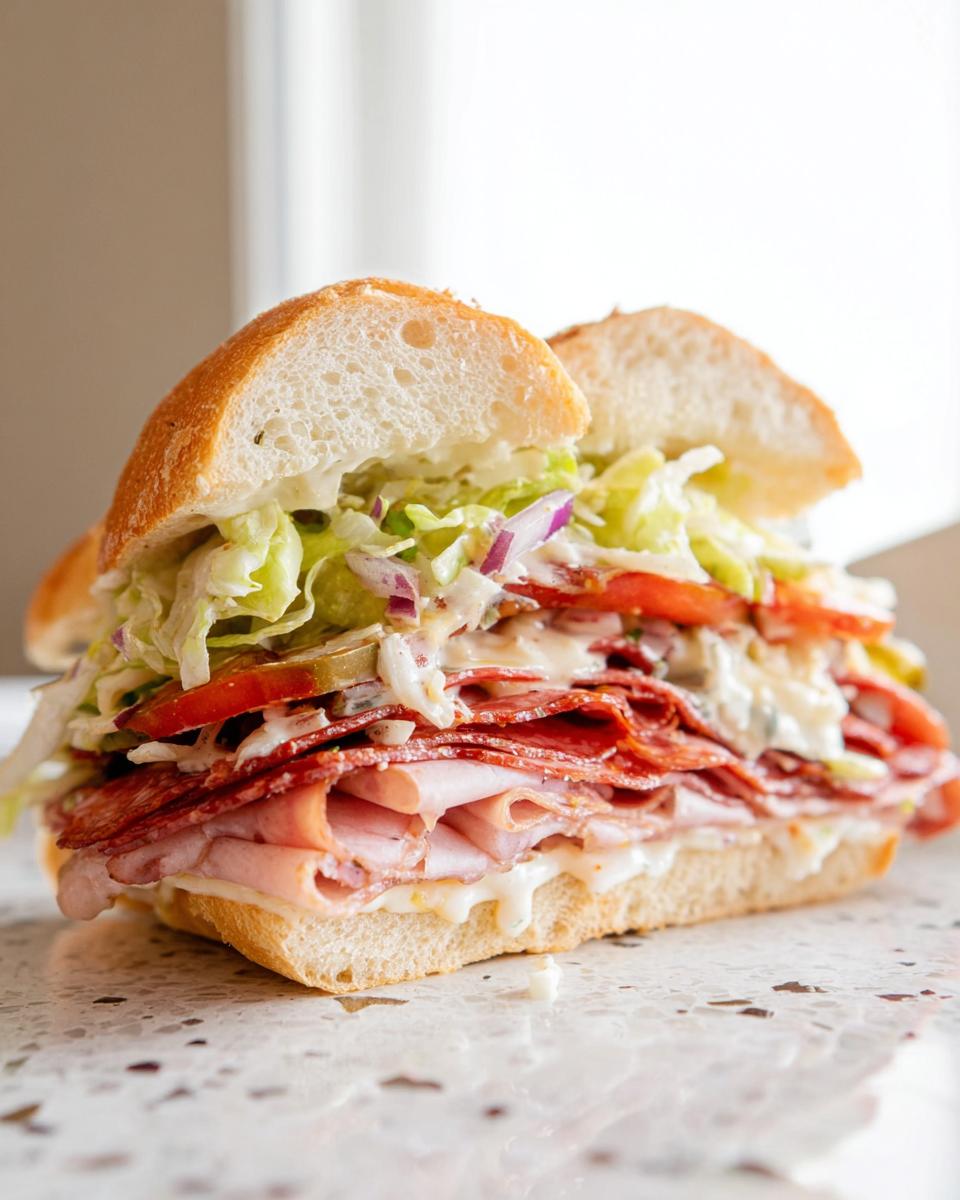
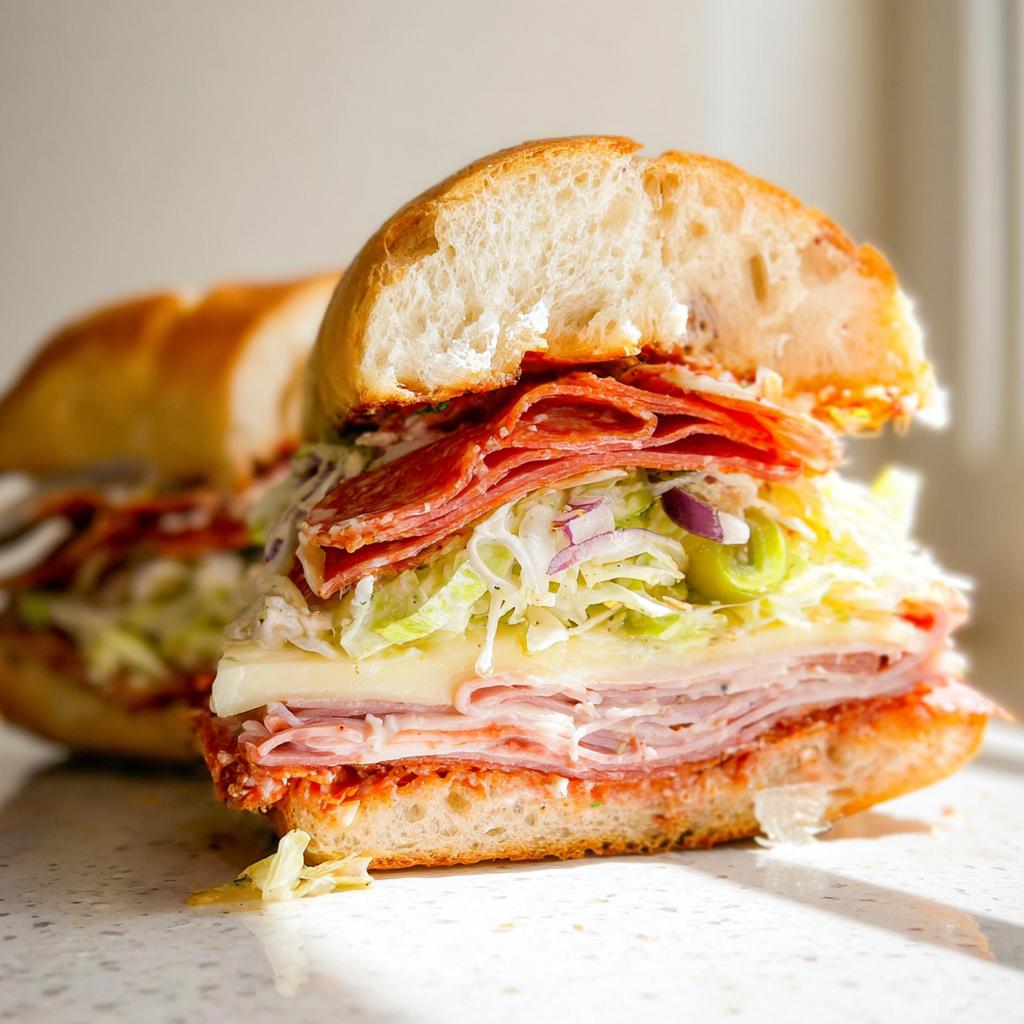
Time for the oven! Split your sub rolls lengthwise. Layer the salami, pepperoni, and turkey evenly across the bottom halves. Then, lay that provolone cheese right on top of the mountain of meat. Slide those open faces under the broiler. Keep a close eye on them—they only need **2 to 3 minutes**, tops! You are looking for the cheese to be bubbly and melted and maybe just slightly kissed with color—and the edges of your meats should start to crisp up just a little bit.
Final Assembly of the Italian Grinder Salad Sandwich
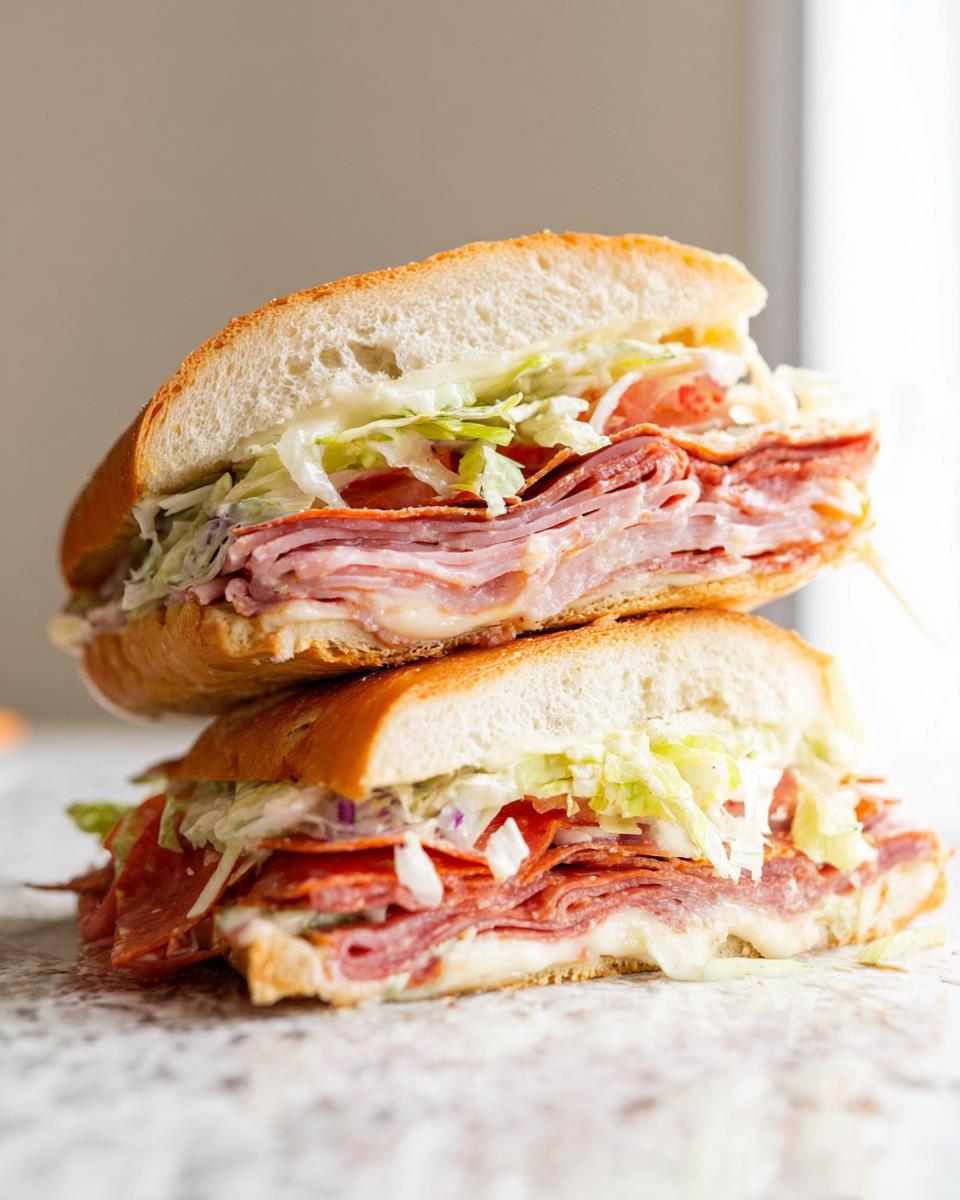
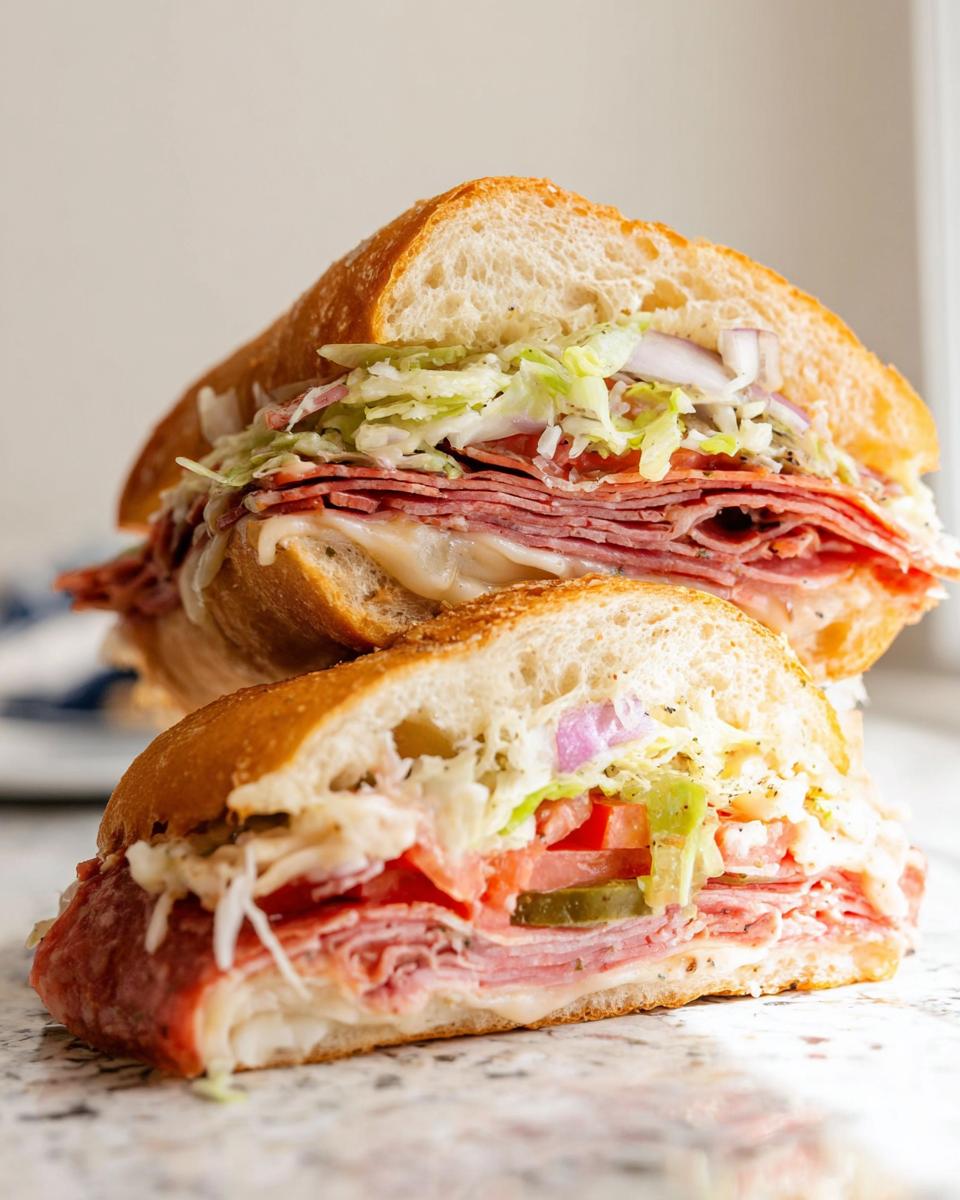
Carefully pull those warm rolls out. Next, lay your tomato slices right over the melted cheese. Now, here comes the best part: scoop a generous helping of your creamy, tangy grinder salad right on top of the tomatoes. It should cover everything nicely. Finish it off by sprinkling that grated Parmesan cheese over the salad. Close the sandwich, maybe slice it on a diagonal because presentation matters, and serve it immediately while the bottom half is still warm!
Expert Tips for the Perfect Italian Grinder Salad Sandwich Texture
Getting this sandwich right is all about managing moisture—we want creamy, not soggy! My biggest piece of advice is about the bread first.
Seriously consider toasting the bottom half of your roll *before* you add the meat. Even if you’re just broiling the meat on top, giving the underside a quick toast creates a necessary barrier against the dressing. If you’re working with gluten-free bread, this step is non-negotiable; those loaves need all the structural help they can get!
Also, when you’re making that grinder salad, try to drain off any excess liquid from your banana peppers before you toss them in. A little bit of liquid is great, but too much guarantees a wet sandwich flop. And for the dressing itself, a good quality, sharp red wine vinegar makes a huge difference in the final tang.
If you want to see how to speed up this whole process, check out my speed-run guide for quick meals!
Ingredient Notes and Substitutions for Your Italian Grinder Salad Sandwich
One of the things I love most about this Italian Grinder Salad Sandwich is how forgiving it is. When I first started making this after my son’s diagnosis, I realized sourcing the right bread was going to be a serious hurdle. The traditional sub roll is chewy and has that perfect crust, and finding a gluten-free version that mimics that structure is tricky!
My advice? Don’t settle for soft, squishy GF bread. You need something that has *some* interior structure, even if it’s a bit denser than the real deal. Look for specific Italian-style gluten-free loaves if you can find them. You’re going to toast it or broil it anyway, which helps immensely. You can see my thoughts on finding the best GF bread substitutes in this guide—it makes a difference!
Now for the fun part: the swaps! If you’re out of turkey, ham is a fantastic, slightly saltier substitute that works just as well under the broiler. If you’re not keen on provolone, Swiss cheese melts beautifully and adds a slightly nuttier profile, though it brings a softer flavor. You could even use a nice mild Monterey Jack if you need something super melty.
For the salad itself, if you don’t have banana peppers, throw in some mild pickled sport peppers—that will give you a nice little background heat. And please, don’t skip the fresh grated Parmesan on top, even if you swap other ingredients. That sharp, salty hit is essential for tying the creamy salad to the savory meats!
Serving Suggestions for Your Italian Grinder Salad Sandwich Meal
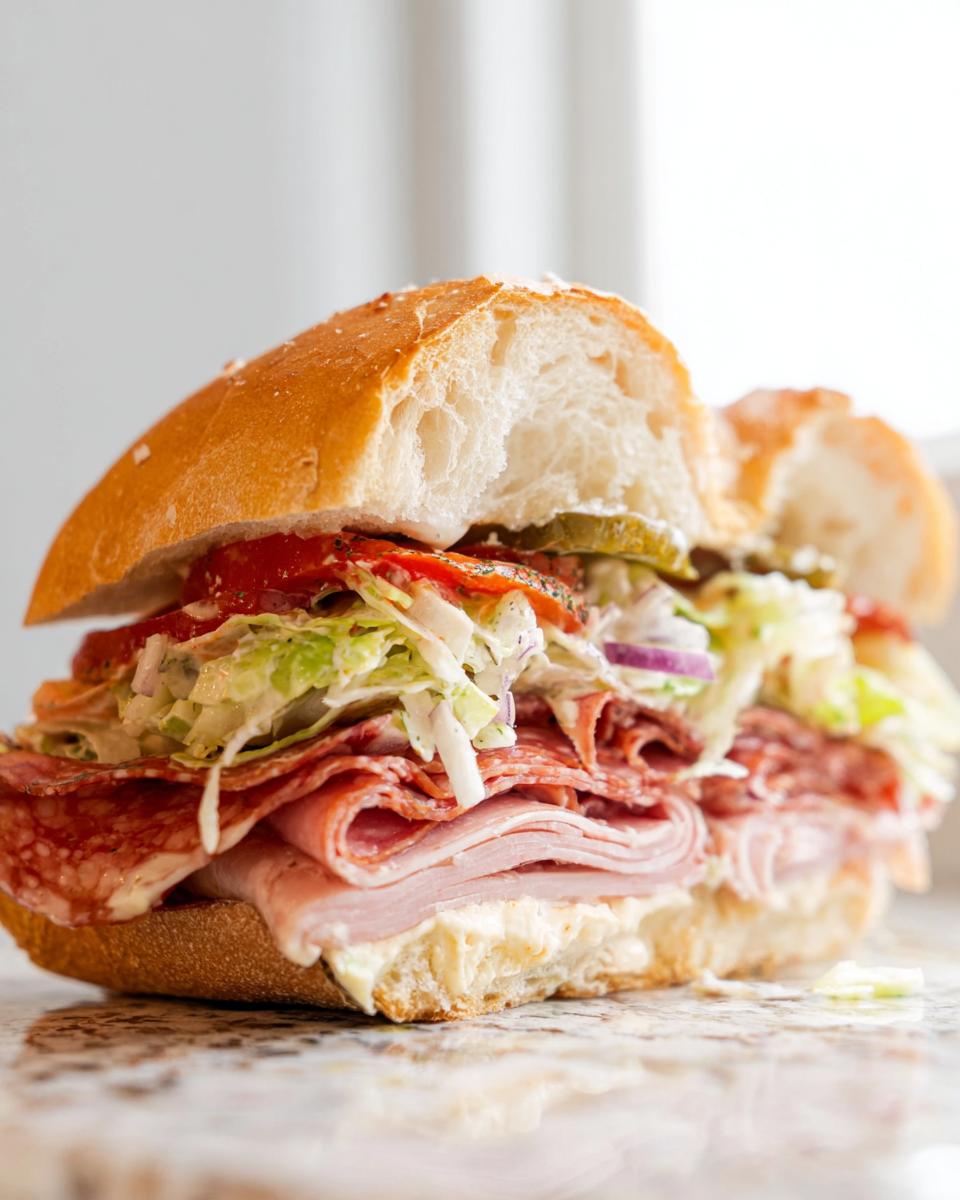
Wow, that sandwich is absolutely massive, right? You really don’t need much alongside it, but if you want to round out the plate without completely overwhelming that amazing deli flavor, stick to light and bright things. Nobody needs a heavy dinner after tackling one of these giants!
I usually skip fries entirely because the bread already fills that role. Instead, grab some simple, crisp sides. A vinegary, quick-pickled vegetable is perfect—think crunchy pickled green beans or maybe some quick-pickled red onions if you didn’t use enough on the sandwich itself. A quick, sharp Italian chopped salad dressed with just olive oil and lemon juice works wonderfully too. It keeps the fresh theme going strong. If you need more easy ideas, check out my section on quick meal prep!
Storing Leftovers of the Italian Grinder Salad Sandwich
Look, let’s be honest. If you managed to have leftovers of this incredible Italian Grinder Salad Sandwich, you are a culinary champion! Usually, my family demolishes these before they even leave the cutting board. But if you do have pieces left, we absolutely cannot store them assembled. That creamy grinder salad will turn the bread into pudding overnight, and we just won’t stand for that.
The key here is total separation. Take the salad component—the dressed lettuce, onions, and peppers—and put that into a sealed container. Try to eat that within 24 hours max to keep that crunch alive. If you’re worried about the lettuce wilting, you can even keep the dressing separate from the chopped veggies and only combine them right before you plan to eat the next serving of salad. Moisture is the enemy of fresh leftovers!
As for the meat and cheese half of the sandwich, you can wrap those assembled rolls tightly in plastic wrap or foil. They’ll keep fine in the fridge for a couple of days. When you are ready for round two, you’ll need to give that meat and cheese layer a reheat.
Reheating the Meat and Cheese Layers
I always use the oven or broiler for the reheat. Trust me, the microwave works against us here! Wrap the meat/cheese roll bottom tightly in foil—this steams the bread slightly so it softens back up without getting tough. Pop it in a 350°F oven for about five to seven minutes, maybe a little longer if your rolls were huge. You just want that cheese gooey again.
Reassembling for Seconds
Once the meat is warm, pull it out. Now—and this is crucial for texture—you add the cold tomato slices, then pile that chilled grinder salad on top. Finish with that sprinkle of Parmesan. Having the hot base meet the cold, crisp salad is what makes the leftovers almost as good as the first time around! If you want more ideas on saving time or components for later, check out my guide on make-ahead meals.
Frequently Asked Questions About the Italian Grinder Salad Sandwich
Coming up with a killer sandwich that everyone can love sometimes brings up a few questions, especially when you’re adapting things or just trying to manage leftovers! I’ve answered the three biggest things people ask me about this amazing sub.
Can I prepare the grinder salad dressing for the Italian Grinder Salad Sandwich ahead of time?
Absolutely! Preparing the dressing base—that mayonnaise, vinegar, and spice mix—is fantastic for meal prep. You can keep it sealed up tight in the fridge for up to three or four days. That said, I never mix the lettuce into it until I’m ready to eat. The moment you add that finely shredded iceberg, the clock starts ticking on the crunch factor. So, pre-mix the creamy dressing, chop your onions and peppers and store them separately, and only combine everything with the lettuce right before assembly.
What is the best type of roll for an authentic Italian Grinder Salad Sandwich?
The best is a crusty, chewy Italian sub roll, typically called a hero or a hoagie roll, depending on where you are! It needs to be sturdy enough that when you pile on the meats, cheese, veggies, and that wet grinder salad, it doesn’t just collapse into mush. If you’re making this gluten-free like I sometimes have to, you need a roll specifically designed to hold up to moisture, maybe one that’s a bit denser than typical GF sandwich bread. Remember what I said about toasting that interior surface? That really helps lock in structure.
Are there ways to make this Italian Grinder Salad Sandwich spicier?
Oh, you bet! If you like a real kick—and I do sometimes when I’m craving that heat—there are a few easy ways to boost the spice level beyond just the banana peppers. You can swap those mild banana peppers for sliced **hot cherry peppers** or even thinly sliced jalapeños if you’re feeling brave. Another neat trick is to add a teaspoon of Calabrian chili paste right into that mayo dressing base when you’re mixing it up—that paste is deep, flavorful, and packs a lovely lingering heat. I found that even just adding a little red pepper flake to the broiler mix can warm things up!
Share Your Italian Grinder Salad Sandwich Creations
Okay, friends, we’ve built it from the ground up! We mixed the creamy salad, we warmed the salty meats, and we stacked it high with fresh crunch. Now what? I need to hear how this turned out for you!
Did you stick perfectly to the plan, or did you sneak in some capicola instead of pepperoni? Maybe you found a gluten-free roll that blew my advice out of the water? Please tell me! Drop a comment down below and let me know your rating. Seeing your amazing, cheesy, loaded sandwiches really makes all the experimentation worthwhile for me.
Seriously, don’t be shy! If you snap a photo of your perfectly assembled Italian Grinder Salad Sandwich, tag me on social media so I can see your work. If you have any last-minute questions or tweaks that worked wonders for your family, pop those in the comments too. You can always reach out directly through my contact page if you need to chat privately!
Italian Grinder Salad Sandwich
Ingredients
Equipment
Method
- Prepare the grinder salad. Add the mayonnaise, red wine vinegar, garlic powder, oregano, salt, and pepper to a large bowl. Whisk to combine.
- Add the lettuce, red onion, and banana peppers to the bowl. Combine thoroughly.
- Assemble the sandwiches. Divide the salami, pepperoni, and turkey among the rolls. Add the provolone cheese on top of the meats.
- Broil for 2 to 3 minutes until the cheese is melted and the meat is crisped up.
- Remove the subs from the oven. Add the tomato slices to the sandwiches. Season with salt and pepper.
- Add a generous amount of grinder salad to each of the sandwiches. Top with parmesan cheese.
- Close the sandwiches, cut in half, and serve.
Notes
Tried this recipe?
Let us know how it was!
Gluten-Free Chef & Latin Cuisine Innovation Specialist
My youngest son’s celiac diagnosis at four changed everything. Suddenly, all those traditional Brazilian and Portuguese recipes from my avó needed to be completely reimagined without losing their soul.
After graduating from Johnson & Wales and working Miami’s Latin fusion scene, my son’s diagnosis became my calling. How do you make gluten-free empanadas that taste like childhood? Over eight years, I’ve developed 320+ gluten-free recipes celebrating authentic Latin flavors using cassava flour and plantain alternatives.
My gluten-free empanada recipe won “Best Appetizer” at the 2023 Miami Gluten-Free Food Festival. I ran “Sabores Sin Gluten,” a catering business serving Miami’s Latino community—quinceañeras, family gatherings, all the celebrations that matter.
Food is culture, and everyone deserves to experience the joy of sharing traditional family meals, regardless of dietary restrictions.