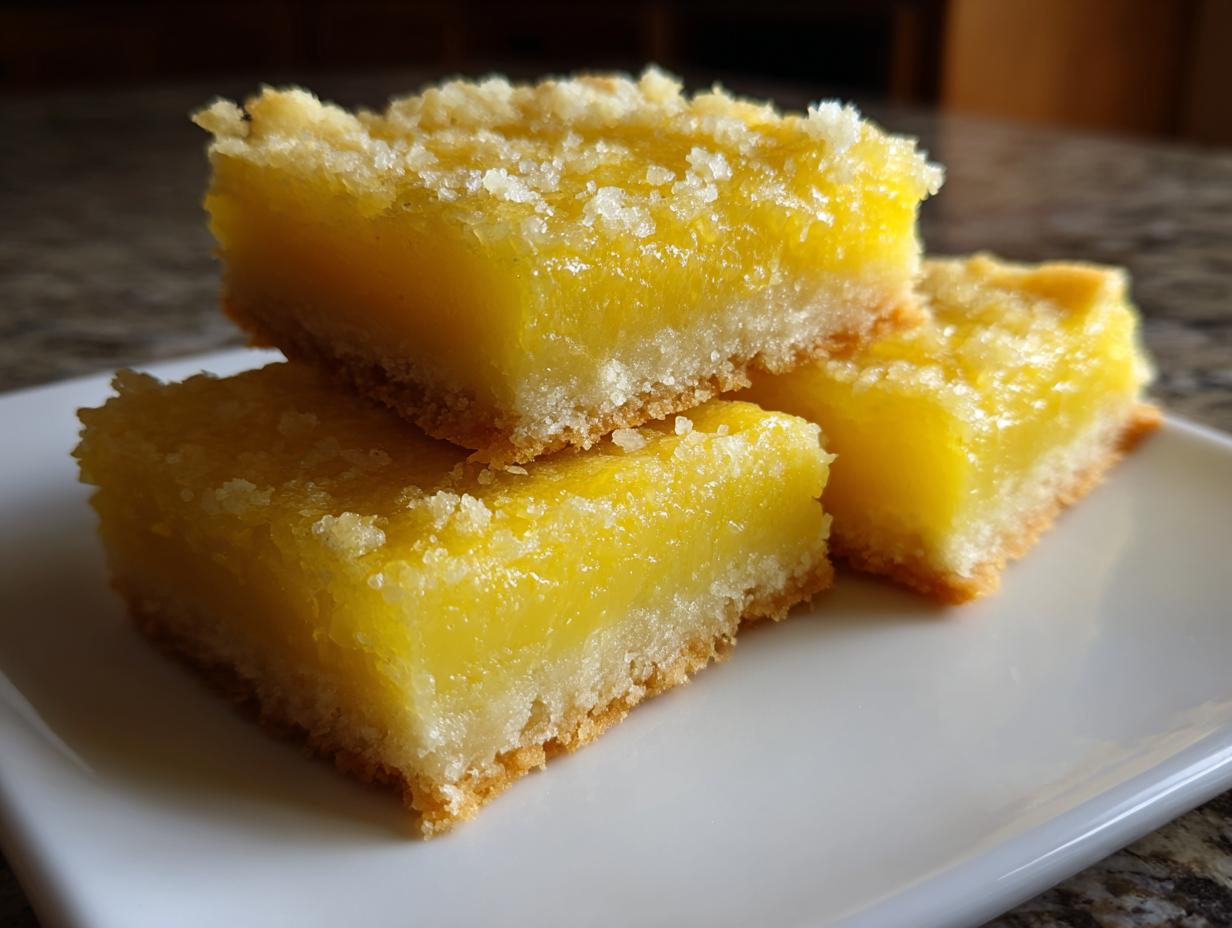
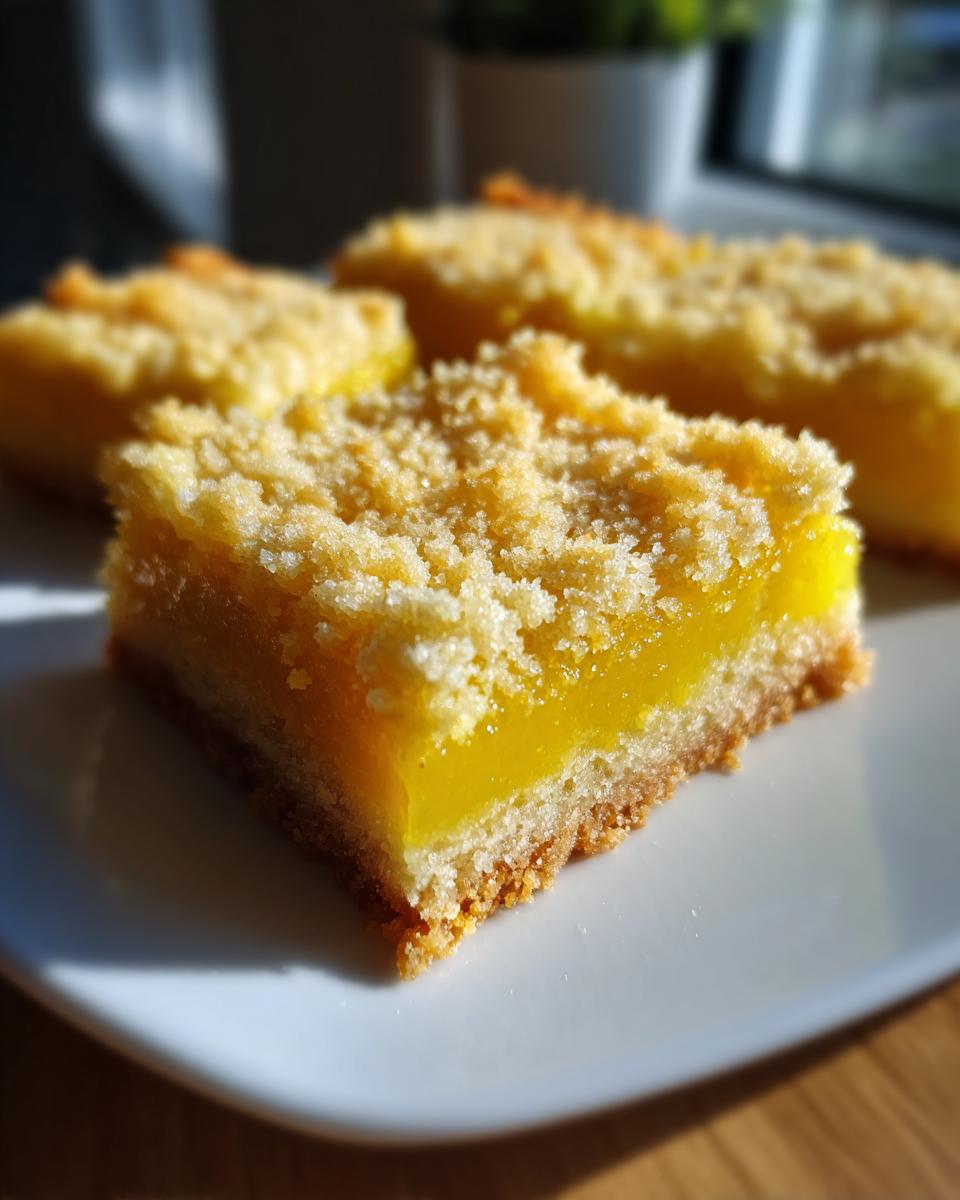
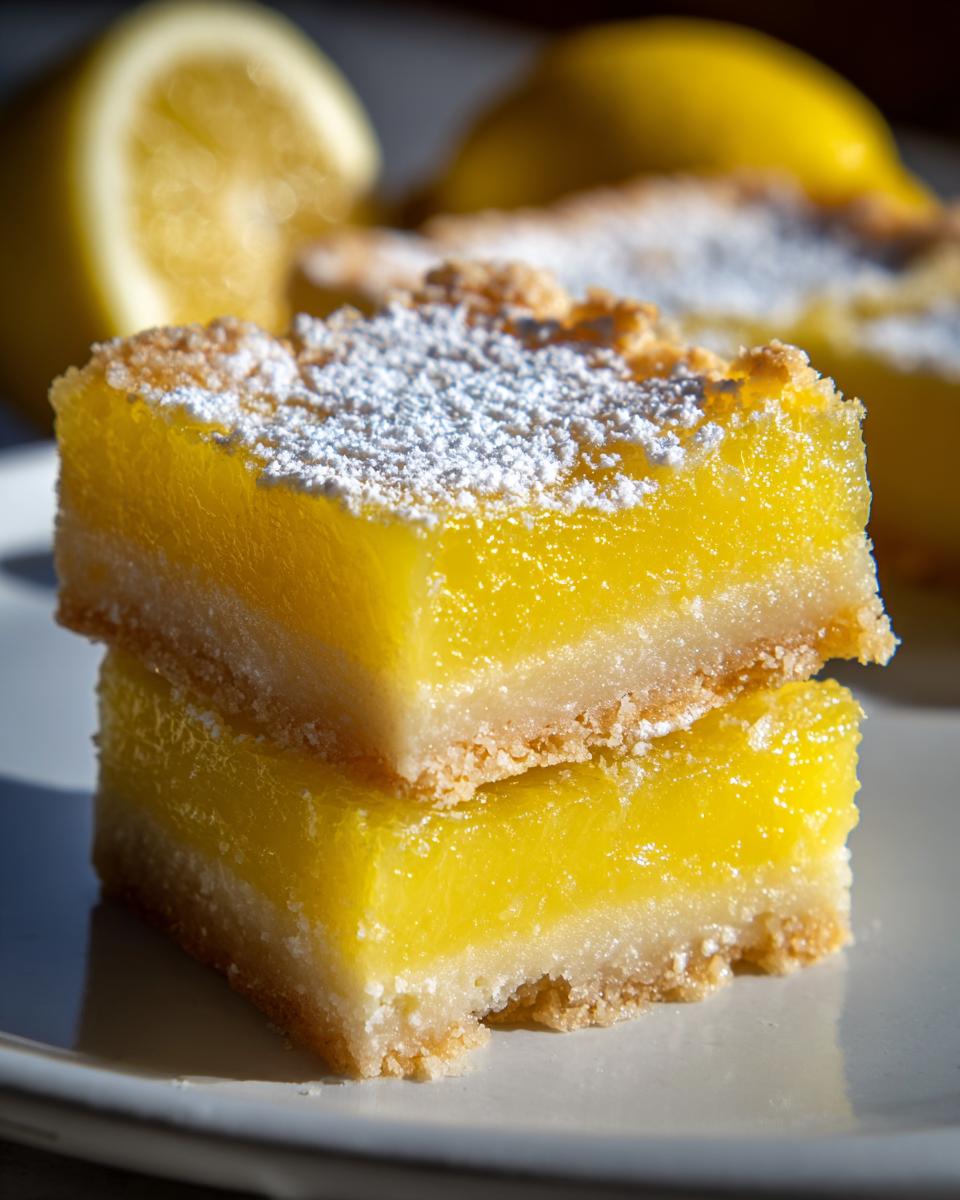
Oh, lemon bars! If you’re anything like me, just the thought of those sunny, vibrant squares makes your day a little brighter. These are more than just a dessert; they’re little bursts of pure joy that fit perfectly into any list of Dessert Recipes With Lemon Bars and Bright Citrus Flavor. My mom used to make these for every potluck and school bake sale, and honestly, they always disappeared first! The magic is in that perfect contrast – that super buttery, tender shortbread crust hugging a tangy, sweet lemon filling. It’s simple, it’s spectacular, and trust me, once you try this recipe, you’ll understand why they’re such a classic.
Why You’ll Love These Dessert Recipes With Lemon Bars and Bright Citrus Flavor
Honestly, why wouldn’t you want to whip up a batch of these beauties? They’re just… perfect!
- Super Easy to Make: Seriously, the crust is just stirring stuff together, and the filling is a simple whisk and pour. No fancy techniques needed!
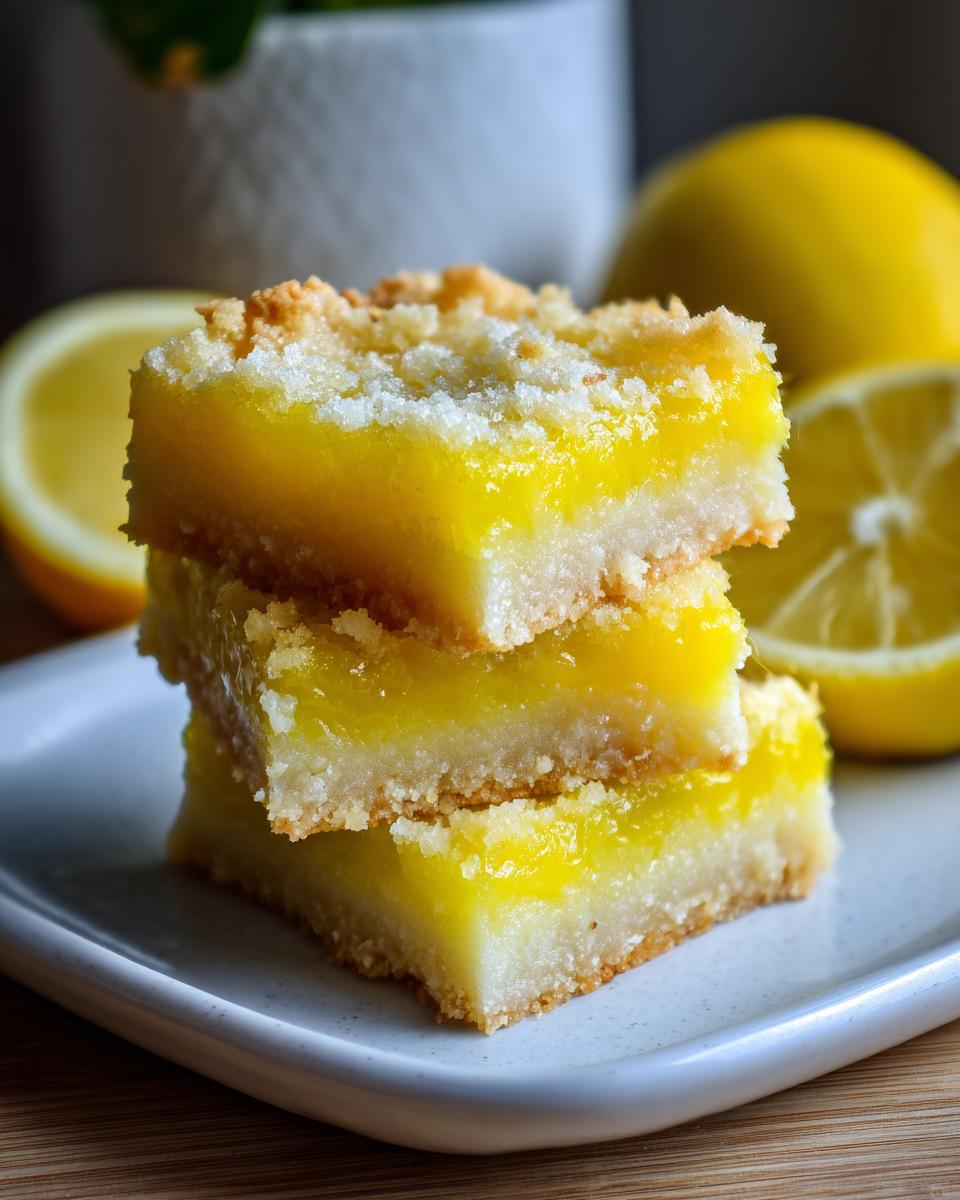
- That Zingy Flavor: The bright, tangy lemon cuts through the sweetness like a dream. It’s sunshine in every bite!
- Perfectly Balanced: We’re talking the ideal sweet-to-tart ratio here. It’s not too sour, not too sweet – just right.
- Crowd Pleaser: Whether it’s a picnic, a holiday, or just Tuesday, everyone goes nuts for these. They vanish fast!
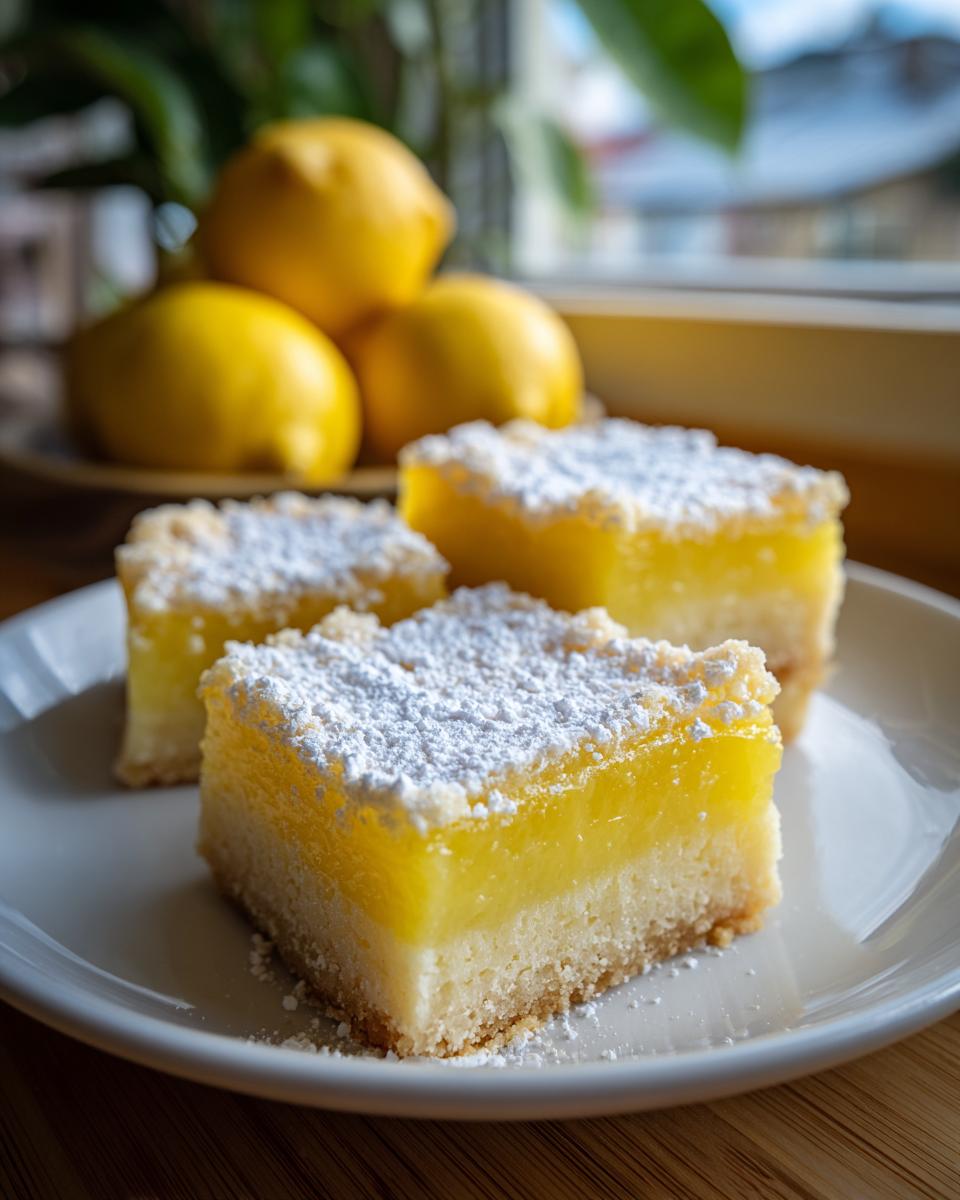
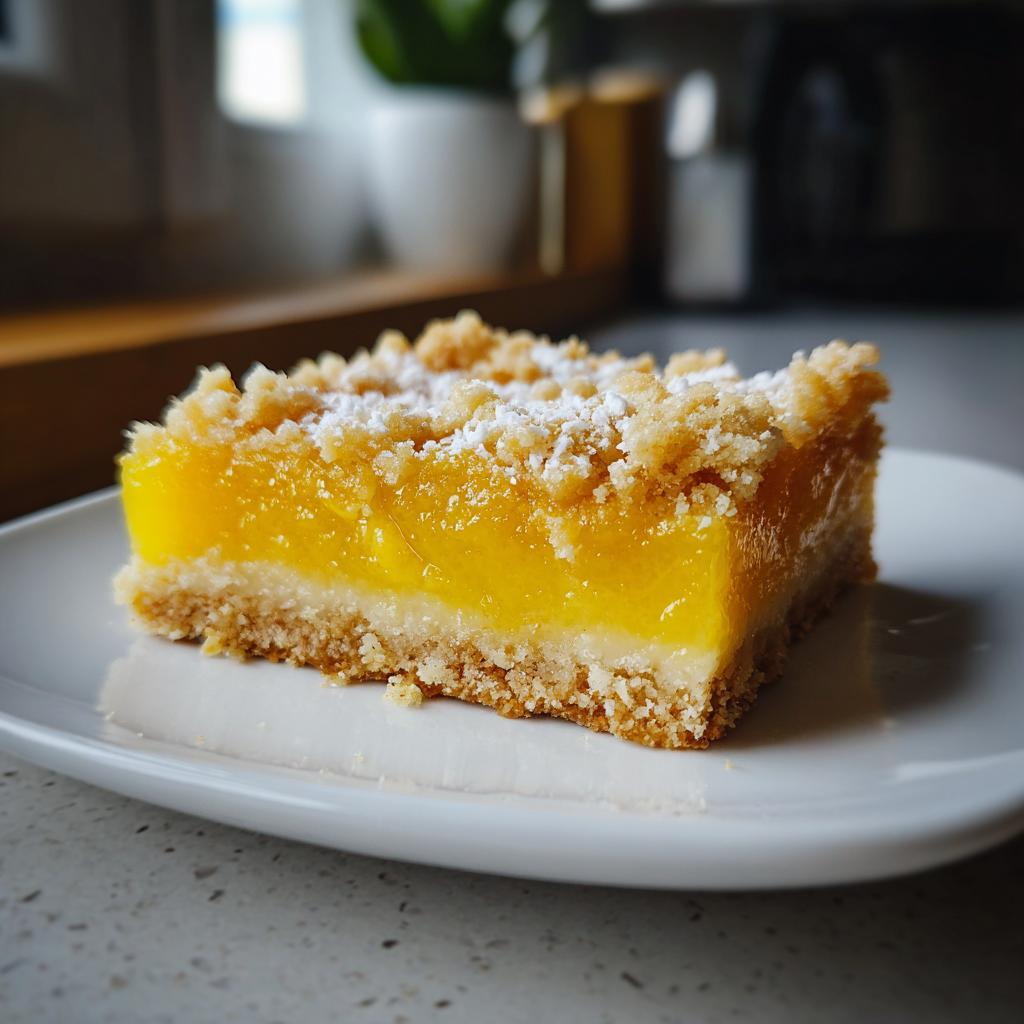
- So Versatile: Serve them plain, dust with powdered sugar, or even add a tiny dollop of whipped cream. They’re always a hit.
Ingredients for Perfectly Bright Citrus Flavor Lemon Bars
Okay, so getting that amazing sweet-and-tangy perfection starts with the right stuff. Don’t skimp here, because good ingredients really do make a difference! You know, I think about how much goodness goes into simple things, like using good butter or fresh lemons, kind of like how important quality cottage cheese can be in other recipes. Anyway, back to the bars!
For the Crust:
- 1 cup unsalted butter, melted (Make sure it’s melted, otherwise the crust won’t come together right!)
- 2 cups all-purpose flour
- 1/2 cup granulated sugar
For the Filling:
- 4 large eggs (Room temperature is best, they mix better!)
- 1 1/2 cups granulated sugar
- 1/3 cup all-purpose flour
- 1/2 cup fresh lemon juice (From about 2-3 juicy lemons – skip the bottled stuff if you can!)
- 1 tablespoon lemon zest (This is where SO much flavor comes from! Zest about 2 lemons.)
Equipment Needed for Your Lemon Bars
Alright, you don’t need a whole bakery in your kitchen for these, but a few key players will make your life so much easier. Grab your trusty 9×13 inch baking pan – it’s the perfect size for getting those nice, substantial bars. Make sure you also have a couple of decent mixing bowls, a good ol’ reliable whisk for getting that filling perfectly smooth, and a handy spatula to help spread everything out just right. That’s pretty much it!
How to Make Lemon Bars with Bright Citrus Flavor: Step-by-Step Instructions
Alright, let’s get baking! Making these lemon bars is honestly so straightforward, you’ll wonder why you ever bought them. It all starts with getting your oven warmed up and your pan ready. This is where the magic begins, and trust me, it’s going to smell heavenly in your kitchen!
First things first, preheat your oven to 350°F (175°C). While it’s heating up, grab your 9×13 inch baking pan. I like to line mine with parchment paper, leaving a little bit of overhang on the sides. This makes it a breeze to lift the whole thing out later – no sticking, no drama!
Now for the crust! In a medium bowl, just stir together the melted butter, 2 cups of flour, and that 1/2 cup of sugar. Give it a good mix until it all comes together. Press this crumbly mixture evenly into the bottom of your prepared pan. Think of it like pressing down cookie dough! This will bake up into that delicious, buttery base.
Pop that crust into the oven for about 15-20 minutes, or until it looks a little golden brown around the edges. While it’s baking, you can get started on that incredibly yummy lemon filling. Once the crust is done, pull it out and let it cool just a tiny bit while you whip up the filling. It doesn’t need to be completely cold, just not piping hot.
For the filling, grab a separate, larger bowl. Whisk together the 4 large eggs, the 1 1/2 cups of sugar, and the 1/3 cup of flour until it’s all smooth and lovely. You want to make sure there aren’t any flour clumps! Then, stir in that glorious fresh lemon juice and lemon zest. Oh, the smell alone! Pour this bright yellow mixture evenly over your pre-baked crust. It’ll look a bit thin, but don’t worry, that’s exactly what you want. You can see how it’s done over at Bon Appétit, but ours has that extra home-baked charm!
Now, back into the oven it goes! Bake for another 20-25 minutes. You’re looking for the filling to be set – it shouldn’t jiggle wildly when you gently nudge the pan. The center should feel firm to the touch, not gooey. If you want to throw in a little extra brightness for a dish, think about serving these alongside something like this lemony orzo salad!
This next step is crucial for those perfect bars: let them cool completely in the pan on a wire rack. Seriously, patience is a virtue here! Once they’re totally cool, use those parchment paper overhangs to lift the whole slab out. Then, just cut them into squares. A little dusting of powdered sugar is always pretty, but they’re divine as is! It’s a small step that makes all the difference, much like how careful preparation ensures delicious lemon garlic drumsticks!
Tips for the Best Lemon Bars with Bright Citrus Flavor
Okay, so you want *perfect* lemon bars, right? The kind that make people close their eyes and sigh with happiness? Here are a few little secrets I’ve picked up over the years that really make these sing. First off, use the freshest lemons you can find. Seriously, that bottled stuff just doesn’t have the same punch. The zest is your best friend here too – it’s where so much of that amazing aromatic flavor lives. Don’t shy away from it!
Also, a common mistake is cutting them too soon. I know, it’s tempting to dig in, but letting them cool in the pan completely, and then chilling them for a bit, is key to getting those clean cuts and that perfect set. It makes them easier to handle and just… better. Think of it like letting a good loaf of bread rest before slicing. You want that structure! If you’re a fan of lemon flavors, you might also adore my easy lemon blueberry pound cake – totally different vibe, but that bright citrus is there!
And a little secret from my own kitchen: if your lemons aren’t super juicy, give them a firm roll on the counter first. It helps break down those little membranes inside and gets you more juice. It’s a small thing, but it makes a big difference when you’re aiming for that intensely bright citrus flavor. You can find tons of other great tips, like for these other lemon bars, but these are the ones that work for *my* recipe!
Ingredient Notes and Substitutions for Lemon Bars
Sometimes you need a little tweak, right? For the crust, if you’re out of all-purpose flour, you could probably get away with a good all-purpose gluten-free blend. Just make sure it has xanthan gum in it, or your crust might be a bit crumbly. For the lemon juice, fresh is *always* best here – it makes such a difference in flavor. Bottled lemon juice doesn’t have that bright, zesty zing. If you absolutely *must* substitute, use a high-quality bottled one, but be prepared for a slightly less vibrant taste.
Frequently Asked Questions About Lemon Bars
Can I use bottled lemon juice for these lemon bars?
While fresh lemon juice is always my top recommendation for that bright, vibrant citrus flavor, you *can* use bottled lemon juice in a pinch. Just know that the taste won’t be quite as punchy and fresh. If you do use bottled, try to find one that’s specifically made from 100% lemon juice, not a concentrate with added stuff. It just won’t have that same zing that makes these bars so special!
My lemon bars are jiggly in the center. Did I underbake them?
A little bit of jiggle in the center is okay when they’re hot out of the oven, but they should be mostly set. If it’s still really liquidy like pudding, they probably need a few more minutes in the oven. The filling will continue to set as it cools, but if it’s super wet, it might mean they needed just a tad longer to bake. Don’t worry, though; they’re usually still delicious even if they’re a little softer!
How do I get those super clean cuts on my lemon bars?
Ah, the clean cut dilemma! It’s all about patience and temperature. Make sure your bars are completely cooled in the pan, and then chill them in the refrigerator for at least 30 minutes before cutting. Use a sharp knife, and wipe it clean with a damp cloth between each cut. It really helps them slice through cleanly without smearing that lovely filling. It’s a little trick that makes a big difference, just like knowing how to make a perfect lemon cream chia pudding!
Can I make lemon bars ahead of time?
Yes, absolutely! These lemon bars are actually *better* made a little ahead of time. Chilling them helps them firm up perfectly. I usually make them the day before I plan to serve them. Just make sure they’re completely cooled, cut, and stored in an airtight container in the fridge. They’ll stay wonderfully fresh and that lemon flavor really has time to meld.
Storing and Reheating Your Lemon Bars
Good news! These sunny lemon bars are fantastic for making ahead. Once they’re completely cooled and cut, just pop them into an airtight container. I like to keep them in the fridge, where they’ll stay delightfully fresh for about 3 days. They don’t really need reheating – they’re best served chilled anyway!
Nutritional Information (Estimated)
Now, I’m not a nutritionist or anything, but I like to give you a little heads-up on what you’re digging into! These estimates are just a guide, of course. They can change depending on the specific brands you use for butter, flour, or even how juicy your lemons are. Think of it as a rough idea, like knowing a good cottage cheese pizza crust needs certain things without exact measurements. For these sunny bars, expect around 300-350 calories per square, with a good dose of carbs and some fat from that glorious crust and filling.
Lemon Bars
Ingredients
Equipment
Method
- Preheat your oven to 350°F (175°C). Line a 9×13 inch baking pan with parchment paper, leaving an overhang on the sides.
- In a medium bowl, combine the melted butter, 2 cups of flour, and 1/2 cup of sugar. Mix until well combined and press this mixture evenly into the bottom of the prepared baking pan to form the crust.
- Bake the crust for 15-20 minutes, or until lightly golden brown. Remove from the oven and let it cool slightly while you prepare the filling.
- In a separate large bowl, whisk together the eggs, 1 1/2 cups of sugar, and 1/3 cup of flour until smooth.
- Stir in the fresh lemon juice and lemon zest. Pour the filling evenly over the pre-baked crust.
- Bake for another 20-25 minutes, or until the filling is set and no longer jiggles. The center should be firm.
- Let the lemon bars cool completely in the pan on a wire rack. Once cooled, use the parchment paper overhang to lift the bars out of the pan. Cut into squares.
- For best results, chill the bars in the refrigerator for at least 30 minutes before serving. Dust with powdered sugar if desired.