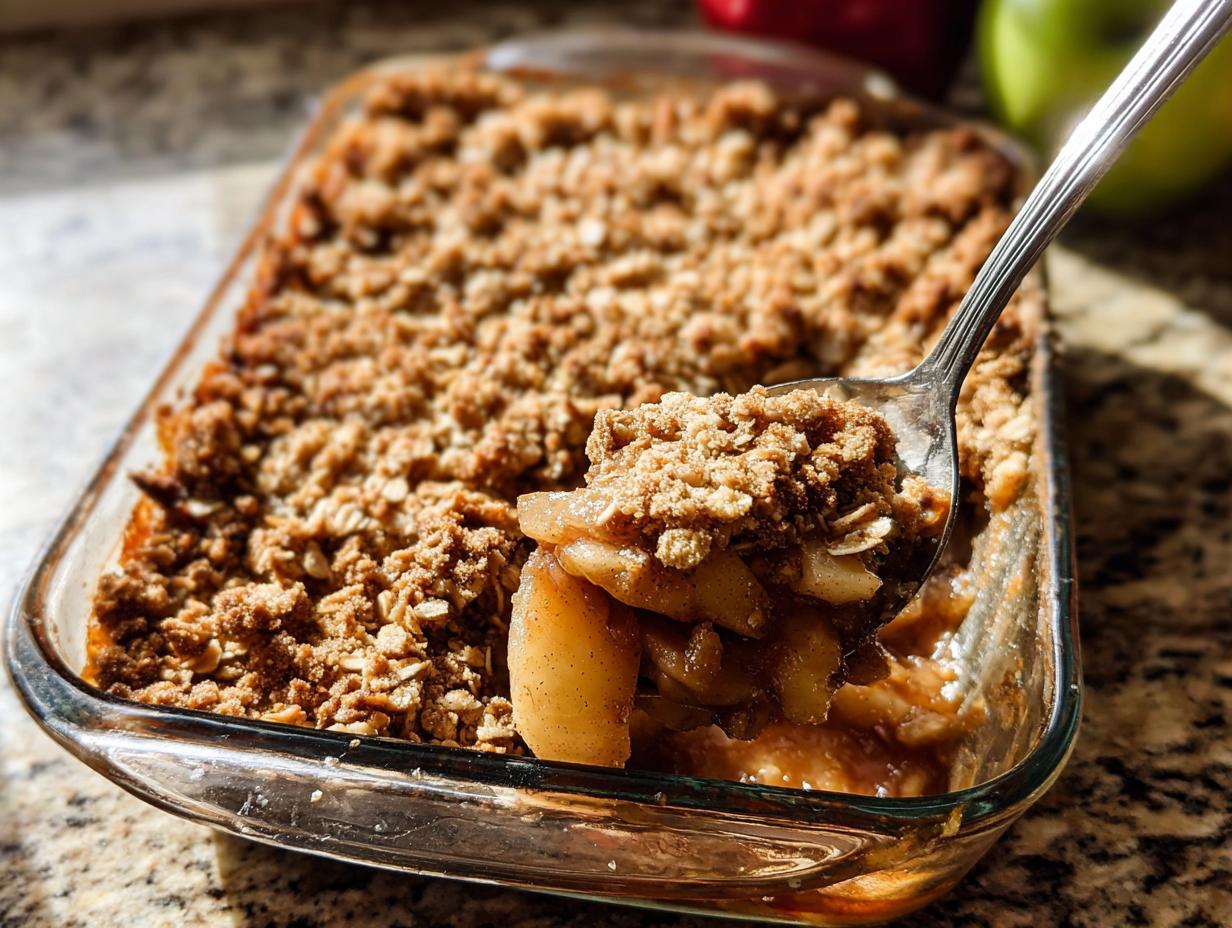
Seriously, is there anything better than that first cool evening that just screams for something warm, sweet, and bubbling right out of the oven? For me, that smell—cinnamon mixed with baked apples—is the true scent of autumn comfort. It takes me right back to my childhood kitchen where my mother perfected her apple crisp.
But life throws curveballs, right? When my son got that celiac diagnosis, I thought that beloved dessert was gone forever. I actually spent one rainy Saturday experimenting with almond flour and gluten-free oats, trying desperately to capture that magic. When I finally took a bite of the first successful batch—our Classic Apple Crisp with Oat Crumble—wow, it was like wrapping up a piece of my past to share with him.
I’m Marco Santos, by the way, and as a Gluten-Free Chef here at Gluten Free Kitchen Stories, I promise this recipe is foolproof. It’s easy, it’s deeply comforting, and it honors every bit of tradition we cherished. You don’t need any fancy tricks, just good ingredients and a little bit of love. You’re going to adore this simple, perfect apple crisp recipe.
Why This Classic Apple Crisp with Oat Crumble is a Must-Make
I know you’re busy, and that’s why I developed this recipe to be incredibly straightforward while still tasting like you spent hours fussing over it. It’s the ultimate comfort food experience.
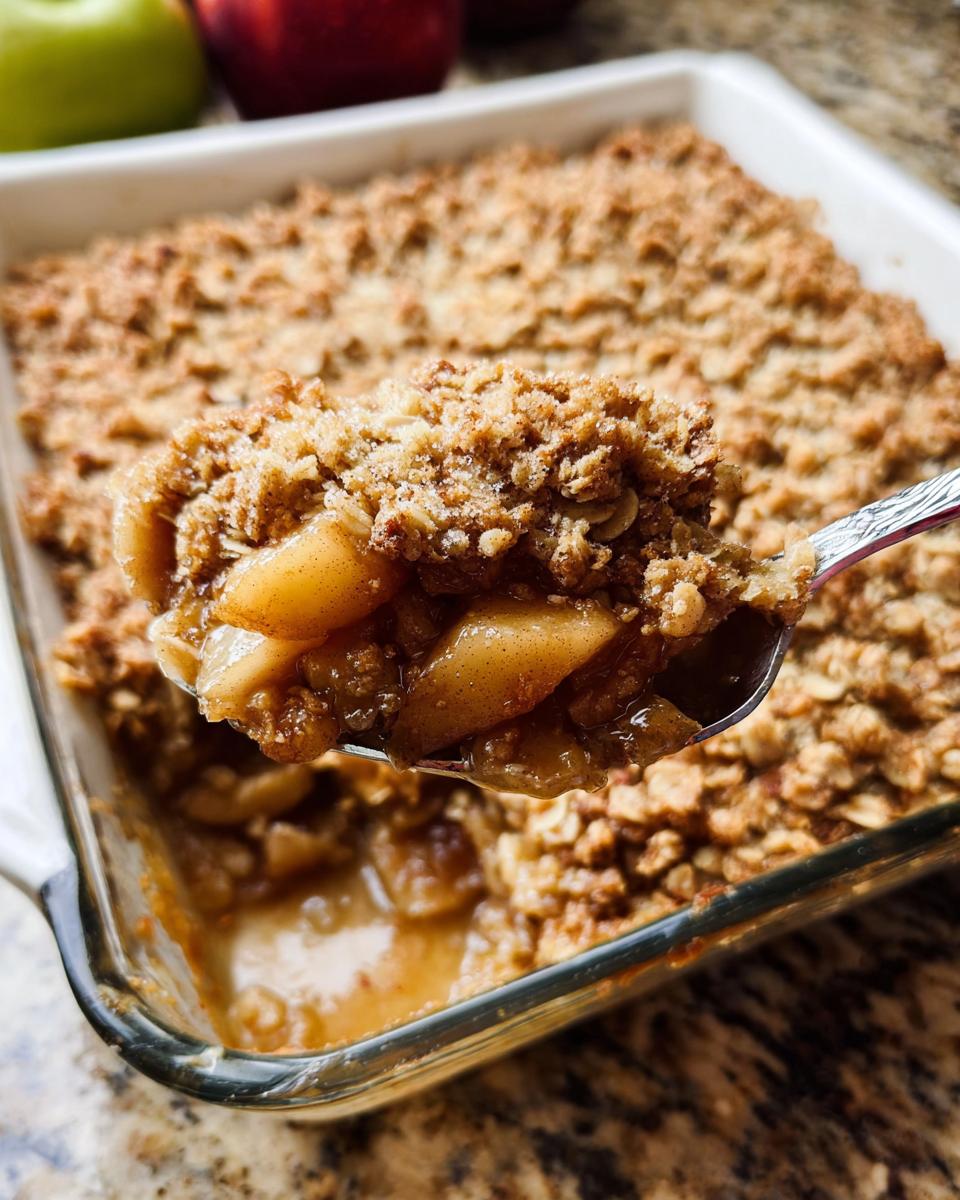
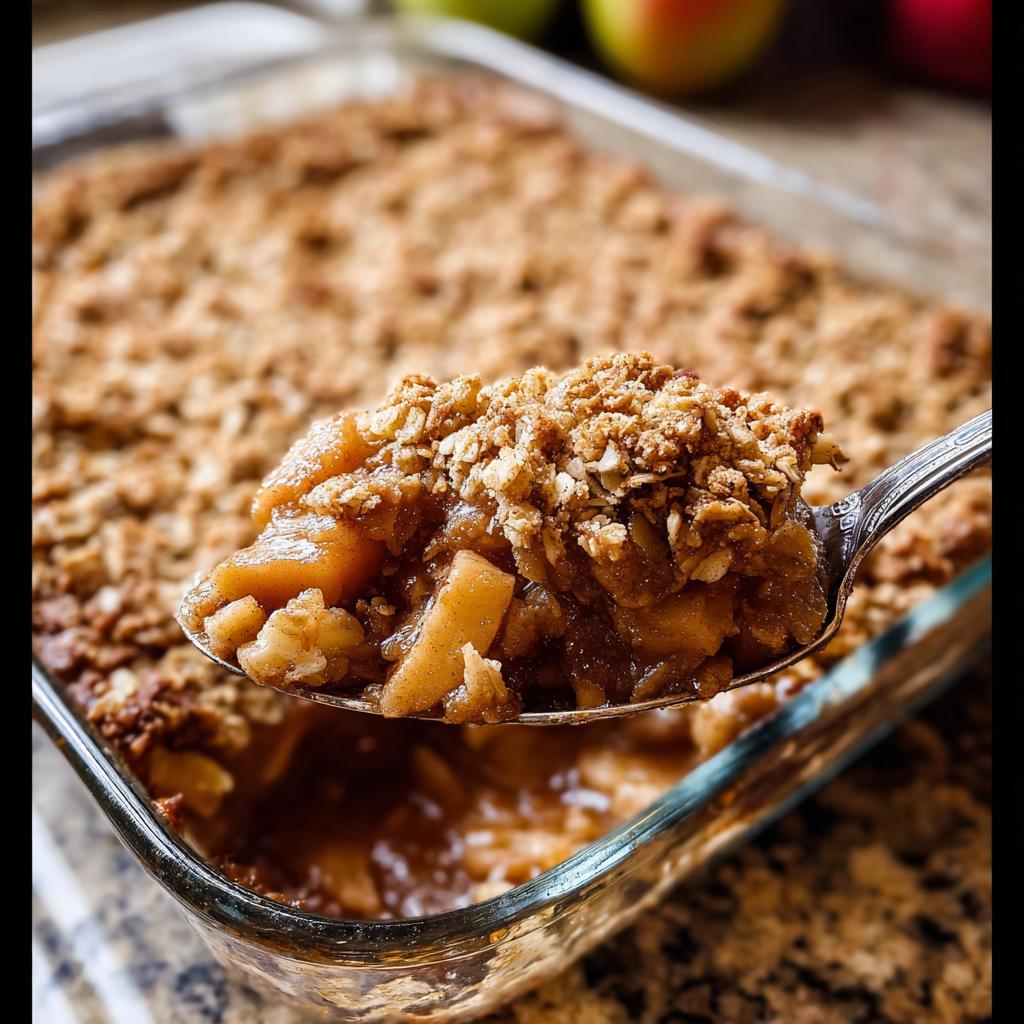
- It achieves that perfect contrast: sweet, tender apples against a crunchy, buttery topping.
- It’s a fantastic example of a warm fruit desserts that feels both rustic and special.
- It requires minimal specialized equipment, meaning less cleanup later!
Quick Preparation for the Classic Apple Crisp with Oat Crumble
You literally only need 20 minutes of active time to get this into the oven. We aren’t doing complicated layering or pre-cooking apples. You just mix the filling, mix the topping, throw it together, and bake. See? Totally manageable, even on a Tuesday night.
Perfect Pairings for Warm Fruit Desserts
Listen, warm apple crisp demands vanilla ice cream. It’s non-negotiable, honestly! The cold, melting cream against that hot, spiced fruit and crunchy topping? That’s the definition of dessert bliss. A drizzle of salted caramel sauce—another of my favorite vanilla ice cream pairings—takes it over the top, but plain vanilla is always the classic choice.
Gathering Ingredients for Your Classic Apple Crisp with Oat Crumble
When it comes to this apple crisp recipe, the quality of your ingredients really shines through, especially since there are so few components. Getting everything ready upfront makes that 20-minute prep time fly by! I always shop for my ingredients before I even start thinking about preheating the oven. You can find my full master list of favorite kitchen staples over on my Kitchen Essentials page, but here’s what you need for this cozy dessert.
For the Spiced Apple Filling
The apple choice is key! I highly recommend a blend of Rome; Granny Smith (for that tart bite) and Honeycrisp (for sweetness). You need 8 medium apples, peeled and cut into nice, chunky 1-inch pieces—don’t chop them too small! To that, we add 1/2 cup of packed brown sugar, 1/4 cup of all-purpose flour to thicken the juices, 1 teaspoon of ground cinnamon, 1/2 teaspoon of nutmeg, a pinch of salt for balance, and 1 teaspoon of pure vanilla extract. That combination smells like pure heaven!
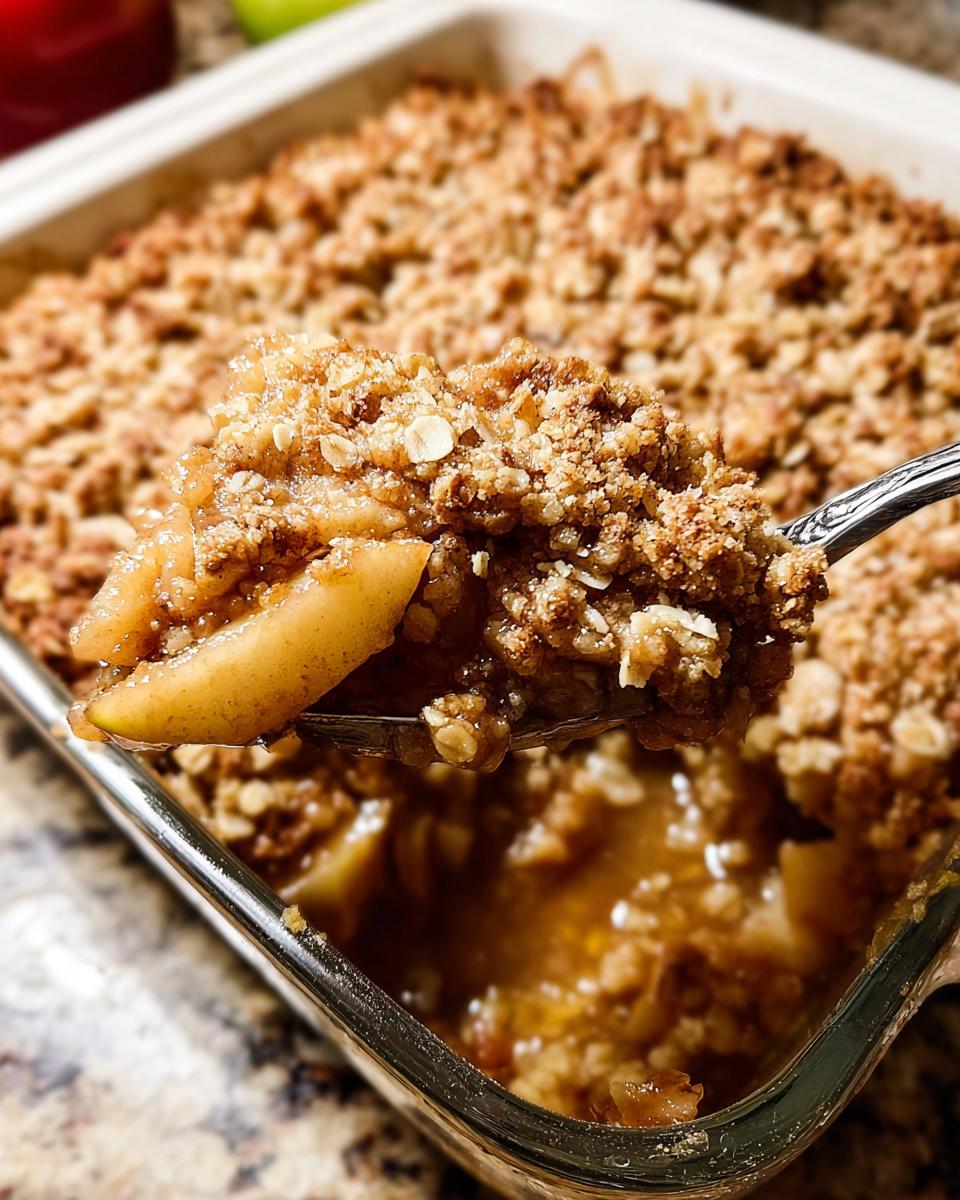
Creating the Perfect Oat Crumble Topping
This is where the texture comes from! For the oat crumble topping, you’ll whisk together 3/4 cup of all-purpose flour, 3/4 cup of packed brown sugar, and 1 teaspoon of cinnamon. The most critical part here is using exactly 1/2 cup of unsalted butter that is *cold and cubed*. Cut that butter in until the mixture is super crumbly. Lastly, stir in 1 full cup of those nice, hearty old-fashioned whole rolled oats. That contrast of the oats with the soft apples is what makes this the best crisp!
Essential Equipment for Making the Classic Apple Crisp with Oat Crumble
Before you even start peeling those apples, make sure your kitchen is set up for success! Nothing throws off my groove faster than realizing I don’t have the right bowl size mid-mix. Since this is such a straightforward bake, we don’t need a million fancy gadgets, but these tools make the process so much smoother. Trust me, having everything ready means you can focus only on enjoying the process.
Here are the must-haves:
- You absolutely need a sturdy roasting dish. I use a 9×13-inch baking pan for big family gatherings, but a 3.5-quart dish works wonderfully too if you’re making a slightly smaller batch.
- Grab your largest bowl for tossing the apples with the sugar and spices—you want room to move those chunks around without sending cinnamon flying everywhere!
- A medium bowl is perfect for whisking together your dry topping ingredients before you cut in the butter.
- For getting that signature sandy texture on the oat crumble topping, you’ll need a pastry cutter. If you don’t have one, honestly, two forks work just fine. Just be patient!
- Finally, you’ll want a wire rack ready to go. That’s crucial for letting the dessert cool just enough so the fruit juices settle and don’t run all over your counter when you serve it.
Step-by-Step Instructions for Your apple crisp recipe
Okay, let’s get baking! This is where the magic really happens, and I promise, if you follow these steps—especially the quick mix for the filling—you’ll have the best apple crisp recipe ready in no time. Making this always transports me back to that first day I recreated it for my son. It felt like success, and it tastes like home.
Preparing the Apples and Oven
First things first: get that oven warmed up to 350°F (177°C). While it’s heating, quickly grease up whatever 9×13-inch baking pan you’ve chosen—a little butter or spray works perfectly. Now, take all those lovely spiced apple chunks—the ones you mixed in that big bowl—and spread them out in an even layer across the bottom of the pan. Don’t pile them up too much in one spot!
Assembling the Oat Crumble Topping
Time for the best part! In your medium bowl, whisk the flour, brown sugar, and cinnamon for the topping. Now, here’s the technique: add those cold, cubed pieces of butter. You need to use your hands or that pastry cutter and work that butter in until the entire mixture looks like coarse meal or very small peas. Don’t overwork it! Once it’s crumbly, give it a final stir to incorporate the oats. Sprinkle this heavenly mixture right over the apples, covering them completely. If you want to see another great recipe idea, check out what my friend Sally does with her apple crisp!
Baking and Resting the Classic Apple Crisp with Oat Crumble
Slide that beauty into the preheated oven and let it hang out for about 45 minutes. You’ll know it’s done when the topping is deep golden brown and you see those sweet fruit juices bubbling vigorously around the edges. It looks incredible when it’s done!
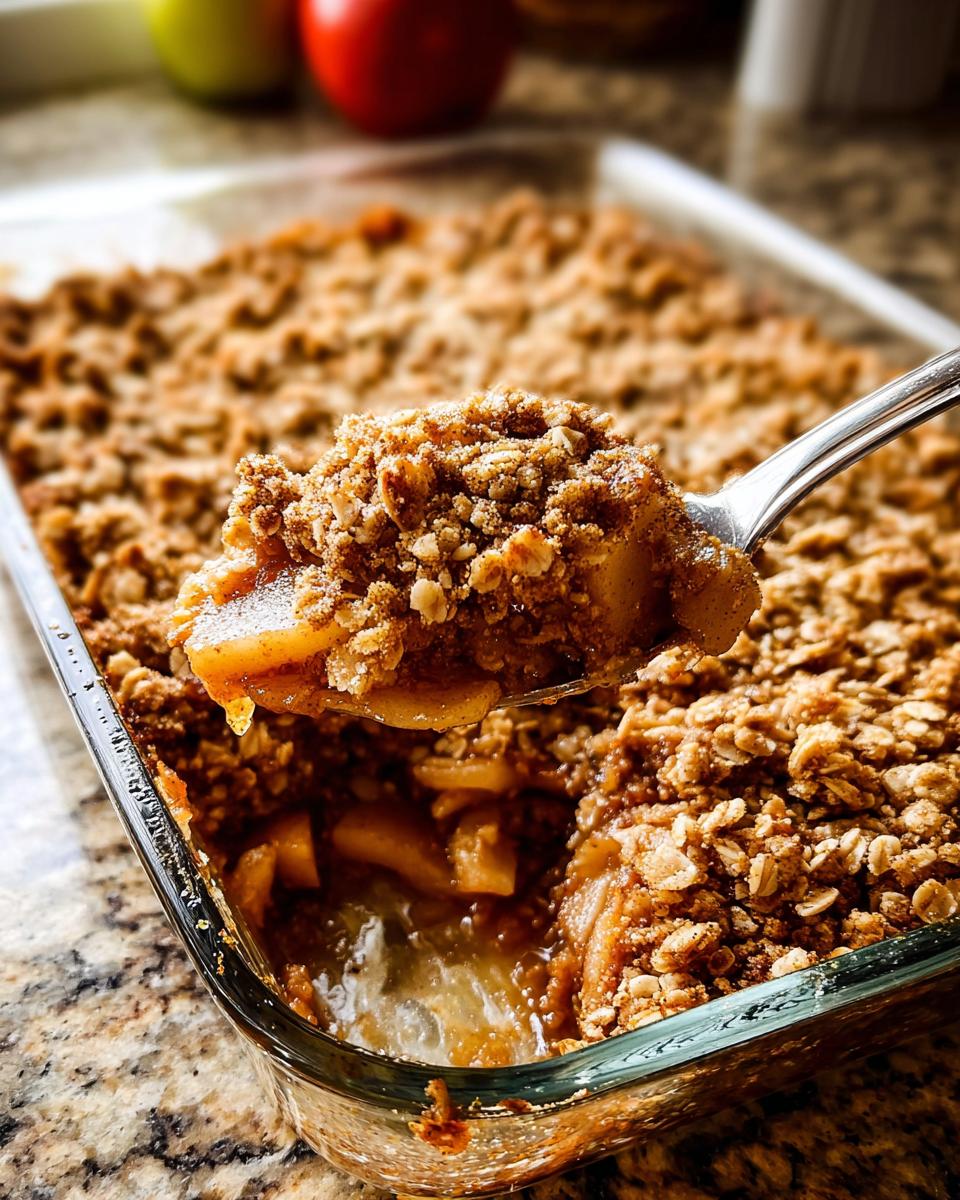 But—and listen to me here—you must pull it out and let it rest on a wire rack for at least 5 minutes. This short rest lets those hot juices settle down a tiny bit so your first scoop isn’t a soupy mess. Then? Dig in!
Expert Tips for the Best Classic Apple Crisp with Oat Crumble
Even with an easy recipe like this, a couple of tiny tricks from my kitchen can elevate your apple crisp recipe from good to absolutely unforgettable. After all this testing to create the perfect texture, I wanted to share the little secrets that keep my crisp reliably amazing every single time.
Apple Selection and Prep for Optimal Flavor
Don’t just grab the bag of apples at the front of the produce section! For a crisp, you need apples that hold their shape. Granny Smith is my workhorse because it’s tart and firm, but I almost always mix it with something sweeter, like Honeycrisp or Fuji. If you use all soft apples, you end up with apple sauce, not a crisp! Cut them uniformly, too, about 1-inch chunks, so they all cook to tenderness at the same time.
Troubleshooting Common Issues with the Oat Crumble Topping
If your topping looks too wet when you’re mixing it, that usually means your butter wasn’t cold enough, or you accidentally used melted butter. No sweat! Just pop the whole bowl into the freezer for about 10 minutes. That chill will firm up the butter and let you get that sandy texture back. If your topping seems dry and crumbly before you even put it on the apples, just add another tiny drizzle—maybe half a teaspoon—of melted butter and toss quickly. It should clump slightly when you squeeze a bit in your palm. That’s how you guarantee fantastic oat crumble topping.
Storage and Reheating Instructions for Your apple crisp recipe
Okay, let’s talk about the leftovers, though honestly, with how good this apple crisp recipe is, there might not be many! The good news is that this dessert travels beautifully and keeps well. Since we are dealing with warm fruit, we need to be smart about how we store it so that the fruit doesn’t get too mushy overnight.
You need to cover the dish with plastic wrap or foil, but make sure you press the plastic directly onto the surface of the topping if you are worried about moisture collection. If you have a separate batch of the sugary oat crumble topping mixture left over, keep that in a separate small airtight container in the fridge—that way you can make a fresh, crispy topping for seconds!
The crisp will last beautifully in the refrigerator for up to five days. I always keep mine right in the 9×13 pan it was baked in. It’s great cold, but I know most of us prefer it warm, right?
To reheat: don’t even bother trying the microwave unless you love soft topping! For the best texture, you want to use the oven. Pop a serving or two onto a small oven-safe dish (or reheat the whole pan if you’re feeling ambitious) and bake it uncovered at 325°F (160°C) for about 10 to 15 minutes. That low heat brings the apples back to bubbling perfection while slowly crisping up that topping again. If it seems a little dry after reheating, just add a tiny splash of water under one side of the apples before popping it in the oven. Serve it up with that scoop of vanilla ice cream—perfection!
Frequently Asked Questions About Classic Apple Crisp with Oat Crumble
I get so many wonderful messages asking clarification on different parts of this apple crisp recipe. It makes me so happy to hear how many of you are baking this for your families! Here are the top questions I usually get about getting the perfect baked fruit dessert.
Can I make the oat crumble topping ahead of time?
Oh, absolutely! This is one of my favorite time-saving hacks, especially when I know I need to get dessert on the table fast for company. You can prepare the entire oat crumble topping, whisking the dry ingredients and cutting in the butter, and keep it in an airtight container in the fridge for up to three days. Just be sure to keep it cold! When you are ready to bake, don’t let it sit on the counter too long; sprinkle it right over the apples while it’s still cool.
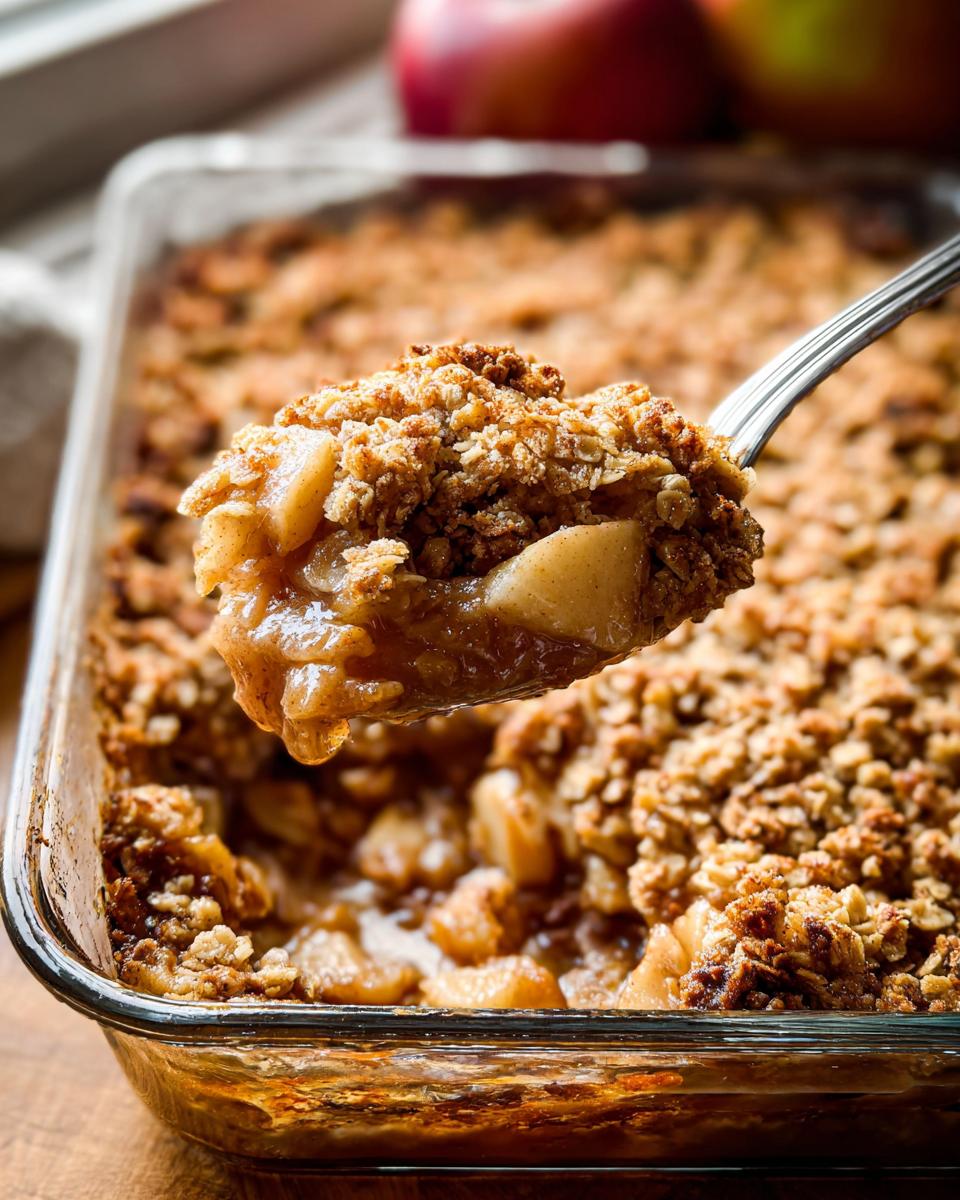
What is the best way to serve this warm fruit dessert?
The absolute best way to serve this warm fruit desserts is straight from the oven after that mandatory short rest period! The contrast between the hot, cinnamon-spiced apples and the crispy, buttery topping is unbeatable. Naturally, I insist on serving it with a big, slightly melting scoop of vanilla ice cream. If you have salted caramel sauce on hand, a little drizzle over the ice cream just seals the deal. It’s heavenly!
If you have suggestions, questions, or just want to share a picture of your bake, please don’t hesitate to reach out to me through my contact page right here: My contact page. I love hearing from you!
Estimated Nutritional Information for Classic Apple Crisp with Oat Crumble
Now, I know most of us bakers aren’t whipping up a batch of this Classic Apple Crisp with Oat Crumble while counting every single calorie—we’re too busy enjoying the amazing smell! But since I’m a chef and I believe in transparency across the board, I’ve run the numbers on our standard 8-serving yield. This is comfort food, after all, so we expect a little indulgence!
Keep those numbers flexible, though! Because this recipe uses real butter and brown sugar (the good stuff!), the exact figures will shift depending on the apples you choose or if you used dark versus light brown sugar. It’s always best to treat these as close estimates rather than gospel. If you want to explore lighter adaptations, you can check out some of my healthier swaps in my general recipe guides.
Based on dividing the whole 9×13 dish into 8 generous servings, here is what you can generally expect:
- Calories: Approximately 410-440 per serving
- Total Fat: Around 18g per serving (mostly from that lovely butter in the topping!)
- Carbohydrates: Around 60g per serving
- Protein: Roughly 5g per serving
Remember, this is before you add that obligatory scoop of vanilla ice cream! If you pair it with a small scoop, you’re easily adding another 150 calories of pure happiness. Enjoy every single bite; you deserve it!
Share Your Homemade Classic Apple Crisp with Oat Crumble Experience
Now that you’ve baked up this incredible Classic Apple Crisp with Oat Crumble, I really want to hear all about it! Honestly, these recipes only get better when they move out of my kitchen and into yours. Did it smell just like autumn at your house? Did the kids ask for seconds before it even cooled down?
I put my heart into recreating that favorite from my childhood, and knowing it’s making new memories for your family—maybe becoming your new favorite apple crisp recipe—that’s why I do what I do! If you tried this recipe, please take a moment to leave a star rating right here on the recipe card below. It helps other bakers know this is worth their time.
Did you stick to the classic topping, or did you try adding pecans or walnuts to the oat crumble topping? Tell me how this dessert fits into your traditions now! Seeing your pictures and reading your stories about sharing these warm fruit desserts truly makes my day.
Classic Apple Crisp with Oat Crumble
Ingredients
Equipment
Method
- Preheat your oven to 350°F (177°C). Lightly grease a 9×13-inch baking pan. Any 3.5-4-quart baking dish works.
- Mix all of the filling ingredients together in a large bowl, then spread the mixture evenly into the prepared baking pan.
- Make the topping: Whisk the flour, brown sugar, and cinnamon together in a medium bowl. Cut in the cold butter using a pastry cutter or fork until the mixture becomes very crumbly. Stir in the oats. Sprinkle this topping evenly over the apple filling.
- Bake for 45 minutes, or until the topping is golden brown and the fruit juices are bubbling around the edges.
- Remove the crisp from the oven, place it on a wire rack, and allow it to cool for at least 5 minutes before serving. Serve warm, at room temperature, or cold, plain or with salted caramel and/or vanilla ice cream.
- Cover any leftovers and store them in the refrigerator for up to 5 days.
Notes
Tried this recipe?
Let us know how it was!
Gluten-Free Chef & Latin Cuisine Innovation Specialist
My youngest son’s celiac diagnosis at four changed everything. Suddenly, all those traditional Brazilian and Portuguese recipes from my avó needed to be completely reimagined without losing their soul.
After graduating from Johnson & Wales and working Miami’s Latin fusion scene, my son’s diagnosis became my calling. How do you make gluten-free empanadas that taste like childhood? Over eight years, I’ve developed 320+ gluten-free recipes celebrating authentic Latin flavors using cassava flour and plantain alternatives.
My gluten-free empanada recipe won “Best Appetizer” at the 2023 Miami Gluten-Free Food Festival. I ran “Sabores Sin Gluten,” a catering business serving Miami’s Latino community—quinceañeras, family gatherings, all the celebrations that matter.
Food is culture, and everyone deserves to experience the joy of sharing traditional family meals, regardless of dietary restrictions.