We all have those desserts we turn to when we need comfort, right? But sometimes those classics need a little sparkle! That’s why I am absolutely obsessed with recipes that take something familiar and give it a gorgeous, creative spin. This recipe delivers on richness, creaminess, and best of all, it’s easily made gluten-free adaptable, so everyone gets a slice of the magic.
The first time I made a proper Chocolate Marble Cheesecake was at my aunt Carol’s massive summer barbecue—I remember the afternoon sun hitting the pan and watching her use a knife tip to create those mesmerizing, dark swirls. Seeing everyone’s faces light up when they tasted that perfect blend of creamy vanilla and deep chocolate? That’s when I knew baking was about making memories, not just following steps. It’s a true showstopper, made easy for us home bakers!
Why This Chocolate Marble Cheesecake is a Showstopper Cake
Every gathering deserves something truly special, and that’s exactly what our Chocolate Marble Cheesecake brings to the table. It’s not just dessert; it’s the centerpiece! I love how simple the batter is, but the result looks like you spent hours fussing over details. This is why it’s one of my favorite homemade dessert recipes.
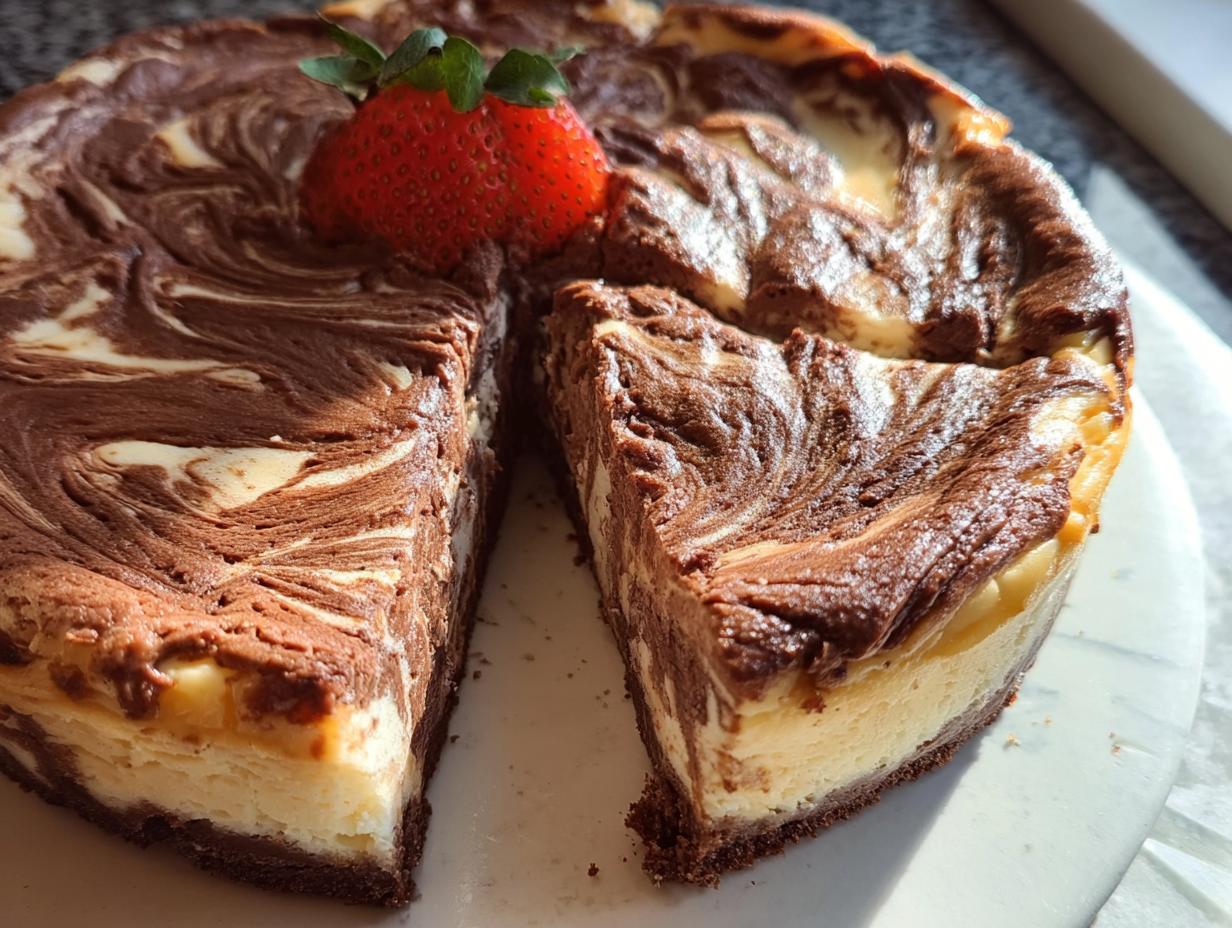
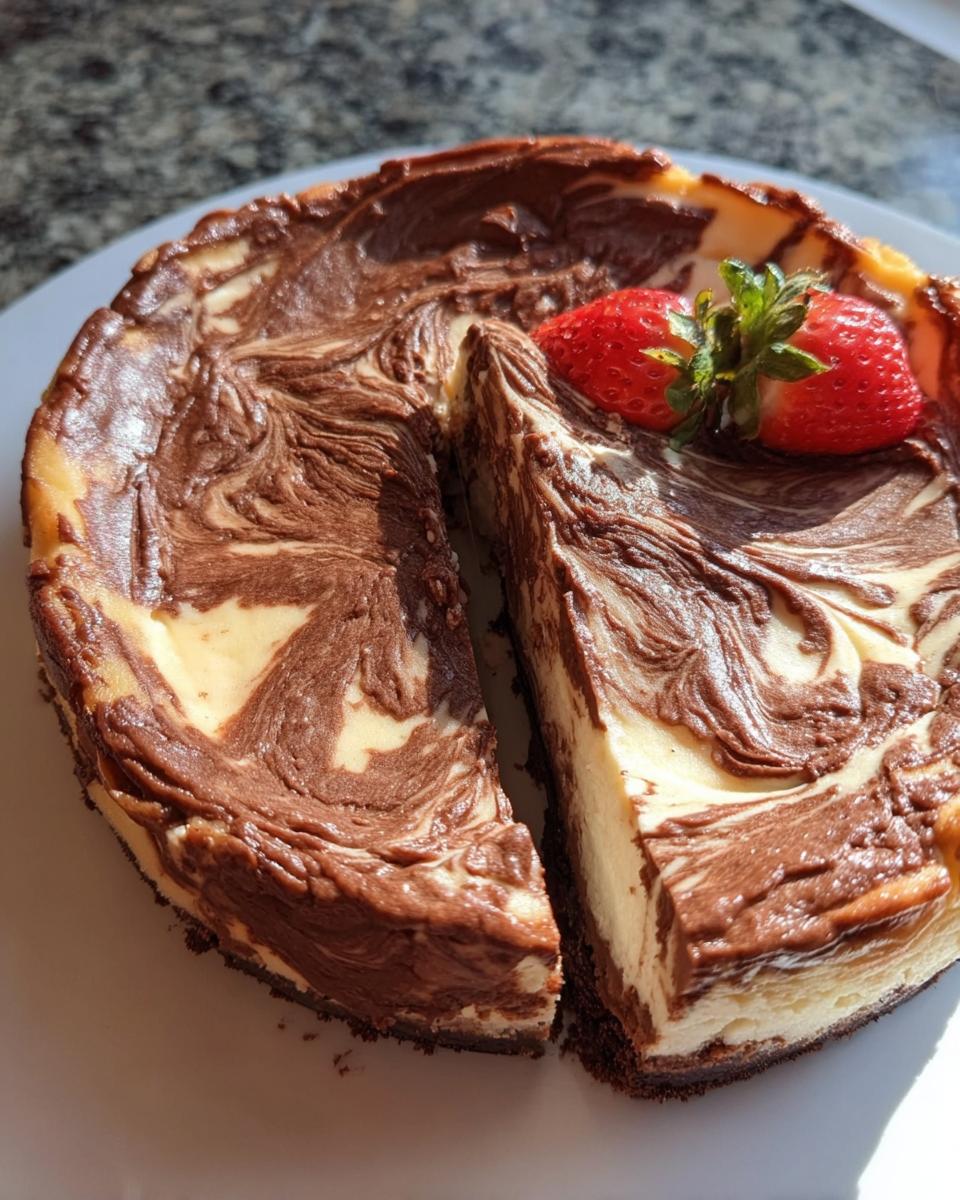
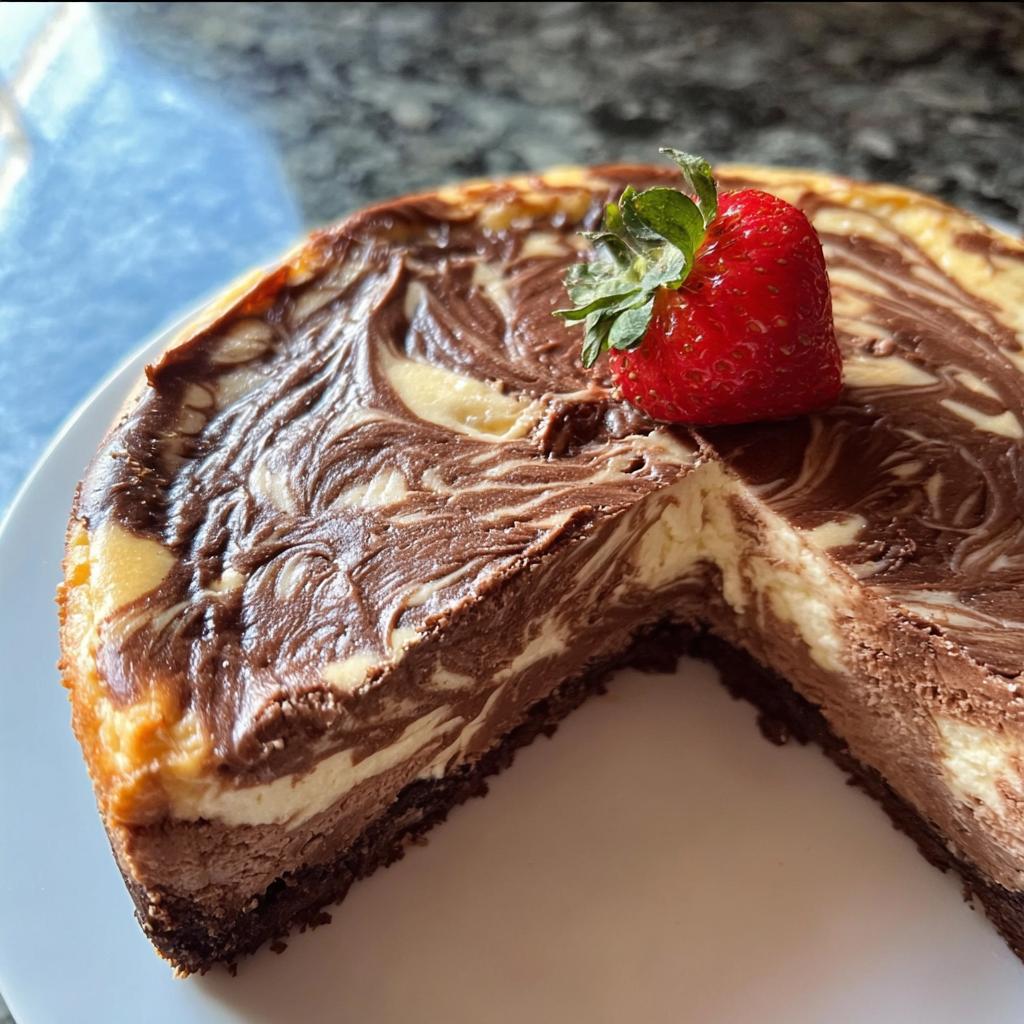
- The visual appeal of that deep chocolate swirl is just stunning.
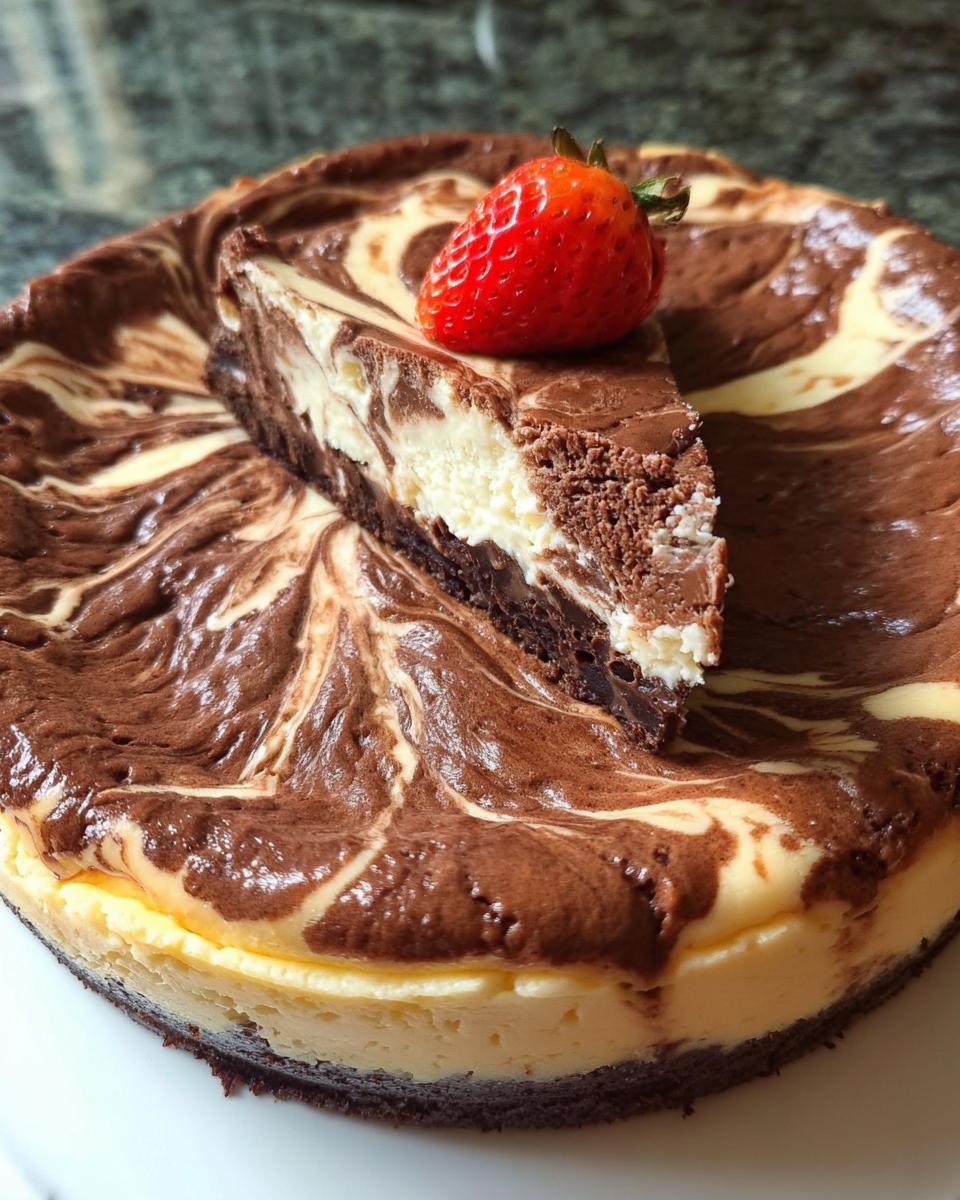
- It has that signature creamy texture that only good cheesecake delivers.
- It travels well, making it the perfect potluck favorite every time.
Gathering Ingredients for Your Chocolate Marble Cheesecake
Okay, let’s get down to business! The beauty of this recipe, along with being one of those popular marble dessert recipes, is that the ingredients are pretty straightforward. You might already have most of this pantry stock! Just make sure you read the notes so we nail the texture later on. Having everything ready makes the mixing process zip by!
For the Crust: Essential Components
Don’t skimp on the prep here; the crust sets the entire foundation for our beautiful Chocolate Marble Cheesecake. You’ll need:
- 1.5 cups crushed chocolate graham crackers
- 6 tablespoons butter, softened
For the Cheesecake Filling and Chocolate Swirl
This section is where the magic happens—so please, make sure that cream cheese is actually soft! I mean, leave it out for at least an hour. Room temperature is key for blending smoothly.
- 2 ounces semisweet chocolate, chopped (This is just for the swirl!)
- 2 packages cream cheese, softened (Make sure these are the 8 ounce size!)
- 1/2 cup white sugar
- 1/2 teaspoon vanilla extract
- 2 large eggs (Remember, one at a time later!)
Step-by-Step Instructions for the Perfect Chocolate Marble Cheesecake
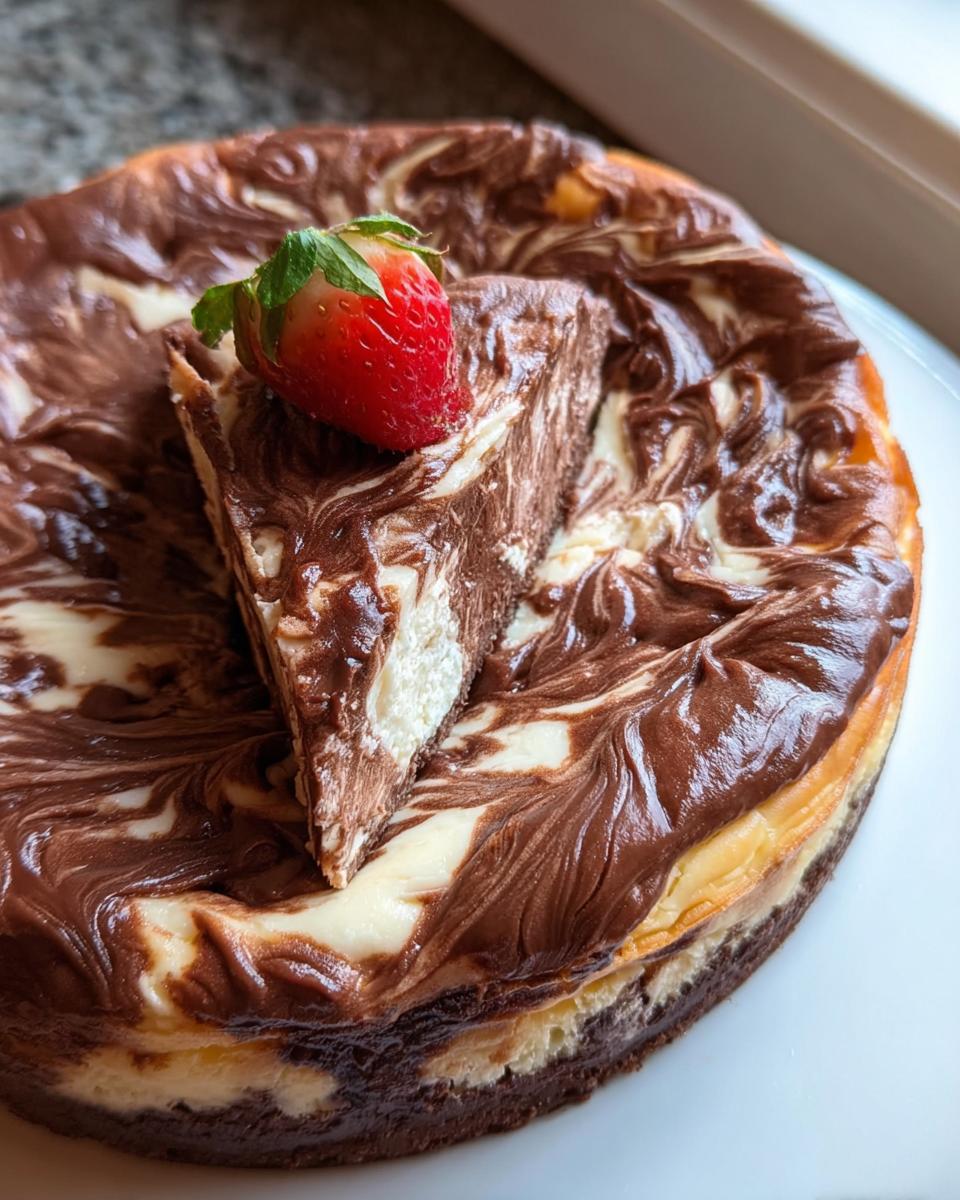
This is my favorite part! Seriously, watching that marbled pattern come together in the oven makes me so happy—it’s like abstract art you can eat! Following these steps closely, especially regarding temperatures and mixing order, will give you the creamiest Chocolate Marble Cheesecake ever. For more baking inspiration, check out my tips on gluten-free baking.
Preparing the Crust and Initial Bake
First things first, let’s get that oven happy! Preheat it to 325 degrees F (165 degrees C). While it’s warming up, mix your graham cracker crumbs and that softened butter in a bowl until it looks uniformly damp. Press that mix firmly into the bottom of your 9-inch springform pan. Now, give it a quick 10-minute bake just to set it up firmly. When it comes out, set it aside to cool off a bit—we don’t want hot crust melting our lovely filling!
Creating the Cream Cheese Base and Chocolate Component
Time to melt down that chocolate! Pop your chopped semisweet chocolate into a microwave-safe bowl and zap it until it’s completely smooth—stir it every 30 seconds so it doesn’t scorch. Next, in your large bowl, beat that room-temperature cream cheese until it’s super creamy, folding in the sugar and vanilla till there are no lumps. Add those two eggs in, but do it one at a time, mixing just enough after each addition. Don’t overmix! Now, scoop out exactly one cup of that plain batter and mix it into your smooth melted chocolate. That’s your swirl layer!
Assembling and Baking Your Chocolate Swirl Cheesecake
Spread all that lighter, plain batter right over your cooled crust. Then, randomly drop spoonfuls of the chocolate batter right on top—don’t stress about placement! Take the tip of a knife or a skewer and gently drag it through the layers to create that beautiful marble effect. You mostly want streaks, not a muddy mess, so less swirling is often more! Bake this beauty for 30 to 35 minutes. The center should look pretty much set when you gently wiggle the pan. For a deeper dive into marbled desserts, you might enjoy this marbled cheesecake recipe for comparison!

Tips for Success When Making Chocolate Marble Cheesecake
Oh, cheesecake! It’s glorious, but it can be a little dramatic sometimes, right? The biggest secret to keeping your surface smooth and crack-free isn’t just in the baking—it’s in the prep leading up to the oven. You absolutely MUST use room temperature cream cheese. I can’t stress that enough! If it’s cold, you end up beating it too long trying to smooth out lumps, and that incorporates too much air, which causes cracks later.
Another rookie mistake I see people make with their chocolate swirl cheesecake is pulling it out too soon. Don’t rely only on the toothpick test; the center should still have a little wobble, almost like firm Jell-O. The crucial step that turns this into a fantastic dessert is the chilling time. That required three hours, or better yet, overnight chilling, isn’t optional—it’s when the texture sets into that signature creamy delight you crave. Be patient! It’s worth every extra minute in the fridge.
Ingredient Notes and Gluten-Free Adjustments for Chocolate Marble Cheesecake
So, remember how I mentioned my creamy Chocolate Marble Cheesecake is easily adaptable? If you’re baking for someone who needs gluten-free, this is where we make that happen without sacrificing any flavor. The good news is that the actual cheesecake filling—the cream cheese, sugar, eggs, and vanilla—is totally naturally gluten-free! That’s a huge win right there.
The only real swap you need to make is in that crunchy base. Instead of regular chocolate graham crackers, source some good quality gluten-free chocolate graham crackers. I always recommend checking labels, but once you swap those out, you’re good to go! You can read more about my own culinary journey and why these swaps matter to me.
Serving Suggestions for This Marble Dessert Recipes Classic
Once that beautiful Chocolate Marble Cheesecake is perfectly chilled—and trust me, it needs that chill time!—it’s ready for its close-up. Since the flavor is already so rich, I keep toppings minimal. A dusting of high-quality cocoa powder right before serving really brings out that dark chocolate depth. For a bit of contrast, a few fresh raspberries or maybe some lightly sweetened whipped cream look elegant.
It slices so beautifully, which makes it an absolute winner for any potluck favorite. Just make sure your serving knife is warm for the cleanest cuts!
Storage and Make-Ahead Tips for Your Chocolate Marble Cheesecake
Patience is truly a virtue when it comes to cheesecake, especially this amazing Chocolate Marble Cheesecake! You absolutely must let it chill. I know waiting is tough, but those three hours minimum—or better yet, chilling it overnight—are essential for that perfect, dense texture to set up.
When you wrap leftovers, be sure to cover the pan tightly with plastic wrap, or transfer individual slices to an airtight container. Guess what? This dessert actually tastes *better* the next day! All those chocolate and vanilla notes really marry together overnight. You can definitely make this ahead of time for parties, which frees up your oven for other goodies. Check out my thoughts on other make-ahead treats in my post about chocolate mousse!
Frequently Asked Questions About Chocolate Marble Cheesecake
I always get so many questions about cheesecakes—they can be spooky if you’ve never made one before! Don’t worry at all; these lovely marble dessert recipes are much simpler than they look once you know a few tricks. Feel free to reach out if you have more worries, you can always contact me!
How do I prevent the Chocolate Marble Cheesecake from cracking?
This is the million-dollar question, isn’t it? The two big culprits are under-baking and shocking the cake with sudden temperature changes. Make sure the center is set but still has a slight jiggly spot before you turn the oven off. Then, and this is crucial, let the cheesecake cool completely on the counter for at least an hour before it ever sees the fridge. Never take it straight from the oven to a cold counter!
Can I use different types of chocolate for the swirl?
Absolutely! I went with semisweet because I love that deep contrast against the vanilla, but feel free to experiment. If you use unsweetened chocolate, you might want to bump up your sugar just a tiny bit, or you risk making that chocolate portion too bitter. White chocolate is amazing too, though I find you need to temper it slightly differently so it doesn’t get weird when baking.
Is this recipe suitable for a large gathering or potluck?
It’s perfect! This Chocolate Marble Cheesecake is designed to be a real showstopper that serves 12 generous slices. Since it needs that long chill time, it’s actually a fantastic make-ahead dessert. You pull it out of the fridge, slice it up, and boom—you’ve got the most impressive dish on the table. It’s definitely become a go-to potluck favorite at my cousin’s family reunions!
Share Your Experience Making This Chocolate Marble Cheesecake
Now that you’ve mastered the art of the swirl, I absolutely need to hear about it! Did your marble pattern look like a ribbon or more like a beautiful abstract expressionist piece? Don’t be shy!
Head down to the comments section, give this recipe a star rating so other bakers know it’s a winner, and drop a photo if you can. Seeing your gorgeous Chocolate Marble Cheesecake creations popping up makes my day! Seriously, I love swapping tips and hearing how you customized it for your own family gatherings. Happy baking, you rockstars! You can find even more inspiration over on my complete recipe index!
Chocolate Marble Cheesecake
Ingredients
Equipment
Method
- Preheat your oven to 325 degrees F (165 degrees C).
- Combine graham cracker crumbs and butter in a medium bowl; mix well. Press the mixture into the bottom of a 9-inch springform pan.
- Bake the crust in the preheated oven for 10 minutes. Set the crust aside to cool.
- Place the chopped chocolate in a microwave-safe bowl; heat it in the microwave until melted, stirring occasionally until the chocolate is smooth.
- Beat the softened cream cheese, sugar, and vanilla in a large bowl until the mixture is creamy and smooth. Blend in the eggs, adding them one at a time.
- Remove 1 cup of the plain cream cheese mixture and mix it with the melted chocolate.
- Spread the plain batter into the baked crust. Drop the chocolate batter randomly over the top of the plain batter. Swirl the batters with the tip of a knife to create a marbled effect.
- Bake in the preheated oven until the center is set, which takes 30 to 35 minutes. Cool the cheesecake to room temperature, then refrigerate it for 3 hours to overnight before serving.
Notes
Tried this recipe?
Let us know how it was!
Gluten-Free Culinary Storyteller & Recipe Heritage Specialist
Getting diagnosed with non-celiac gluten sensitivity in my late twenties felt like losing my Italian identity. Growing up in nonna’s Brooklyn kitchen, learning traditional techniques that suddenly became off-limits—I decided to fight for those family food traditions instead of giving up.
With my food journalism background and European baking training, I became obsessed with recreating authentic flavors in gluten-free formats. I’ve adapted 400+ traditional recipes from various cultures, with my gnocchi recipe winning “Recipe of the Year” from the National Gluten-Free Living Awards in 2022.
I collaborate with the Italian-American Cultural Center to document traditional family recipes and volunteer with the Westchester Celiac Support Group, teaching monthly pasta-making classes.
Food is the heart of family storytelling. No one should sacrifice their cultural heritage due to dietary restrictions.