You know that feeling when you bite into a perfectly constructed sandwich? Everything crisp, layered just right, and exploding with familiar flavor? That’s what I chase, over and over, in my kitchen. The classic deli sandwich is such comfort food, but when my youngest son Leo was diagnosed with celiac disease a few years back, those weekend brunch staple moments suddenly felt impossible to recreate. I just couldn’t stand the thought of skipping those delicious meals that brought us all together.
So, I got determined! After a lot of testing, I figured out that you don’t have to sacrifice flavor or texture just because you’re swapping out ingredients that don’t agree with you. That realization gave birth to this recipe: my signature, absolutely satisfying Breakfast Club Sandwich. It captures all the satisfying layers of turkey, ham, bacon, and fresh crunch you crave. I’m Marco Santos, and as a Gluten-Free Chef and Latin Cuisine Innovation Specialist, trust me when I say this adaptation is a triumphant moment in our home—you won’t even notice what’s missing!
Why This Breakfast Club Sandwich Recipe Works for Everyone
Honestly, the best recipes are the ones that fit into real life, right? This version of the Breakfast Club Sandwich took the complexity out of our old family favorite. It’s designed to be quick but still feel like a proper, hearty meal. When Leo first tried it, he just wanted to know how quickly I could make another one—that’s the real success metric for me!
We keep things simple so you can spend more time eating and less time stressing. Here are the main reasons this sandwich has become a go-to in our house:
- It’s insanely fast! You’re looking at maybe 10 minutes total from start to fridge grab, which is perfect for those hectic mornings.
- The flavor payoff is huge. Those three layers of crunch and savory fillings make it feel like a deli experience at home.
- It’s totally flexible. Whether you’re sticking to classic wheat or grabbing your favorite GF loaf, this structure can handle it.
Quick Assembly for Busy Mornings
Ten minutes, that’s all it takes! Seriously. We are already toasting bread and cooking bacon in about the same time frame it takes most people to decide what to eat. Because the cooking is so minimal—just toasting and pre-cooked bacon—the assembly goes super smoothly. You just stack, slice, and you’re out the door happily.
Gluten-Free Adaptability
This recipe really shines when you need to pivot for dietary needs. While I list standard wheat bread here because that’s what we used traditionally, swapping it out for a good gluten-free loaf is completely seamless. I’ve found the sturdier, slightly denser GF breads work best for holding all those layers together. It proves that comfort food doesn’t need gluten to deliver that perfect satisfying bite.
Essential Ingredients for Your Breakfast Club Sandwich
Getting the ingredients right is honestly half the battle when you’re building something layered like the Breakfast Club Sandwich. Because we’re only working with a few core components, the quality of each one really sings through. You need that perfect balance of creamy, salty, fresh, and crunchy. I’ve noted brands I genuinely love, but feel free to use whatever makes your family happy!
If you’re planning ahead or looking for more meal ideas that don’t take much time, I always keep lists handy. You can check out some of my favorite busy morning meal-prep breakfasts for inspiration.
Ingredient Clarity and Preparation Notes
Don’t just toss everything together! Paying attention to the details—like seasoning those tomatoes—is what separates a good sandwich from a legendary one. These are the star players in our 10-minute stack:
- Bread: We need exactly 3 slices of bread, usually wheat, but go ahead and use your favorite sturdy loaf—especially if you’re making this gluten-free! They must be sturdy enough to hold the layers.
- Mayo Matters: You need 2 Tablespoons of mayo. I’m partial to Duke’s, Hellmann’s, or anything from Trader Joe’s, but use the creamy one your family insists on.
- The Fresh Stuff: You need fresh lettuce and bright red tomato slices. And here’s a must-do: season those tomatoes with a little salt and pepper right before you layer them. It wakes up the flavor!
- The Meats: We use 2 ounces each of sliced deli ham and sliced turkey. Make sure they are nice and thinly sliced—you want layers, not thick chunks.
- The Crunch: We add 2 slices of bacon that have already been cooked until perfectly crisp. No floppy bacon here!
- Cheese: One slice of Colby Jack cheese is my go-to, but cheese is always a personal choice, isn’t it?
Equipment Needed for the Perfect Breakfast Club Sandwich
You don’t need a whole set of fancy tools for this! Honestly, I think keeping the equipment simple speeds things up, which is what this sandwich is all about. A reliable sharp knife is non-negotiable for getting those clean layers, though. We need minimal gear to pull off this speedy masterpiece.
Here is what you’ll need right on your counter:
- A solid knife for cutting (seriously, make sure it’s sharp!).
- If you like your bread toasted, you’ll need a toaster, but honestly, pan-frying works too if you want that extra buttery flavor!
Step-by-Step Instructions to Build the Breakfast Club Sandwich
This is where the magic happens, and I want you to pay close attention because structure is everything in a club sandwich! If you rush the cooling process or stack things willy-nilly, you end up with a soggy mess, not the perfectly stacked Breakfast Club Sandwich we are aiming for. We need stability and crispness. Before we dive in, if you’re looking for ways to make sure your assembled dishes hold up later in the week, check out my favorite tips for how to make sandwiches that taste great later.
Toast Preparation and Cooling
First things first: we deal with the bread. You’ll want to toast all three of your slices until they are nicely golden brown. It doesn’t need to be rock hard, just firm enough to hold its shape. Now, here is the expert tip that separates the pros from everyone else: let that toast sit on a wire rack for three or four minutes after toasting! If you immediately slather mayo on hot toast, you’re essentially creating steam, and we do *not* want wilted lettuce or runny mayo. Patience pays off here, trust me.
Layering the Meats and Produce
Okay, they are cooled, now spread the 2 Tablespoons of mayo evenly over all three slices. On your first peace of toast, place that crisp lettuce down first—it acts like a moisture shield. Follow that with your seasoned tomato slices (don’t forget that sprinkle of salt and pepper!). Now, take your second piece of bread, mayo-side down, and gently lay it on top of the tomatoes. Give this second layer a quick light swipe of mayo on its top surface.
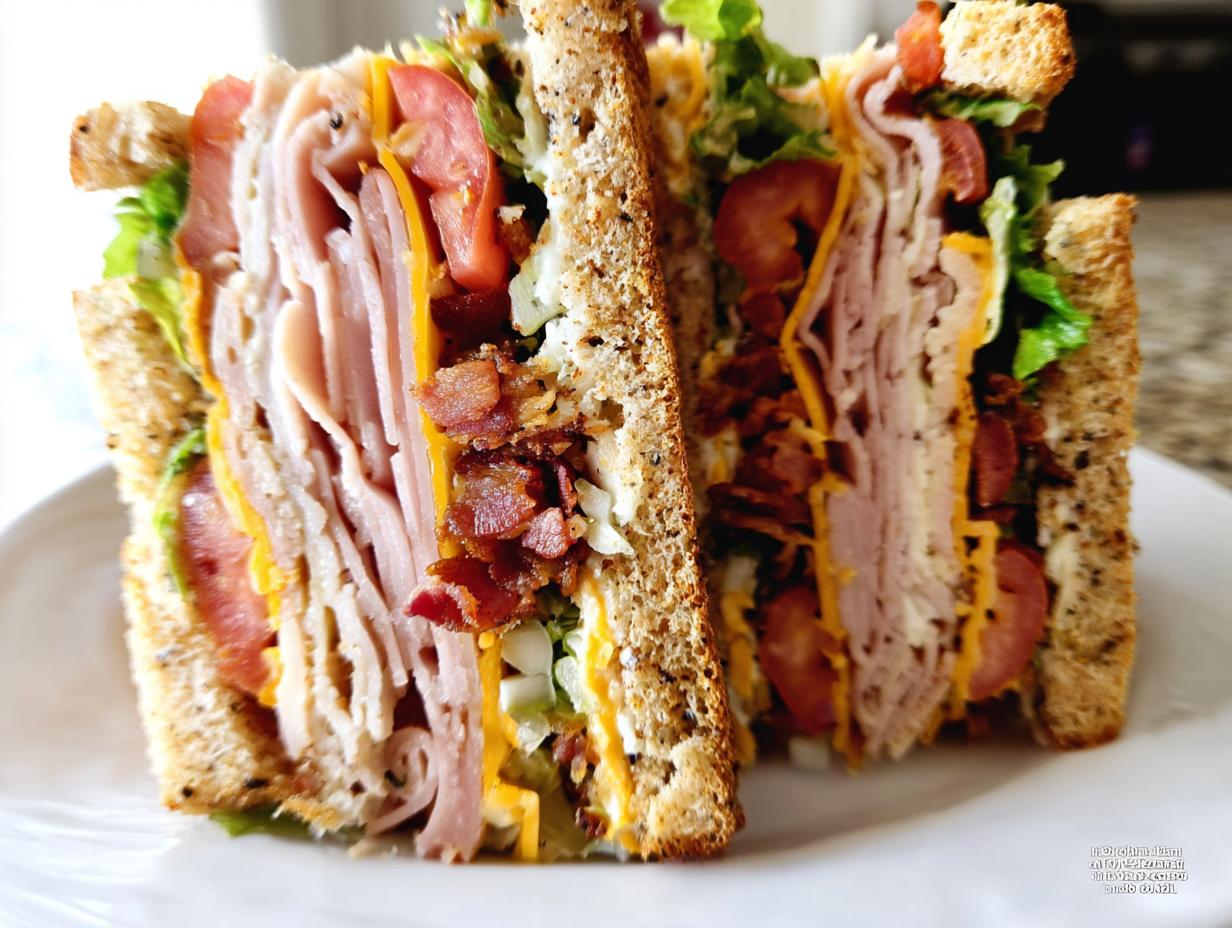
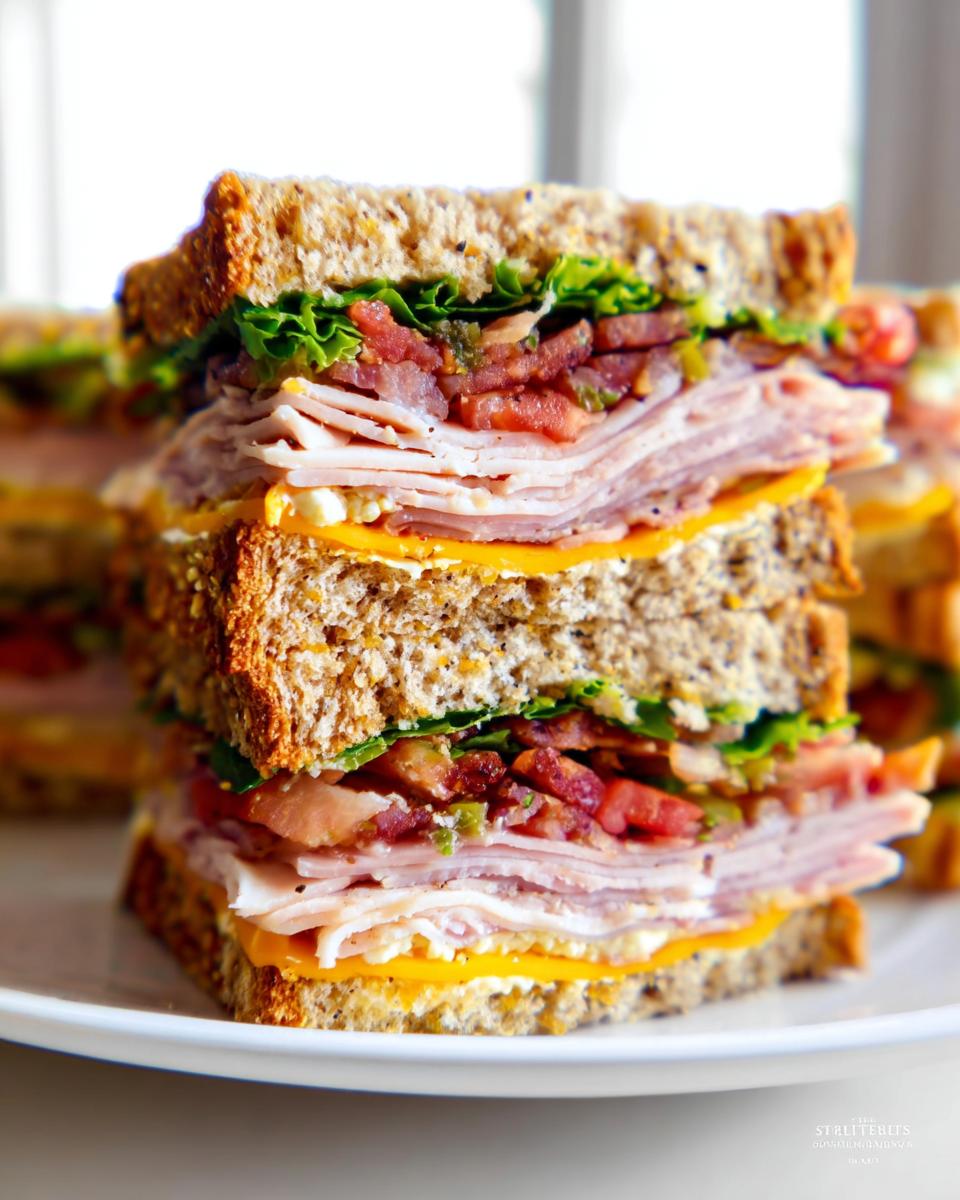
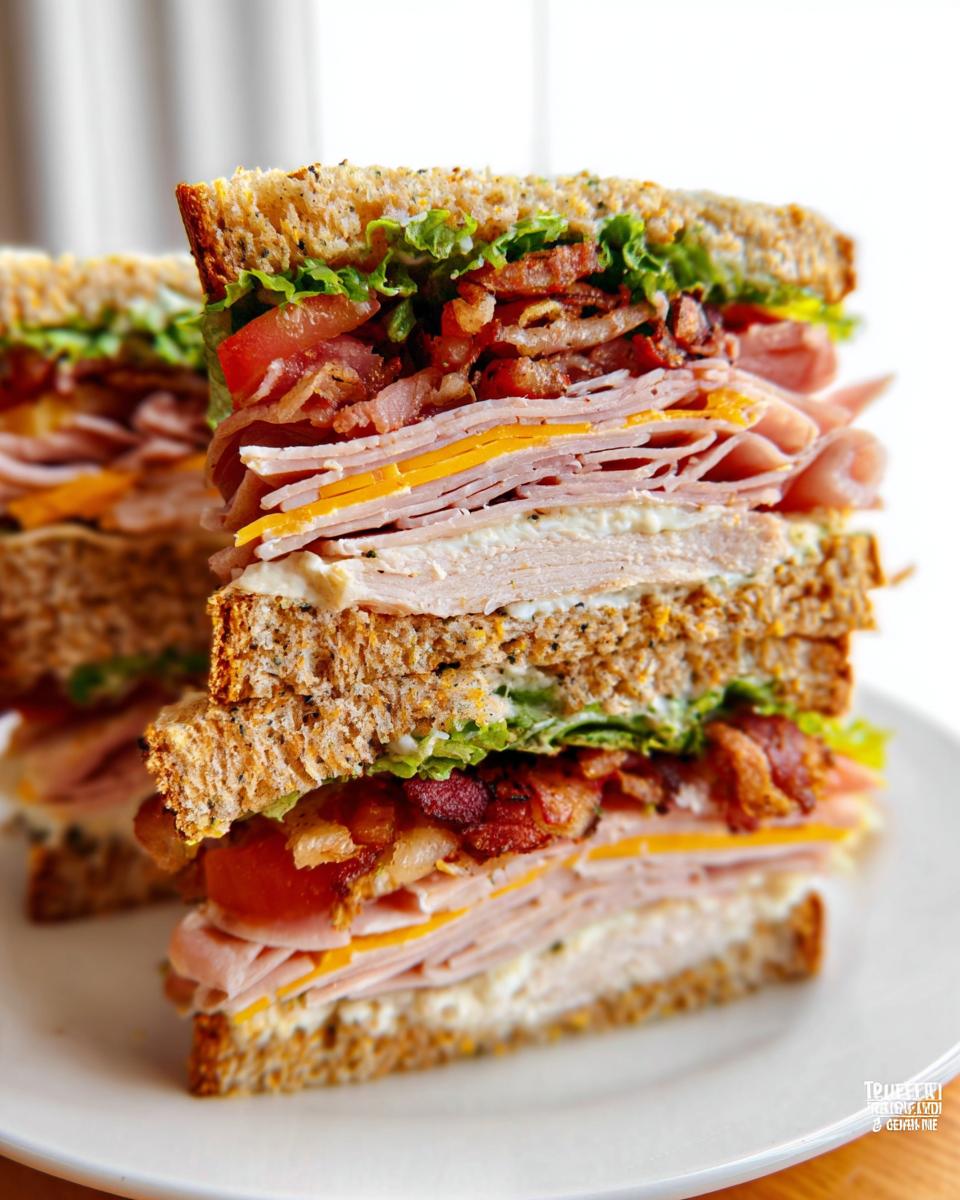
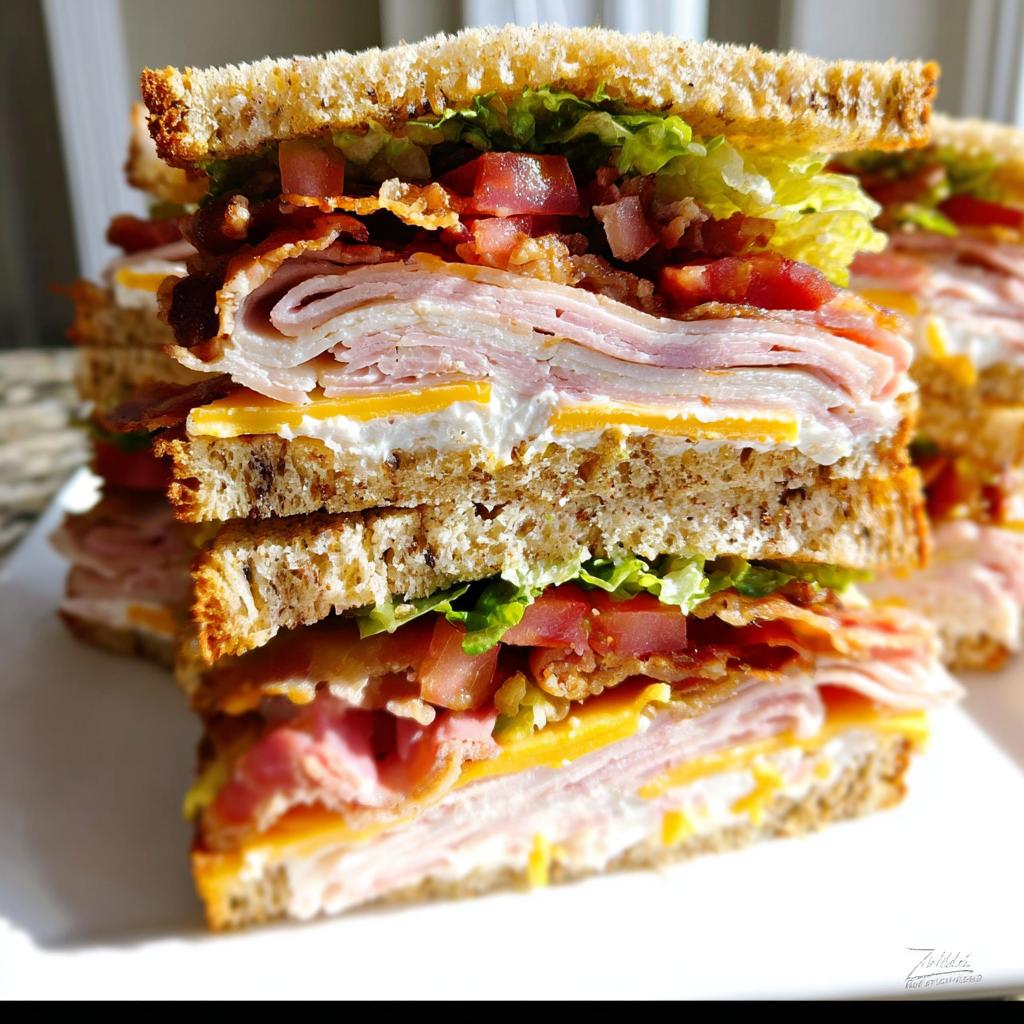
Next up: the hearty stack! Layer your ham, then your turkey, and finally, that slice of Colby Jack cheese on top of the meat. Finish it all off by placing the last slice of bread on top, mayo-side down. See how nice and distinct those layers look already?
Cutting and Presentation
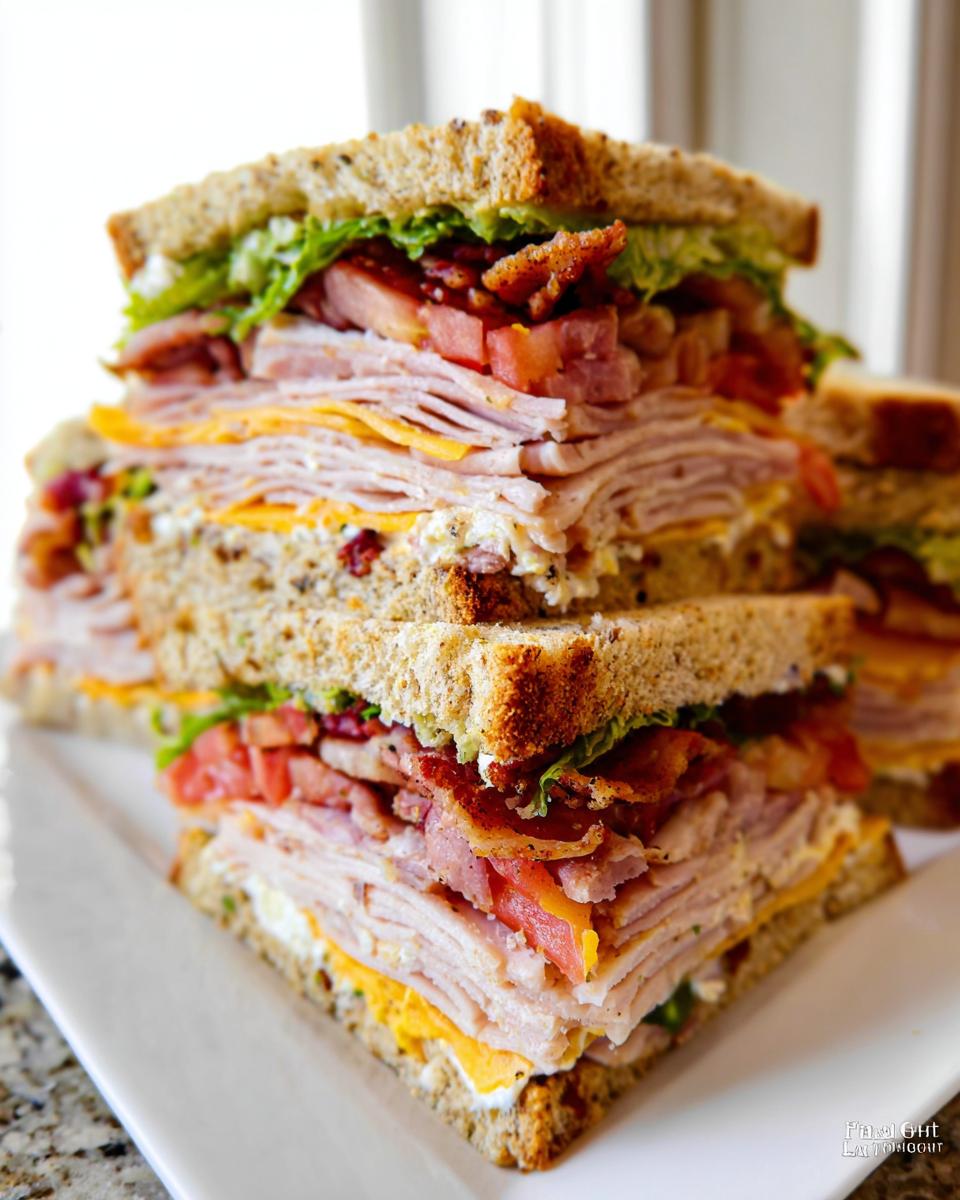
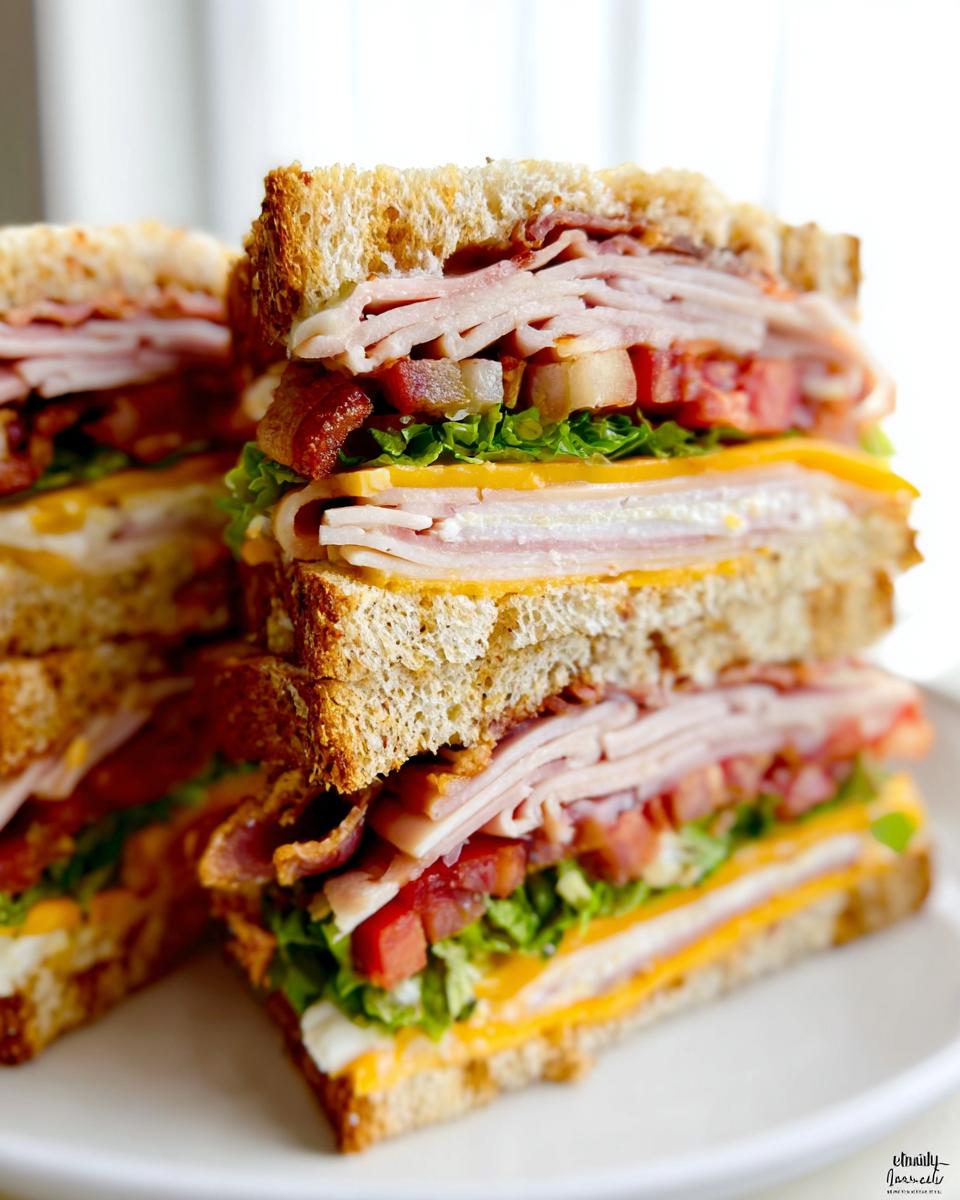
To get that truly famous restaurant-style look, you need to cut the sandwich into four perfect triangles. Use that sharp knife we talked about, cutting straight down through all the layers. Because this is a tall sandwich, it might try to shift on you, so grab a couple of toothpicks and secure each corner gently. To show off all that hard work inside, turn the four triangles so they are standing up on their crust edges. Serve it right away while the toast still has a bit of crunch!
Tips for Success When Making Your Breakfast Club Sandwich
Even though this Breakfast Club Sandwich comes together fast, those little things really elevate it from good to “Wow, can I have another one?” I’ve learned a ton over the years making these for the family, struggling through soggy lettuce disasters and bacon that refuses to stay put. Trust me, these insights will save your sandwich integrity!
Don’t be shy about making small adjustments based on what you have. If you need more ideas on how to keep your midday meals speedy and delicious, check out my favorite recipes that take less than 20 minutes.
Achieving Perfect Toast Texture
Bread choice is huge here, especially for structural integrity. If you’re using standard white bread, you need it toasted slightly darker than just pale yellow. You want it firm enough to act like little wooden planks holding up the layers of meat and mayo. If you’re using a thicker gluten-free loaf, you can sometimes get away with just a light toast, but make sure the outside edges are definitely dry before you apply any mayo.
My favorite trick for max crunch without drying out the whole thing? I toast the bread separately, and then, just before assembly, I brush the inside surfaces (the ones getting the mayo) with a *very* thin layer of melted butter and toast them face-down in a dry pan for 30 seconds per side. It seals them slightly against the moisture! Be careful not to burn them, though.
Ingredient Quality Matters for a Great Breakfast Club Sandwich
Since this sandwich is all about layering simple items, the quality of those items really shines through—for better or for worse! Don’t skimp on the tomatoes; you need fully ripe tomatoes that are firm enough to slice thinly without collapsing into mush. If they are too juicy, you’re inviting sogginess, no matter how well you cooled your toast.
Also, think about your deli meats. When you buy pre-packaged, thin-sliced turkey, sometimes they’re watery. If you can, grab your ham and turkey fresh from the deli counter. Ask for them to be sliced almost wafer-thin. More layers of meat means a more magnificent sandwich, and better quality cuts mean cleaner, bolder flavor in every bite.
Variations on the Classic Breakfast Club Sandwich
Part of the joy of having a flexible recipe like this Breakfast Club Sandwich is being able to twist it up when you’re feeling adventurous! We love keeping it classic, but sometimes the kids (or my husband!) demand something extra, especially on a lazy Saturday morning when we have a little more time to cook. The core structure—three pieces of bread, layered perfectly—stays the same, but we can swap out fillings easily.
If you’re getting inspired to try more amazing layered meals that look like they came straight from a cool cafe, you absolutely have to check out my post on restaurant-style sandwich ideas. It’s full of inspiration!
Adding an Egg for Extra Breakfast Appeal
You know it’s a *breakfast* club sandwich, so why not lean into that theme? Adding an egg is the easiest way to make this 10-minute sandwich feel like a true brunch masterpiece. I usually go for a perfectly fried egg with a slightly runny yolk. That yolk acts like a natural sauce when you cut into it—it’s incredible!
Make sure the egg is cooked quickly and drained well so it doesn’t soak the second layer of bread. If you’re using fried eggs, they go right on top of the cheese layer, just before you cap it with the final slice of bread. You get that rich, savory depth you just can’t get from just meat and cheese alone.
Vegetarian Swaps for the Breakfast Club Sandwich
I often make vegetarian versions when we have friends over who aren’t eating meat that day. You don’t lose that great height and texture if you choose the right substitutes. Instead of the ham and turkey, my favorite swap is layering thick slices of grilled halloumi cheese or roasted portobello mushrooms.
If you grill the mushrooms until they are nice and meaty, they hold up perfectly in the stacking process. You keep the salty element with the halloumi, or the earthy taste with the mushrooms, and you can still keep the bacon (if the vegetarian friend eats bacon, haha—just kidding!). If they don’t eat bacon, smoky roasted eggplant slices are amazing in that spot instead!
Storage and Reheating Instructions for Your Breakfast Club Sandwich
Okay, let’s be real for a second. The Breakfast Club Sandwich is definitely a “make it and eat it immediately” kind of meal. That perfectly crisp toast turns sad really fast once it meets mayo and fresh tomato juice! If you try to wrap up the whole assembled sandwich and stick it in the fridge, you’re signing up for a soggy disappointment the next day. I learned that the hard way when I tried hiding leftovers from Leo!
If you know you won’t eat it right away, the trick is to prepare the components and keep them separate. That way, when you’re ready, you only have a couple of minutes of assembly time. For make-ahead advice that works for other dishes too, I always recommend reading up on my tips for handling make-ahead cooking.
If you are absolutely set on having this ready to go for lunch the next day, here is the only way I allow it, though trust me, it tastes miles better when assembled fresh.
Storing Components Separately:
- Bacon: Cook your bacon until it’s very crispy and store it in an airtight container at room temperature. It will stay crunchy for a couple of days this way.
- Meats and Cheese: Keep the turkey, ham, and cheese wrapped tightly in the fridge. They last ages.
- Produce: Keep the lettuce washed, spun dry, and stored in a paper towel inside a baggie. Slice your tomatoes *right* before you build the sandwich—never store sliced tomatoes if you can help it.
- Toast: This is the trickiest. Store the bread slices (untoasted) at room temperature instead of refrigerating. If you toast them ahead of time, they go stale and lose their crunch fast. Toast them fresh whenever you plan to eat!
Assembled Sandwich Reheating (Use Caution!):
If you *must* reheat an assembled sandwich (say, you forgot about one of the triangles), your only real option is to crisp the bread up again. Wrap the whole sandwich loosely in foil—this helps trap some steam so the fillings don’t dry out entirely—and bake it in a 350°F oven for about 5 to 7 minutes. It won’t be the same as fresh, but it keeps the structural integrity slightly better than microwaving, which just makes everything rubbery. Skip the microwave entirely; I beg you!
Frequently Asked Questions About the Breakfast Club Sandwich
I get so many great questions from folks trying this out, especially about getting that perfect diner look or making sure their gluten-free version stacks up right. Remember, this recipe is all about maximizing flavor in minimal time. If you’re struggling to get your sandwich game right in general, I put together a big guide on easy sandwich making in my ultimate sandwich ideas guide!
Can I make this Breakfast Club Sandwich ahead of time?
Look, if you only take one thing away from this whole piece, let it be this: No, you cannot make the whole assembled Breakfast Club Sandwich ahead of time! The crispness of the three slices of bread is the structural hero here, and as soon as the moisture from the tomatoes and mayo hits that toast, it starts its slow march to sogginess. If you need to prep, you must do it in components. Cook your bacon, slice your ham and turkey, and wash your lettuce. Then, right before you want to eat, toast the bread, spread the mayo, and assemble quickly. It takes less than five minutes if everything else is ready to go!
How do I get a restaurant-style look for my Breakfast Club Sandwich?
This is one of my absolute favorite parts! Getting that classic, tall, professional look is all in the final cuts. Once you have stacked your three layers of bread, meat, cheese, and produce, stand back and appreciate your beautiful stack. Then, take your sharpest knife and cut straight from one corner to the opposite corner—that gives you two triangles. Then, cut those triangles diagonally again, resulting in four perfect, tall triangles. The trick they use in delis—and the trick I told you about earlier—is using two toothpicks in opposite corners on two of those sections to keep them nice and upright on the plate. Display them standing on their sides so everyone can admire all those beautiful layers!
What is the best gluten-free bread for this sandwich?
This is where gluten-free cooks sometimes run into trouble, because some GF breads get crumbly fast. For this hearty, triple-decker structure, you need a bread that has some density. Avoid the super airy, soft loaves. You want a gluten-free bread that is formulated to be a bit sturdier, maybe one that has some visible seeds or grains in it—those tend to hold up better under the weight of the ham, turkey, cheese, and fresh vegetables. If you toast it well, as we discussed in the tips section, even a slightly softer GF loaf will gain enough structural integrity to handle the stacking required for a proper Breakfast Club Sandwich!
Estimated Nutritional Data for the Breakfast Club Sandwich
Look, I am a chef, not a registered dietitian, so take these numbers with a huge grain of salt! When you are dealing with something as customizable as my Breakfast Club Sandwich—where one person might use light mayo and another might add an extra slice of cheese—the numbers can swing wildly.
What I can tell you is that this sandwich, made exactly as listed in the recipe (using standard wheat bread), is a really satisfying, balanced meal. It’s got protein, carbs to keep you full, and enough fat to make it taste absolutely delicious. If you’re tracking macros, you’ll want to plug your exact bread choice and mayo brand into your favorite app, because that stuff really changes the math.
For the standard recipe, here are my general, ballpark estimates. Remember, this is for one generously sized, triple-layer sandwich:
- Calories: Roughly 450 to 550 kcal (depending heavily on bacon fat and mayo quantity).
- Total Fat: We’re looking at about 25g to 35g. That mayo and cheese add up quickly, but fat equals flavor, right?
- Protein: A solid 30g to 35g, thanks to the layers of ham and turkey—this is what makes it such a filling meal!
- Carbohydrates: Around 35g to 45g, mostly coming from the three slices of bread. If you switch to a low-carb GF bread, this number drops significantly!
If Leo’s celiac diagnosis taught me anything, it’s that we have to be flexible. If you replace standard bread with a denser, store-bought gluten-free loaf, your carb count might stay similar, but the fiber content could change quite a bit. That’s why my best advice is always: measure what you use, and you’ll control the nutrition!
Share Your Perfect Breakfast Club Sandwich Creation
Wow, we made it! Seriously, thank you for sticking with me through the history, the tips, and the technicalities of building the perfect triple-decker Breakfast Club Sandwich. I hope you feel inspired to get those ingredients prepped and get stacking!
The kitchen should be a place of joy, even when we have dietary restrictions slowing us down. My favorite part of sharing these recipes—especially after what our family went through with Leo’s diagnosis—is hearing how you adapt them to fit *your* family’s needs. Did you use rye bread? Did you swap the cheese for smoked Gouda? Did you try the runny egg and realize it was the best thing ever?
Please don’t keep your brilliant modifications a secret! I really want to know how this turned out for you. If you loved this recipe, please hop down to the comment section below and give it a quick rating—it helps other busy home cooks find their new favorite meal!
And if you snapped a picture of that perfectly cut, towering sandwich on your plate, share it on social media! Tag me so I can see your creation. I always love seeing my recipes out in the wild. You can connect with me directly so I can properly hear your feedback over on my About page!
Happy stacking, friends. Enjoy every single, perfect, crunchy bite!
Breakfast Club Sandwich
Ingredients
Equipment
Method
- Toast your bread, if you want, and let it cool for a few minutes. Cooling the toast prevents the lettuce from wilting.
- Spread the 3 pieces of cooled toast with mayo.
- On one slice, add your lettuce and tomato. Add salt and pepper to the tomatoes.
- Place a second piece of bread, mayo side down, on top of the first layer. Add a little more mayo to the top of this second piece.
- Stack your meat and cheese. Top with the last slice of bread, mayo side down.
- Use a sharp knife to cut the sandwich into triangles. Use toothpicks to hold the layers together.
- Turn the sandwich pieces on their side to display the layers.
- Serve immediately.
Notes
Tried this recipe?
Let us know how it was!
Gluten-Free Nutritionist & Family Meal Planning Expert
Working as a pediatric dietitian at Children’s Hospital of Denver, I kept meeting families overwhelmed by managing their children’s celiac disease. Parents stressed, kids frustrated, everyone eating bland boxed “gluten-free” products.
That’s when I realized my calling: creating practical, balanced gluten-free solutions for real families with busy schedules. I’ve developed 375+ family-friendly recipes focusing on lunch boxes, after-school snacks, and make-ahead dinners that actually work.
My meal planning system was featured in Parents Magazine, and I presented research at the Rocky Mountain Pediatric Nutrition Conference. My evidence-based approach ensures recipes meet both taste and health standards—families need solutions that work in the real world, not just perfect test kitchens.