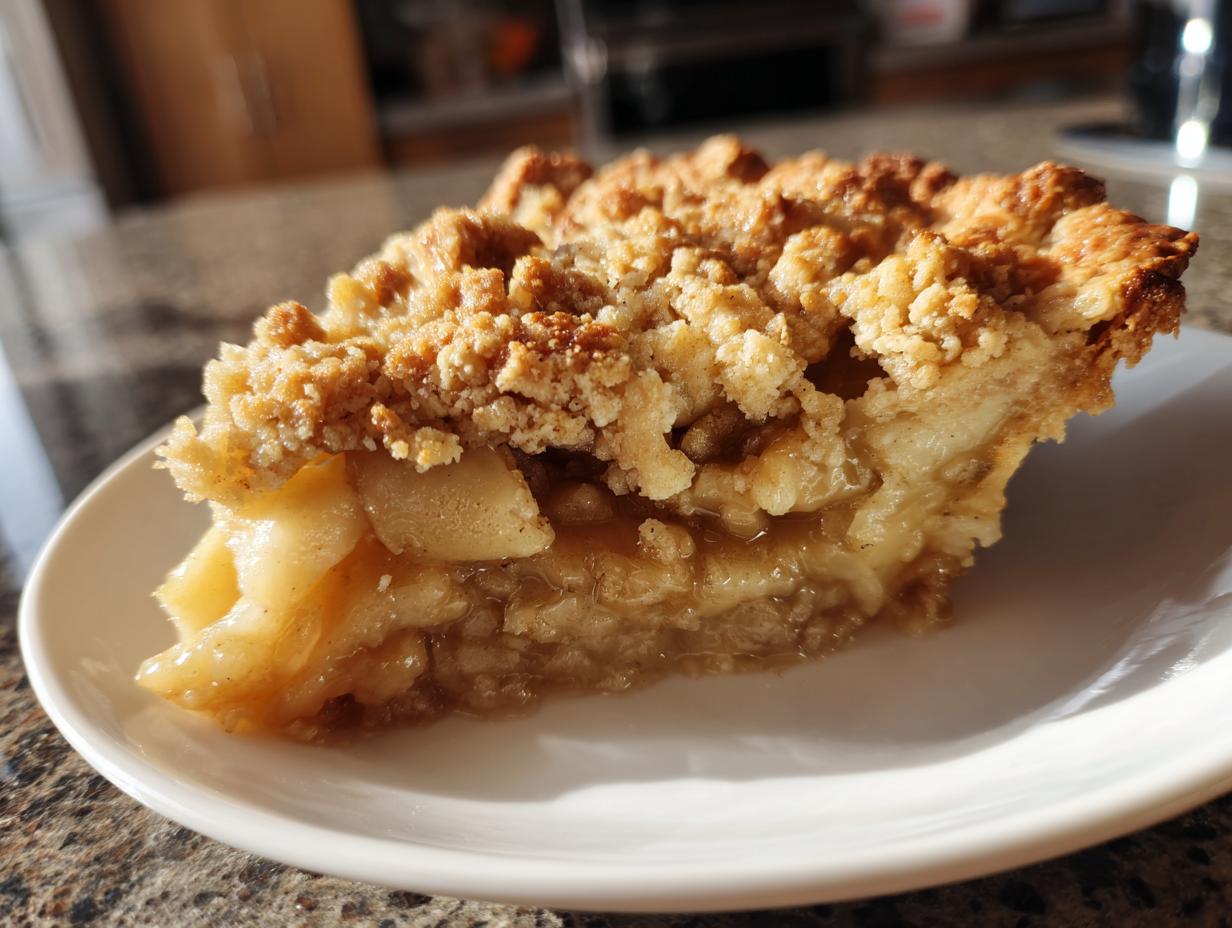
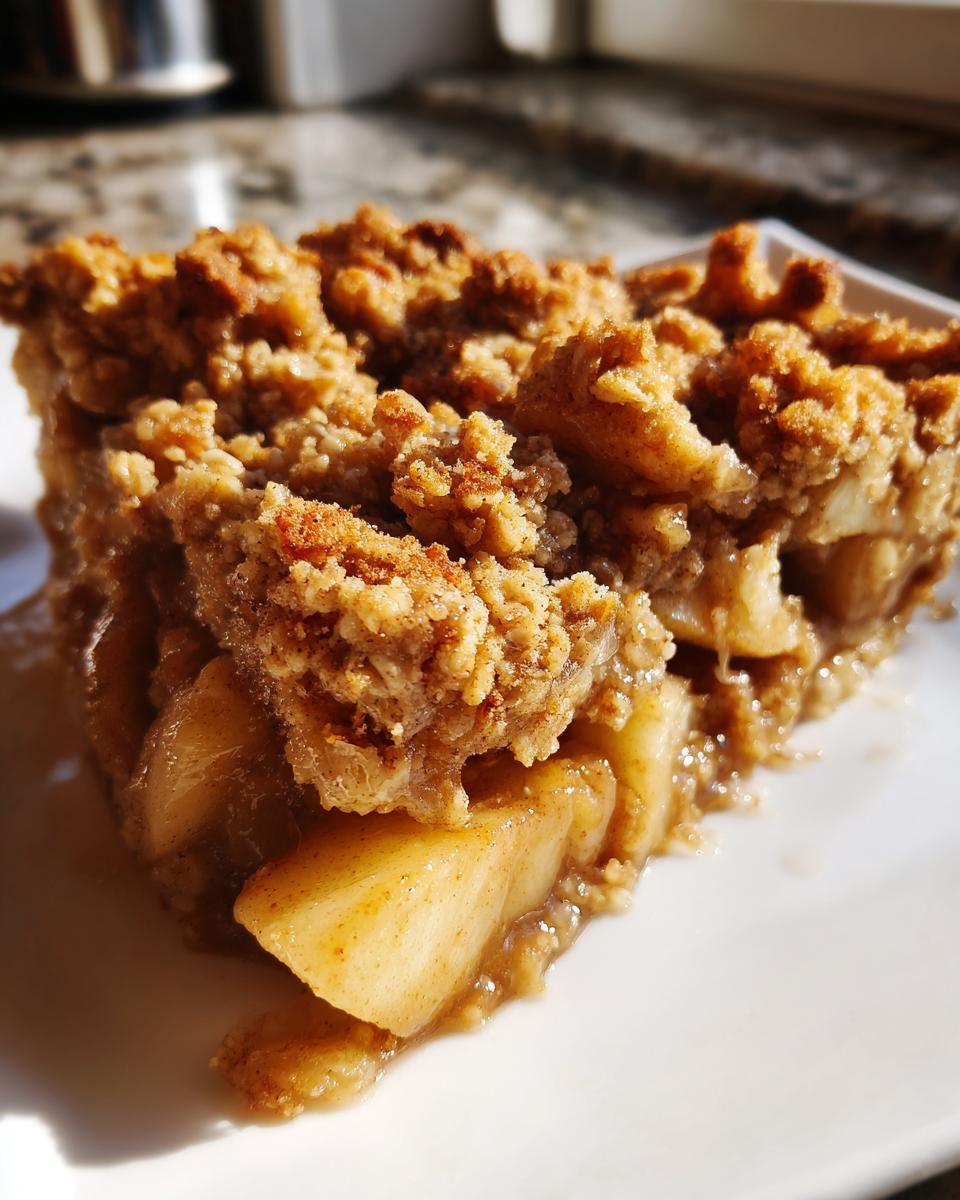
Oh, apple crisp! There’s just something magical about it, isn’t there? Growing up, the smell of cinnamon and baked apples meant pure comfort, and it’s still one of my absolute favorite things to whip up. These kinds of Dessert Recipes That Keep Apple Crisp Warm and Buttery are exactly what I live for in the kitchen. This recipe? It’s my go-to because it perfectly nails that sweet spot: tender, juicy apples nestled under a topping that’s just incredibly buttery and delightfully crisp. It’s my little slice of happy, and I can’t wait for you to try it!
Why This Warm and Buttery Apple Crisp Recipe is a Must-Try
Seriously, why are you still reading and not already in the kitchen? This apple crisp is a total winner because:
- It’s SO easy! We’re talking minimal fuss for maximum deliciousness. If you can slice an apple and mix a few things, you’ve got this.
- That Texture Combo is Everything: Soft, warm apples meet that perfect crunchy, buttery topping. It’s pure cozy perfection in every single bite.
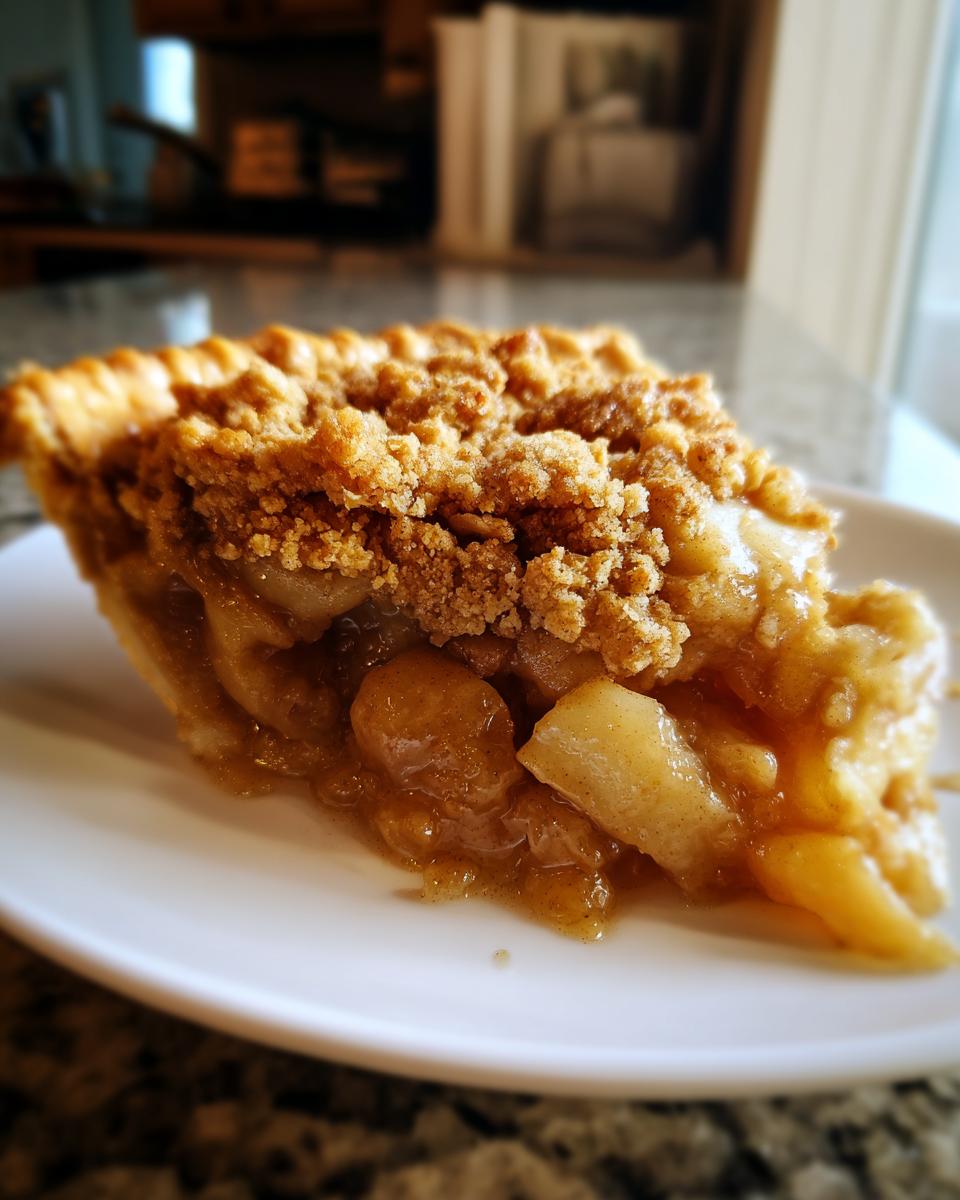
- Pure Comfort Food Bliss: This is the kind of dessert that just hugs you from the inside. Perfect for chilly nights, family dinners, or just when you need a little pick-me-up.
- Crowd-Pleaser Guaranteed: It’s a classic for a reason! Even the pickiest eaters will ask for seconds (trust me on this one).
Ingredients for the Perfect Warm and Buttery Apple Crisp
Alright, let’s talk about what makes this apple crisp so darn good. It all comes down to the quality of your ingredients and getting those measurements just right. Trust me, using fresh, good-quality apples makes a huge difference – they get so tender and sweet when they bake up!
For the Filling:
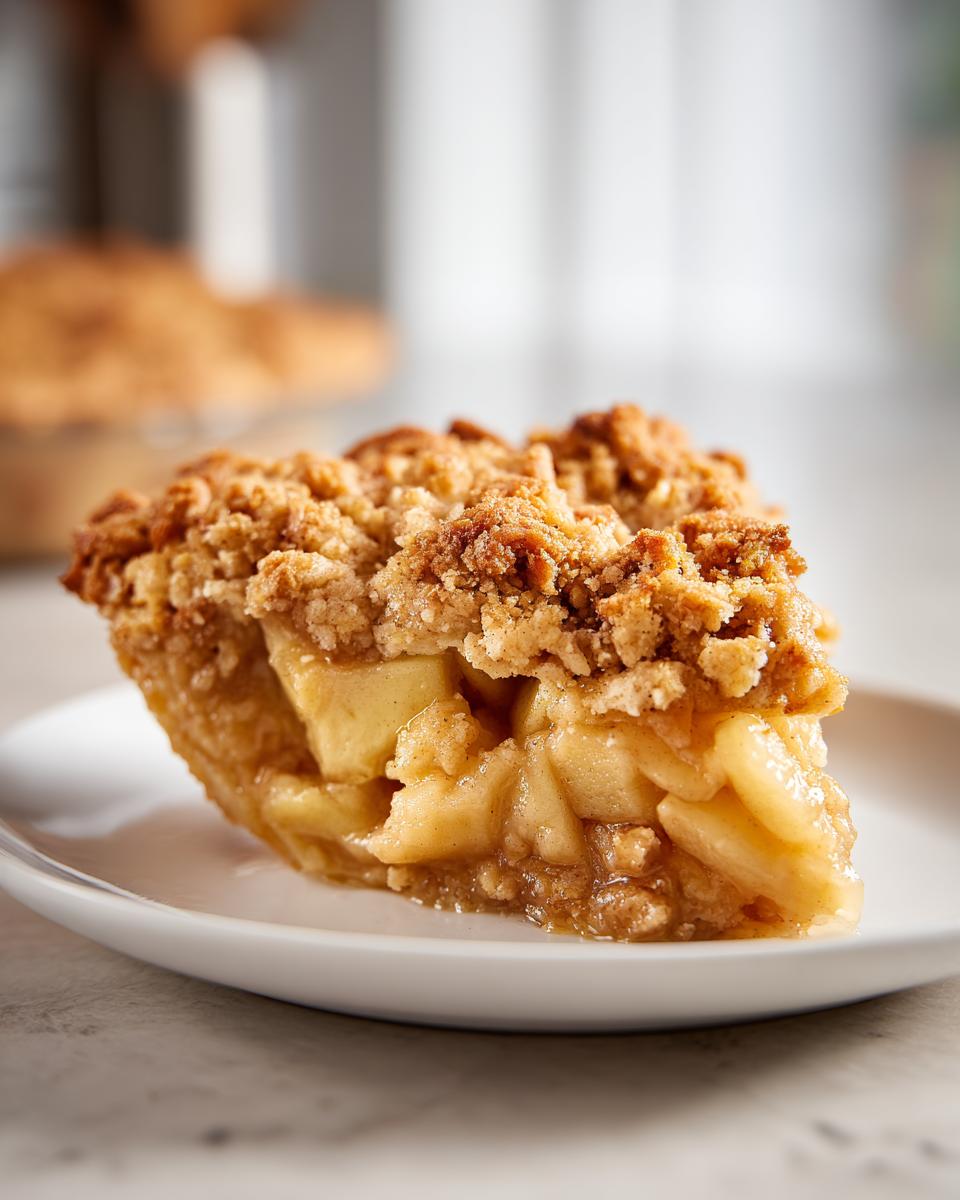
- 6 cups of apples (peeled, cored, and sliced – I love using a mix of Honeycrisp and Granny Smith for that perfect sweet and tart combo!)
- 1/4 cup granulated sugar
- 1 tablespoon all-purpose flour (this helps thicken things up a bit)
- 1 teaspoon ground cinnamon (or more if you’re feeling extra spicy!)
For the Topping:
- 1 cup all-purpose flour
- 1 cup rolled oats (the old-fashioned kind work best here for texture!)
- 1/2 cup packed brown sugar (for that lovely caramelly flavor)
- 1/2 teaspoon ground cinnamon
- 1/2 cup cold unsalted butter, cut into small little pieces (seriously, make sure it’s cold!)
How to Make a Warm and Buttery Apple Crisp: Step-by-Step
Okay, getting this apple crisp into your oven and smelling amazing is easier than you think! My grandma always said that baking is a little bit of science and a whole lot of love, and this recipe is no exception. Let’s get this cozy dessert party started!
First things first, preheat your oven to a nice 375°F (190°C). While that’s warming up, grab your biggest bowl – the one you feel most comfortable getting a little messy in! Toss in your beautifully sliced apples. Now, sprinkle them with the granulated sugar, that one tablespoon of flour, and the teaspoon of cinnamon. Give it all a good, gentle toss so every single apple slice gets coated in that sweet, spicy goodness. This little coating helps everything cook up just right and keeps the apples from getting too mushy.
Next, grab your 9×13 inch baking dish. Pour that apple mixture right into it, spreading it out evenly. Don’t worry if it looks piled high; it’ll settle down nicely as it bakes. Now, for that amazing topping! You can use the same bowl you used for the apples – no need to wash it! Just dump in the remaining cup of flour, the rolled oats, that lovely packed brown sugar, and the other half teaspoon of cinnamon. Give that a quick whisk or stir to combine.
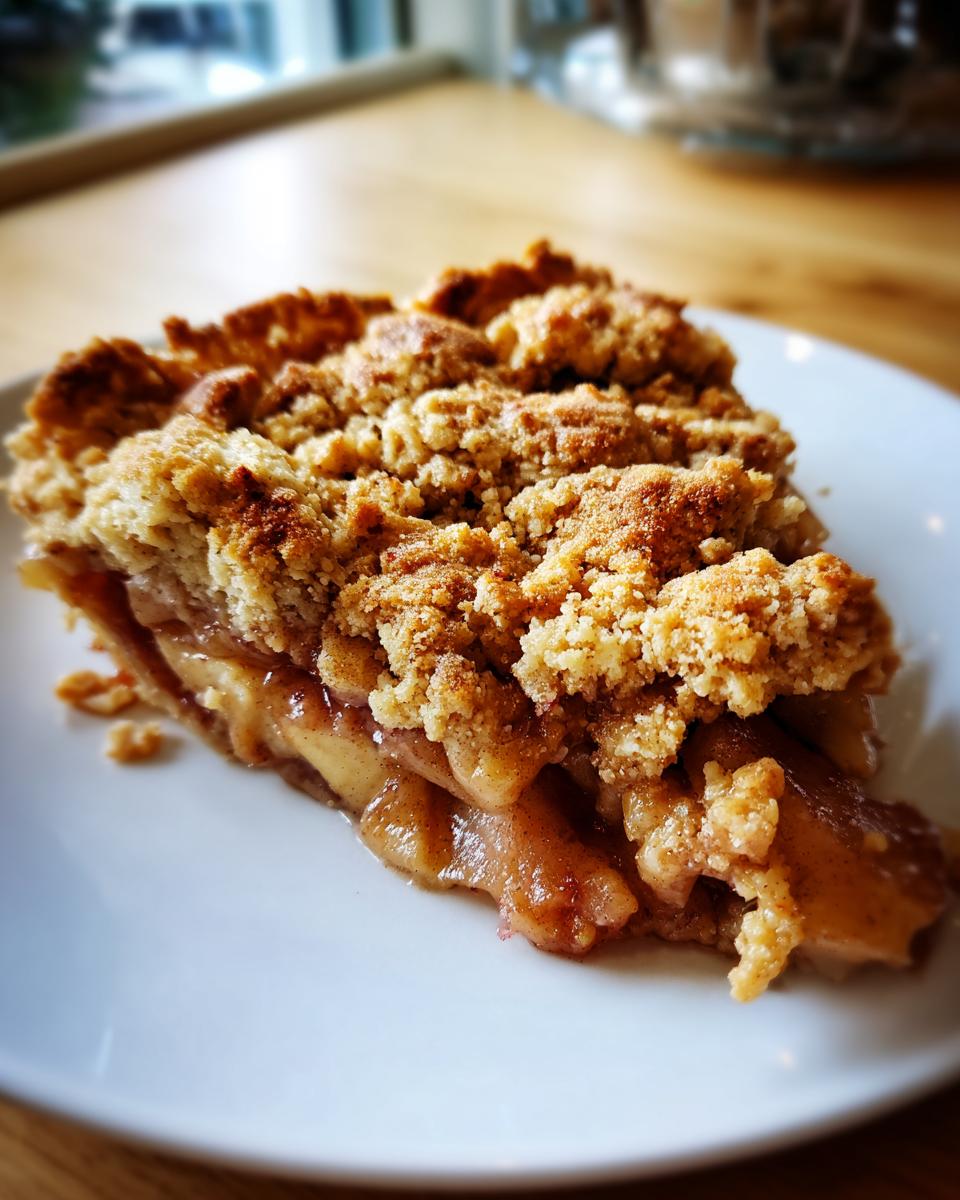
Here comes the fun part: the butter! Make sure it’s nice and cold, cut into little chunks. Add those cold butter pieces to your dry topping mix. Now, use your fingers (my favorite way!) or a pastry blender to cut the butter into the dry stuff. You want to keep working it until the whole mixture looks like coarse crumbs, almost like wet sand. It’s okay if there are still a few pea-sized bits of butter; that just adds extra yummy pockets. Sprinkle this glorious crumb topping evenly over the apples in the dish. Make sure to cover all those apples!
Pop that dish into your preheated oven. Bake it for about 35 to 45 minutes. You’ll know it’s ready when the topping is a beautiful golden brown and you can see the apple filling bubbling up around the edges. That bubbly sign means the apples are perfectly tender and juicy. Once it’s out of the oven, the hardest part is waiting! Let your apple crisp cool for at least 10 minutes. This lets it set up a bit, so you don’t burn your mouth on molten-hot apples – though I’ve definitely done that chasing that first warm bite! For an extra delicious twist, check out this classic apple crisp recipe for some great ideas, and you can also find tons of tips from experts like those at King Arthur Baking!
Tips for the Best Warm and Buttery Apple Crisp
Okay, so you’ve got the basic recipe, but let me give you a few little secrets that take this apple crisp from ‘yum’ to ‘OH MY GOODNESS, I NEED MORE’! These are the tricks I’ve picked up over the years that really make a difference.
First off, apple choice matters. While I love a mix, if you’re just picking one, go for something that holds its shape and has a bit of tang. Granny Smith is a classic for a reason, but Honeycrisp, Braeburn, or even a Fuji will work beautifully. They bake up tender without turning into apple sauce!
Worried about a soggy bottom? My trick is to make sure your topping is nice and crumbly BEFORE you put it on. And, if you notice the topping browning too fast before the apples are tender (which can happen!), just loosely tent a piece of foil over the top. It’s like giving it a little cozy blanket so it bakes through without burning!
Want to jazz things up? Totally feel free to add a pinch of nutmeg or even a touch of cardamom to the apple filling or the topping. A tablespoon of orange zest in the filling is also divine! It’s all about making it *your* perfect apple crisp!
Serving and Storing Your Warm and Buttery Apple Crisp
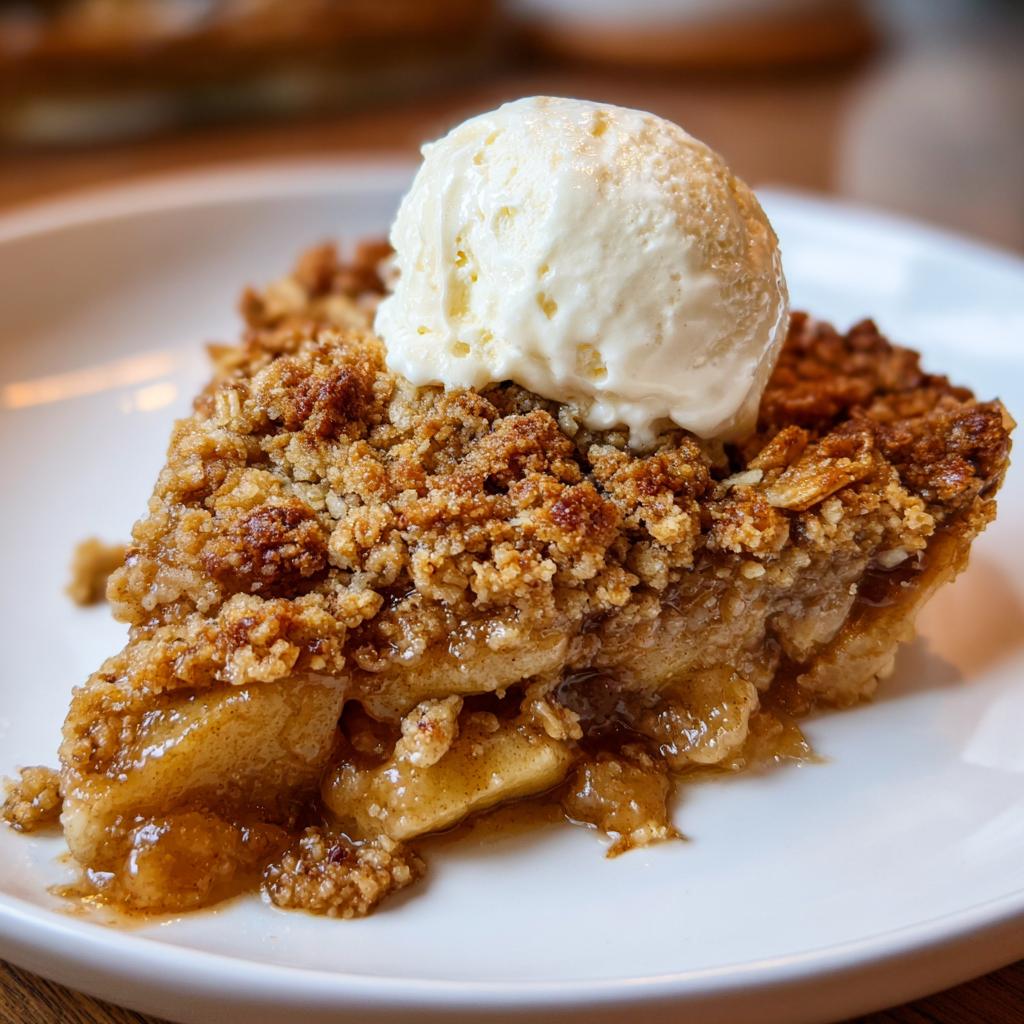
Okay, this apple crisp is just begging to be eaten warm! Seriously, digging into that bubbly, gooey apple filling with a scoop of cold vanilla ice cream melting right into it? Pure magic. You can also serve it with a dollop of fluffy whipped cream or even some vanilla yogurt if you’re feeling a little lighter.
Got leftovers? Lucky you! Just cover the dish tightly with foil or plastic wrap and pop it in the fridge. It’ll keep for about 3-4 days. When you’re ready for more, just pop it in a warm oven (around 350°F or 175°C) until it’s heated through. It’s almost as good as the first time! If you’re looking for more cozy fruit recipes, check out these peach recipes for skillet cake!
Frequently Asked Questions About Apple Crisp
Got questions about making the most epic apple crisp? I’ve got you covered! Here are some things people often ask, and my best advice:
What kind of apples are best for apple crisp?
You really want apples that hold their shape when baked and have a nice balance of sweet and tart. Granny Smith is a classic for a reason – its tartness cuts through the sweetness perfectly. Honeycrisp, Braeburn, or even Fuji are great options too! A mix is always fun if you want a more complex flavor.
Can I make this apple crisp gluten-free?
Absolutely! To make this recipe gluten-free, just swap out the all-purpose flour for a good gluten-free flour blend (one that’s meant for baking, not just a single flour). You’ll want to make sure your rolled oats are certified gluten-free too, as oats can sometimes get cross-contaminated.
How do I prevent the topping from burning before the apples are tender?
This happens sometimes when the topping is extra delicious and browns super fast! If you see it getting too dark, just loosely tent a piece of aluminum foil over the entire dish. This shields the topping while letting the heat still get to the apples to cook them through. Easy peasy!
Can I make apple crisp ahead of time?
You can totally assemble the apple crisp ahead of time! Just put the apple filling and the topping in the baking dish, cover it tightly, and store it in the fridge for up to a day. Then, just bake it when you’re ready, though it might need a few extra minutes in the oven since it’ll be starting from cold.
Nutritional Information (Estimated)
Just a heads-up, the nutrition info can really vary depending on exactly what you use and how big your slices are! This estimate is for one serving of our Warm and Buttery Apple Crisp, assuming it’s divided into 8 portions. Remember, this is just a guide – the real joy is in that delicious taste! For more kitchen insights, check out my thoughts on cottage cheese!
Share Your Warm and Buttery Apple Crisp Creations!
I just *love* hearing from you all! If you give this warm and buttery apple crisp a try, please, please spill the beans in the comments below. Let me know what you thought, how it turned out, or if you added any fun twists! If you’re snapping pics, tag me on social media – I’d be absolutely thrilled to see your delicious creations. And if you found this recipe helpful, a quick star rating would be amazing! For more baking fun, check out all my latest recipes!
Warm and Buttery Apple Crisp
Ingredients
Equipment
Method
- Preheat your oven to 375°F (190°C).
- In a large bowl, combine the sliced apples, granulated sugar, 1 tablespoon of flour, and 1 teaspoon of cinnamon. Toss to coat the apples evenly.
- Pour the apple mixture into the 9×13 inch baking dish.
- In the same bowl (no need to wash), combine 1 cup of flour, rolled oats, brown sugar, and 1/2 teaspoon of cinnamon for the topping.
- Add the cold butter pieces to the topping mixture. Use your fingers or a pastry blender to cut the butter into the dry ingredients until the mixture resembles coarse crumbs.
- Sprinkle the topping evenly over the apple mixture in the baking dish.
- Bake for 35-45 minutes, or until the topping is golden brown and the apples are tender and bubbly.
- Let the apple crisp cool for at least 10 minutes before serving.