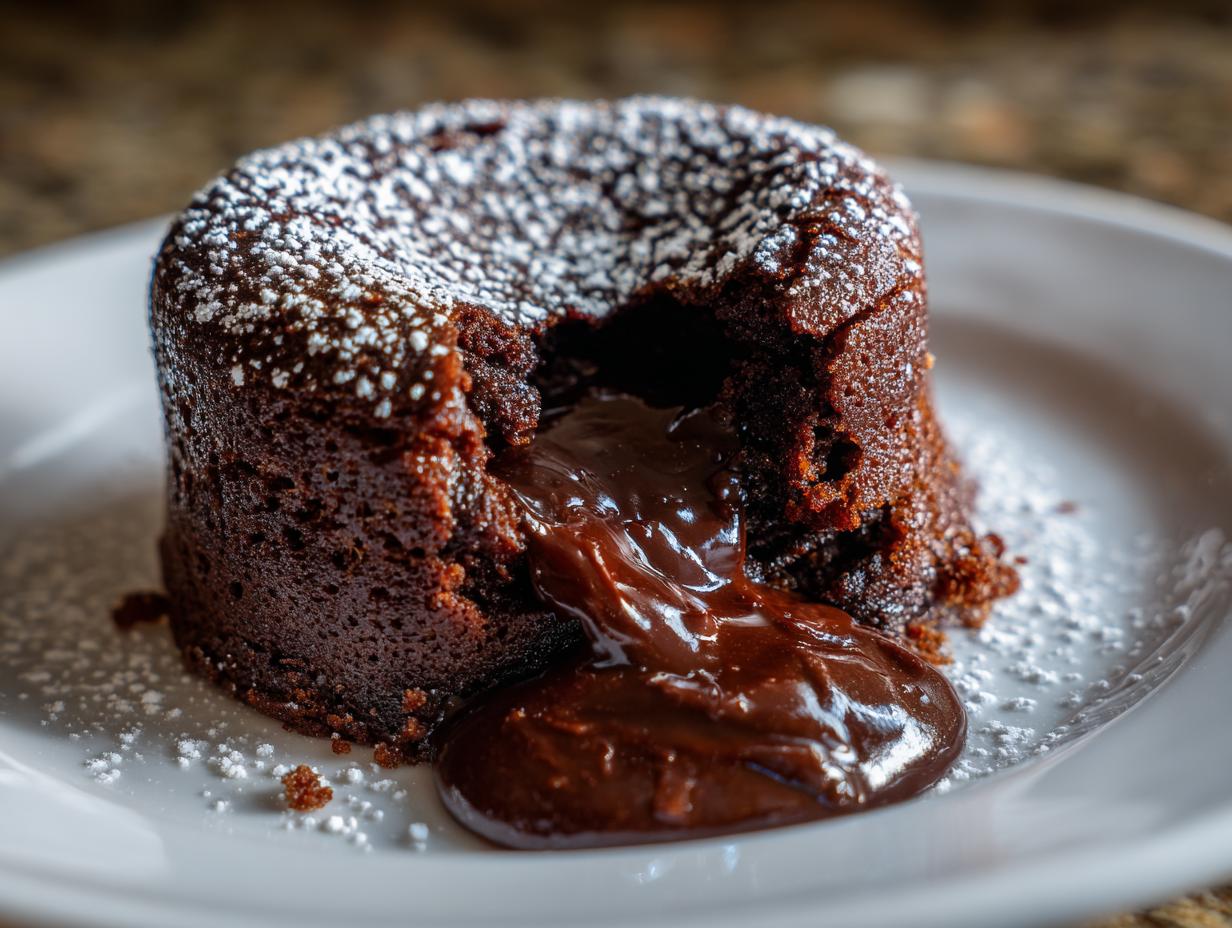
Oh, you know those moments, right? When company shows up unexpectedly, or you just get hit with a serious chocolate craving, and you think, “Ugh, dessert is going to take ages”? Well, I’ve got your back! These Dessert Recipes for Chocolate Lava Cakes in Under 30 Minutes are an absolute lifesaver. Seriously, I can whip these up when friends drop by totally unannounced, and they always think I’ve been slaving away for hours. The magic is in that gooey, molten chocolate center – it’s pure bliss, and the best part? You get that incredible indulgence without the wait. They’re my go-to for a reason, and I just know you’re going to love them as much as I do.

Why You’ll Love These Dessert Recipes for Chocolate Lava Cakes in Under 30 Minutes
Honestly, these chocolate lava cakes are a game-changer. If you’re like me and love that rich, decadent chocolate flavor but don’t have a ton of time, you’re going to be obsessed. Here’s why:
- Super Speedy: We’re talking ready from start to finish in under 30 minutes. Perfect for those spontaneous sweet tooth attacks or unexpected guests!
- Ridiculously Easy: You don’t need to be a fancy pastry chef for these. Just a few basic ingredients and a whisk is all it takes.
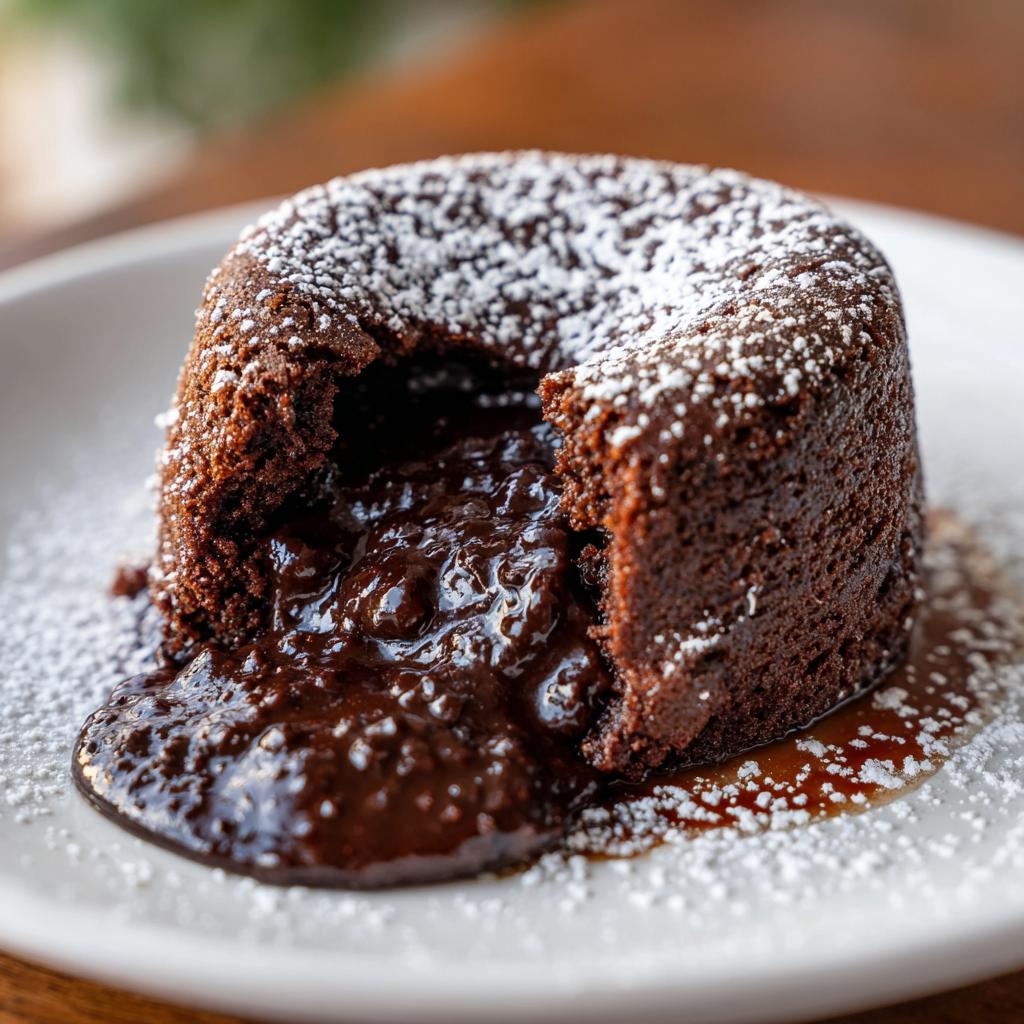
- Pure Chocolate Heaven: That gooey, molten center? It’s pure bliss. Every bite is packed with intense chocolate flavor that just melts in your mouth.
- Impressive Results: They look and taste like something from a high-end bakery, but you made them yourself, super fast! They’re the ultimate crowd-pleaser.
- Minimal Mess: Usually, I dread the cleanup after baking, but these are pretty straightforward. Mostly just a couple of bowls and your muffin tin!
Essential Ingredients for Your Quick Chocolate Lava Cakes
Alright, so you don’t need a whole pantry full of fancy stuff for these! The beauty of these quick chocolate lava cakes is that they use pretty basic ingredients you probably already have. Just make sure you grab some good quality semisweet chocolate – trust me, it makes a difference!
Here’s what you’ll need:
- 1/2 cup unsalted butter, melted: Melt it gently, no need to bring it to a boil.
- 4 oz semisweet chocolate, finely chopped: Chop it up small so it melts smoothly.
- 2 large eggs: These are crucial for structure.
- 2 large egg yolks: These add that extra richness and flow to the lava center.
- 1/4 cup granulated sugar: Just enough sweetness to balance the chocolate.
- 2 tablespoons all-purpose flour: Don’t go overboard here; we want that molten middle!
- 1/4 teaspoon salt: A little salt really makes the chocolate flavor pop.
And for those little extras that make them extra special (but totally optional!):
- Powdered sugar for dusting
- Whipped cream
- Fresh raspberries
Step-by-Step Guide to Making Dessert Recipes for Chocolate Lava Cakes in Under 30 Minutes
Okay, let’s get down to the delicious business! Making these amazing chocolate lava cakes is easier than you think. You just follow these simple steps, and you’ll have pure molten chocolate magic ready in no time. It’s really just a few quick moves, and before you know it, you’re digging into pure heaven. Trust me on this! If you’re ever curious about variations or more in-depth tips, check out this amazing gluten-free lava cake recipe for inspiration, though our version today is wonderfully quick and simple.
Prepping Your Muffin Tin and Oven
First things first, let’s get that oven nice and hot! Preheat it to 425°F (220°C). Now, grab your muffin tin – the one with four cups is perfect. Give those cups a good grease and then dust them with a little flour. This is super important, folks, because it helps these delicate cakes slide right out without sticking. We want perfect little cakes, not a sticky mess!
Melting the Chocolate and Butter
In a microwave-safe bowl, toss in your butter and the chopped semisweet chocolate. Pop it in the microwave for short bursts, stirring in between, until it’s all smooth and melty. Be careful not to scorch it! Once it’s smooth, just let it sit for a few minutes to cool down a tiny bit. We don’t want to cook the eggs when we add them!
Combining Wet and Dry Ingredients
Now, grab another bowl. Whisk together your two whole eggs, those two extra egg yolks (for that extra gooey center!), the granulated sugar, flour, and salt. Whisk it all up until it’s combined and looks lovely. Then, slowly, gradually, whisk that slightly cooled chocolate mixture into the egg mixture. Keep whisking until it’s all smooth and beautifully blended. It should look like rich, dark brownie batter at this point.
Filling the Muffin Cups
Carefully spoon or pour your gorgeous chocolate batter into each of the prepared muffin cups. Try to get them as even as you can so they all bake up similarly. Nobody wants a lava cake that’s *too* done or *not done enough* compared to its neighbor!
Baking to Perfection
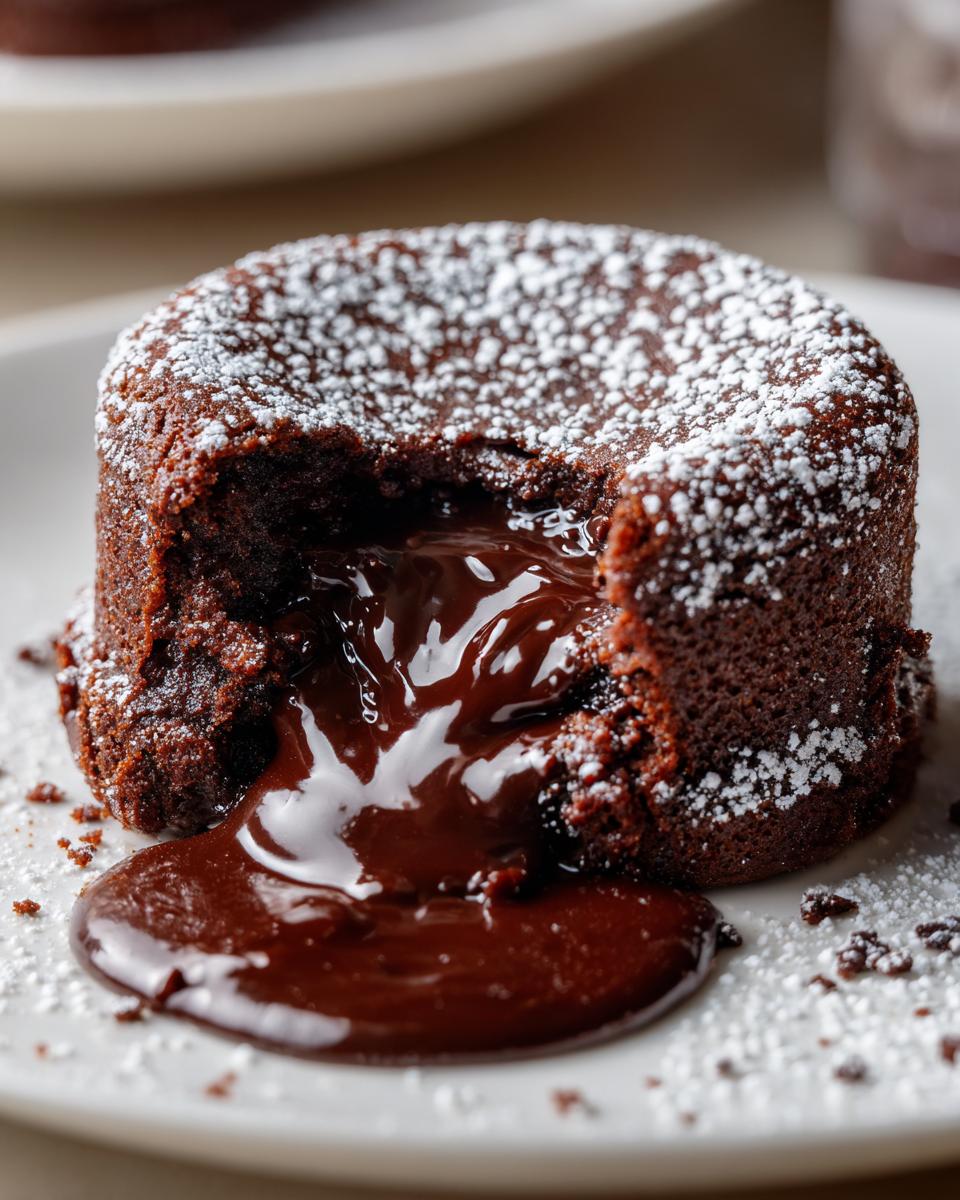
Pop those filled muffin cups into your preheated oven. You’re going to bake them for about 10 to 12 minutes. Watch them closely! You want the edges to look set, like they’re cooked, but the very center should still jiggle just a little – that’s where the magic lava is hiding! My tip? Start checking around the 10-minute mark. Ovens can be so different, and overbaking is the quickest way to lose that molten center.
Cooling and Inverting
Once they’re ready, carefully take the muffin tin out of the oven. Let them sit for just one minute – don’t walk away too long! Then, grab a plate and gently flip the muffin tin over. A little tap might be needed. They should slide right out, leaving you with these beautiful little chocolate cakes.
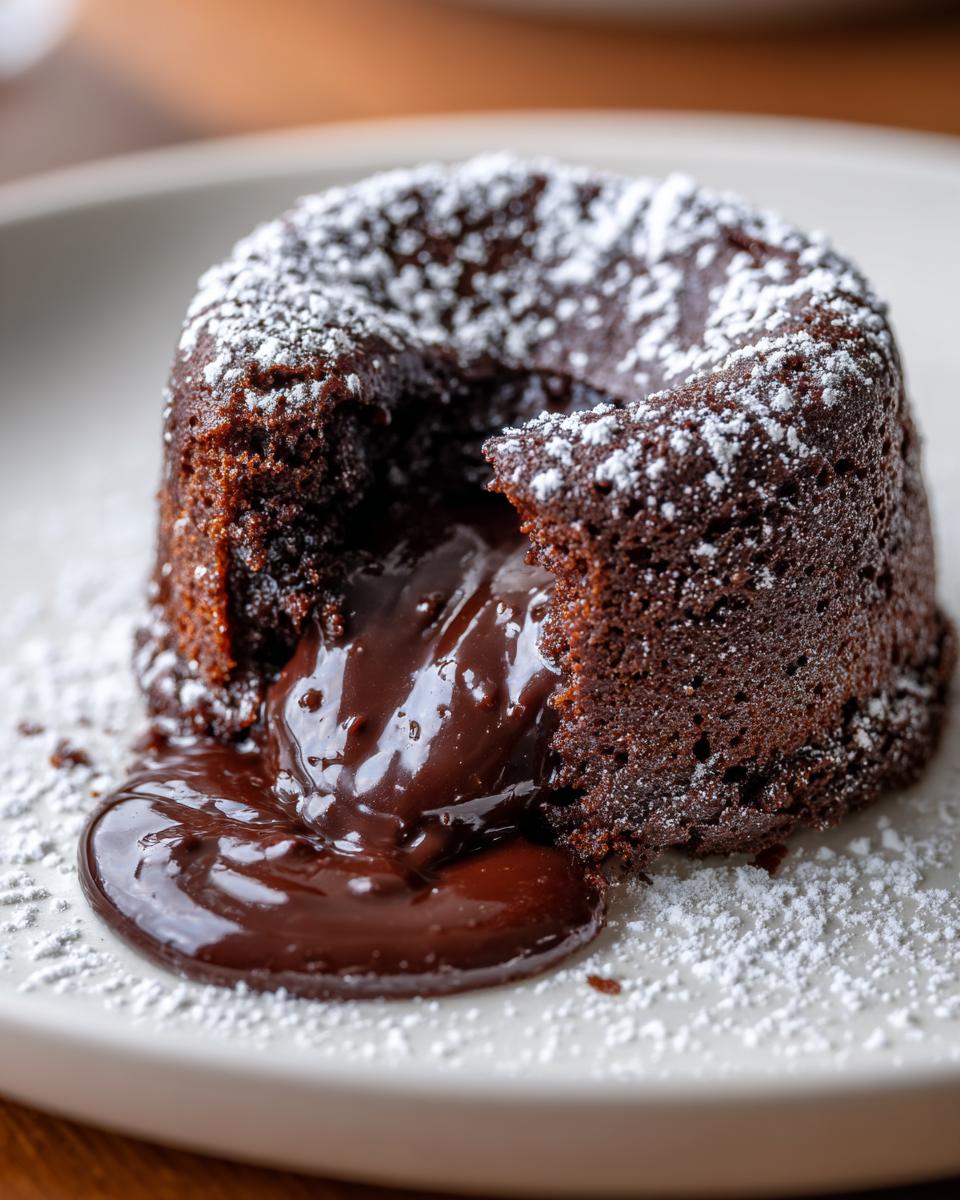
Garnishing and Serving
This is the best part! Dust them with a little powdered sugar, maybe add a dollop of whipped cream or a few fresh raspberries. The key is to serve these immediately! That molten center is best when it’s hot and gooey. Enjoy that moment of pure chocolate bliss!
Tips for Perfect Chocolate Lava Cakes Every Time
Okay, so now that you’ve got the recipe, let’s talk about making sure these chocolate lava cakes are absolutely perfect *every single time*. It’s not hard, but a few little tricks make all the difference. First off, use good quality chocolate – it really does taste better! I learned this the hard way when I used some generic chocolate chips once, and it just wasn’t the same. Also, don’t go crazy mixing the batter once you add the flour; you don’t want to overwork it. Just mix until it’s combined. Ovens can be wildcards, too, so keep an eye on those cakes in the last few minutes of baking. My own little disaster story involves overbaking them because I wasn’t watching, and instead of lava, I got little chocolate muffins. Oops! The most important thing is to serve them right away. That molten center waits for no one! If you want to dive deeper into the world of baking perfection, King Arthur Baking has some fantastic general tips that always help me out.
Ingredient Notes and Substitutions
Alright, let’s chat about some of these ingredients for your quick chocolate lava cakes. The semisweet chocolate is really the star here, so try to use a good quality bar that you can chop up, rather than chocolate chips, because they melt a bit differently. If you can’t find semisweet, dark chocolate works too, but it might be a little less sweet. If you need to keep this dairy-free, you can totally use a good dairy-free butter substitute and dairy-free chocolate! They’ll turn out just as lovely. The key is that they still come together super fast, keeping that promise of delicious Dessert Recipes for Chocolate Lava Cakes in Under 30 Minutes!
Frequently Asked Questions About Chocolate Lava Cakes
Alright, let’s tackle some of those burning questions you might have about whipping up these speedy chocolate lava cakes. It’s all about getting that perfect molten center!
Can I make chocolate lava cakes ahead of time?
This is a common one! Technically, you can mix the batter ahead of time and keep it covered in the fridge for a few hours. But, and this is a big ‘but’, the magic really happens when they’re baked fresh. The molten center can get a bit… well, not molten… if they sit too long after baking. For the best lava effect, I recommend baking them right before you want to serve them. It’s part of what makes them so quick, right?
What kind of chocolate is best for lava cakes?
Great question! I swear by a good quality semisweet chocolate for these. Chop it up yourself from a bar, don’t just use chips if you can help it, because chips often have stabilizers that make them trickier to melt smoothly. Dark chocolate works too if you like things a bit more intense, but remember it will be less sweet. The key is a chocolate that melts beautifully and has a rich flavor. It really is the star of the show! For more insights into choosing the best chocolate, check out RecipeTin Eats for some really helpful tips.
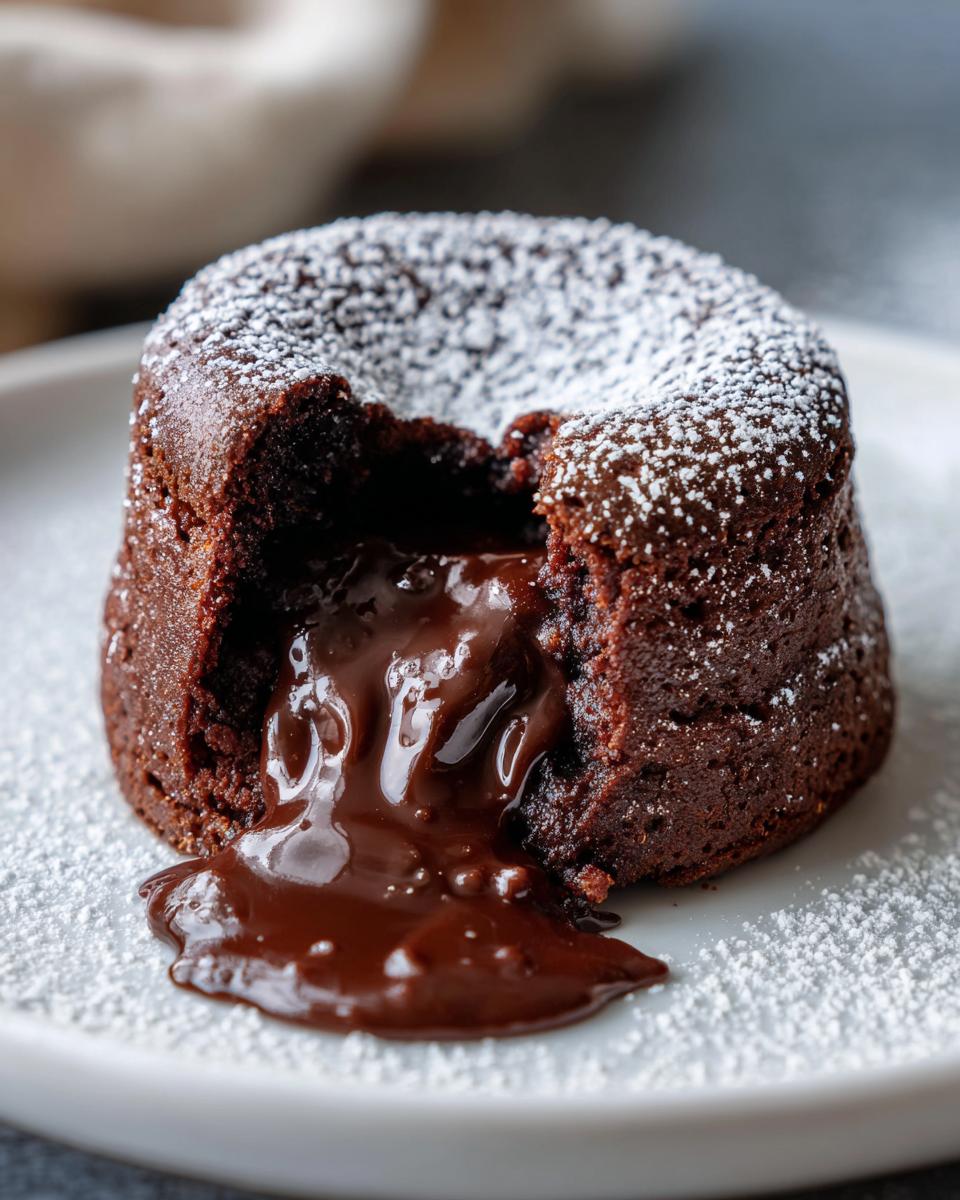
Why are my lava cakes not molten?
Oh no! This usually comes down to one thing: overbaking. These cakes bake super fast, and it’s easy to leave them in just a minute or two too long. You want the edges to look set and lightly puffed, but the very center should still be soft and jiggly, almost wet-looking. Keep a close eye on them during those last few minutes. Also, make sure your oven temperature is accurate – sometimes ovens run hotter than they say!
How do I prevent my lava cakes from sticking?
This is why we prepped the muffin tin so carefully! Make sure you grease and flour those cups really well. Some people even use a cooking spray with flour in it, which is brilliant. When it comes time to invert them, let them sit in the tin for just that one minute. If they’re still a bit stubborn, gently run a thin knife or offset spatula around the edge before flipping. Patience here means a perfect cake!
Estimated Nutritional Information
Just so you know, these amazing chocolate lava cakes are approximate! Serving sizes can vary, and the exact nutrition can change depending on the brand of chocolate and butter you use. But, as rough estimates for one lava cake, you’re looking at around 350-400 calories, about 25-30g of fat, maybe 5-7g of protein, and roughly 30-35g of carbohydrates. Enjoy!
Share Your Quick Chocolate Lava Cake Creations!
I just know you’re going to love making these quick chocolate lava cakes! Did you try them? How did they turn out? I’d absolutely love to hear about it! Please, drop a comment below with your experience, tell me if you tweaked anything, or even if you just want to share how delicious they were. And if you snap any photos, tag me on social media – I’d be thrilled to see your molten chocolate masterpieces!
Chocolate Lava Cakes
Ingredients
Equipment
Method
- Preheat your oven to 425°F (220°C). Grease and flour four cups of a muffin tin.
- In a microwave-safe bowl, melt the butter and chopped chocolate together. Stir until smooth. Let it cool slightly.
- In a separate bowl, whisk together the eggs, egg yolks, granulated sugar, flour, and salt until well combined.
- Gradually whisk the melted chocolate mixture into the egg mixture until smooth.
- Divide the batter evenly among the prepared muffin cups.
- Bake for 10-12 minutes, or until the edges are set but the center is still soft.
- Let the cakes cool in the muffin tin for 1 minute, then carefully invert them onto serving plates.
- Dust with powdered sugar and serve immediately with whipped cream or raspberries, if desired.