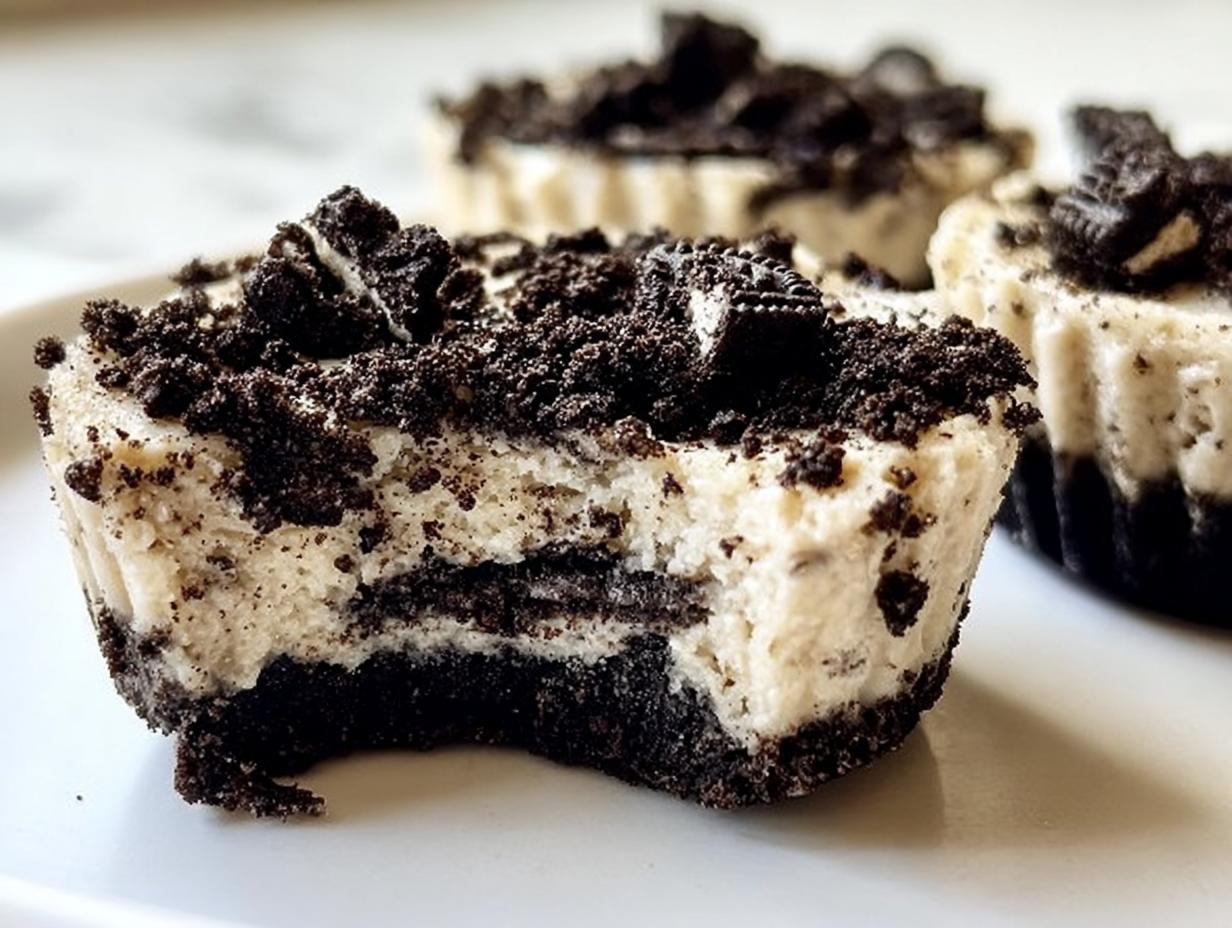
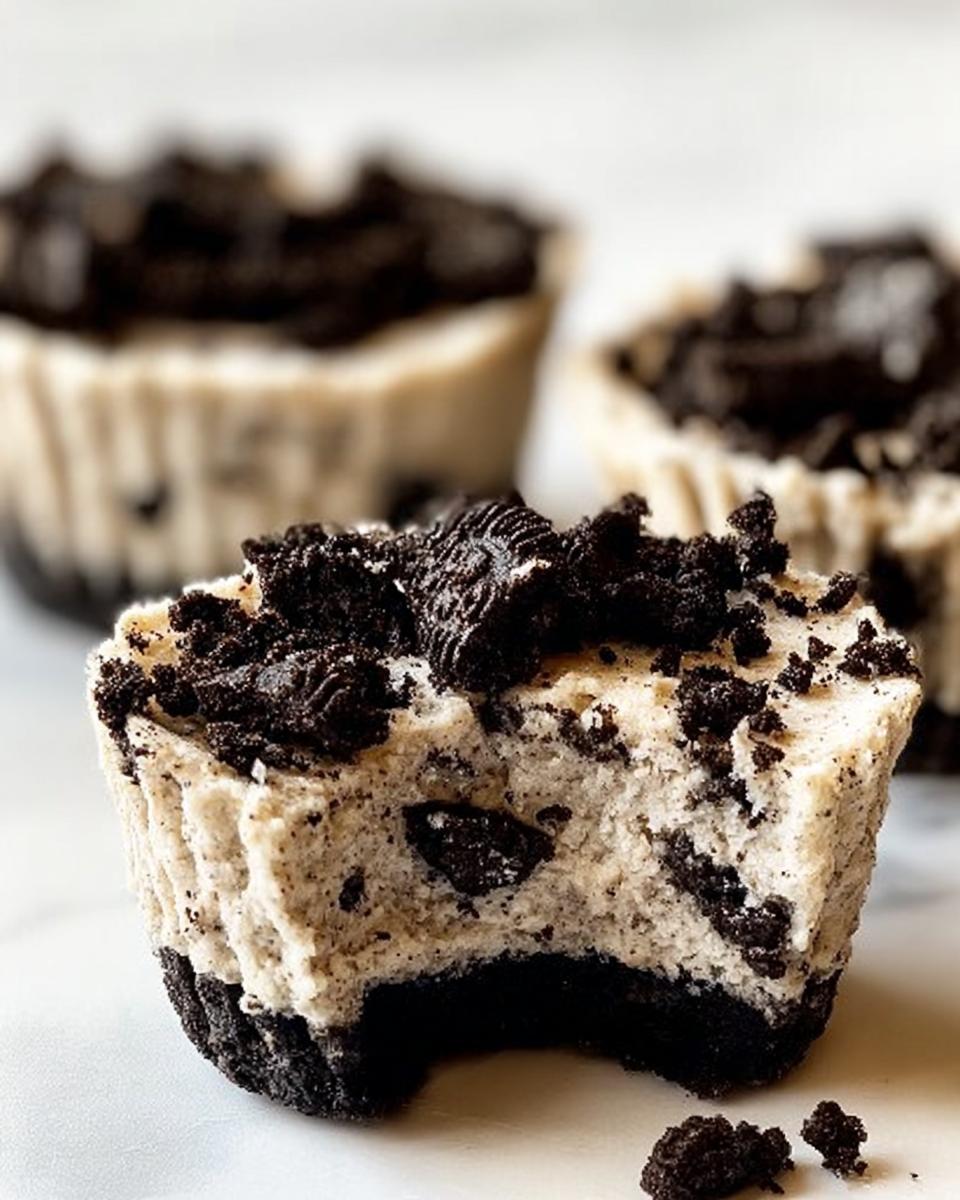
Are you tired of seeing incredible desserts that just don’t fit into your healthy lifestyle? Me too! That’s exactly why I’m bubbling over with excitement to share these Healthy No-Bake Oreo Cheesecake Bites with you today. They are the definition of decadent indulgence that you can actually feel good about enjoying. I first dreamed this recipe up when my youngest son was diagnosed with celiac disease, and suddenly, desserts felt complicated. I needed joy, I needed sweetness, and I needed it fast! Creating these creamy, no-bake bites brought back all those cherished family celebration feelings. Trust me, these little bites are pure magic, allowing us all to smile together over a sweet treat.
Why These Healthy No-Bake Oreo Cheesecake Bites Are Your New Favorite Treat
Seriously, forget everything you think you know about making dessert when you’re watching what you eat! These bites hit that sweet spot perfectly. They are so simple, yet they feel fancy. My favorite thing about them is how they manage to taste like a rich, full-fat cheesecake, even though they keep your nutrition goals in check. They’re the perfect little pop of happiness!
Quick Preparation, Zero Baking Time
You know those days when you need a dessert *right now*? That’s why this recipe is a lifesaver. We are talking 15 minutes of actual work. Fifteen minutes! And guess what? There’s absolutely no oven time involved. You mix it, spoon it, and chill it. Easy peasy, lemon squeezy.
A Creamy Indulgence That Fits Your Goals
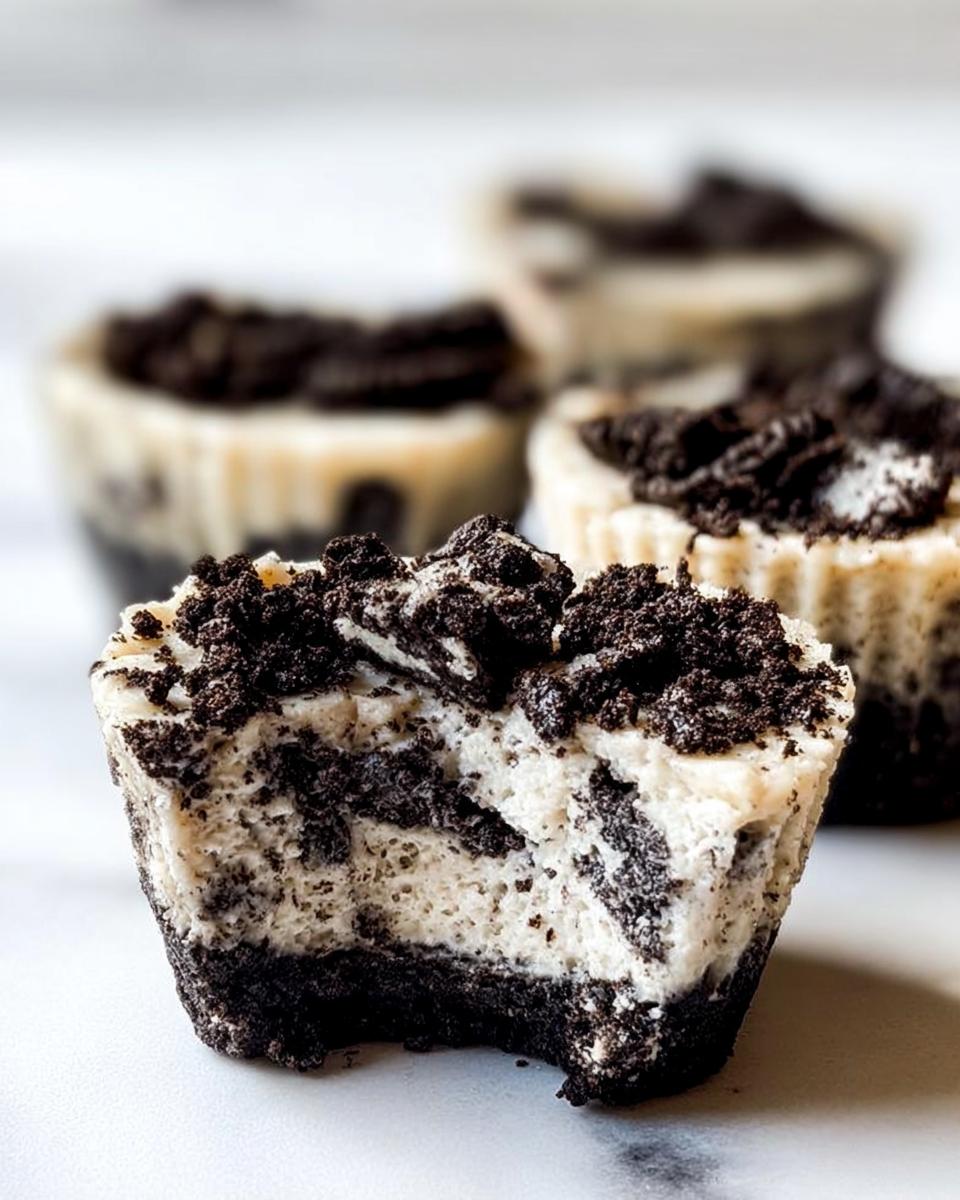
It might sound like a contradiction, but these are satisfying without being overwhelming. Because they are portion-controlled little bites, you get that amazing, creamy texture from the cream cheese and whipped cream without overdoing it. They satisfy that intense Oreo craving in a smart, single-serving way. It’s indulgence that plays nice with your healthy plan!
Essential Equipment for Perfect Healthy No-Bake Oreo Cheesecake Bites
You don’t need a professional bakery setup for these wonderful little treats, thank goodness! Having the right tools just makes the whole 15-minute prep time fly by. When I first made these for my son, I kept things super basic. You’ll need something to crumble those Oreos up just right. Also, no one wants sticky cheesecake mixture all over their counter, so think about vessels!
Here is the short list of items I always grab before I even start melting the butter:
- You absolutely must have a food processor. This helps us get those crust Oreos perfectly fine.
- A standard cupcake tray is essential for shaping your bites.
- Don’t forget your cupcake liners—these are your best friend for easy cleanup and serving!
Ingredients Needed for Healthy No-Bake Oreo Cheesecake Bites
Getting the ingredients together is half the fun, especially knowing that it’s all going to come together without turning on the oven! I broke down the list into three clear sections because we are doing three different things with our Oreos—and believe me, the way you chop them matters immensely! This keeps the process clean, even though we are using a few simple items you probably already have in your kitchen right now. I found this great recipe idea once trying to use up some extra Oreos, you can check out this variation if you want another twist on the classic!
For the Crust
This layer needs to be solid so our little bites don’t fall apart when we grab them. Remember, we want these finely crushed!
- 12 Oreos: These must be finely chopped—think almost dust!
- 1 stick Butter: Make sure this is completely melted.
For the Creamy Filling
This is where the richness comes from, and we need everything smooth before we fold in that last bit of cookie goodness. Soft cream cheese is key here, so pull yours out early!
- 8 oz Cream cheese: Softened is the only way we are going to get this smooth.
- 1/2 cup Powdered sugar: This gives us that classic sweet cheesecake bite without any graininess.
- 1 tsp Vanilla extract: A little goes a long way for that comforting flavor.
- 1 cup Heavy whipping cream: This helps whip everything up nicely!
- 7 Oreos: These are only roughly chopped and you’ll mix them in by hand later.
For the Topping
Just a little something extra on top for those perfect little textural surprises. Don’t stress about making these identical!
- 5 Oreos: Roughly chopped, just enough to sprinkle over the top of each bite.
Step-by-Step Instructions for Healthy No-Bake Oreo Cheesecake Bites
Okay, now that we have all our amazing ingredients lined up, let’s get to the assembly line! Don’t worry, this moves fast since we aren’t waiting for an oven. The most important thing here is working in stages, especially with those Oreos. I always put on some fun music before I start because these are supposed to be joyful to make, not stressful. If you’re prepping these for the week, you can check out my tips on meal prepping sweets like this!
Preparing the Oreo Components
This is the mission briefing! Since you already ran your Oreos through the processor in the ingredient prep, we’re just confirming which pile goes where. You need three separate portions: crush 12 Oreos super fine for the bottom crust. Then, set aside 7 Oreos that were roughly chopped for folding into the filling. Finally, keep those last 5 roughly chopped pieces separate for the final decoration on top.
Creating the Crust Base
Grab that melted butter and pour it over the 12 finely chopped Oreos. Stir that until it looks like wet sand—completely coated. Then, line your cupcake tray with liners. Spoon that mixed crust into the bottom of each liner. Here’s the secret handshake: use the bottom of a small glass or a measuring cup (I use my 1/3 cup measure!) and really press down hard. You want a firm, compact base, otherwise, your bites will crumble when you try to pick them up.
Whipping the Healthy Cheesecake Filling
This is where the smooth magic happens! Pop the softened cream cheese, powdered sugar, vanilla, and heavy cream into your food processor—or use a hand mixer if you prefer! Blitz it until it’s light, fluffy, and totally lump-free. Once it’s perfect, take the bowl out, grab those 7 reserved chopped Oreos, and gently fold them in by hand. Resist the urge to turn the machine back on for this part; folding keeps the texture much nicer.
Assembling and Chilling the Bites
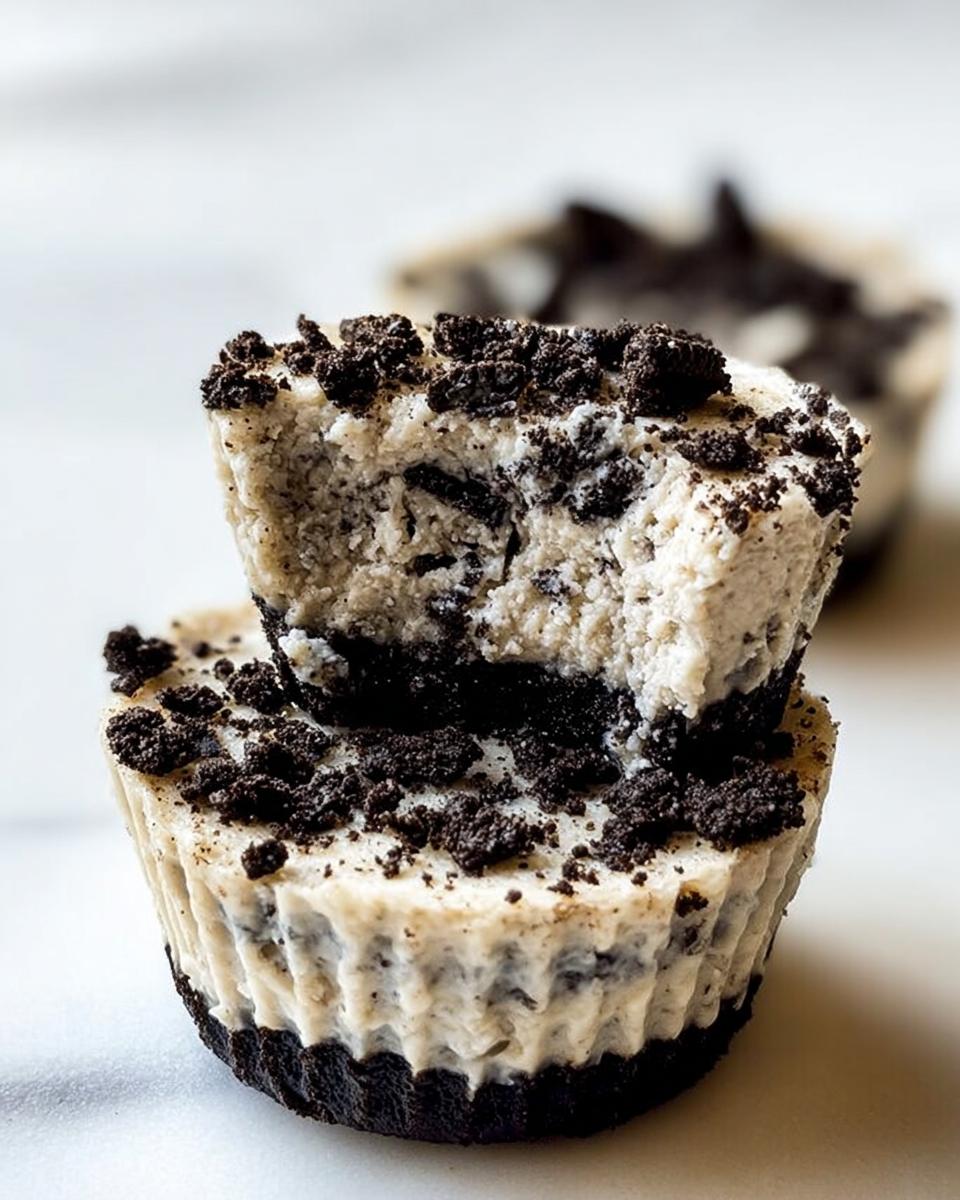
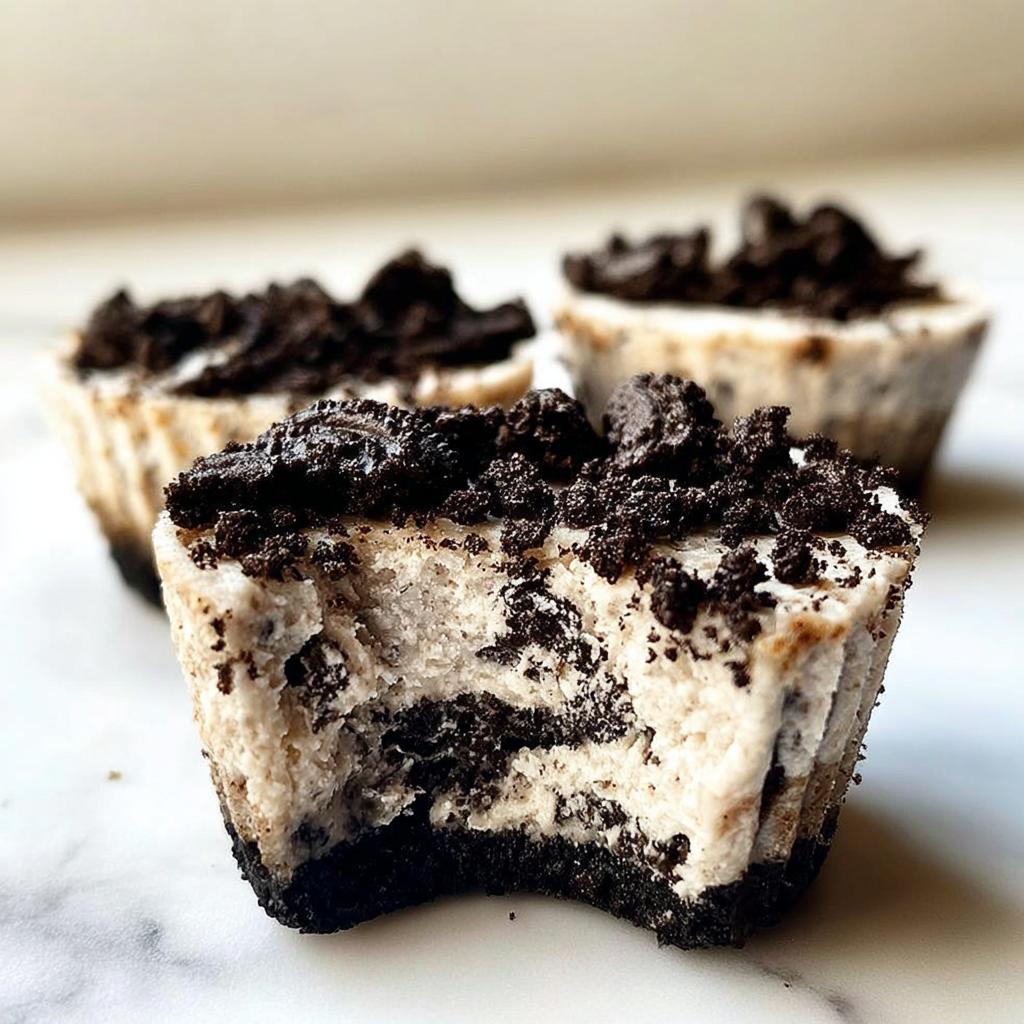
Time to layer up! Spoon that creamy filling evenly over the crusts. Don’t overfill—just get it close to the top edge of the liner. Then, sprinkle those last 5 chopped Oreos right on top for that professional finish. Now, they need a nap! Slide the whole tray into the fridge for at least 60 minutes. Honestly, they are even better after two hours, but one hour is the minimum time needed for them to set up solid and be ready to serve.
Tips for Perfect Healthy No-Bake Oreo Cheesecake Bites
Listen, even the easiest recipe can go sideways if you skip one tiny step! Since these are no-bake, we rely on chilling and ingredient temperature more than we rely on the heat of the oven. I learned the hard way years ago what happens when you rush the cream cheese—it ends up clumpy, and clumpy cheesecake is just sad. Don’t let that happen to your amazing work!
If you follow these little pointers now, you are guaranteed success, and you won’t end up with a messy pile of crumbs trying to serve dessert. Before you even pull out the mixer, make sure your cream cheese has been out on the counter for at least an hour. Trust me on the temperature!
Achieving a Firm Crust
This is where folks often cheat, but don’t be tempted! If your crust layer feels loose, the whole bite can fall apart when you try to take it out of the liner. Once you’ve sprinkled that buttery mix in, you need to compact it like you’re setting pavement. I use the base of a flat glass, but you can use the back of a spoon, too. Press down hard and go over every inch until it feels rock solid. Seriously, put some muscle into that base!
Ensuring Smooth Cheesecake Filling
If your cream cheese is cold, you will get lumps, period. I can’t stress this enough! Even if your food processor is powerful, cold, hard cream cheese fights the blades and leaves tiny, stubborn white chunks in your beautiful, creamy filling. When the center is perfectly smooth, it sets up much better in the fridge.
If you are in a huge rush and forgot to soften it, try this trick: cut the cream cheese into small cubes and microwave them for super short 5-second blasts until they are pliable, but definitely not melty or greasy. Then, beat it alone for a minute before adding the sugar. For more general baking wisdom that helps even with no-bake desserts, you can check out this great guide I found on beginner baking tips.
Variations on Healthy No-Bake Oreo Cheesecake Bites
Just because this recipe is fantastic doesn’t mean we stop having fun with it, right? I love experimenting when I have extra time! Since we are controlling the ingredients here, swapping things out is super easy. You could try swapping out regular Oreos for the chocolate wafer style if you want a different cookie flavor for the crust. Or, maybe you want a little extra zing in the filling?
Try adding just a half teaspoon of lemon zest to the cream cheese mixture—it cuts the richness beautifully! If you want different decoration ideas for these no-bake treats, I found a whole section of fun cheesecake looks over at this Pinterest trends page. It’s amazing how small changes create a whole new experience!
Storing and Serving Your Healthy No-Bake Oreo Cheesecake Bites
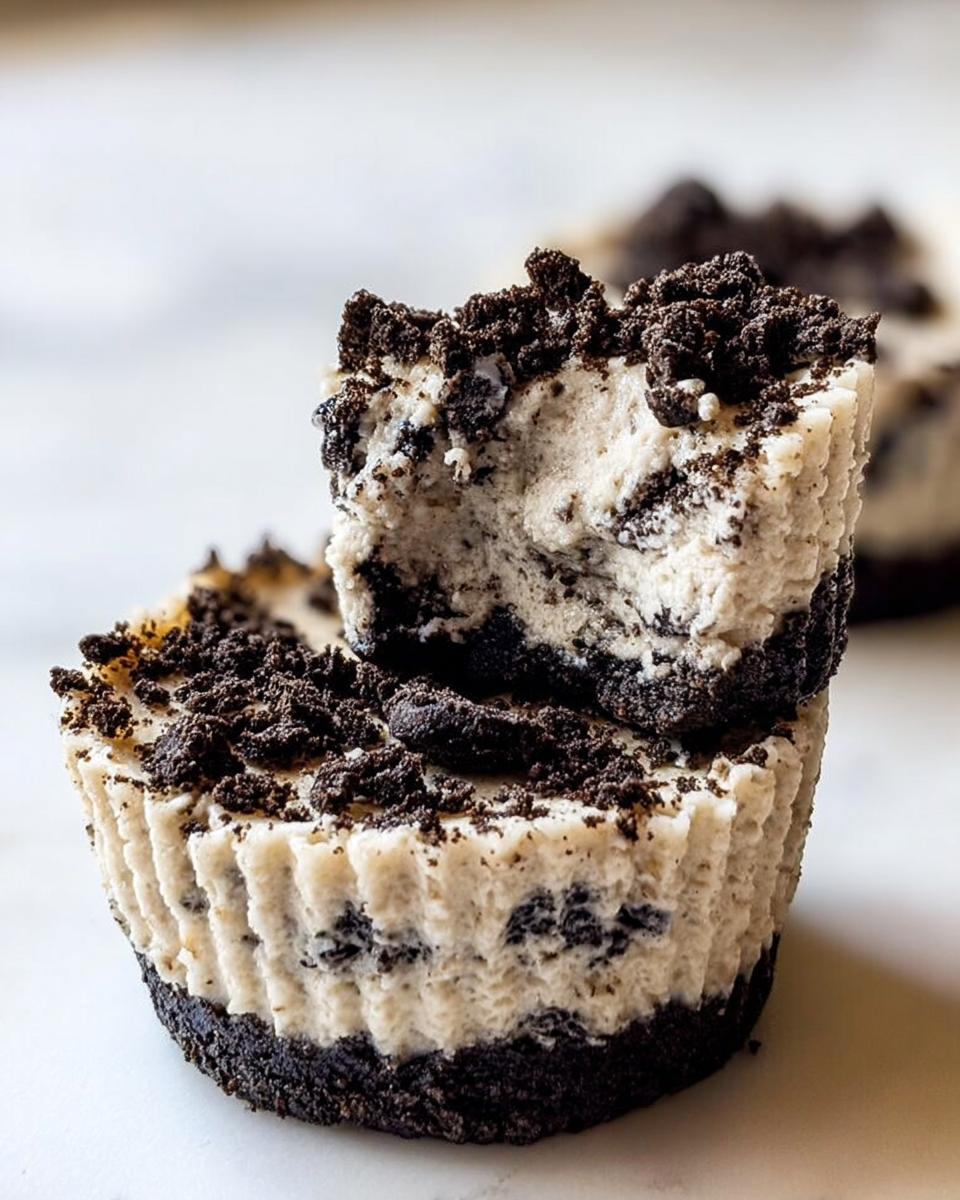
Since these are no-bake, storage is super important to keep that creamy texture perfect. You should definitely keep these Healthy No-Bake Oreo Cheesecake Bites in the fridge—they’ll last beautifully airtight for about 4 to 5 days. I usually just leave them right in that cupcake tray covered tightly with plastic wrap!
But here’s the best part: they freeze like a dream! If you want to make a big batch for a party, pop them into a freezer-safe container. They are great straight from the freezer, but if you can plan ahead just 20 minutes, let them thaw slightly on the counter. It softens them just enough to get that perfect melt-in-your-mouth texture. Being able to prep these ahead saves so much stress, just like I love doing with my make-ahead dinner recipes!
Frequently Asked Questions About Healthy No-Bake Oreo Cheesecake Bites
I totally get it—when you find a great recipe, you immediately start wondering about tweaks and shelf-life! I’ve answered the most common questions I get about these Healthy No-Bake Oreo Cheesecake Bites down below. Remember, just because it’s healthier doesn’t mean it should be complicated, right?
Can I make these Healthy No-Bake Oreo Cheesecake Bites vegan?
That’s a fantastic question! Yes, you absolutely can tweak these for a vegan diet. You’ll need to look for vegan-certified Oreo-style cookies, which are out there now! For the filling, substitute the regular cream cheese with a good quality block of vegan cream cheese—the kind that comes in foil wrapping works best for texture. The butter for the crust can be swapped for melted coconut oil or a vegan butter stick. It all comes together just as creamy!
How long do these no-bake cheesecake bites last in the fridge?
For the absolute best, firmest texture, you’ll want to eat them within three days. They are perfect for weekend baking to get you through the first half of the week. After that, they are still safe, but the crust might start getting a tiny bit softer from the moisture in the filling. If you aren’t eating them right away, just pop them in the freezer!
What makes these Oreo cheesecake bites ‘healthy’?
Well, “healthy” is relative when we are talking about Oreos, ha! What I mean is that we are focusing on portion control here. These are single-serving bites instead of a giant slice of cake. Plus, since there is no baking, we aren’t dealing with added oven heat changing the chemistry of the ingredients. They satisfy that chocolatey craving without weighing you down, and I always feel good serving family recipes that let everyone indulge a little!
If you’re looking for why people adore this style of dessert in general, check out this great piece on why everyone loves these cake ideas. It really speaks to simple satisfaction!
Share Your Healthy No-Bake Oreo Cheesecake Bites Experience
Now that you’ve made these amazing, guilt-free Healthy No-Bake Oreo Cheesecake Bites, I absolutely need to hear all about them!
Baking—or in this case, *no-baking*—is always better when it’s shared. Did you try adding lemon zest? Did your little ones enjoy trying to sneak the topping Oreos before you could freeze them? Don’t keep those delicious triumphs to yourself!
Drop a Rating and Tell Me What You Think
If you loved how easy these were, or if you are already planning your next batch, please take a moment to come back here and hit those stars! Rating the recipe really does help others who are trying to find healthier dessert options find their way to this page, and I read every single comment.
If you had a mishap or a brilliant substitution, please leave a comment below so we can all learn from your kitchen adventures. I love hearing how this recipe works for different families and dietary needs.
Show Me Your Bites on Social Media!
When you pull those beauties out of the fridge and snap a picture, tag me! I live for seeing these little creamy wonders pop up on my feed. Use the hashtag #MarcoBites on Instagram or Facebook so I can see how you styled your Healthy No-Bake Oreo Cheesecake Bites. Remember, if you ever want to get in touch directly with a question or just to say hi, you can always reach me through my contact page. Happy indulging!
Healthy No-Bake Oreo Cheesecake Bites
Ingredients
Equipment
Method
- Roughly chop 5 Oreos using a food processor and set them aside for the topping.
- Roughly chop 7 Oreos using a food processor and set them aside for the filling.
- Finely chop 12 Oreos using a food processor and set them aside for the crust.
- Melt the butter. You can microwave it for about 30 seconds or melt it in a saucepan.
- Mix the melted butter with the 12 finely chopped Oreos.
- Line a cupcake tray with 12 cupcake liners.
- Fill the 12 cupcake liners with equal amounts of the butter/Oreo mixture. Press the mixture down to flatten it. Use a ⅓ size measuring cup or a spoon to press it down firmly.
- In the food processor, combine the cream cheese, powdered sugar, vanilla extract, and heavy cream. Mix until the mixture is thoroughly combined.
- Hand mix the 7 roughly chopped Oreos into the cream cheese mixture.
- Spoon the creamy Oreo mixture on top of the Oreo crust in the 12 cupcake liners, filling them equally.
- Top each bite with the remaining 5 chopped Oreos.
- Refrigerate the bites for 1 hour before serving. They also freeze well for later enjoyment.
Nutrition
Notes
Tried this recipe?
Let us know how it was!
Gluten-Free Nutritionist & Family Meal Planning Expert
Working as a pediatric dietitian at Children’s Hospital of Denver, I kept meeting families overwhelmed by managing their children’s celiac disease. Parents stressed, kids frustrated, everyone eating bland boxed “gluten-free” products.
That’s when I realized my calling: creating practical, balanced gluten-free solutions for real families with busy schedules. I’ve developed 375+ family-friendly recipes focusing on lunch boxes, after-school snacks, and make-ahead dinners that actually work.
My meal planning system was featured in Parents Magazine, and I presented research at the Rocky Mountain Pediatric Nutrition Conference. My evidence-based approach ensures recipes meet both taste and health standards—families need solutions that work in the real world, not just perfect test kitchens.