Are you tired of pasta tasting… well, just okay? Don’t get me wrong, I love a good box of spaghetti in a pinch, but why settle when you can create something truly spectacular? Getting ready to move beyond the basics means unlocking some fantastic **Advanced Pasta Recipes** that really sing.
This guide is your entry ticket into mastering how **How to Make Pasta Recipes Like a Pro (2025)**. We’re not just rolling flat sheets; we’re getting into the good stuff—rigatoni, bucatini—the shapes that truly hug the sauce.
I still remember the first time I attempted to make gluten-free pasta for my family; it was a rainy afternoon, and I was determined to recreate the comforting meals my abuela used to make. Armed with my blend of cassava flour and the knowledge I gained from culinary school, I rolled out the dough, filled it with fresh vegetables from my garden, and took a deep breath as I boiled those delicate pieces. To my delight, they not only held together but also brought back joyful memories of family gatherings and shared meals. That day sparked my passion for perfecting pasta without gluten, reminding me that food is about connection, tradition, and creativity. Try these techniques, and you’ll feel that same connection to the craft!
Why Mastering How to Make Pasta Recipes Like a Pro (2025) Matters
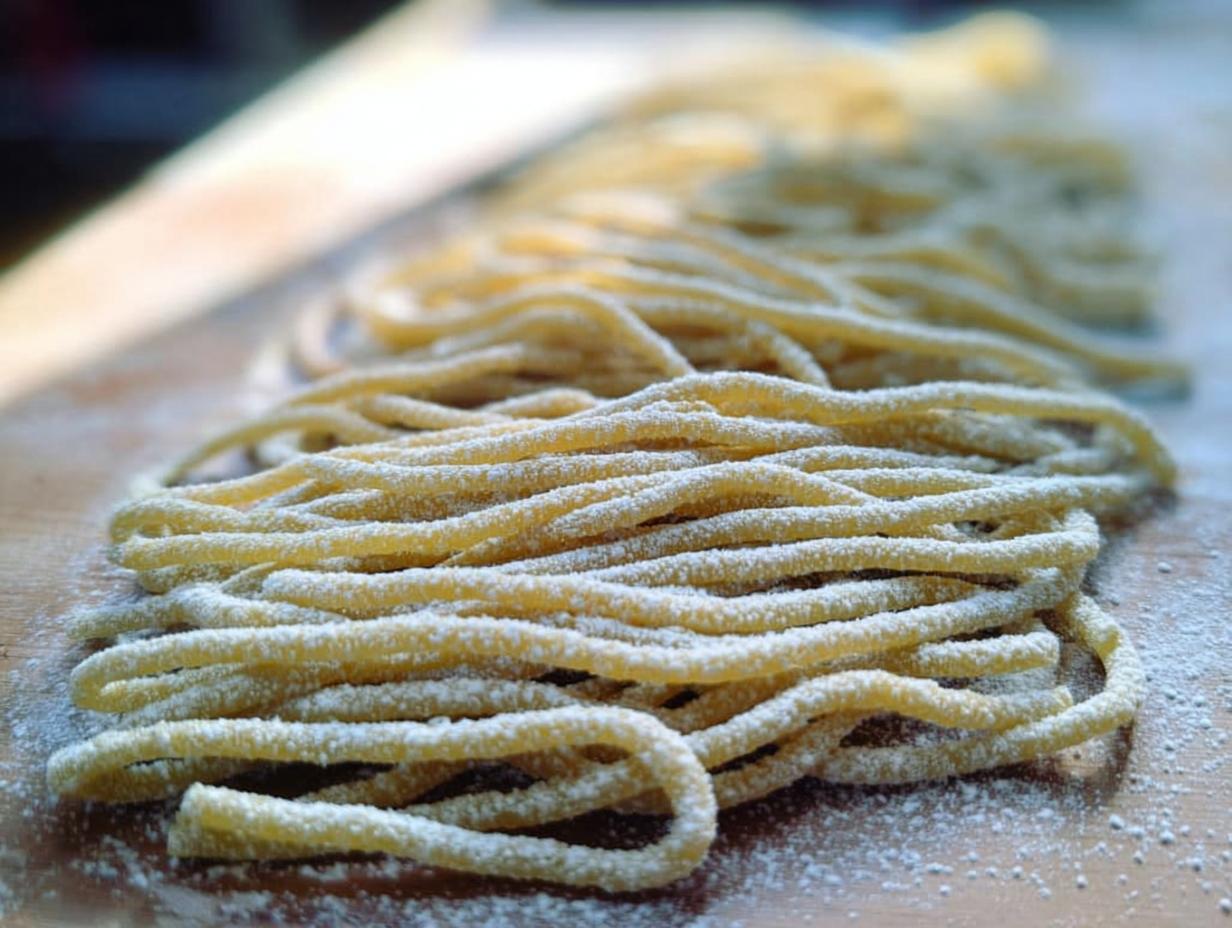
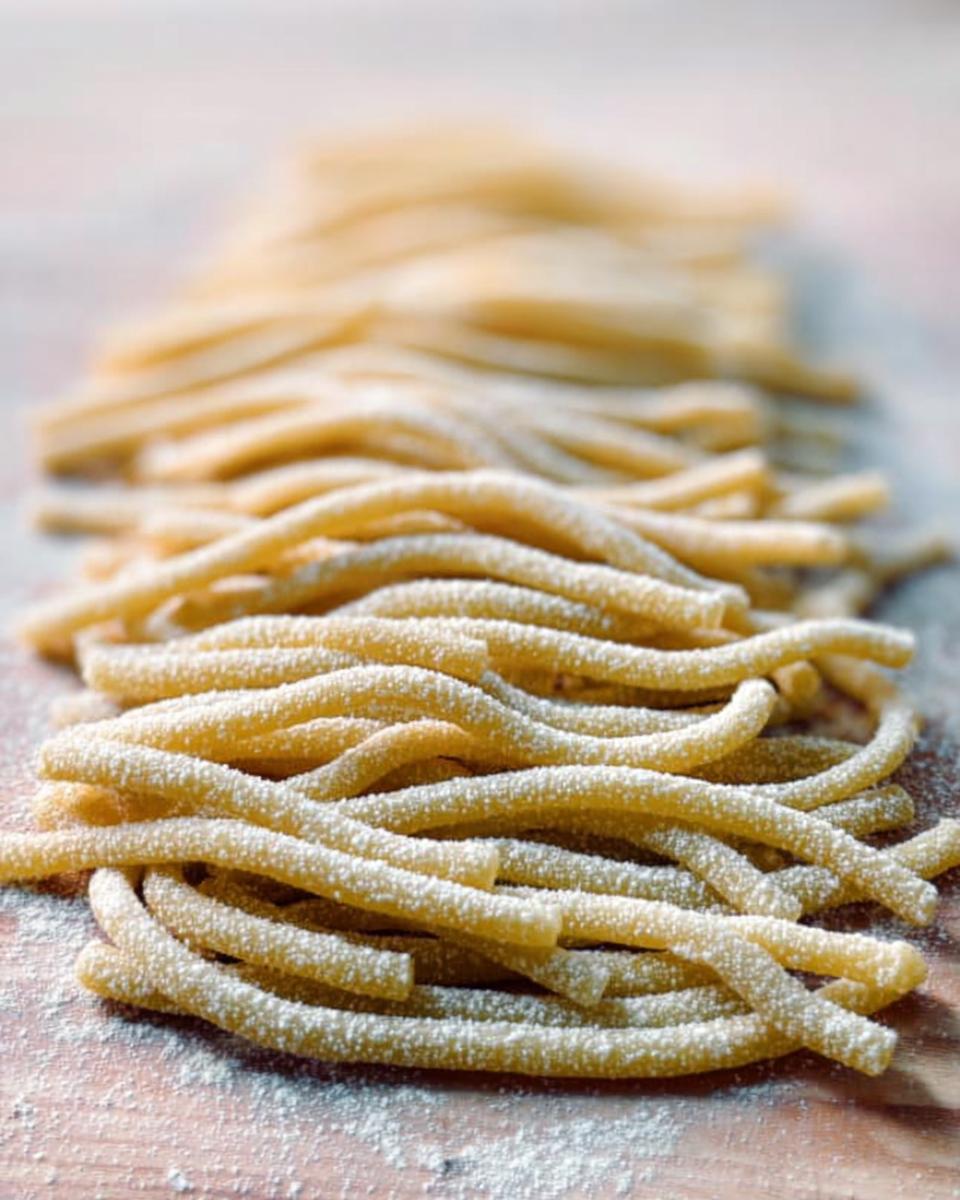
Listen, dried pasta is fine, absolutely, but let me tell you—when you taste pasta made fresh, your whole world shifts a little! That soft, tender texture just melts in your mouth, and it soaks up sauce like a sponge. If you’re serious about your home cooking, like I know you budding chefs are, this is where you need to focus your energy. Learning these techniques is the difference between a quick dinner and an experience. For more inspiration on amazing food, take a look at my collection of favorite recipes.
The Flavor Advantage of Fresh Pasta
Fresh pasta has a natural sweetness and a density that dried just can’t touch. When you learn **How to Make Pasta Recipes Like a Pro (2025)**, you gain the ability to create a dish where the pasta itself is the star, not just the carrier for the sauce. Amazing!
Building Confidence in Your Kitchen Skills
Honestly, mastering shapes like hand-cut pappardelle or extruded rigatoni feels incredible. It shows you aren’t just following steps; you are creating something foundational. This is the move into those truly **Advanced Pasta Recipes** that will wow everyone at your next dinner party. You absolutely have this in you!
Essential Equipment for How to Make Pasta Recipes Like a Pro (2025)
You don’t need a million fancy gadgets, but having the right tools makes the difference between a frustrating afternoon and pure culinary joy. We need a reliable way to roll that dough thin and even. For the basics, a sturdy rolling pin or even a clean wine bottle will work just fine! I have a whole post about kitchen essentials you can check out here: tips for making pro pasta.
Machines vs. Manual Rolling
If you’re going deep into **How to Make Pasta Recipes Like a Pro (2025)**, investing in a hand-crank machine or, even better, a press attachment for your stand mixer is a game-changer. Hand-cranking gives you incredible control over the sheets for things like pappardelle. But if you want those perfect, hollow tubes like rigatoni and bucatini? That dedicated press attachment is what you’ll really want. It takes the guesswork out of the extrusion process, trust me!
Ingredients for Your How to Make Pasta Recipes Like a Pro (2025) Dough
Okay, while this guide is mostly about technique, you can’t make pro pasta without the right stuff underneath. We keep this part simple because the real magic is in the rolling and shaping we just talked about! Remember, quality ingredients always win out in the end.
Pasta Dough Base Requirements
First up, you need your dough! For this exercise in **How to Make Pasta Recipes Like a Pro (2025)**, just grab 1 batch of the egg-based pasta dough recipe you trust the most. Whether you use standard flour or my favorite gluten-free blends, make sure it handles well. If the dough feels good, the results will look good!
The Role of Semolina for Drying
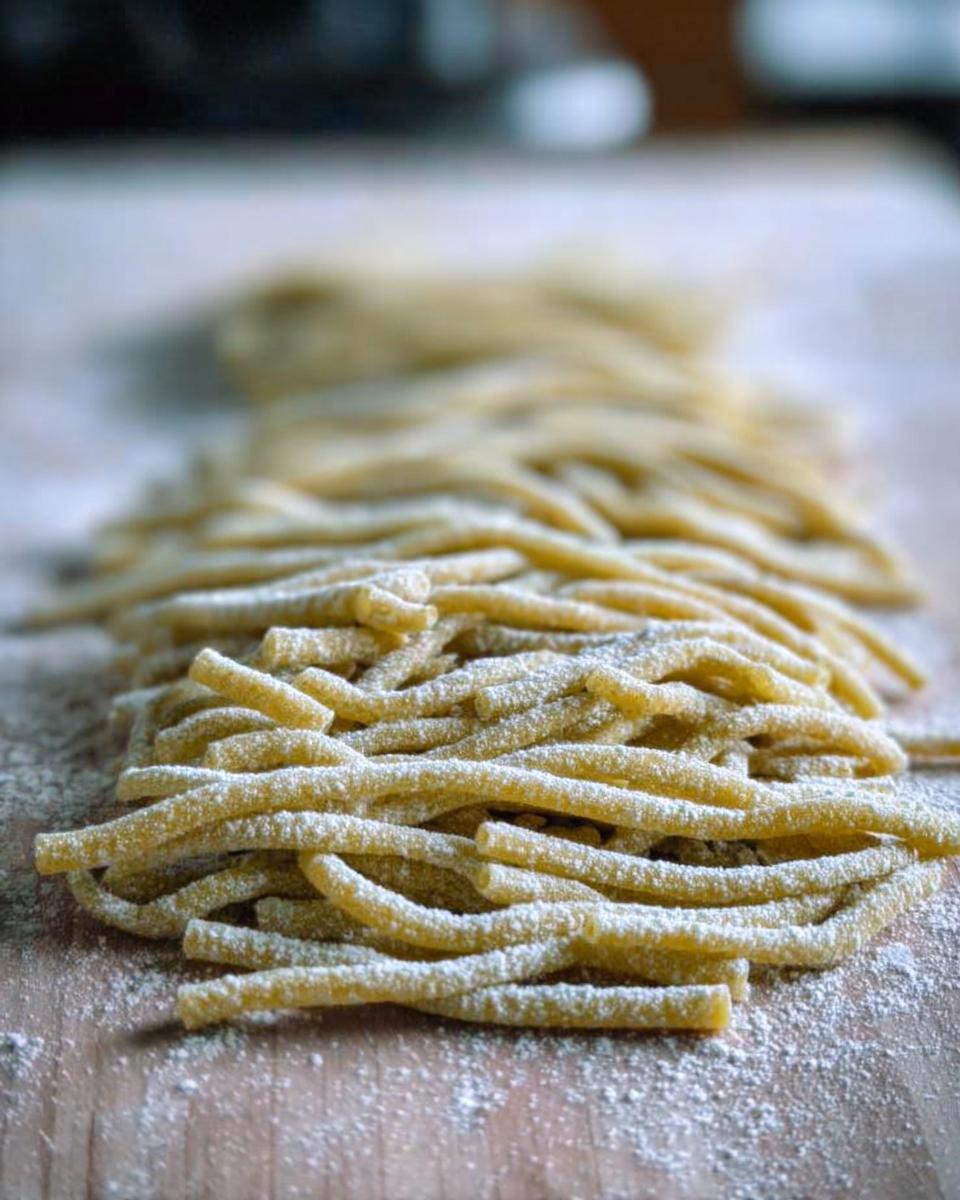
This next item is non-negotiable once you start cutting shapes! You’re going to need 1 bag of semolina. We use a generous dusting of this stuff everywhere—on the counter, on the rollers, everywhere. Semolina is your best friend for preventing all that gorgeous, fresh pasta from collapsing into one giant sticky blob during shaping and drying.
Step-by-Step Guide: How to Make Pasta Recipes Like a Pro (2025) Techniques
Okay, get ready to put in a little bit of elbow grease, because this is where the magic truly happens! Making pasta like a pro isn’t just fast; it’s methodic. You have to respect the dough’s schedule, and that means planning ahead a bit. For anything from this point forward, remember my experience when I was making that gluten-free dough; rushing it meant it fell apart. Patience here equals perfect pasta!
Preparation and Essential Resting Time
First things first: time management! Don’t try to rush this; if you do, you’re making noodles, not pasta! You need to set aside about 20 to 30 minutes just for mixing up your reliable dough. But here’s the big secret: then you let it rest for at least 30 minutes. Seriously, let it chill out. That resting period lets the hydration even out, which makes rolling so much easier and gives you a smoother end product. So, prep your dough, wrap it tight, and go make a coffee.
Achieving Uniform Thickness: Rolling Techniques
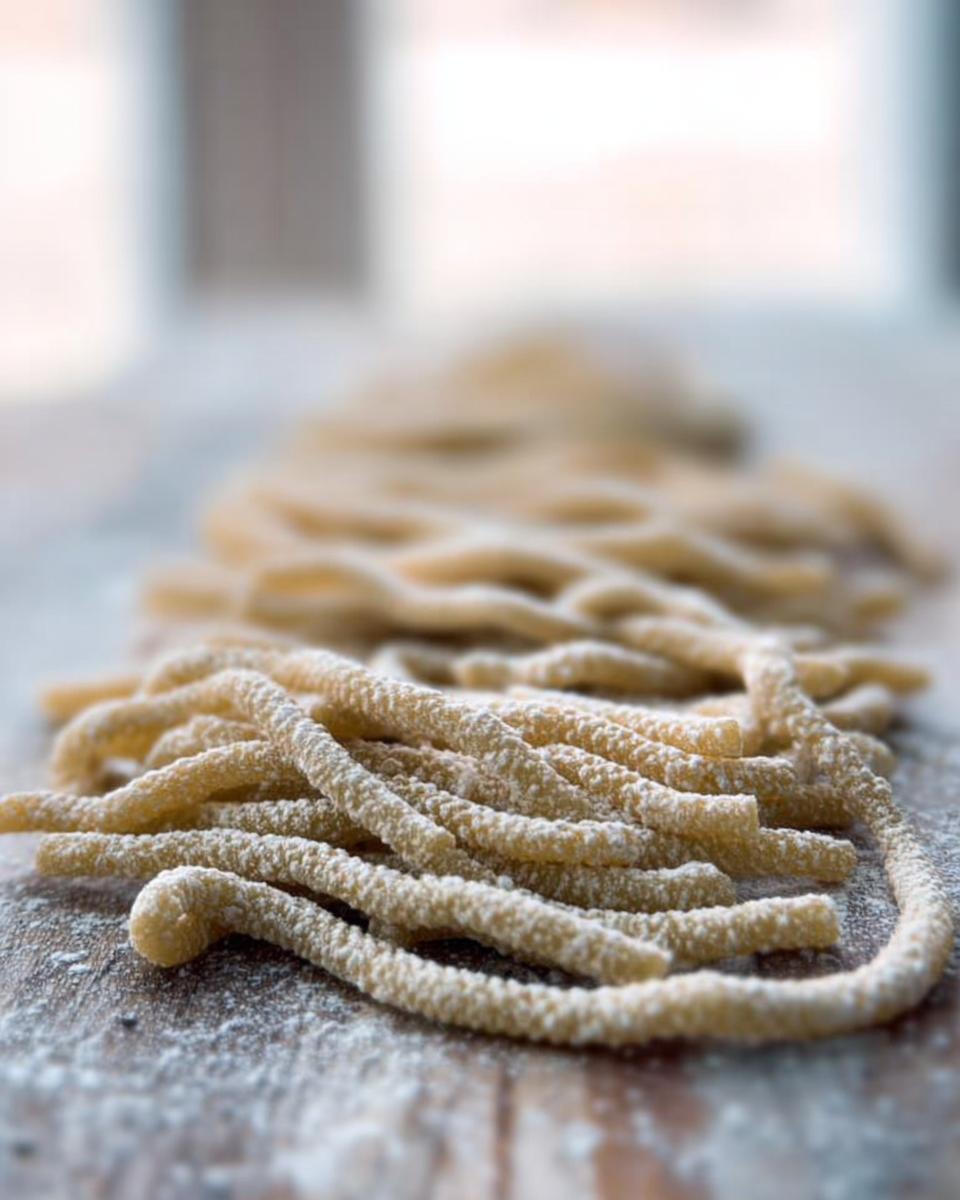
Once rested, it’s time to get thin! If you’re going old-school with a rolling pin, you’ll need consistent muscle, but watch closely. I always roll mine down to setting number 6 or 7 on my machine—you want it thin enough to see your hand faintly through it. Whether you use a manual roller or the smooth attachment on your stand mixer, the goal is the same: absolute uniformity. Uneven sheets cook unevenly, and that’s the first sign of amateur work. Keep dusting with that semolina!
Shaping Extruded Pasta: Practice Makes Perfect
This is the fun part when you graduate to those amazing shapes like rigatoni. If you’re using a press attachment, you need to find your rhythm quickly. You feed the rolled sheet through, and the extruder spits out the shape. You have to watch closely and learn exactly when to slice the pasta piece off the cutting blade. It feels awkward the first few times, splattering everywhere—trust me! But once you feel that rhythm, you can pump out perfect shapes in seconds, ready to jump over to the drying rack. For saucier dishes like a creamy garlic penne, these shapes are unbeatable.
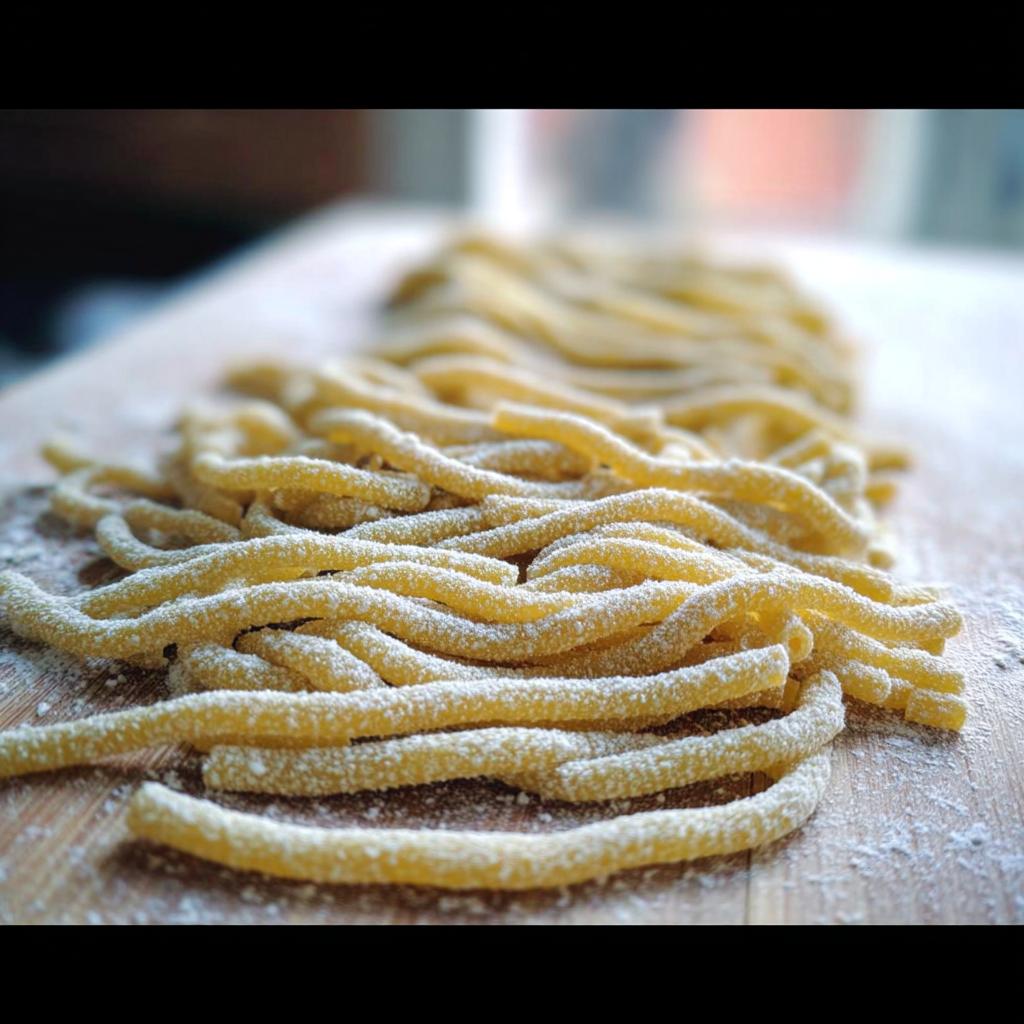
Drying and Dusting for Success
Don’t cook it right away! Once cut, every single piece needs a minimum of 30 minutes of drying time before it hits the boiling water. This firms up the exterior. Spread your pasta out on a drying rack, drape it over clean furniture, or lay it flat on a semolina-dusted surface under a light towel. If you skip this, those beautiful shapes will weld themselves together into one dense mass at the bottom of your pot. It’s crucial for that professional chew!
Tips for Success When You How to Make Pasta Recipes Like a Pro (2025)
Look, making pasta perfectly every time is all about paying attention to the little things that seem minor but make a huge difference. Don’t panic if your first batch feels a little sticky or crumbly; that’s just the dough talking to you! We learn by listening, right? These professional little tricks are what elevate your game from home cook to pasta master.
Managing Dough Humidity
The air in your kitchen matters *so much*. If it’s a super humid day, your dough will absorb that moisture and feel slack—it’ll be hard to get a good shape. If that happens, don’t be afraid to mix in just a tiny extra dusting of ’00’ flour or semolina right into the mass before you roll it out again. Conversely, a very dry environment means the dough might tear; a quick spritz with water—just a light mist, mind you—can save those hard-to-roll sheets.
The Importance of a Clean Drying Surface
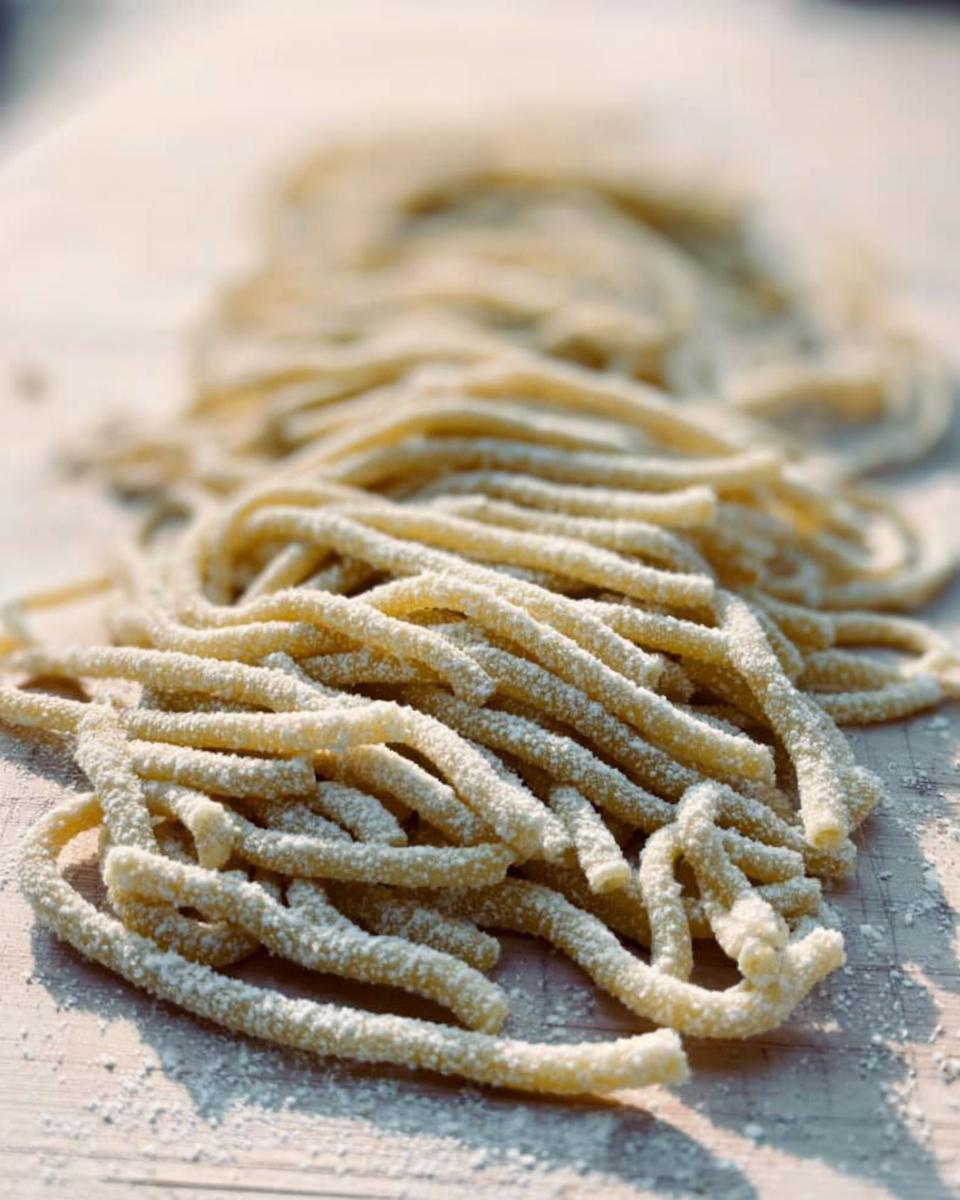
I cannot stress this enough: your drying area must be impeccable. If you’re draping pasta over chairs or using a rack, make sure they’re totally clean and dust-free. My go-to for the newly cut shapes is a baking sheet generously dusted with semolina. You want a *layer* of semolina between the pasta and the surface. This stops sticking, which ruins the shape, and ensures your pasta dries evenly so it cooks perfectly later. Think of it like this: great sauce deserves great pasta, and great pasta deserves a clean surface! Check out my recipe for creamy tomato pasta to see what I like to toss my fresh noodles in.
Pairing Your Homemade Pasta: New Pasta Dishes Inspiration
Now that you’ve mastered **How to Make Pasta Recipes Like a Pro (2025)**, you have to match that incredible skill with an equally amazing sauce, right? Cooking isn’t just about the pasta shape; it’s about the final plate! I always think about pairing based on what I just made. It’s about creating harmony on the plate, which is what makes people call them **New Pasta Dishes**!
Sauce Matching for Fresh Shapes
If you made delicate, thin shapes—say, homemade fettuccine—keep the sauce light. Think bright lemon butter or a simple pesto. But for those dense, ridged beauties like rigatoni we made? They need hearty action! Those ridges are designed to grab onto thick, slow-simmered meat sauces or creamy, chunky ragùs. Don’t waste that awesome texture with something too thin!
Beyond Italian: Pairing with Meats like Chicken Thighs
While we’re staying classic Italian at heart, sometimes a big, satisfying dinner needs something robust on the side or mixed right in. I’ve found that my fresh, chewy pasta is fantastic next to a rich sauce made with slow-cooked **chicken thighs**—they just absorb flavor so well and give you that incredible melt-in-your-mouth texture. For a truly comforting meal prep option, serve the pasta tossed with a simple sauce and have those **crispy** finished thighs ready to go on top. You can check out one of my favorite non-pasta skillet meals here: creamy chicken and rice skillet.
Making Ahead and Storage for How to Make Pasta Recipes Like a Pro (2025)
Once you’ve put in the effort to make beautiful pasta, you absolutely don’t want to waste it! You have two main options for storing your fresh shapes, and preparation is key for both. If you aren’t cooking it right away, you need to make sure it’s completely stable before storing it anywhere for long periods.
Freezing Fresh Pasta for Later
If you plan on freezing, you must let that pasta dry out just a touch more than if you were cooking it immediately. We’re talking fully dry to the touch, not tacky at all. Once you’re positive the shapes are dry, lay them out on a cookie sheet so they aren’t touching—this is called flash freezing! Put that tray in the freezer until the pasta is rock hard, which usually only takes an hour or two. Then, you can scoop the frozen pasta into a sturdy freezer bag. When it’s time to cook your frozen creation, drop it right into boiling water; it’ll cook fast, just like dry pasta, so keep an eye on it! For a fantastic sauce to toss it in later, check out my recipe for easy weeknight meat sauce.
Frequently Asked Questions About Cooking Tips For Pasta Mastery
We’ve covered the shaping techniques, but I know you probably have some lingering questions, especially when you’re trying to nail that pro level of cooking! Don’t hesitate to ask; we all started somewhere. I want you to succeed in creating those amazing, texturally perfect **Advanced Pasta Recipes**!
Can I make this recipe using gluten-free flour?
That’s a fantastic question, especially coming from me! Yes, you absolutely can, but you need to know it behaves totally differently from wheat dough. Remember when I was working with cassava flour? Gluten-free dough often needs more hydration or maybe some added binders to hold the intricate shapes. It’s trickier to extrude perfectly, so you might need to roll those sheets slightly thicker than you would with standard dough. It takes practice, but it’s worth the effort for family traditions!
How long does fresh pasta take to cook compared to dried?
This is the best part of making fresh pasta: the speed! Dried pasta might need 10 to 12 minutes, scraping your pot constantly. But your fresh, homemade pasta? It’s usually ready in about 2 to 4 minutes. Seriously! As soon as those little pieces float to the surface and they look billowy and tender, they are done. Taste test one right around the two-minute mark and see for yourself.
What is the best way to get crispy edges on a pasta dish?
Oh, I love a little textural contrast—it makes any **meal prep** dish exciting! If you want those delicious **crispy** edges, don’t rely on boiling alone. Once your fresh pasta is cooked and drained, toss it in a screaming hot pan with a little butter or olive oil for about a minute or two *after* adding your sauce. This is perfect for dishes like baked lasagna or if you’re pan-frying leftover pasta. You get that satisfying, slight char that dried pasta can’t emulate. For more tips on making your food shine, take a look at my approach to easy lasagna dinners.
Next Steps in Your Pasta Journey
Wow, you made it! I’m so excited for you to dive in and play with these **How to Make Pasta Recipes Like a Pro (2025)** techniques. Don’t worry if your first few attempts aren’t gallery-worthy; every great pasta chef started somewhere slightly sticky.
Seriously, grab your ingredients, clear your counter, and have fun experimenting with that dough. I want to hear all about your successes—or even your funny failures! Drop me a comment below about which shape you’re trying first. You can also always reach out via my contact page if you need a little extra hand-holding!
How to Make Pasta Recipes Like a Pro (2025)
Ingredients
Equipment
Method
- Allocate sufficient time. For a first attempt, plan for 20 to 30 minutes to mix the dough, followed by at least 30 minutes for resting.
- Prepare your pasta dough using a reliable recipe. An egg-based dough is a good starting point.
- Decide on your rolling method. You can use a rolling pin, but a roller or press aids in achieving an even thickness.
- If using a machine like the KitchenAid press, practice getting into a rhythm. You need to learn when to slice the extruded shapes away from the machine.
- Roll the dough into sheets. If using a manual roller like the Imperia, you can cut these sheets by hand for shapes like lasagna or pappardelle.
- If using attachments for shapes like spaghetti or bucatini, feed the sheets through the appropriate cutter attachment.
- Allow the cut pasta to dry for at least 30 minutes before cooking. You can dry it on a rack, draped over chairs, or spread out on a clean surface under towels.
- Dust the drying pasta pieces with semolina to keep them from sticking together.
Notes
Tried this recipe?
Let us know how it was!
Gluten-Free Chef & Latin Cuisine Innovation Specialist
My youngest son’s celiac diagnosis at four changed everything. Suddenly, all those traditional Brazilian and Portuguese recipes from my avó needed to be completely reimagined without losing their soul.
After graduating from Johnson & Wales and working Miami’s Latin fusion scene, my son’s diagnosis became my calling. How do you make gluten-free empanadas that taste like childhood? Over eight years, I’ve developed 320+ gluten-free recipes celebrating authentic Latin flavors using cassava flour and plantain alternatives.
My gluten-free empanada recipe won “Best Appetizer” at the 2023 Miami Gluten-Free Food Festival. I ran “Sabores Sin Gluten,” a catering business serving Miami’s Latino community—quinceañeras, family gatherings, all the celebrations that matter.
Food is culture, and everyone deserves to experience the joy of sharing traditional family meals, regardless of dietary restrictions.