If you’re anything like me, some days you just need a moment. You know those days—the kids are bouncing off the walls, the to-do list is five miles long, and you need a treat that feels *truly* indulgent but won’t derail your healthy goals. As a Gluten-Free Nutritionist and family meal planner, I live for those quick wins in the kitchen, and these Peanut Butter Chocolate Fudge Squares are my absolute secret weapon for immediate happiness.
It all started on a rainy Saturday afternoon, believe it or not. There were toys strewn everywhere after a morning of chaos, and I saw the perfect chance to turn the day around with some fun baking. We mixed the richest flavors—chocolate and peanut butter—and created what is now a staple in our house. The smiles when they got to lick the mixing bowl were just priceless!
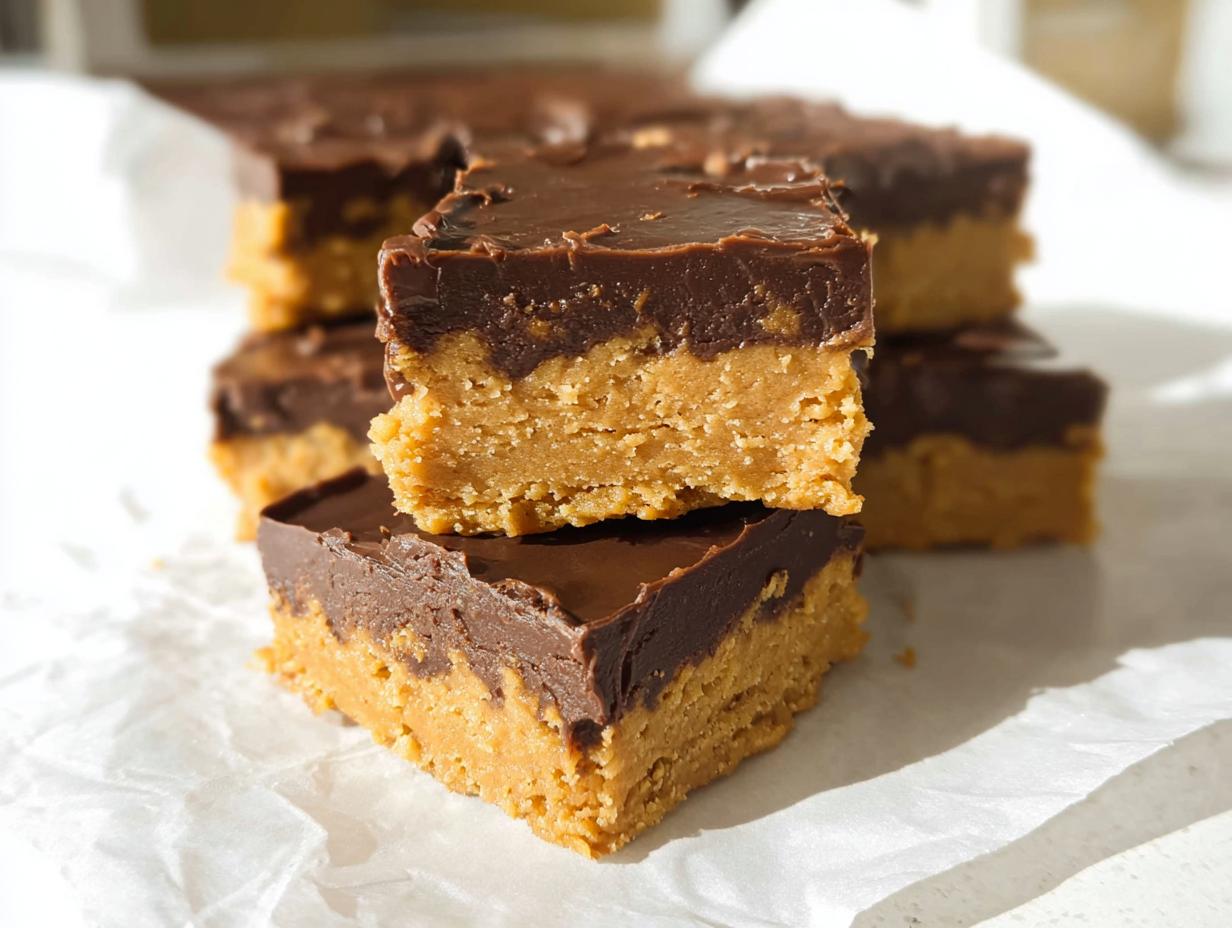
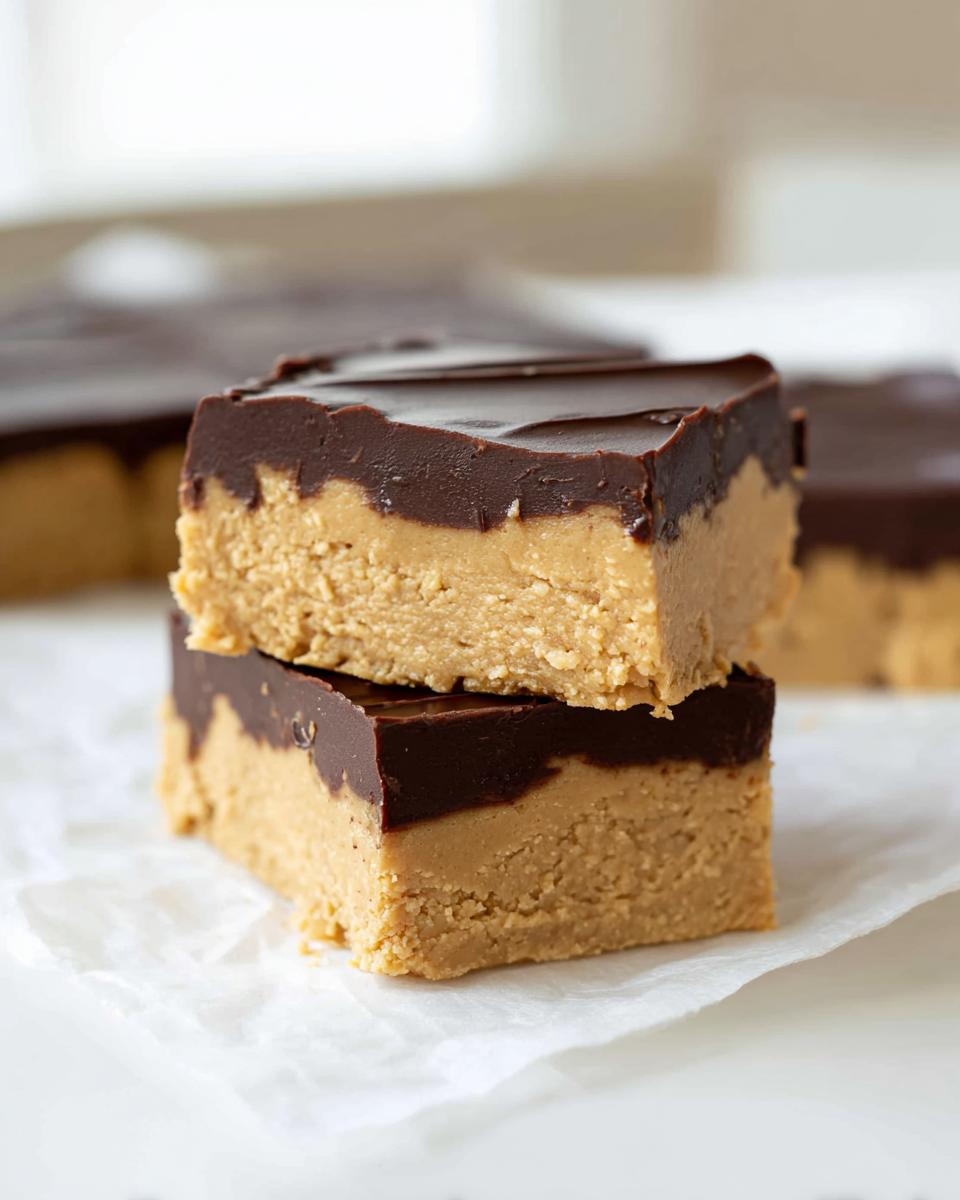
These squares are rich, they’re perfectly bite-sized, and yes, they are completely gluten-free! They come together faster than you’d think, satisfying that deep chocolate craving while keeping things simple for busy families like ours. Trust me, these are the homemade candy ideas that turn ordinary afternoons into cherished memories.
Why You Will Love These Peanut Butter Chocolate Fudge Squares
I try not to mess with perfection, especially when time is tight! These squares are simply divine, and they tick every box a busy parent could ask for. Seriously, these will be your new go-to treat.
- They are incredibly fast! We’re talking only 5 minutes of active cooking time before chilling starts.
- It’s a fantastic gluten-free recipe, so everyone can enjoy this rich chocolate and peanut butter magic.
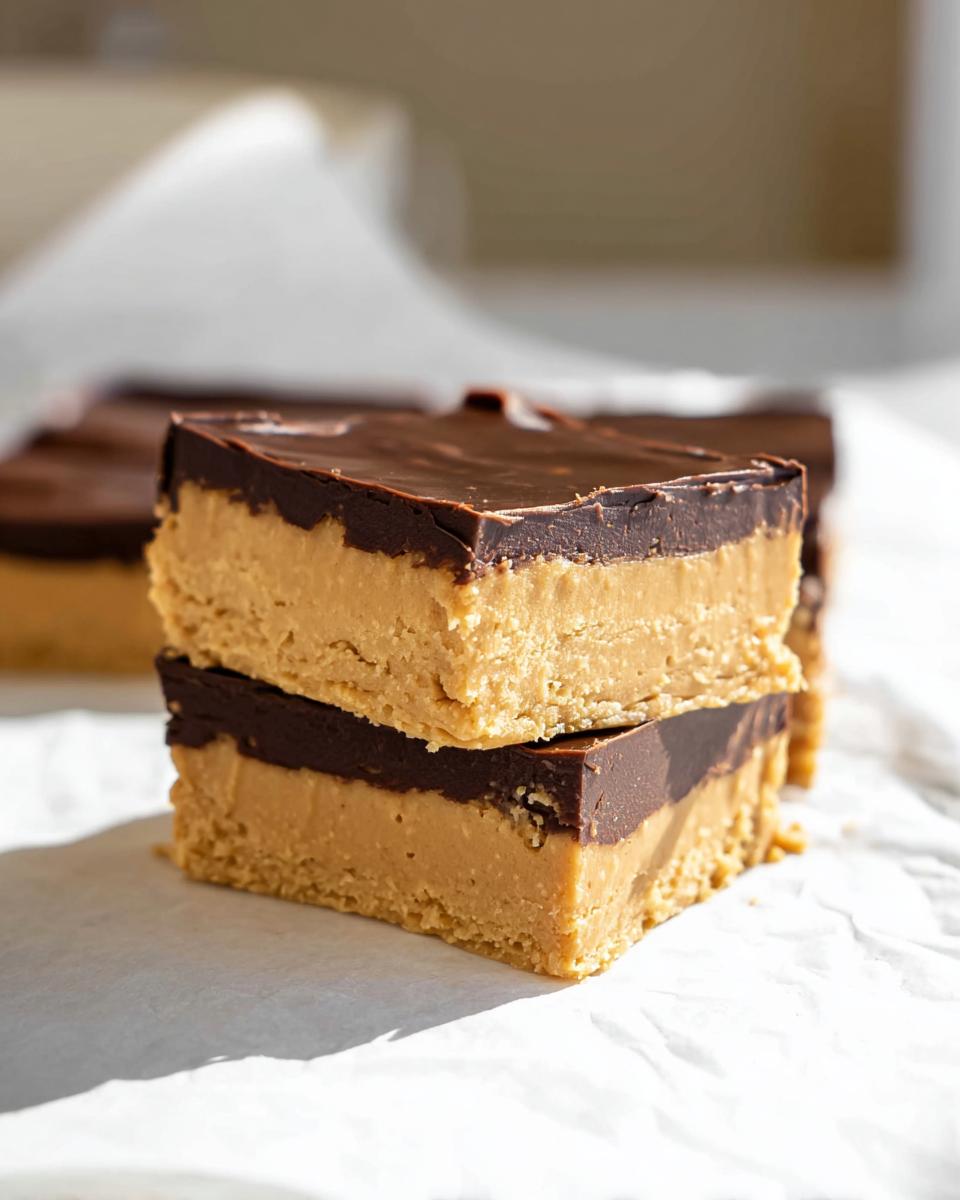
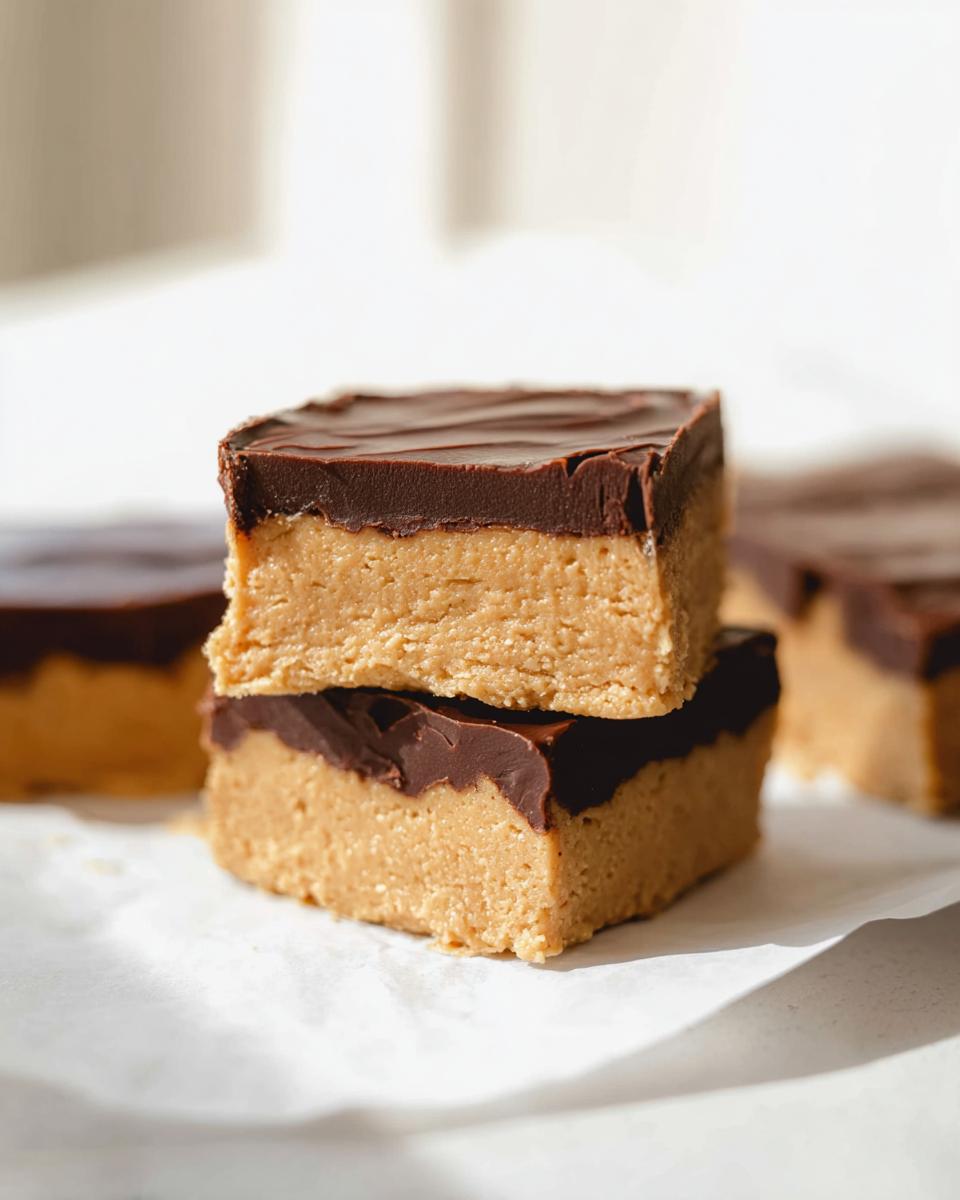
- The texture is incredible—super dense, satisfyingly rich, and perfectly bite-sized for sneaky snacking.
- Kids absolutely adore helping mix the peanut butter base; it makes clean-up simple since there’s almost no baking involved!
Essential Equipment for Perfect Peanut Butter Chocolate Fudge Squares
You don’t need a fancy setup for these, thank goodness! My philosophy is that great homemade candy ideas shouldn’t require a specialized bakery. We’re keeping things super straightforward with just a few trusty tools. Having these ready means you can focus purely on enjoying the process.
Here is what you’ll truly need to make these rich bite sized desserts:
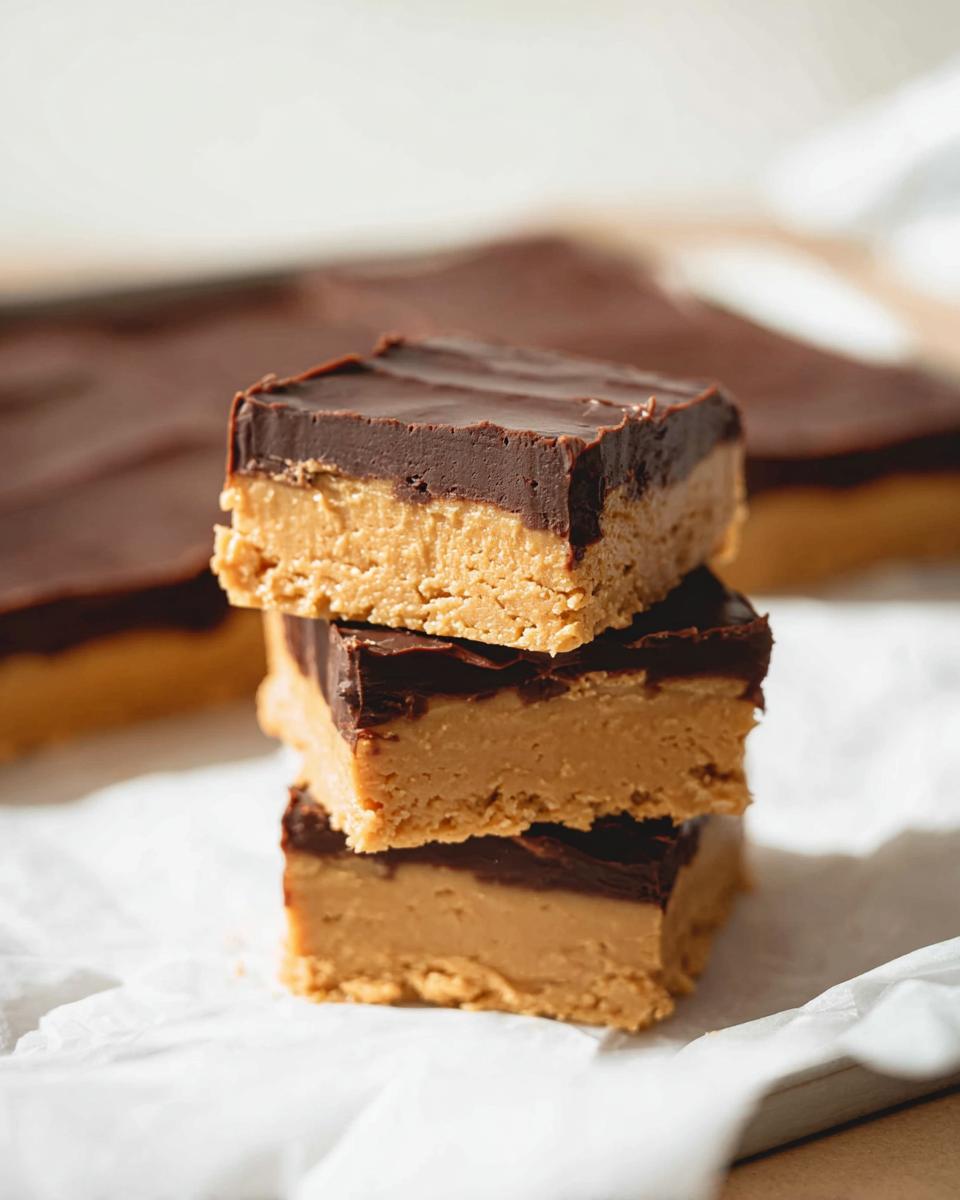
- An 8-inch square baking pan. This size is perfect for getting that ideal thickness that makes these squares so satisfying.
- A large mixing bowl. You need plenty of room to work the peanut butter base until it’s perfectly smooth!
- Something to melt chocolate: either a microwave-safe bowl or a double boiler setup. We need this for that shiny, beautiful chocolate glaze.
- A sharp kitchen knife. This is crucial for getting incredibly clean cuts on your finished fudge—no one wants messy edges!
Gathering Ingredients for Your Peanut Butter Chocolate Fudge Squares
Okay, let’s talk stuff! While the prep time is super short for these Peanut Butter Chocolate Fudge Squares, having every ingredient ready to go makes the whole process feel like magic. Because we aren’t baking, the temperature of the base ingredients really matters if you want a smooth, creamy layer.
Don’t forget, you can find tons of other great gluten-free recipes over on my main recipe page if you need more inspiration! For this classic chocolate fudge recipe, we need two main parts: the sweet peanut butter foundation and that glossy chocolate blanket on top. Remember, you can always check out some international variations through other sources, like this one about chocolate peanut butter fudge squares, but we’re sticking to our tried-and-true favorite today!
For the Peanut Butter Base
Make sure your butter and peanut butter are truly at room temperature—soft enough to give when pressed gently. This ensures everything creams together without any weird lumps!
- 1/2 cup packed brown sugar
- 1 3/4 cups powdered sugar
- 1/4 cup butter, at room temperature
- 1 cup smooth peanut butter, at room temperature
- 1/2 teaspoon vanilla
For the Chocolate Glaze
This is where that gorgeous shine comes from! We are using semisweet chocolate here because it balances the sweetness of the peanut butter layer perfectly.
- 4 oz semisweet chocolate
- 1 tablespoon butter
- 1 tablespoon corn syrup
- 3 tablespoons cream
Step-by-Step Instructions to Make Peanut Butter Chocolate Fudge Squares
This is the fun part! Remember, the whole process is designed around speed, perfect for those times when you need a rich bite sized dessert *right now*. We only have about 5 minutes of active work before the fudge needs to chill, so make sure you have all your ingredients measured out. If you need ideas for making treats ahead for holiday baking or parties, check out my tips for festive candy recipes!
Preparing the Pan and Peanut Butter Base for Peanut Butter Chocolate Fudge Squares
First things first, get your 8-inch square pan ready. Don’t panic about scraping fudge out later. Butter it or just spray it well, then line the bottom and two of the sides with parchment paper. Those little strips sticking up? Those are your handles for easy lifting later, a total game changer!
Now for the base! Dump the powdered sugar, brown sugar, soft butter, vanilla, and peanut butter right into your large bowl. Beat everything together until it’s just combined and looks slightly crumbly—it shouldn’t be runny at all. Then, just press that peanut butter mixture firmly and evenly into the bottom of your prepared pan. Pat it down well with your hands or the back of a spoon so you get a nice, solid layer.
Creating the Rich Chocolate Glaze Layer
While that base is setting up in the fridge (that’s the quick 5 minutes of chill time!), whip up the chocolate layer. You need to melt your chopped chocolate, butter, and corn syrup together. You can use a microwave—short bursts are best—or you can gently do it over a double boiler on the stove. Just watch it closely!
Once it’s totally smooth and glossy, take it off the heat. Now quickly whisk in the cream until everything is perfectly smooth. This step is what makes the top of your Peanut Butter Chocolate Fudge Squares shine like glass. It’s so satisfying!
Assembling and Cutting Your Peanut Butter Chocolate Fudge Squares
Time to bring it all together! Pour that warm, beautiful chocolate glaze right over your chilled peanut butter layer. Use a spatula to gently spread it all the way to the edges, making sure the top is even. Remember, the chilling time is about 30 minutes, but a couple of hours is even better for those super clean cuts.
Once it’s firm, use those parchment paper handles to lift the whole block out onto a cutting board. I find using a sharp, not-too-thin knife works best. Run the knife under hot water briefly if the chocolate starts to set on the blade. Slice it into 1-inch squares. You’ve just made the best homemade candy ideas!
Tips for Success When Making Peanut Butter Chocolate Fudge Squares
Since these are no-bake, the success hinges entirely on the ingredients behaving themselves! I’ve learned a few tricks over making batches for class parties and quiet movie nights. Follow these little pointers and you’ll have flawless fudge every single time. If you’re looking for more general guidance on keeping your gluten-free baking perfect, check out my posts on gluten-free baking tips.
First, that room temperature rule is non-negotiable! Soft butter and peanut butter mix into that powdered sugar without turning the whole thing into thick, unmanageable cement. Secondly, if you use a natural peanut butter that separates, just stir it really well before measuring. You want those oils incorporated to keep the base from being too crumbly.
Also, I always like to use a rubber spatula for the final few folds when mixing the peanut butter base. You need to make sure you scrape the bottom of that bowl where the sugars like to hide. A good, sturdy base ensures the glaze doesn’t sink!
Ingredient Notes and Substitutions for Peanut Butter Chocolate Fudge Squares
Let’s talk ingredients for a second, because this is where people sometimes get worried about substitutions, especially when avoiding gluten. Honestly, this recipe is pretty forgiving, but there are two things you absolutely shouldn’t mess with if you want that perfect texture.
First up: room temperature everything for the base layer! If your butter or peanut butter is cold, they won’t incorporate correctly with the sugars. You’ll end up fighting a stiff, grainy mixture, and that’s never fun. We want creamy, not crumbly!
Now, about swapping the nut butter—you totally can! If someone in your family can’t do peanuts, almond butter or cashew butter work beautifully in these Peanut Butter Chocolate Fudge Squares. Just make sure whatever you use is smooth and well-stirred. Natural oil-separated ones can sometimes make the base a little runnier, but just pat it down firmly, and the chilling time will take care of the rest!
Storage and Reheating Instructions for Homemade Candy Ideas
The best part about these little squares, once they are all cut up, is that they are fantastic for making far in advance! Since we aren’t dealing with a baked cake that could dry out, these fall squarely into the category of wonderful homemade candy ideas that actually taste *better* the next day after the flavors have really set.
You absolutely have to keep these babies cool, though. Because of the butter and chocolate glaze, they don’t like getting too warm on the counter. My foolproof method is to store them in a good airtight container. This keeps stray fridge smells out and stops them from drying around the edges.
They last wonderfully in the refrigerator for several weeks—seriously, weeks! I often make a double batch right before school holidays start, and we still have some weeks later. You just pull them out of the fridge, let them sit for about 5 to 10 minutes at room temperature so the base softens just a tiny bit, and they are ready to go. Honestly, I rarely ever have leftovers to worry about!
Frequently Asked Questions About Peanut Butter Chocolate Fudge Squares
When I first published this recipe, I got so many wonderful questions! It’s natural to have doubts when you’re trying a new, fast treat, especially when you’re trying to keep things gluten-free for your family. I’ve pulled together the most common things people ask me about these amazing squares. If you have even more questions after trying them, feel free to get in touch; you can reach me on my contact page!
Are these truly gluten-free Peanut Butter Chocolate Fudge Squares?
They absolutely are! This is one of the main reasons I developed this recipe in the first place. Every single ingredient—powdered sugar, butter, peanut butter, chocolate—is naturally free of gluten, provided you are using standard, trusted brands. Since there’s zero flour involved, you don’t have to worry about substitutes or hidden grains. They are a fantastic, safe treat for my gluten-free family and friends.
How do I create a distinct peanut butter swirl in this chocolate fudge recipe?
Oh, I love the look of a beautiful swirl! If you want to elevate this basic chocolate fudge recipe, here’s my trick: Before you pour the chocolate glaze over the base, take about 1/4 cup of plain peanut butter (warmed slightly in the microwave for just 10 seconds so it’s drizzle-able) and drop little dollops evenly over the fudge layer.
Then, take a toothpick or a thin skewer and gently drag it through the peanut butter spots, tracing figure-eights. Do this lightly so you don’t dig into the peanut butter layer underneath! Don’t overdo it, or the colors will combine totally. A light swirl gives you that gorgeous contrasting look.
Can I make these ahead of time for a party?
Yes, please do! These are honestly better when made a day ahead because they firm up completely, making the cutting so much easier. They are one of the best rich bite sized desserts for potlucks or gatherings because you can pull them straight from the fridge and serve them right away. Just make sure they are stored in that airtight container so they don’t absorb any funny fridge smells!
Estimated Nutritional Information for Peanut Butter Chocolate Fudge Squares
Now, I know you’re probably wondering about the “nutrition” side of things for these indulgent squares. Since these are homemade candy ideas, the actual breakdown can swing a bit based on brands we use, so please treat this as a close estimate for one square!
Generally, for one of these rich bite sized desserts, you are looking at:
- Calories: Approx. 200-220
- Fat: Approx. 14g
- Protein: Approx. 4g
- Carbs: Approx. 18g
This means they are certainly a treat! This estimate is based on standard ingredient breakdowns for 16 servings, but always remember that specific ingredient choices on your end might shift those numbers slightly.
Share Your Family’s Favorite Peanut Butter Chocolate Fudge Squares Moments
Now listen, this is the best part! I’ve shared all my secrets for getting these Peanut Butter Chocolate Fudge Squares just right—from making sure your butter is soft enough to the secret of lifting them out with parchment handles—but now I want to hear from YOU!
When you make these wonderful homemade candy ideas, I truly hope they bring a little bit of that rainy Saturday joy into your own kitchen. Did your kids get a chance to lick the bowl? Did they manage to make a perfect peanut butter swirl? Those little domestic moments are what food is all about!
Please, if you loved how fast and rich these squares were, don’t keep it to yourself! Head down to the comments below and let me know what you thought. A star rating goes a long way in helping other busy parents find this recipe, too. And hey, if you capture a great photo of your family enjoying these treats, tag me on social media! I absolutely love seeing my recipes in real kitchens.
If you want to know more about the philosophy behind making life easier and healthier while keeping the joy in family meals, check out my About Page. Happy treating, everyone!

Peanut Butter Chocolate Fudge Squares
Ingredients
Equipment
Method
- Prepare an 8-inch square baking pan by buttering it or using baking spray. Line the bottom and two sides with a strip of parchment paper for easy removal later.
- In a large bowl, beat the powdered sugar, brown sugar, butter, vanilla, and peanut butter together until the mixture is completely combined and slightly crumbly.
- Pat the peanut butter mixture evenly into the prepared pan.
- Refrigerate the peanut butter base while you prepare the chocolate glaze.
- Melt the chocolate, butter, and corn syrup together in the microwave or a double boiler. Mix until smooth.
- Add the cream to the melted chocolate mixture and mix with a whisk or spatula until the glaze is completely smooth and shiny.
- Pour the chocolate glaze over the peanut butter layer and spread it to cover the top evenly using a spatula or spoon.
- Refrigerate the fudge until it is firm, which may take 30 minutes to a couple of hours.
- Slide a smooth-bladed knife along the pan sides to release any stuck chocolate. Lift the entire block of fudge out of the pan using the parchment paper handles.
- Transfer the fudge to a flat surface and cut it into 1-inch squares, triangles, or rectangles using a sharp knife.
Notes
Tried this recipe?
Let us know how it was!
Gluten-Free Nutritionist & Family Meal Planning Expert
Working as a pediatric dietitian at Children’s Hospital of Denver, I kept meeting families overwhelmed by managing their children’s celiac disease. Parents stressed, kids frustrated, everyone eating bland boxed “gluten-free” products.
That’s when I realized my calling: creating practical, balanced gluten-free solutions for real families with busy schedules. I’ve developed 375+ family-friendly recipes focusing on lunch boxes, after-school snacks, and make-ahead dinners that actually work.
My meal planning system was featured in Parents Magazine, and I presented research at the Rocky Mountain Pediatric Nutrition Conference. My evidence-based approach ensures recipes meet both taste and health standards—families need solutions that work in the real world, not just perfect test kitchens.