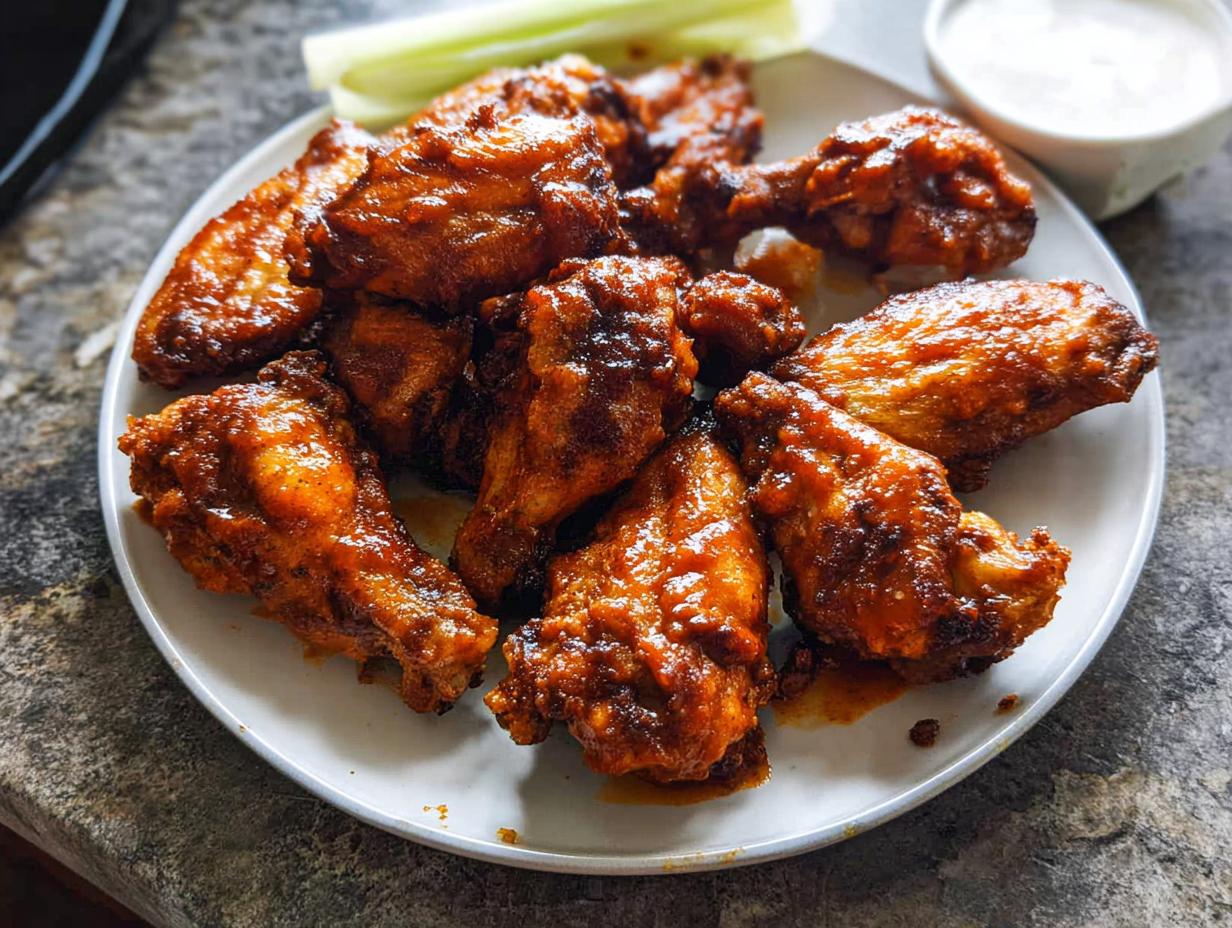
Oh, friends, let me tell you about the moment I truly cracked the code on perfect chicken wings! I still remember that summer cookout when my friends and I were battling it out, trying to make the best flavor concoction on the grill. That day, I figured out how to get that glorious, shatteringly crispy exterior while keeping the inside ridiculously juicy—and guess what? You don’t even need a deep fryer!
The real game-changer for me, especially while navigating my son’s dietary needs, is that I can make these components ahead of time. Enter: Why Everyone Loves This Chicken Wings Recipes (+ Make-Ahead Tips). It’s about simplifying the fun part—eating them—by handling the prep work early. These baked wings are everything you want for a busy family weeknight or when you’ve got a crowd over for the big game. They are satisfying, full of flavor, and honestly, they’re safer for my family now that I’ve adapted the original recipe!
Why Everyone Loves This Chicken Wings Recipes (+ Make-Ahead Tips): The Secret to Crispy Perfection
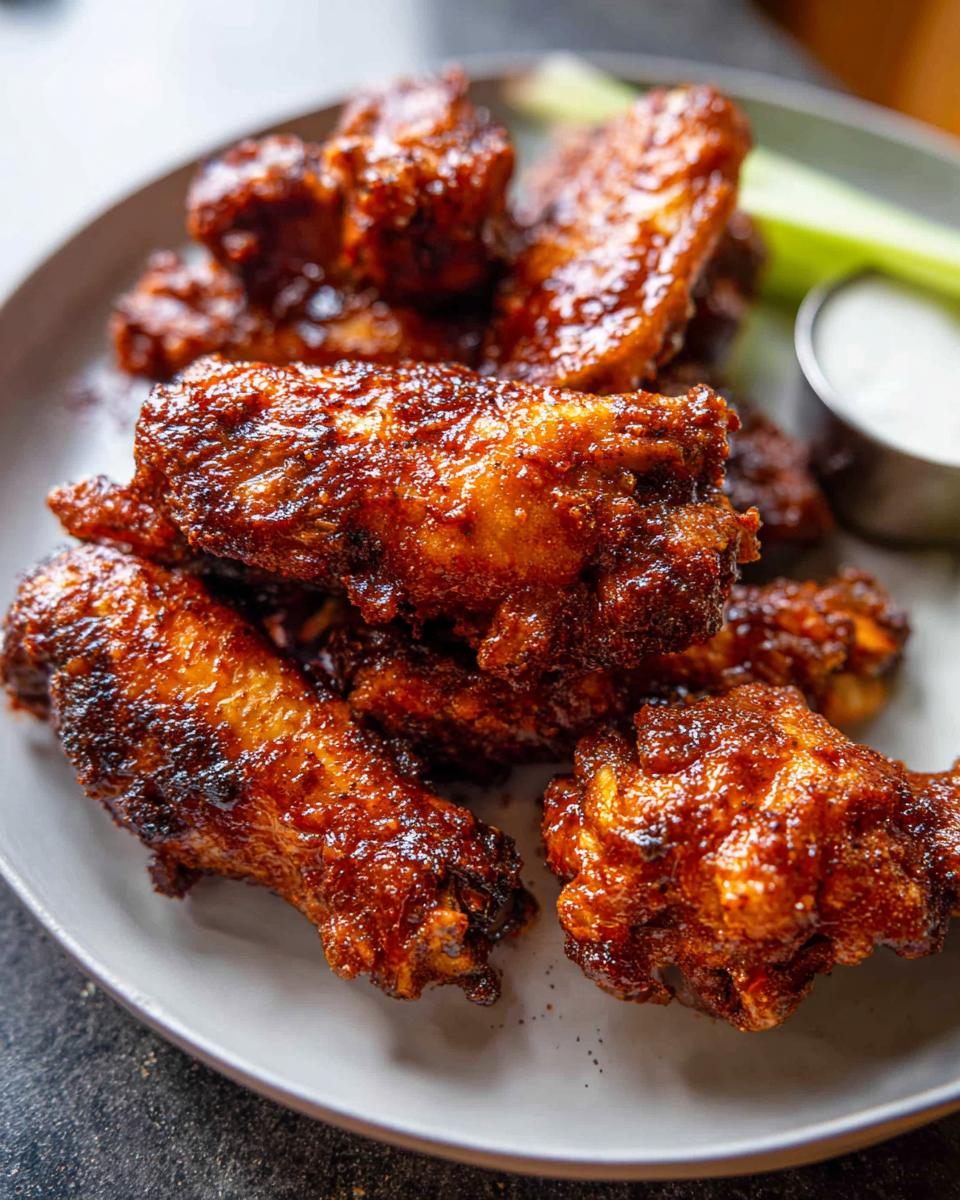
The number one question I get about these wings is how I get them so unbelievably crispy while sticking to my oven! Forget the messy, scorching oil bath of deep frying. That’s not welcoming for a casual gathering, and honestly, it’s a nightmare to clean up. My secret weapon, and the key to that beautiful snap, is a very specific dry rub featuring baking powder.
Trust me on this one: using a little aluminum-free baking powder changes everything. It raises the pH on the chicken skin, which helps it dry out faster and turn beautifully brown and crispy in the oven instead of steaming itself. This small trick means you can set them, forget them (mostly!), and focus on your guests during the big game day. If you want other great ideas on amazing texture, take a peek at what my friends over at Tastes Better From Scratch use for their fantastic crispy wings!
I love that this technique allows us to spend less time hovering over hot fat and more time enjoying the company. If you want the full deep dive on that baking power science magic, check out my other tips on making extra crispy baked buffalo chicken wings. It’s all about that texture!
Why Everyone Loves This Chicken Wings Recipes (+ Make-Ahead Tips): Flavor Profile Breakdown
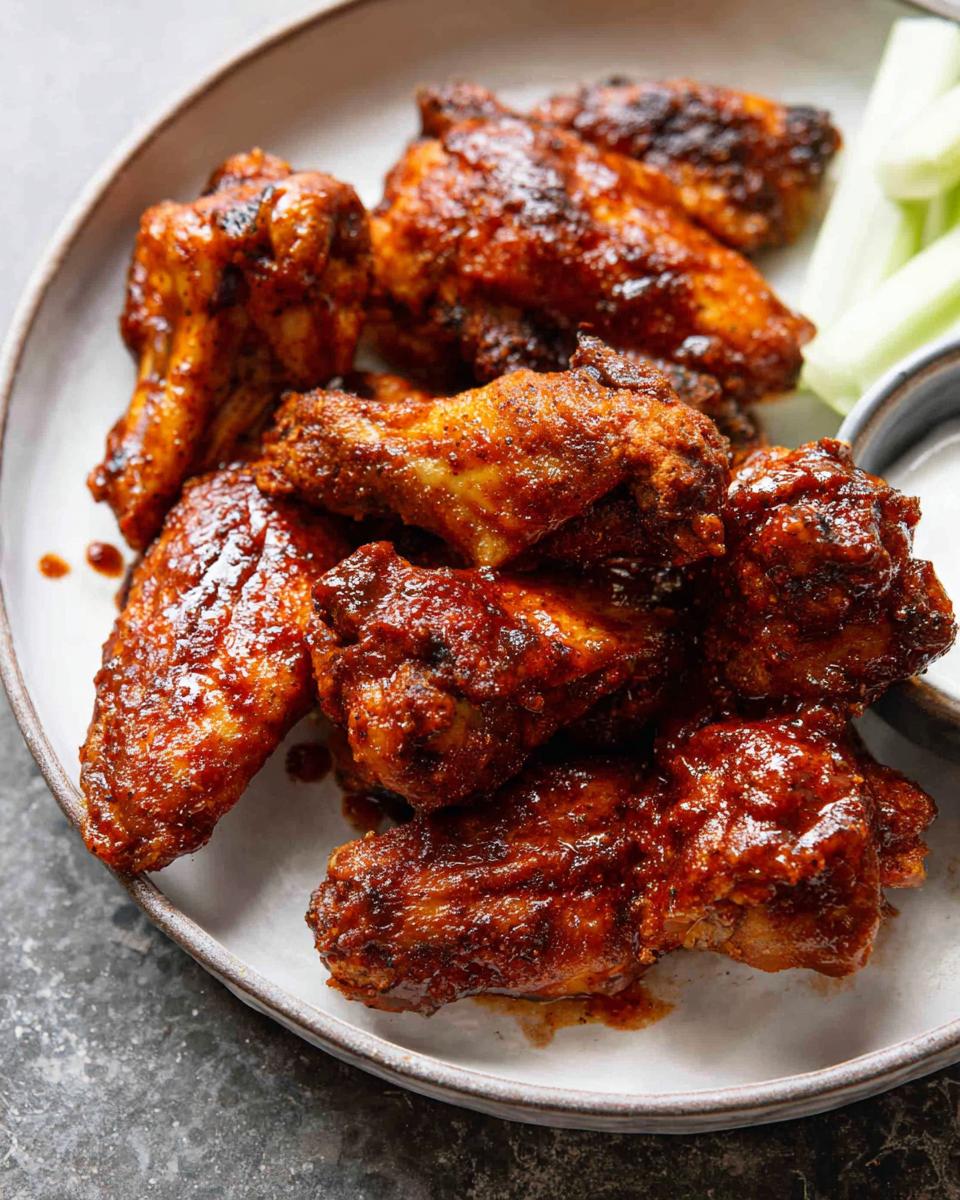
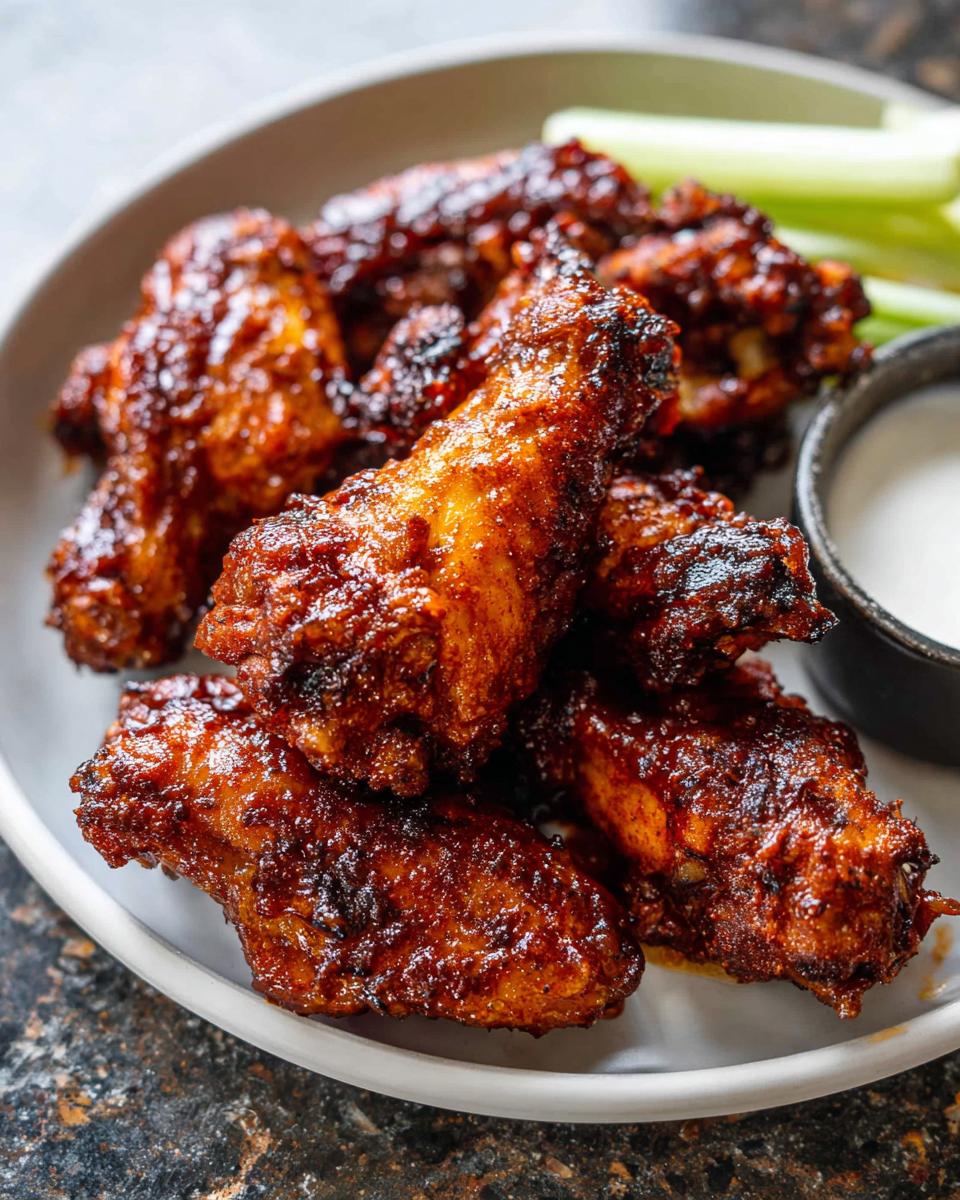
Okay, so they’re crispy, but wow, the flavor! This profile leans into savory depth first, thanks to the garlic and paprika in the rub. Then, the sauce hits you with that perfect sweet-and-tangy Buffalo punch. The light brown sugar in the sauce mellows the heat just enough so that you can keep eating them without reaching for the water glass every bite. It’s perfectly balanced!
Essential Ingredients for Why Everyone Loves This Chicken Wings Recipes (+ Make-Ahead Tips)
You know, when I look at a recipe, I don’t just see measurements; I see potential! The beauty of these wings is that the ingredient list looks deceptively simple, but every single component plays a huge role in getting that signature texture and flavor people rave about. For instance, we aren’t just using any baking powder—that detail matters immensely for the skin!
Since I’m always looking for ways to simplify for my readers and myself, I often prep these dry rubs ahead of time. Having your spice blend ready to go makes game day prep nearly effortless. If you want another great spice mix you can keep handy, check out my recipe for Cajun Dry Rub Chicken Wings! But for this recipe, let’s break down exactly what you need to gather for ultimate success.
For the Wings Coating
- 4 pounds chicken wings (halved at joints, wingtips discarded)
- 2 Tablespoons baking powder (aluminum free)
- 3/4 teaspoon salt
- 1/2 teaspoon black pepper
- 1 teaspoon paprika
- 1 teaspoon garlic powder
For the Tangy Buffalo Sauce
Remember, we cook this robust sauce separately on the stovetop while the wings bake. This ensures the sugar melts down perfectly, creating a glaze rather than just a spicy coating.
- 1/3 cup Frank’s Wings Hot Sauce
- 1 cup light brown sugar
- 1 Tablespoon water
Step-by-Step Instructions for Why Everyone Loves This Chicken Wings Recipes (+ Make-Ahead Tips)
I always tell people that the difference between good wings and great wings is preparation. Don’t rush the setup, and you’ll be rewarded with perfect results later! We are hitting high heat for maximum crispiness, so getting the layout right is the first big win. You’re going to need a baking sheet, a wire rack, and probably an apron because we love a good, messy toss!
Prepare the Oven and Wings
First things first: get that oven hot! We need it to be at 425 degrees F, and you’ll want to put your oven rack into the upper-middle position. That’s important for even heat distribution up top. Now, while it’s heating up, grab your baking sheet and line it with foil—this is your peace treaty with your sink later! Set your wire rack right on top and give it a quick spray with some non-stick stuff so nothing sticks.
The absolute most crucial step for me is the drying. Take your 4 pounds of glorious chicken wings and pat them down with paper towels until they feel almost suede-like. Seriously, use a lot of paper towels. Moisture is the enemy of crispiness!
Season and Bake for Maximum Crispiness
Time for the magic shake! In a small bowl, stir together your salt, pepper, paprika, garlic powder, and that all-important baking powder. Throw those dry wings into a large bowl and sprinkle that seasoning mixture all over them. Toss everything until every single piece is evenly coated. I mean it—no bald spots!
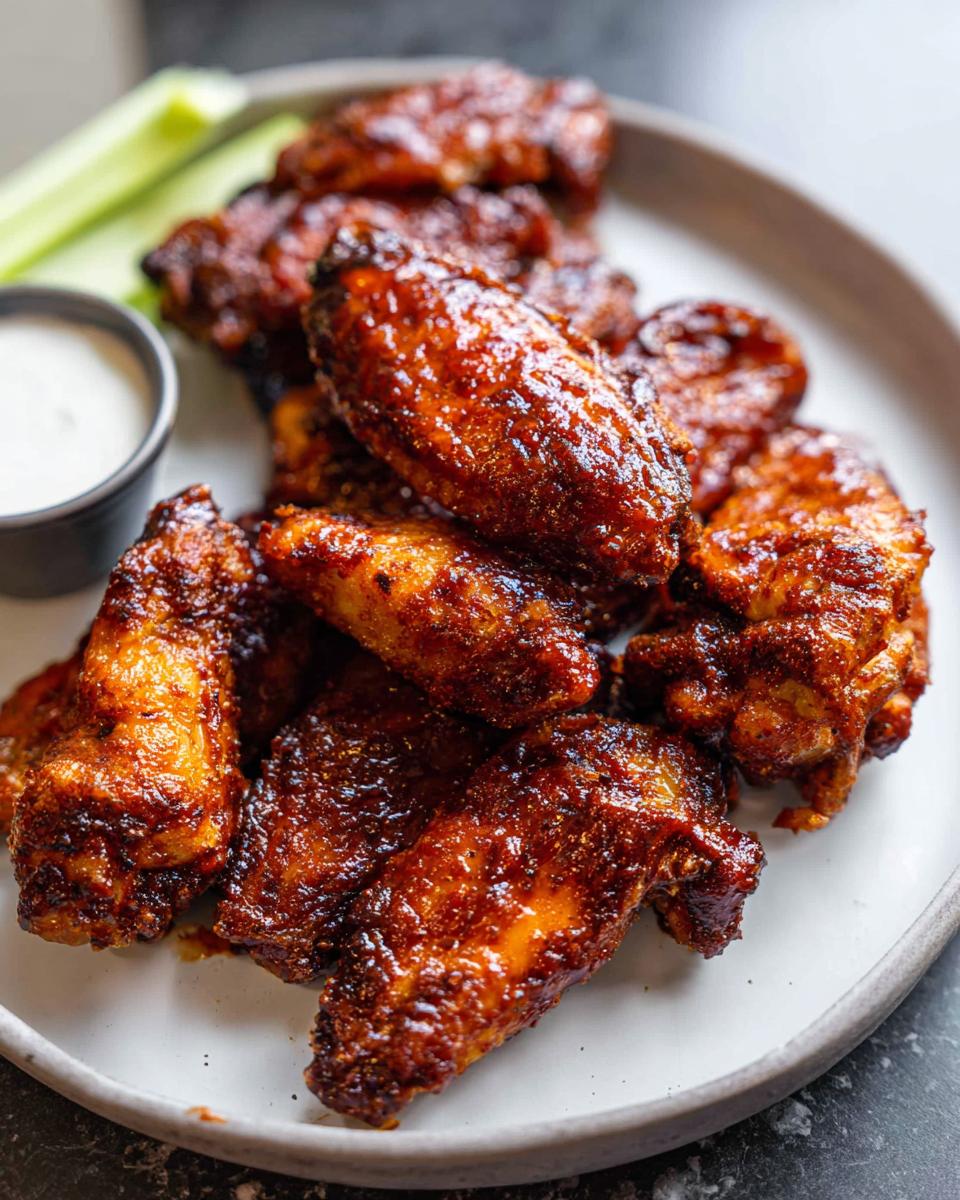
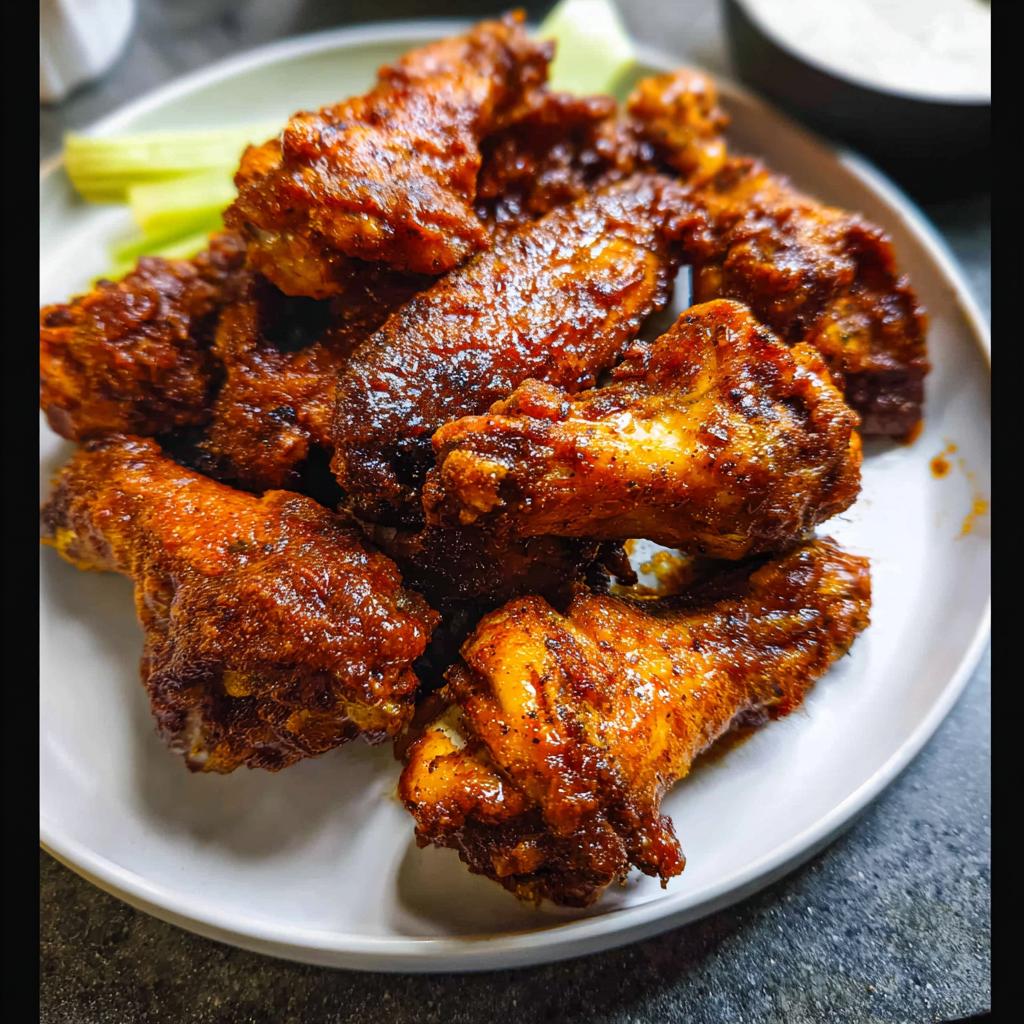
Arrange them skin-side up on that prepared wire rack in a single layer. Don’t overcrowd them; that’s why we need that rack for air circulation! Bake them up high and keep an eye on them. You’ll need to flip them every 20 minutes. If they look pale, flip them again and keep going until they are perfectly browned and crispy. This usually takes about an hour in total, maybe a little more, but trust me, the time is worth it!
Prepare the Buffalo Sauce and Finish
While those wings are crisping, jump over to the stovetop. Combine your Frank’s Hot Sauce, that lovely light brown sugar, and the tablespoon of water in a medium saucepan. Heat it over medium heat, stirring constantly until that sugar dissolves completely. You want a smooth, homogenous sauce, not grainy stuff sticking to the bottom.
Once the wings come out of the oven, let them rest for 5 minutes—this helps the juices settle in. Then, toss them immediately in your prepared sauce. Remember, if you made the sauce way ahead, let it come up toward room temperature first so it coats everything beautifully before you serve them up hot!
Make-Ahead and Game Day Prep for Why Everyone Loves This Chicken Wings Recipes (+ Make-Ahead Tips)
This is where the real magic happens when you’re hosting, especially if you’ve got a huge game day setup planned! I least favorite thing is rushing around trying to season messy chicken when guests are already ringing the doorbell. I designed this whole system so you can handle almost everything the day before!
Getting ahead of the curve means you just press ‘Start’ on the oven and toss things together when it’s party time. It truly transforms hosting from stressful to something I actually enjoy—just like those early cookouts, only now I’m prepared! If you love making creative sauces ahead of time, you should definitely look at my recipe for Mango Habanero Hot Wings for another batch!
Sauce Preparation Ahead of Time
The Buffalo sauce is a champion make-ahead item. Go ahead and cook that sauce down until the sugar is completely dissolved, just like the instructions say. Then, take it off the heat, let it cool down to room temperature, and stash it in an airtight container in the fridge. When it’s time to serve, if it’s too cold and thick, just warm it up slightly in the microwave for 10 seconds. Cold, thick sauce just slides off the wings, but room-temperature sauce clings beautifully!
Prepping the Wings for Baking
You can definitely season these wings in advance! After you toss the dry wings with the baking powder rub, lay them out on the rack. If you’ve got the space, you can cover the whole sheet and pop the seasoned (but unbaked) wings into the fridge for up to 12 hours. This resting time lets the seasoning really sink in! Then, when it’s time to bake, you just slide them straight into that preheated 425-degree oven. If they are coming straight from the fridge, you might need about 5 to 10 extra minutes on the total bake time, but they will be incredibly flavorful!
Expert Tips for Achieving Crispy Chicken Wings
Look, getting these wings golden and shatteringly crispy shouldn’t feel like advanced chemistry, but a couple of little details make all the difference. This is where that culinary experience really pays off. The single most important thing I can drill into you—and I mean this—is that you absolutely must use aluminum-free baking powder.
I know you might see regular baking powder listed elsewhere, but the aluminum version leaves a weird, slightly metallic aftertaste, and we aren’t having that in my kitchen! Trust me, the texture payoff from the aluminum-free kind is superior, and the flavor stays clean.
Also, resist the urge to overload your baking sheet. If those wings are touching, they steam instead of crisping. Always give them space on that wire rack! If your oven runs cool, you might need to bump the temp slightly, or just let them cook the extra 10 minutes until they truly pull away from the bone and sound solid when you tap them. For more crispy inspiration, you have to see my Sweet Chili Glazed Chicken Wings for a different flavor profile!
Ingredient Notes and Substitutions for Why Everyone Loves This Chicken Wings Recipes (+ Make-Ahead Tips)
As a gluten-free chef, I spend a lot of time looking closely at labels, and I want you all to be just as eagle-eyed! While the core ingredients for the wings themselves—the spices and the fat—are naturally free of the bad stuff, the sauce is sometimes where things hide. Since we are using Frank’s Hot Sauce (which is generally safe!), always double-check your specific brand of hot sauce and brown sugar if you are cooking for someone with severe allergies.
These chicken wings are quite forgiving, though! If you run out of light brown sugar, you can use dark brown sugar, but you might need to cut back on the water slightly, as dark has more moisture. If you’re out of Frank’s, any cayenne-based vinegar hot sauce will work well, but you may need to adjust the sugar content to hit that perfect balance of heat and sweetness.
Baking Powder Selection
I can’t stress this enough: you *must* find aluminum-free baking powder for this recipe. It’s not just a suggestion; it’s truly essential for achieving the texture we are aiming for! Regular baking powder sometimes leaves behind a slightly bitter, soapy residue once it’s baked at these high temperatures. Aluminum-free brands, widely available now, react cleaner. This simple switch prevents any weird aftertaste and ensures that wonderful, clean, salty-spicy flavor shines through completely. Don’t skip this step if you want that perfect, dry, crispy coating!
Serving Suggestions for Your Crispy Chicken Wings
Once these babies come out of the oven, sizzling perfection ready to be devoured, you need the right supporting cast! For any big game day, having good sides ready means an easier cleanup later. My go-to is always a big bowl of crisp, cool celery and carrot sticks.
They offer such a great textural contrast to the richness of the Buffalo sauce. If you’re feeling ambitious, a simple, tangy coleslaw works wonders to cut through the heat. If you happen to be looking for another amazing, saucy wing flavor for your spread, you should absolutely check out my recipe for Honey Garlic Sticky Chicken Wings!
Storing and Reheating Why Everyone Loves This Chicken Wings Recipes (+ Make-Ahead Tips)
So, you were smart enough to make a massive batch—or maybe you just had too much leftover from the party (ha! As if!). Storing these wings properly is key to keeping that hard-won crispiness intact until you want to enjoy them again. We learned from Grandma: don’t let good food go to waste, but you also don’t want soggy wings!
If you followed the make-ahead tips earlier, your sauce is already separate, which is a huge advantage for storage. If you already tossed the wings in sauce before you stored them, that’s fine too, but we need a serious resurrection strategy when reheating, or they end up soft and sad. Nobody wants a sad, lukewarm wing!
If you are saving components separately—unbaked wings (seasoned) or plain cooked wings—they’ll last about 3 to 4 days in a tightly sealed container in the fridge. But let’s talk about how to bring back that perfect crispy texture!
Bringing Back the Crisp: Oven or Air Fryer Only
I need you to promise me something right now: never, ever microwave these wings. The microwave turns crisp skin into sad, rubbery leather, and it just breaks my heart! The only way to successfully revive the texture we worked so hard for is using dry heat.
Your best bet is a conventional oven set to about 375 degrees F. Spread the wings out on a clean wire rack set over a baking sheet—just like when you baked them originally! This allows air to circulate all around them. Give them about 10 to 12 minutes. They heat right through, and that skin tightens right back up!
If you own an air fryer (which I highly recommend for quick reheating!), use that! It’s even faster. Set the air fryer to 380 degrees F and cook those leftovers for just 5 to 7 minutes. They crisp up unbelievably fast. For future reference, if you’re looking for other ways to get extreme crispiness in a shorter cook time using different methods, you should see how I handle Garlic Parmesan Air Fryer Chicken Wings!
Re-Saucing for Leftovers
If you stored the wings naked (un-sauced) because you anticipated leftovers, that’s the gold standard! Once the wings are piping hot and crispy again from the oven or air fryer, take your pre-made Buffalo sauce (warmed slightly if it was refrigerated), and toss the hot wings in it right before serving. Voila! They taste like they just came out of the oven for the first time.
If you stored them already sauced, they will still be tasty, but don’t try to re-crisp them too hard, or the sauce will burn. Just warm them gently on the rack at a lower temperature—say 300 degrees F—until heated through. A little sauce caramelization is okay, but intense crisping is out if the sauce is already on!
Frequently Asked Questions About Why Everyone Loves This Chicken Wings Recipes (+ Make-Ahead Tips)
I know when you’re making something great for a crowd, especially for game day events, you’ve got a million little questions running through your head! I’ve tried to cover everything so you can feel totally confident when you pull these beautiful, crispy wings out of the oven. Here are the things I get asked most often about these specific chicken wings.
Can I bake these chicken wings from frozen?
Oh, honey, please don’t try that! If you bake them from frozen, they are going to steam themselves immediately. Remember how much we rely on getting them super dry so that baking powder can do its amazing work? You have to thaw those wings completely first. Once they are fully thawed, taking the time to pat them bone-dry with paper towels is non-negotiable for that ultimate crispiness. They need to be completely dry before they ever see that seasoning mix!
What if I don’t have a wire rack?
I totally get it; sometimes you just don’t have a second rack lying around, and you need to make a big batch! While the wire rack is highly preferred because it lifts the wings away from the pan so air can circulate completely underneath them, you can fake it in a pinch. Take a sheet of heavy-duty foil and crumple it up into several tight little balls—think firm meatballs—and place these foil balls onto your baking sheet. Then, set your wings on top of those little foil stands. It elevates them just enough to keep them from sitting in their own juices. It won’t be quite as perfect as the rack method, but it works way better than just laying them flat!
How long does the sauce last in the refrigerator?
The Buffalo sauce is great because it keeps so well! Since it’s mostly hot sauce and sugar, it holds its flavor beautifully. Once you’ve cooked it down and let it cool, you can store it in a tightly sealed jar or airtight container in your refrigerator for up to a full week. When you’re ready to use it next time, just stir it vigorously and warm it up gently on the stove before tossing with your freshly baked wings. If you need more great storage ideas for all my recipes, be sure to check out my full collection of trusted recipe guides!
Why Everyone Loves This Chicken Wings Recipes (+ Make-Ahead Tips)
Ingredients
Equipment
Method
- Adjust your oven rack to the upper-middle position. Preheat oven to 425 degrees F.
- Line a baking sheet with aluminum foil and place a wire rack on top. Spray the rack with non-stick spray.
- Use paper towels to pat the wings dry and place them in a large bowl. Dry them well.
- Combine the salt, pepper, garlic powder, paprika, and baking powder in a small bowl. Sprinkle the seasoning over the wings, tossing to coat evenly.
- Arrange wings, skin side up, in a single layer on the prepared wire rack.
- Bake on the upper middle oven rack, turning every 20 minutes until wings are crispy and browned. The cook time may take up to 1 hour.
- Remove from the oven and let stand for 5 minutes. Transfer wings to a bowl and toss with sauce.
- For the Buffalo sauce: In a medium saucepan over medium heat, stir together all sauce ingredients. Mix well until sugar has dissolved.
- Remove the sauce from the heat and allow it to cool to room temperature before adding to wings, or prepare the sauce ahead of time and refrigerate it.
Nutrition
Notes
Tried this recipe?
Let us know how it was!
Gluten-Free Chef & Latin Cuisine Innovation Specialist
My youngest son’s celiac diagnosis at four changed everything. Suddenly, all those traditional Brazilian and Portuguese recipes from my avó needed to be completely reimagined without losing their soul.
After graduating from Johnson & Wales and working Miami’s Latin fusion scene, my son’s diagnosis became my calling. How do you make gluten-free empanadas that taste like childhood? Over eight years, I’ve developed 320+ gluten-free recipes celebrating authentic Latin flavors using cassava flour and plantain alternatives.
My gluten-free empanada recipe won “Best Appetizer” at the 2023 Miami Gluten-Free Food Festival. I ran “Sabores Sin Gluten,” a catering business serving Miami’s Latino community—quinceañeras, family gatherings, all the celebrations that matter.
Food is culture, and everyone deserves to experience the joy of sharing traditional family meals, regardless of dietary restrictions.