Oh, nothing hits the spot quite like a truly spectacular sandwich, right? It’s the ultimate comfort food, handheld and ready in a flash. If you’re like me—someone who needs delicious, satisfying meals but often battles dietary restrictions—you’ve come to the right place. This collection, What I Cook When I Crave Sandwich Ideas Recipes, is all about elevating the basics into something truly memorable, even when you’re eating gluten-free.
I remember the day I transformed a Brazilian coxinha filling into a sandwich for my son after his celiac diagnosis. Watching him enjoy that cheesy, crispy chicken nestled between two slices of GF bread, slathered with my homemade avocado spread—wow. That moment taught me everything! It’s those simple joys that inspire every recipe here.
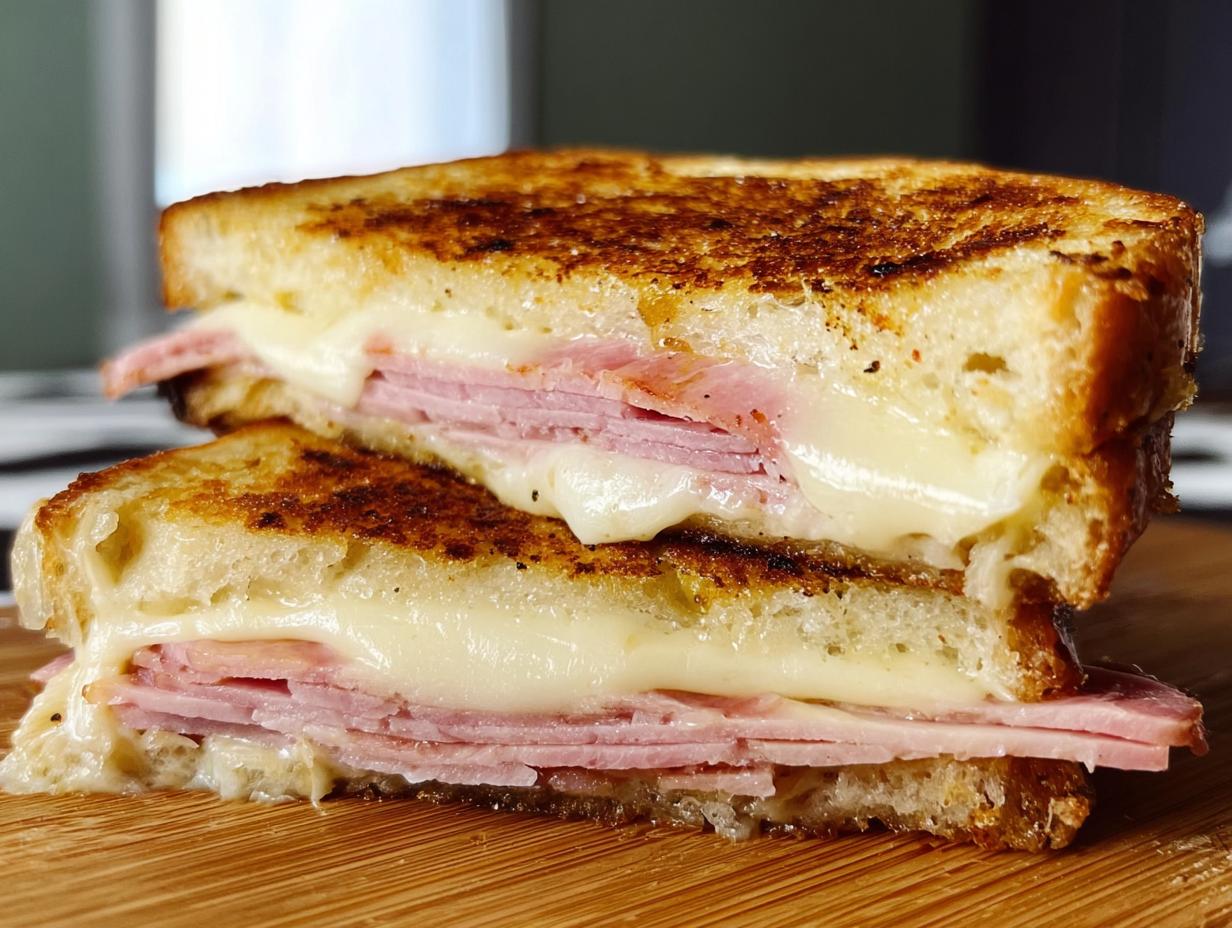
Why This Grilled Ham and Cheese Stands Out in My Sandwich Ideas Recipes Collection
You might see a simple grilled ham and cheese and think, “Marco, that’s just a basic sandwich!” But trust me, this baby is my go-to benchmark when I’m building out my collection of What I Cook When I Crave Sandwich Ideas Recipes. It proves that phenomenal flavor doesn’t need complexity.
The real trick, the thing that makes it worth writing down, is the heavy press. I use my Dutch oven right on top to guarantee even browning and perfect cheese melt from edge to edge. It takes the classic and turns it into something wonderfully satisfying. If you check out more structured recipes, like these Super Satisfying Sandwiches, you’ll see why pressing matters!
Quick and Easy Sandwich Prep Time Breakdown
This recipe is pure gold when you need lunch fast. We’re talking 5 minutes of prep time, which is nothing, followed by maybe 10 minutes of actual cooking. Even factoring in a 5-minute rest on a rack—which you absolutely shouldn’t skip—you have a hot, incredible sandwich in under 20 minutes. This really screams quick and easy lunch perfection!
Essential Components for Your What I Cook When I Crave Sandwich Ideas Recipes
Alright, this is where we get serious about quality. Even for something as straightforward as a grilled ham and cheese, the ingredients you choose make all the difference in what ends up on your plate. Think of this like the blueprint for a fantastic, quick lunch. Getting the ratios right here means you won’t have to improvise later when you’re hungry!
When I lay everything out, I feel so much more in control. It shows me exactly what’s going into my belly, which is crucial when I’m sharing these recipes online. Here’s exactly what you need to gather for these two perfect sandwiches.
For the Classic Sandwich Build
- You’ll need 4 slices of crusty bread or hearty sandwich bread. Make sure it’s sliced about 1/2-inch-thick—that thickness helps it hold up under the press!
- I use 2 tablespoons of mayonnaise or softened unsalted butter, and we divide that evenly. Mayo makes the outside beautifully crisp, by the way!
- Grab 2 teaspoons of Dijon mustard for a little kick, divided between the slices.
- For the cheese, you want 8 slices total of Swiss, Gruyère, or cheddar—use thin slices, about 4 ounces, and divide them.
- We need about 6 ounces of thinly sliced ham, which usually means about 12 slices. Layer it on!
Optional Flavor Boosters
If you want that little extra crunch and tang that cuts through the richness of the cheese and ham, don’t forget the pickle chips. I use anywhere from 8 to 12, depending on how tangy I’m feeling that day.
Step-by-Step Guide: Mastering the Perfect Grilled Sandwich
Okay, listen up, because this technique is what elevates our sandwich ideas recipes from simple to ridiculously good. We aren’t just throwing things in a pan; we are building structure here! Don’t worry if you’ve never used a weight before; it’s the secret weapon for the best grilled exterior you can imagine.
Assembling and Spreading the Bread
First things first—get those four slices of bread out. Take your butter or mayo, and I mean really spread it edge-to-edge on one side of every slice, using a butter knife. That coated side is going to be the outside of your sandwich later. Then, flip those slices over and take your Dijon mustard. Spread that lovely tangy flavor onto the bare side of the two slices that will end up on the bottom of the pan.
Layering Cheese, Ham, and Final Assembly
Now we build! Place those two mustard-side-up slices into your cold or room temperature nonstick skillet. Next, layer up! Put half of your cheese onto each slice, then pile on the ham—make sure you get that ham distributed evenly. If you’re using pickles, scatter them over the ham now. Finally, top those piles with the remaining cheese slices. That sandwich layering of cheese, meat, and cheese means the bread gets sealed perfectly.
Take your last two slices of bread, spread that remaining butter or mayo on one side, and then mustard on the other bare side. Slap those down mustard-side-down right on top of the cheese stacks to close up the sandwich. Give the tops a little press with your spatula just to help everything stick together before the heat goes on.
Grilling and Pressing for Golden Perfection
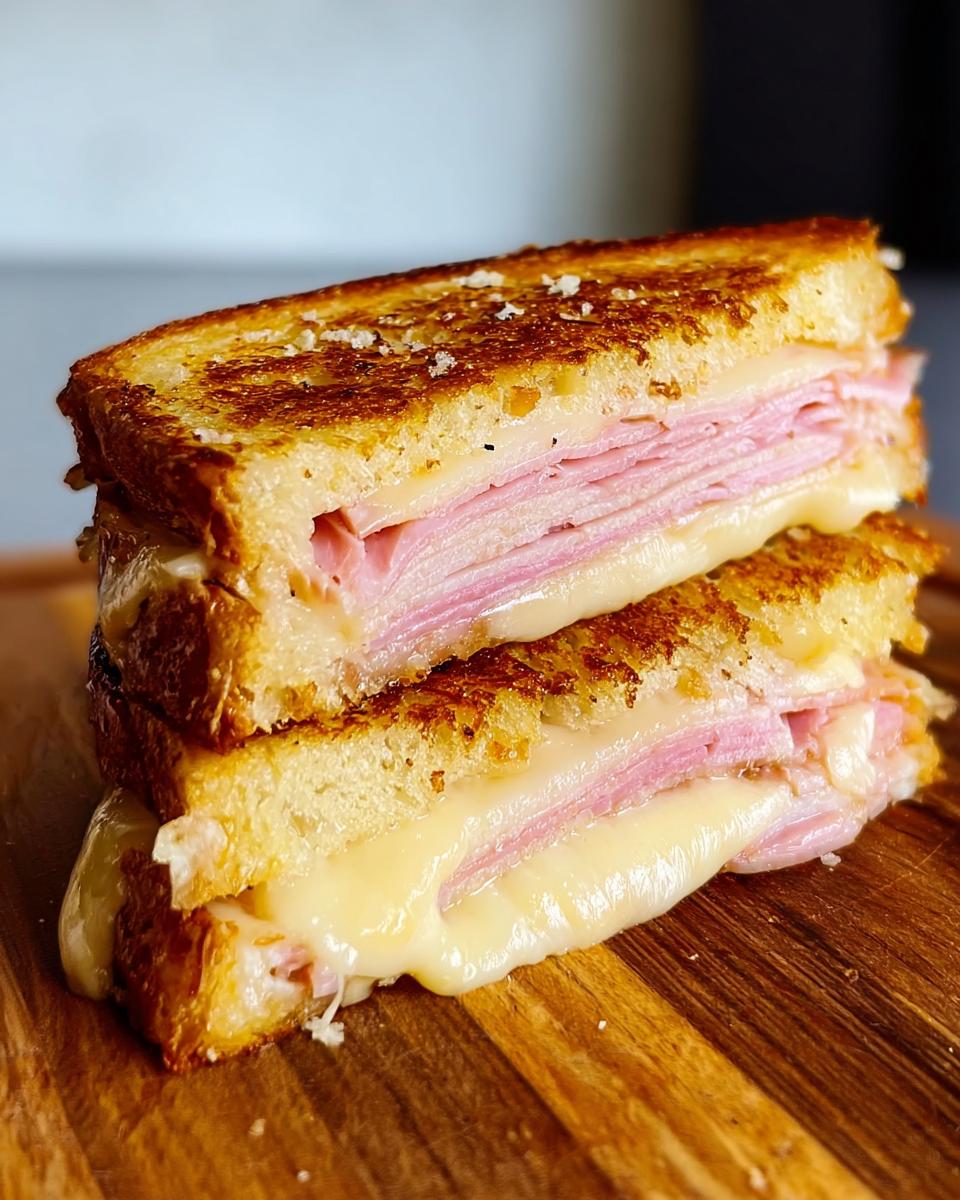
Turn your burner to medium heat. Let those bottoms cook for about 4 to 6 minutes until they are gorgeously golden brown. Now for the fun part! Flip those beauties with two spatulas, and immediately set your Dutch oven or heavy weight right on top. Reducing the heat to medium-low is important here!
Cook like that for another 2 to 4 minutes until the second side is browned and you can see that cheese melting all gooey-like out the sides. Once done, pull them out onto a wire rack, and this is key for our What I Cook When I Crave Sandwich Ideas Recipes—let them rest for 5 minutes. Seriously! It lets the cheese set just enough so it doesn’t run everywhere when you cut it in half. Then, slice and enjoy!
Expert Tips for Elevating Your Sandwich Ideas Recipes
Even though this is a classic, I always look for ways to push the flavor profile in my What I Cook When I Crave Sandwich Ideas Recipes, especially relating to texture. The bread choice isn’t just about diet; it’s about structure! A flimsy slice will collapse under that heavy press, and we definitely don’t want that.
Choosing the Right Bread for Your Sandwich
The recipe notes mention crusty or hearty bread, and I can’t stress that enough. Crusty bread gives you that satisfying shatter when you bite into it against the soft interior. If you’re using gluten-free bread, which I often do, look for denser loaves. Lighter, airy GF bread tends to steam and get gummy when pressed. For ideas on other ways to handle bread, check out my thoughts on avocado toast variations; the principles are similar when it comes to grilling!
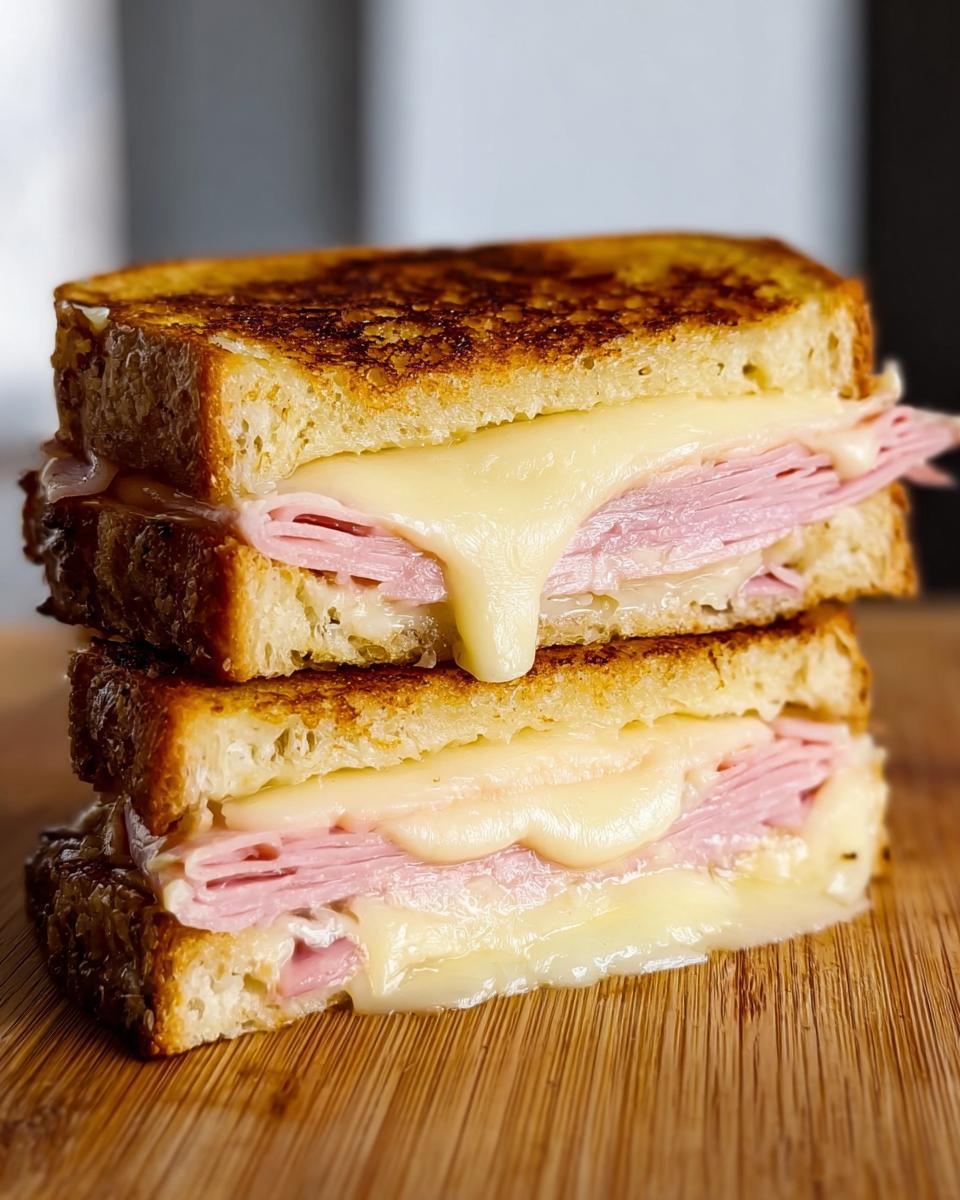
Cheese Melting Secrets
If you want that perfect, uniform lava-like flow, ditching cold cheese straight from the fridge is step one. Give your slices about 15 minutes on the counter to warm up slightly—it makes a huge difference under that medium-low heat! Another pro trick, especially if you’re using a thick block of aged cheddar, is to just grate it. Grated cheese melts faster and blends into those ham pockets beautifully, ensuring a smoother finish on your next great sandwich.

Variations on What I Cook When I Crave Sandwich Ideas Recipes
Part of the fun in gathering What I Cook When I Crave Sandwich Ideas Recipes is knowing you can totally riff on the classics! Since I am always cooking for my family, including my son, ingredient swaps are just part of the daily reality, and they lead to some surprisingly fantastic lunch combinations.
Protein Swaps for Your Next Lunch
If you’re tired of ham, don’t sweat it! This pressing technique works like a charm with almost any thinly sliced meat. Leftover roasted chicken, shaved turkey breast, or even thinly sliced roast beef are amazing substitutes. Just make sure whatever you pick is paper-thin so it heats through quickly with the cheese. This keeps your lunch assembly quick and easy, too!
Cheese and Spread Alternatives
When it comes to flavor adventure, switch out both the cheese and that Dijon mustard. Try swapping the Gruyère for provolone for a nuttier flavor, or even some smoked Gouda if you really want depth. Instead of just mustard, sometimes I skip it entirely and spread a thin layer of homemade cilantro pesto on the inside bread slices. It gives the whole sandwich a bright, fresh flavor that feels gourmet!
If you’re looking to bake your own carrier for these amazing fillings, I have a really reliable gluten-free bread recipe that proves you don’t need wheat for structure.
Storage and Making Ahead: Planning Your Quick and Easy Sandwich Lunch
Look, the absolute best way to eat this grilled ham and cheese is immediately after it cools for 5 minutes. That perfect, crispy exterior just doesn’t last!
However, I know life gets busy, and sometimes you need to plan ahead for that quick and easy lunch assembly later. You can definitely prep. Don’t individually wrap the finished grilled sandwiches; they get soggy fast. Instead, do your prep work the night before!
Measure out your cheese, slice your ham, and have your mustard and mayo ready. Keeping those elements separate means you just have to butter the bread and pile everything together when lunchtime rolls around. A little bit of planning keeps this sandwich quick without sacrificing that golden, pressed crunch.
Frequently Asked Questions About What I Cook When I Crave Sandwich Ideas Recipes
I get so many great questions about tweaking these recipes for real-life lunches, so I figured I’d put some of the most common ones right here for you! It’s all about making sure whatever you cook fits your day and your diet seamlessly.
Can I make this sandwich ahead of time?
If you’re asking about making the whole grilled sandwich ahead, my honest answer is no, not really! The magic is in that super-crisp bread that comes right off the hot skillet. If you wrap it up the night before, it’s going to steam and get soft, and that’s just sad. However, you can totally prep your fillings! Slice all your ham and cheese, mix up your condiment spread, and keep it all chilled. That way, assembling your lunch the next day is lightning fast.
What is the best way to reheat a leftover grilled sandwich?
If you have leftovers (which sometimes happens!), the microwave is your enemy; it turns the bread chewy. For the best results, try using an air fryer set to about 350 degrees for about 4 minutes, or pop it in a regular oven on a baking sheet at 375 degrees for about 7 minutes. This brings back some of that lovely crunch we worked so hard for when making this recipe from my collection of ideas.
Is this recipe suitable for a gluten-free lunch?
Absolutely, yes! Because I focus so heavily on food innovation for dietary needs, this classic grilled sandwich is incredibly adaptable. The ham, cheese, and seasonings are naturally GF, of course. You just need to substitute regular bread with a good quality gluten-free bread, which I talk about a lot over on my site. It’s perfect for a safe, delicious gluten-free lunch!
Serving Suggestions for Your Perfect Sandwich Lunch
So you’ve got this amazing, perfectly pressed sandwich for your lunch. What goes with it? Nothing too complicated, right? We keep things truly quick and easy around here.
Honestly, a great tomato soup is the ultimate pairing, but if I need something faster, I grab a crisp side salad tossed with lemon vinaigrette. A handful of good quality tortilla chips also hits the spot when you need that salty crunch to contrast the creamy sandwich filling. All these options keep the focus squarely on enjoying that stellar sandwich from my What I Cook When I Crave Sandwich Ideas Recipes collection!
Nutrition Snapshot for This Sandwich
I know some of you are tracking macros or just curious about what exactly is in the two incredible sandwiches we just made. Because ingredients like bread and cheese vary so much based on what brands you buy—especially what kind of gluten-free bread you choose—these numbers are really just a cozy estimate for two servings using standard cheddar and basic ham.
Remember, Marco here is a flavor specialist, not a registered dietitian! These are just ballpark figures based on typical ingredients to give you a general idea for your lunch planning. Think of this as a starting point, not a strict rulebook for your sandwich adventure.
- Calories: Roughly 650–750 per sandwich
- Fat: Around 38g–45g (Hello, butter and cheese!)
- Protein: Approximately 30g–35g (Thanks to the ham)
- Carbohydrates: Varies widely, but expect 40g–55g (This is where your bread choice really swings the total!)
If you’re looking to lighten this up, try using sourdough bread—which tends to be a bit lighter—and swapping some of the meat for lean turkey. Either way, enjoy your quick and easy meal; it’s worth every calorie!

Ham and Cheese Sandwich
Ingredients
Equipment
Method
- Place bread slices on a clean work surface. Spread 1 teaspoon mayonnaise or butter evenly over 1 side of each slice using a butter knife.
- Place 2 slices of bread (mayonnaise side down) into a 12-inch nonstick skillet. Spread the top (dry side) of these 2 bread slices in the skillet with the remaining mayonnaise or butter.
- Place 2 slices of cheese (about 1 ounce) in an even layer on each bread slice in the skillet. Top with the ham and pickle chips (if using), divided evenly between the 2 slices. Top with the remaining 2 slices of cheese per sandwich.
- Spread 1 teaspoon mayonnaise evenly over the dry side of the remaining 2 bread slices, then spread with mustard.
- Close each sandwich with the remaining bread slices, mustard side down. Use a spatula to press firmly to adhere the layers.
- Heat the skillet over medium heat and cook until the bottom of the bread is golden brown, 4 to 6 minutes.
- Use 2 spatulas to flip the sandwiches. Set an empty large Dutch oven or other heavy skillet or cooking weight directly on top of the sandwiches. Reduce the heat to medium-low and cook until the second side is golden brown and the cheese is melted, 2 to 4 minutes.
- Use a spatula to transfer the sandwiches to a wire rack and let them rest for 5 minutes. Transfer the sandwiches to a cutting board, cut them in half, and serve warm.
Notes
Tried this recipe?
Let us know how it was!
Gluten-Free Chef & Latin Cuisine Innovation Specialist
My youngest son’s celiac diagnosis at four changed everything. Suddenly, all those traditional Brazilian and Portuguese recipes from my avó needed to be completely reimagined without losing their soul.
After graduating from Johnson & Wales and working Miami’s Latin fusion scene, my son’s diagnosis became my calling. How do you make gluten-free empanadas that taste like childhood? Over eight years, I’ve developed 320+ gluten-free recipes celebrating authentic Latin flavors using cassava flour and plantain alternatives.
My gluten-free empanada recipe won “Best Appetizer” at the 2023 Miami Gluten-Free Food Festival. I ran “Sabores Sin Gluten,” a catering business serving Miami’s Latino community—quinceañeras, family gatherings, all the celebrations that matter.
Food is culture, and everyone deserves to experience the joy of sharing traditional family meals, regardless of dietary restrictions.