Oh my gosh, holiday cooking! I remember the sheer panic of hosting my very first Thanksgiving. I was standing there, trying to balance wanting everything to be perfect with the reality that I was still learning exactly how much salt the turkey *actually* needed. It felt like a ton of pressure, right?
That’s why I put together The Ultimate Stuffing Recipes Guide for Beginners. We are skipping all the drama and starting with stuffing because it smells like home, but we’re learning to make it in easy, foolproof muffin tins—perfect for new cooks!
The memory I keep coming back to is mixing sage and onion stuffing while thinking of my Nonna. I was so nervous, but that comforting smell made me feel connected to tradition, like I was in her kitchen all over again. Honestly, with this guide, you don’t need to be a seasoned chef to create something memory-worthy. Trust me, you got this! I’m Elena Brown, and I promise to make this part easy for you.
Why This Is The Ultimate Stuffing Recipes Guide for Beginners
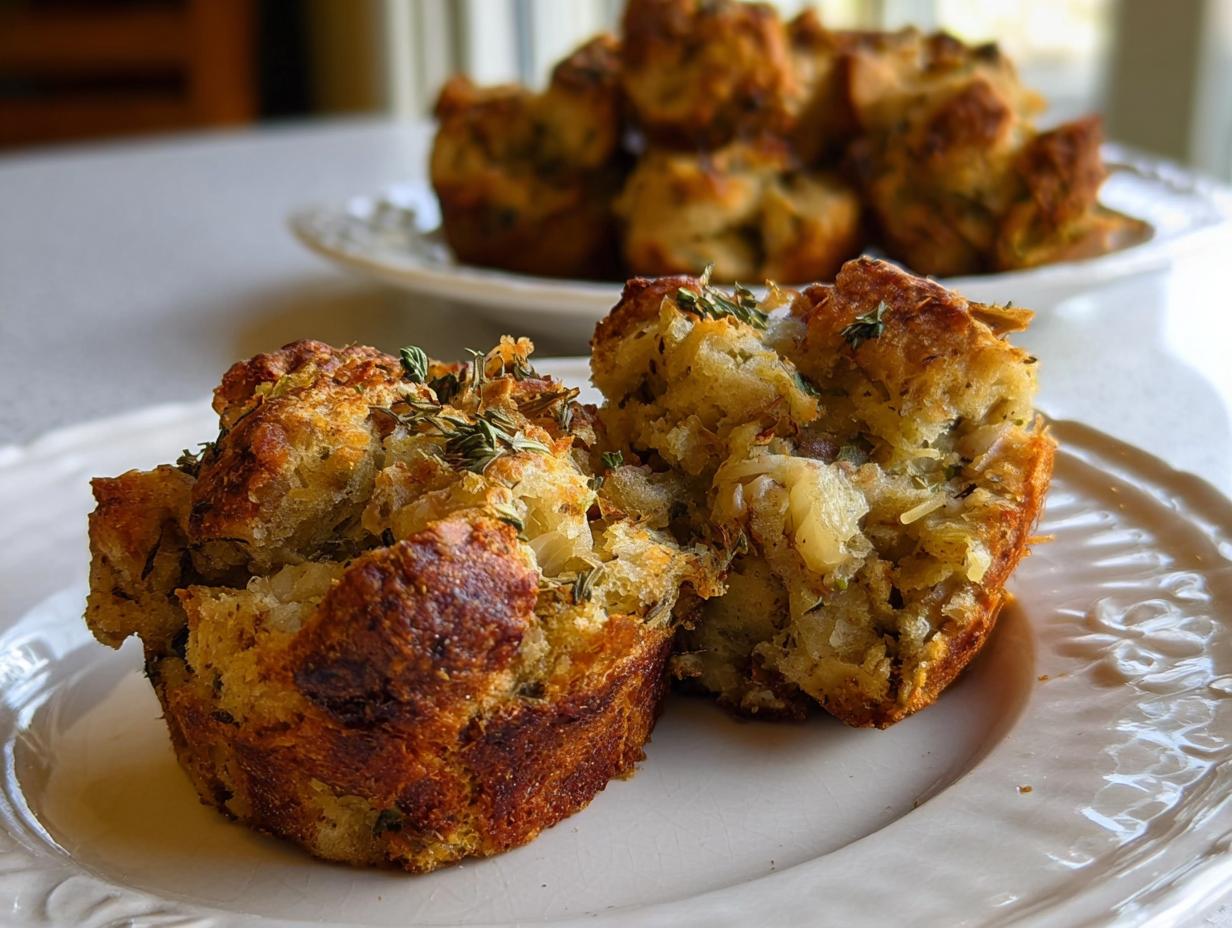
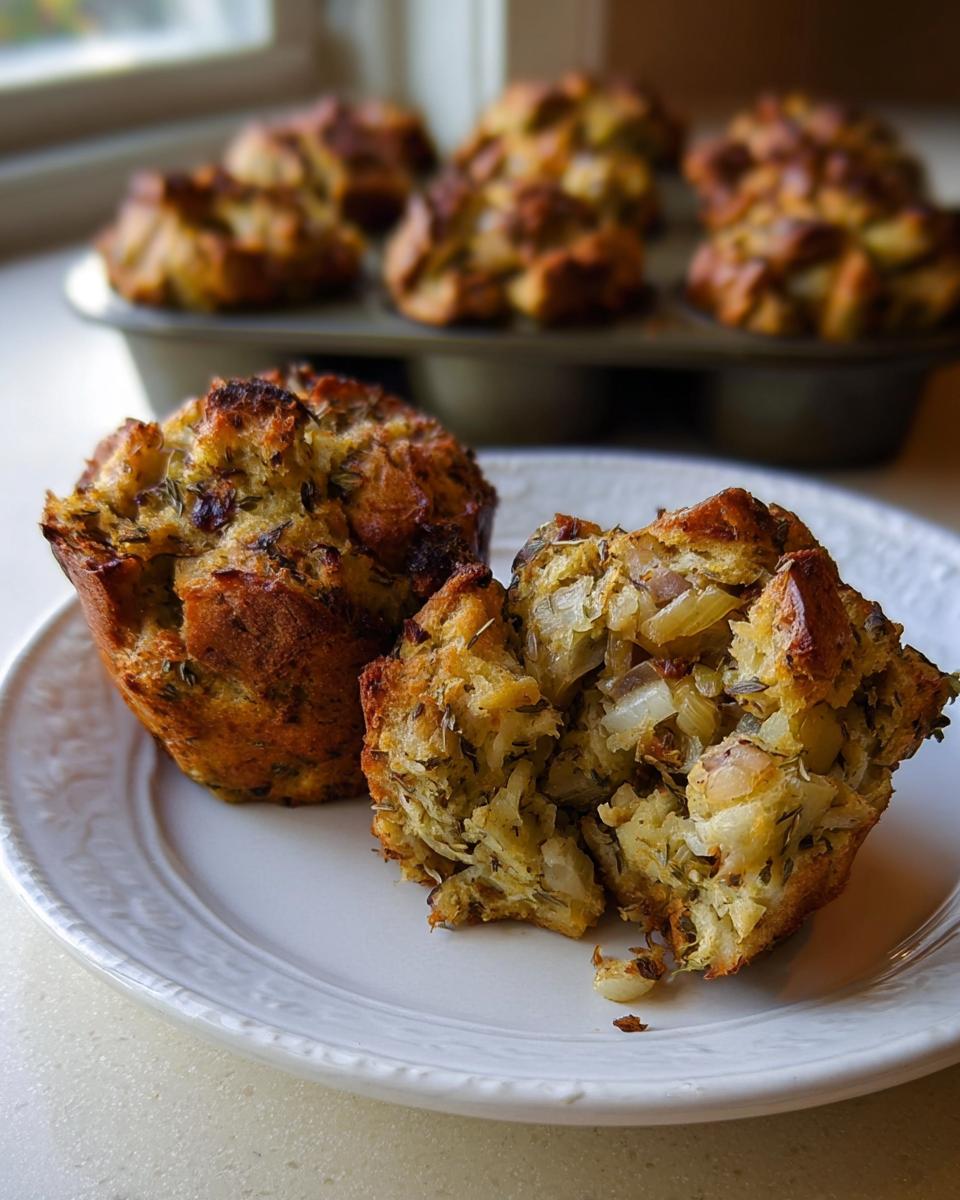
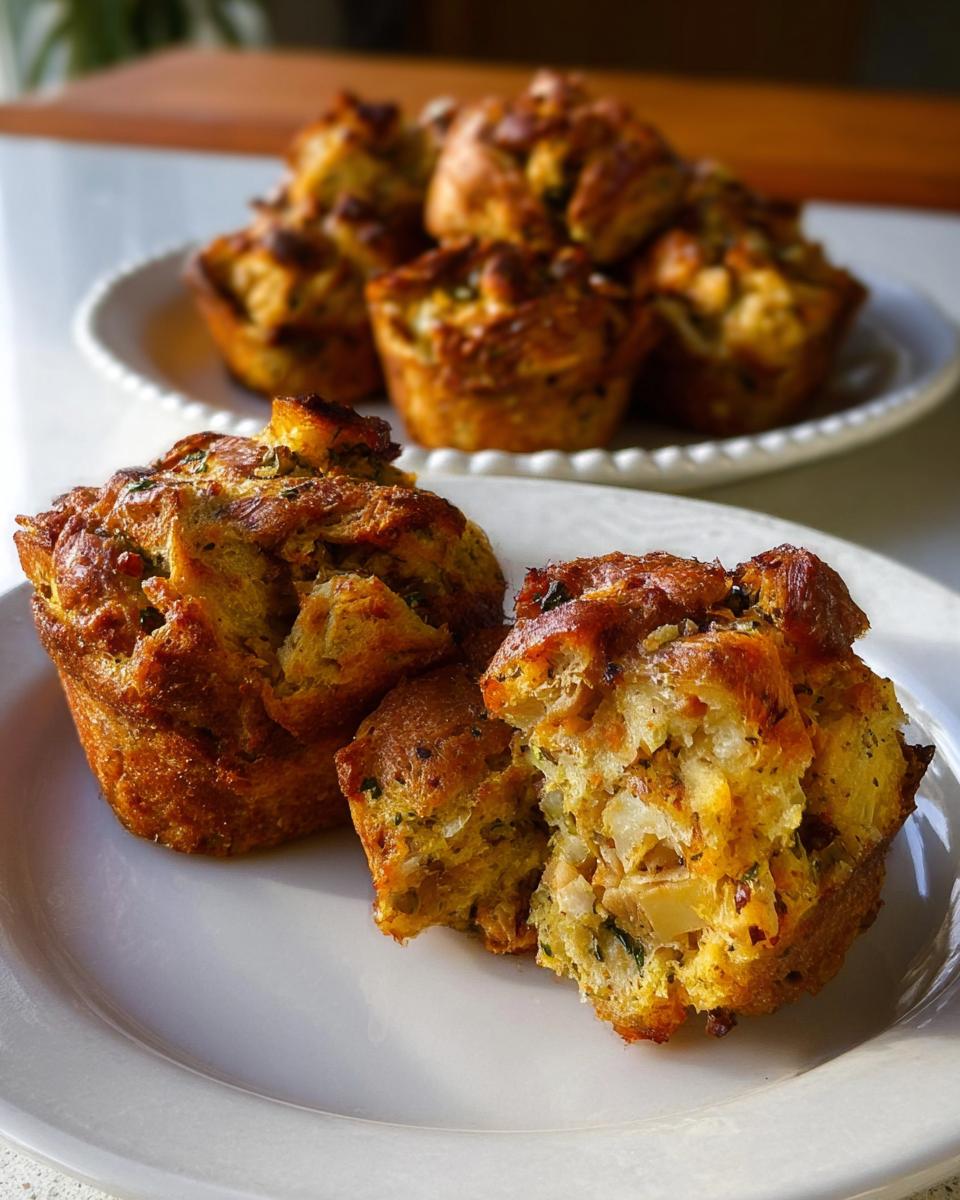
Listen, big batches of stuffing can feel heavy and intimidating for your first big holiday. That’s why I love this muffin tin approach baked into The Ultimate Stuffing Recipes Guide for Beginners. You get these perfectly portioned little flavor bombs that bake up fast and get that amazing, crispy, golden top on every single serving. No more digging through a huge casserole dish to find the edges!
This method cuts down on cooking time and makes serving absolutely stress-free. You’re learning the fundamentals—like how much liquid your bread can handle—but in a way that guarantees success. If you want amazing flavor without the panic, this is your starting point. You can check out some other quick ideas over here at my favorite recipe collections for inspiration later on, or see how others tackle it with this great tutorial.
Benefits of Learning Stuffing Cooking Techniques Now
Mastering stuffing isn’t just about Thanksgiving, although it certainly helps when that big day rolls around! Learning how herbs mix with fat and moisture now gives you confidence for any side dish, anytime. Stuffing is actually one of the gentlest dishes to start with because seasoning is so forgiving.
You’re learning the core skill of moisture management, which is huge in baking and side dishes. Once you know how to get that perfect texture here, you’ll feel ready for anything!
Gathering Ingredients for The Ultimate Stuffing Recipes Guide for Beginners
Okay, let’s talk about what you need to gather up for these perfect little stuffing portions. Since we’re focusing on learning the ropes, keep your ingredients simple but treat them well! For the base, you’ll start melting 1/4 cup of butter or margarine in your skillet. Into that, you toss 2 onions, which you’ll want roughly chopped. This is where the flavor starts building!
You’ll mix in 2 teaspoons of poultry seasoning, 2 teaspoons of salt, and 2 teaspoons of black pepper. We divide these up as we go, so don’t dump it all in now! The most important item is the bread—you need 15 thick slices of bread, cut into 1-inch cubes. Day-old bread cubes are absolutely the best choice here because they hold their shape instead of turning to mush immediately.
For binding and getting that perfect moistness, you’ll need 2 large eggs, lightly beaten, and 1 1/2 cups of milk or chicken broth. See? It’s straightforward stuff, but every piece matters!
Ingredient Notes and Essential Substitutions
I can’t stress this enough: use bread that isn’t super fresh. If your bread is too soft, it absorbs all the liquid too fast and you end up with more of a bread pudding than stuffing. Seriously, day-old crusty bread is your best friend here.
When it comes to the liquid, I usually reach for chicken broth because it just adds that savory depth that screams thanksgiving dinner flavor. But if you don’t have broth, milk works just fine! As for those herbs in the poultry seasoning, that mix usually has sage, thyme, and marjoram. If you love sage, feel free to bump that up a tiny bit, but don’t go crazy on your first attempt!
Step-by-Step Instructions for The Ultimate Stuffing Recipes Guide for Beginners
This is where the magic happens! For The Ultimate Stuffing Recipes Guide for Beginners, we jump straight into cooking. First thing’s first: get that oven preheated to 350°F and grease up those 12 muffin cups really well. You don’t want these little beauties sticking!
Next, we build flavor on the stovetop. Warm that butter in a large skillet over medium heat. Once it’s shimmering a bit, toss in the onions along with half of your seasonings—1 teaspoon of poultry seasoning, salt, and pepper. We cook these low and slow for about 6 to 8 minutes. You want them soft, like they’ve melted, but please, don’t let them brown! Brown onions taste harsh, and we want sweet onion flavor here.
Once those onions are perfect, scrape every bit of that seasoned butter right over your cubed bread in the large bowl. Give it a good stir to coat everything.
Mastering the Sauté and Seasoning Stage
The secret sauce is layering those flavors! Once the bread is coated with the onion butter, you’re going to stir in the rest of your seasonings—that remaining poultry seasoning, salt, and pepper. Here’s my nonna’s trick: give that seasoned bread a good sniff. It should smell strongly herby and peppery. If you’re still unsure, microwave a tiny pinch until it’s hot and taste it. If it needs more punch, add a tiny bit more pepper now. You have to season every single layer, or your final stuffing will taste bland!
Achieving Perfect Moisture Balance in Your Stuffing
Now comes the balancing act! Mix your 2 eggs with the 1 1/2 cups of milk or broth. Pour about half of that liquid mixture over the bread and stir gently. Don’t mash it, just incorporate it. This next step is critical for beginners: the squeeze test! Take a small handful of the mixture and squeeze it tightly. If tiny droplets of liquid come out, stop adding liquid immediately. If it just crumbles apart dryly, add a little more of the liquid mixture until it barely starts to feel saturated.
Once the liquid is just right, divide the stuffing evenly, mounding it high in those muffin cups. Bake them for about 30 to 40 minutes until the tops are beautifully brown and look crunchy. When they come out smelling amazing, run a thin plastic knife around the edges and gently take them out.
Tips for Success in The Ultimate Stuffing Recipes Guide for Beginners
Even though this recipe is super simple, a few little tricks can take your muffin-tin stuffing from good to absolutely legendary. Think of these as the tips I learned the hard way so you don’t have to stress about them!
First, let’s talk bread one more time. Seriously, if you can, use a mix of breads! I sometimes use sourdough cubes mixed with maybe 5 slices of plain white bread if my sourdough is too dense. A variety of textures helps absorb the liquid differently, giving you a better mix of soft insides and crisp edges. If you are interested in making your own mix, you’ll want to check out my guide for baking gluten-free bread, which works wonders here too!
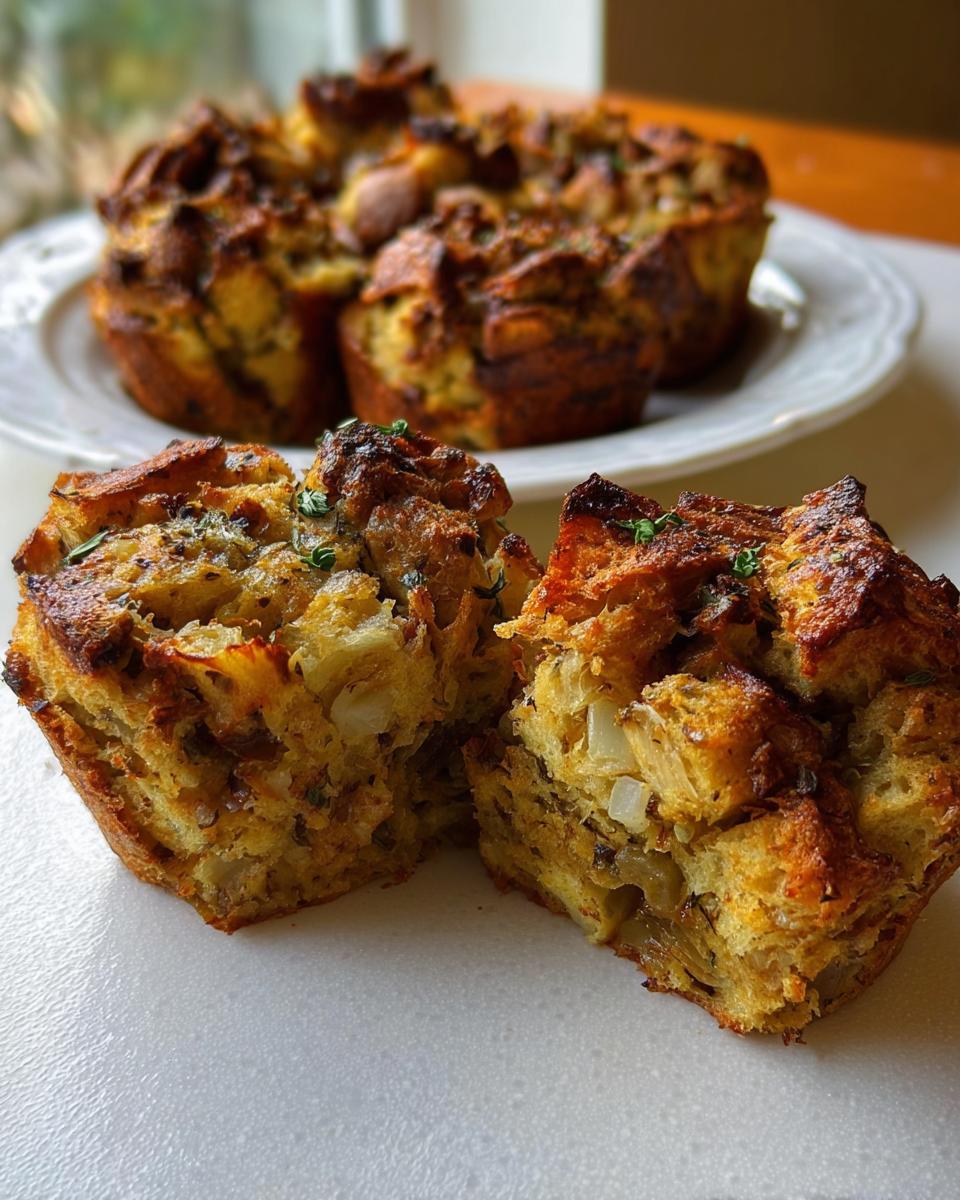
My second must-know is about getting those incredible crispy tops. Since we are baking these in muffin tins, make sure you are using a good non-stick spray or pan grease generously. When you mound the stuffing into the cups, intentionally leave about a quarter-inch of space at the very top. This lets the heat circulate and really dry out that top layer so it crisps up beautifully, instead of just steaming itself soft.
Also, don’t rush the oven temperature! Stuffing really needs that consistent 350°F. Even if your oven *says* it’s ready, give it five extra minutes to fully stabilize the heat before you even think about putting the tins in. Since these are small portions, they will cook faster than a whole big casserole, so keep an eye on them in that 30-minute mark. A dry top and a firm feel when you gently press it means you nailed it!
Storage and Reheating Instructions for Your Stuffing
Whew, you did it! Now you have leftovers, which, let’s be honest, are sometimes even better the next day. Because we baked these in individual portions, storage and reheating are so simple. You can keep these delicious stuffing muffins in an airtight container in the fridge for up to three or maybe four days. Don’t push it past four days, just to be safe!
When you’re ready for round two, don’t just microwave the whole thing! That’ll turn your crispy edges instantly soggy. For best results, pop the portions right back onto a baking sheet in the oven at about 325°F. Give them about 10 or 12 minutes. This gentle heat warms them through while letting that buttery, herby top get beautifully crisp again. It’s like taking them straight out of the oven the first time, trust me on this one!
Variations on The Ultimate Stuffing Recipes Guide for Beginners
So, you’ve mastered the basic seasoning and the moisture test—that’s fantastic! Now that you have The Ultimate Stuffing Recipes Guide for Beginners under your belt, it’s time to start tinkering. That’s the fun part of cooking, isn’t it? You don’t have to reinvent the wheel, but simple additions can make these muffin portions completely yours.
If you want to deepen that savory flavor profile, try sautéing some finely chopped celery along with your onions in Step 3. Celery adds a lovely, subtle sweetness and a bit more texture contrast. Or maybe you have some mushrooms hanging around? Sauté them until they release all their moisture and then cook them down until they start browning—that adds a wonderful earthiness.
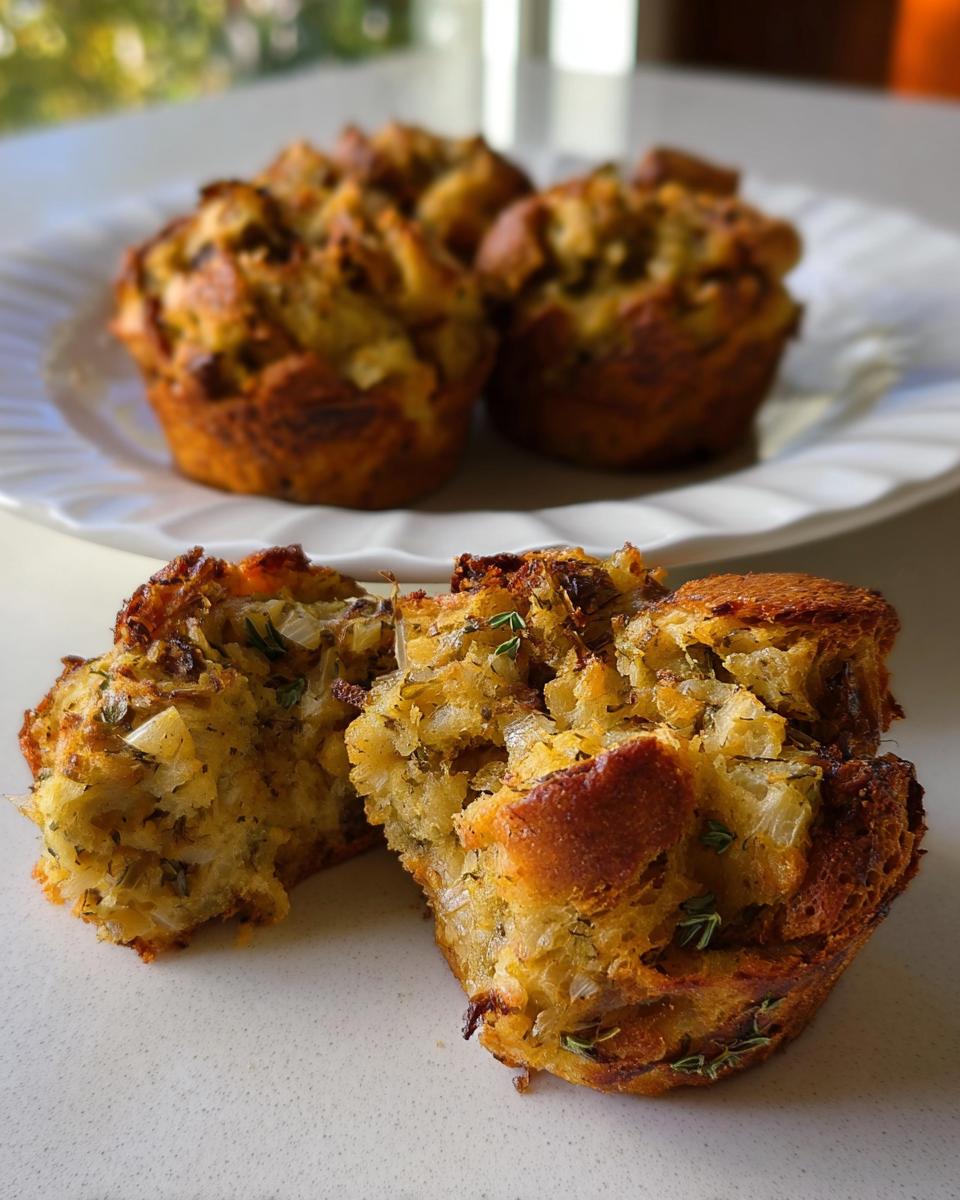
For the herbs, if poultry seasoning feels too classic, try swapping out half a teaspoon of it for dried rubbed sage and a pinch of dried thyme. That pushes the flavor profile toward a more traditional sage and onion stuffing. Remember, since these are small portions, you don’t need much extra stuff; even a tiny splash of dry sherry added to the onions while they sauté makes a world of difference in the final taste. Have fun experimenting!
Frequently Asked Questions About Stuffing
I know when you’re new to the kitchen, there are always a few little niggling questions that pop up right when you think you’re done cooking. Don’t worry about those! I’ve gathered the most common things people ask about homemade stuffing, especially when preparing for a big meal like thanksgiving.
Can I make this stuffing recipe gluten-free?
Oh, absolutely, you can! Since we are making this recipe in muffin tins, adapting it for gluten-free cooks is actually much easier than making a giant batch. The key is sourcing bread that works well. You can use store-bought gluten-free bread, but it tends to be more absorbent, so you might need to cut back on the milk or broth slightly. Start with three-quarters of the liquid listed and use that squeeze test! Also, always double-check your poultry herbs seasoning blend, as some imported blends can have anti-caking agents that contain gluten, though it’s rare nowadays.
What is the best way to check if my stuffing is done baking?
When you pull these out, we aren’t just guessing! The first thing you look for is that gorgeous visual cue: the tops need to be dark golden brown and actually look a little bit crunchy. That’s how you know they aren’t soggy inside. The second test is gently poking the very top with a fork or a small knife; it should feel firm, not mushy or wet. Since these are small portions, they cook fairly quickly. If you have a good meat thermometer, you are aiming for an internal temperature of about 165°F for safety, but most of the time, the visual cues are all you need!
Why did my stuffing taste bland even though I used poultry seasoning?
This is such a common issue when learning how to cook savory things! Stuffing needs a lot of salt and pepper to balance the richness of the butter and the dryness of the bread. If you taste the mixture raw before baking—which I highly recommend you do—and it tastes a little under-seasoned, that’s exactly when you boost it. Those amazing herbs need salt to really wake them up! My hint from the instructions is to ensure you’re adding salt in layers, not just at the end.
Can I make this stuffing recipe ahead of time?
Yes, you totally can! I often mix all the dry ingredients (the bread cubes and seasonings) even a day ahead. But here’s the thing: don’t mix in the liquid (eggs and milk/broth) until right before you bake. Once the wet ingredients mingle with the bread, you need to get it into the oven within a couple of hours. If you pre-mix the wet and dry, the bread will get totally saturated and heavy, and you’ll lose that great crumbly texture we worked so hard for!
Estimated Nutritional Snapshot for The Ultimate Stuffing Recipes Guide for Beginners
I always feel like I should give a quick heads-up about nutrition, even though we are really focusing on flavor and fun here! Since this recipe makes 12 servings, the estimates are based on that count per serving. Remember, these are just my best guesses based on standard ingredient amounts, so they might swing a little depending on the brand of butter or bread you use. It just gives you a nice rough guide!
- Calories: 180
- Fat: 9g
- Sodium: 450mg
- Protein: 5g
- Carbohydrates: 20g
So, don’t stress too much about hitting these numbers exactly; enjoy the fact that you made something delicious from scratch! If you’re looking for more ideas or need to chat about substitutions, feel free to reach out through my contact page!
Share Your Success with This Stuffing Recipe
Well, we made it through the entire process! I am so incredibly proud of you for tackling stuffing, especially if this was your very first time trying anything beyond a box mix. Seriously, take a minute to pat yourself on the back. You just learned the fundamental techniques for moisture control and seasoning building—skills that will make you feel like a kitchen rockstar at every holiday gathering from now on!
Now, I absolutely *need* to see what you made! Did your muffin tops get extra crispy? Did you settle on the classic poultry seasoning, or did you try adding celery like we talked about? Head down to the comments section right now and leave me a rating—even if it’s just four stars because you’re still nervous—and tell me about your first experience making stuffing from scratch.
And please, if you snap a picture of those perfectly browned, individual stuffing portions, tag me on social media! I love seeing your kitchen victories. If you have any lingering questions about substitutions, storage, or anything else that popped up while you were working, don’t hesitate to drop me a line through my contact page. Happy holidays, and keep cooking with confidence!

The Ultimate Stuffing Recipes Guide for Beginners
Ingredients
Equipment
Method
- Preheat your oven to 350°F. Grease 12 non-stick muffin cups.
- Warm the butter in a large skillet over medium heat.
- Add the onions, 1 teaspoon of the poultry seasoning, 1 teaspoon of the salt, and 1 teaspoon of the pepper. Cook, stirring occasionally, until the onions are very soft but not brown, about 6 to 8 minutes.
- Put the bread cubes into a large bowl. Scrape all of the onions and butter mixture onto the bread. Stir well.
- Combine the eggs and milk. Pour about half of this liquid mixture over the bread and stir.
- Take a handful of the moistened bread and squeeze it. If liquid droplets come out, you have added enough liquid. If the bread seems too dry, add more liquid until the bread is saturated enough to release small drops when squeezed.
- Stir in the remaining teaspoon of poultry seasoning, salt, and pepper. Smell the stuffing; it should have a strong herby and peppery scent. Taste the stuffing raw, or microwave a small portion until heated through, and add more seasoning if needed.
- Divide the stuffing among the muffin tins, mounding them well.
- Bake until the tops are brown and crunchy and the stuffing is heated through, about 30 to 40 minutes.
- Run a plastic knife around the edges of each muffin cup and gently remove the portions of stuffing.
Nutrition
Notes
Tried this recipe?
Let us know how it was!
Gluten-Free Culinary Storyteller & Recipe Heritage Specialist
Getting diagnosed with non-celiac gluten sensitivity in my late twenties felt like losing my Italian identity. Growing up in nonna’s Brooklyn kitchen, learning traditional techniques that suddenly became off-limits—I decided to fight for those family food traditions instead of giving up.
With my food journalism background and European baking training, I became obsessed with recreating authentic flavors in gluten-free formats. I’ve adapted 400+ traditional recipes from various cultures, with my gnocchi recipe winning “Recipe of the Year” from the National Gluten-Free Living Awards in 2022.
I collaborate with the Italian-American Cultural Center to document traditional family recipes and volunteer with the Westchester Celiac Support Group, teaching monthly pasta-making classes.
Food is the heart of family storytelling. No one should sacrifice their cultural heritage due to dietary restrictions.