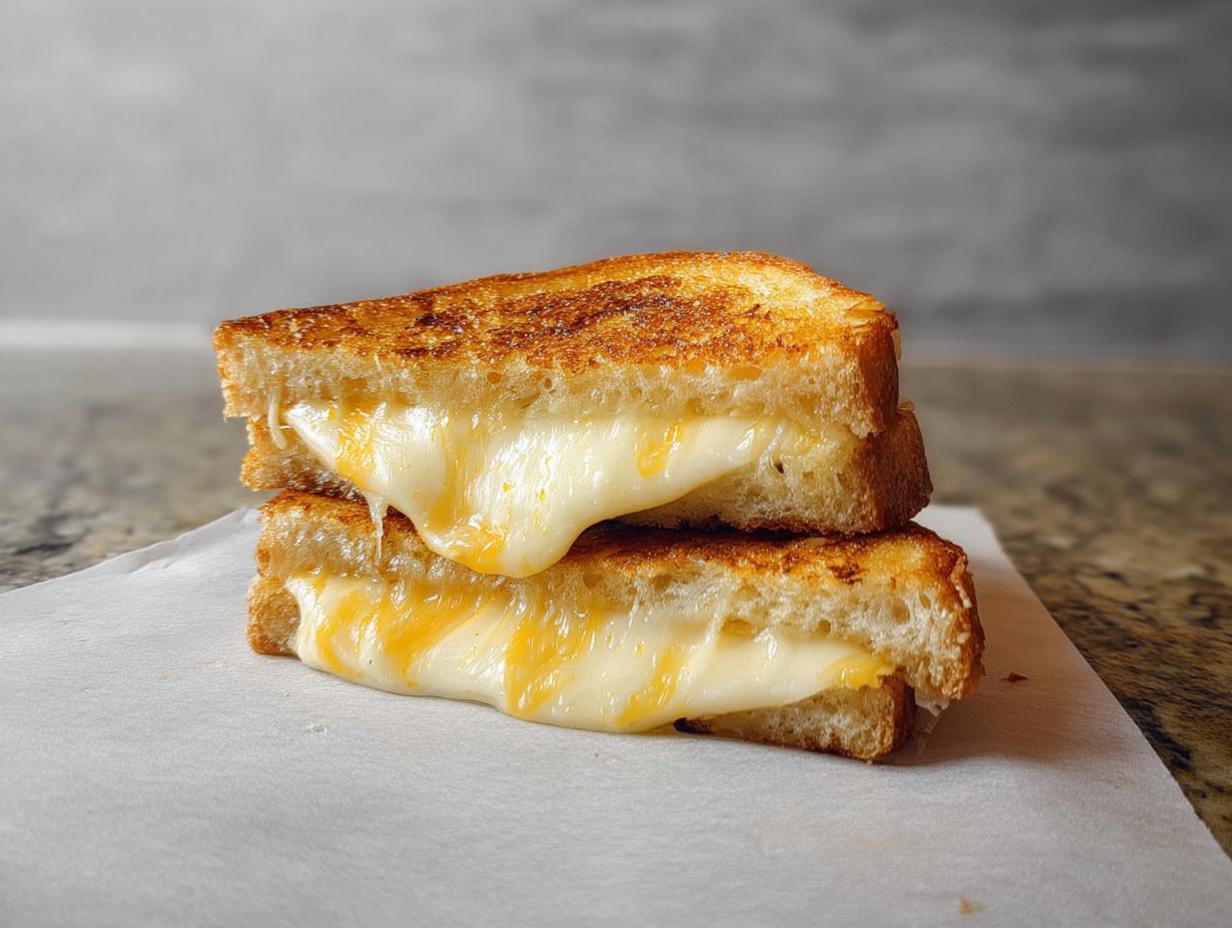
I remember the first time I made a grilled cheese sandwich on a lazy Sunday afternoon, using just bread and cheese from my pantry. It seemed so basic, right? But as I watched that cheese slowly melt—truly melt!—and the bread turned that perfect shade of golden brown, I was instantly transported back to my nonna’s cozy kitchen. That simple sandwich, Elana Brown, Recipe Heritage Specialist that I was, kicked off my whole cooking journey! It proved to me that even the simplest recipes could carry the biggest comfort and the best memories. That’s why I put together The Ultimate Grilled Cheese Recipes Guide for Beginners. Forget flimsy, sad sandwiches; we are aiming for shatteringly crisp bread and pools of gorgeous, gooey cheese. Trust me, you’re going to nail this!
Why This Is The Ultimate Grilled Cheese Recipes Guide for Beginners
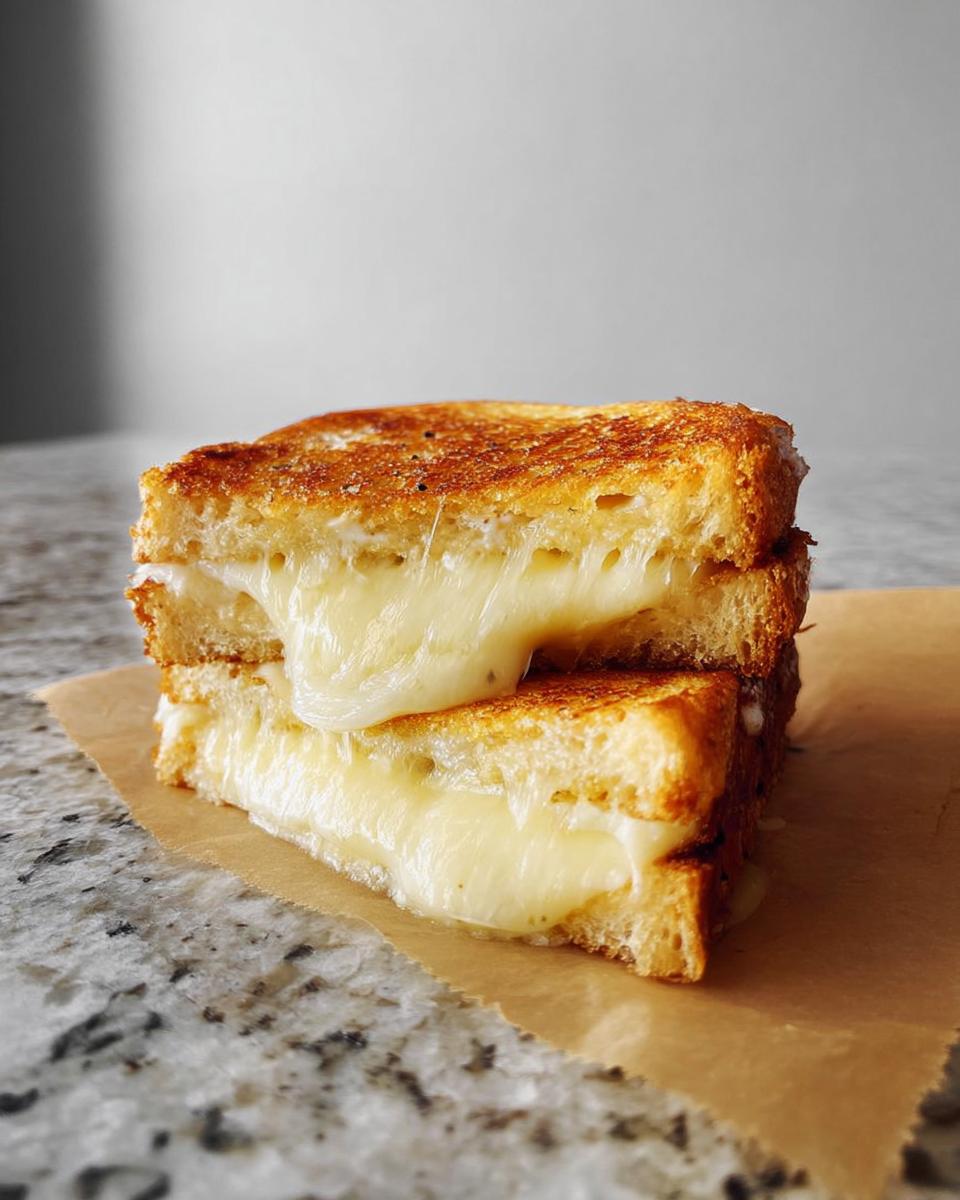
So, why should you trust this guide for your first serious attempt at the perfect grilled cheese? I’ve broken down all the mystery so you can create something fantastic in minutes. We focus on technique and simple ingredient layering, because the best comfort food shouldn’t need a long list of ingredients or hours of fuss. This is about reaching that impossible goal: a perfectly crisp exterior giving way to a truly melty center, every single time. It’s about making a quick lunch that feels like a celebration. You’ll see results fast!
Mastering the Quick and Melty Foundation
The entire secret to a great grilled cheese is not how much cheese you use, but how you prepare the bread surface. We use a combination of softened butter and a thin layer of mayo on the outside. Don’t skip that mayo step; it promotes shockingly even browning and helps build that signature barrier against burning. Mastering this surface treatment ensures you get that perfect, golden glow before the cheese even has a chance to think about solidifying!
Essential Equipment for Your Grilled Cheese
You really don’t need much for this, which is wonderful for beginners! All you truly need is something reliable to cook it on and something sturdy to flip it with. I recommend a good, heavy large skillet or griddle, because even heat distribution is so helpful when you’re learning. And of course, you absolutely need a great spatula. Make sure your spatula is wide enough to support the entire sandwich when you flip it. That prevents the dreaded cheese escape!
Gathering Ingredients for The Ultimate Grilled Cheese Recipes Guide for Beginners
Okay, now we get to the fun part: choosing what goes inside! I’ve laid out my favorite blend here because texture is everything for a truly great grilled cheese. We need a combination of cheeses that melt well but also have serious flavor, right? Don’t grab pre-sliced junk; we need texture here. Mixing them yourself guarantees that beautiful, even river of cheese when you cut into it! I always say, if you’re going to spend precious minutes making lunch, make it count. For more inspiration on my favorite pantry staples, check out some of my other go-to recipes right here.
Ingredient Notes and Substitution Tips
This cheese blend is designed for maximum goo factor! Brie gives us the creaminess, while the sharper cheddar and Gruyère provide that fantastic nutty flavor. Onion powder is my secret weapon here; it wakes up the dairy without adding any moisture. Remember, always use softened butter for the exterior—cold butter rips the bread! And about that mayo, it doesn’t taste like a sandwich dipped in salad dressing, I promise. It’s crucial for getting that professional, even, golden crispness we are aiming for. It helps keep things perfectly melty inside!
Step-by-Step Instructions for The Ultimate Grilled Cheese Recipes Guide for Beginners
Alright, let’s get this sandwich assembled! Now that we have our stellar cheese mix and our bread prepped, the actual cooking part is surprisingly quick. This whole process shouldn’t take more than 10 minutes once the pan is hot. I want you to forget everything you know about cranking the heat up high to rush things. That’s how you get burnt bread and cold centers, and we absolutely do not want that! We are building a beautiful, even crust while giving our interior cheeses time to become perfectly melty rivers. If you want to see how I tackle other simple, satisfying meals, check out my stovetop lasagna recipe for some comfort food ideas.
Preparing the Cheese Blend
First things first, let’s make sure all that delicious cheese is ready to mingle! Take your brie (rind off, remember!), the Manchego, the sharp white cheddar, Monterey Jack, and Gruyère. Toss them all together in a bowl like you’re mixing a salad. Then, sprinkle in that tiny bit of onion powder and mix well. You want everything evenly distributed so every bite gets that hit of savoriness.
The Secret to Golden Brown Bread
Remember how we talked about the outside? This is where we apply it. Take your slices of sourdough. You’re going to spread mayonnaise—yes, mayo!—on one side of every slice. This is the side that will hit the pan. Then, the butter comes next. Spread the softened butter right over the mayo layer on the outer sides of the four bread slices meant to be the top and bottom.
Grilling for Maximum Melty Results
Heat your skillet over medium heat—no hotter! Place your sandwiches in once the pan is warm. Now is the time for patience. Let them grill for about 4 to 5 minutes on that first side. While they cook, use your spatula to press down gently and evenly on the top of the sandwich. This contact helps everything compact slightly and promotes that deep, even browning we love. Flip them carefully and cook the second side for another 4 to 5 minutes until everything is wonderfully golden and the cheese is undeniably melty. For extra confidence on your technique, you can see some great general grilling tips over at Taste of Home here.
Tips for Success in The Ultimate Grilled Cheese Recipes Guide for Beginners
Even with the best recipe, sometimes little things trip up a beginner cook, and I want to save you from that sad, unevenly browned disaster! My first tip is about the cheese temperature. If your cheese is rock-hard and straight out of the fridge, it will take ages to melt, giving your bread too much time to burn. Try grating your cheese ahead of time and letting it sit on the counter for about 15 minutes before you build the sandwich. It gives the blend a head start!
Second, think about your bread choice and thickness. Sourdough is great because it’s sturdy, but if you use a loaf that’s sliced too thick—say, over three-quarters of an inch—you run into the same problem: cold center, burnt outside. For that perfect quick melt, keep your slices aiming toward half an inch. They handle the moisture from the cheese better, too.
Also, when you gently press down with the spatula, don’t mash it! You aren’t trying to make a panini. You are just encouraging surface contact so the bread gets flat and crispy. Think light pressure, holding for maybe three seconds, then letting go. This pressure keeps the sandwich compact without squeezing all the glorious butter/mayo mixture right out onto the pan. If you’re looking for more simple cooking secrets for cozy meals, I detail some of my favorite low-fuss ideas over at my chicken and brown rice post!
Variations on The Ultimate Grilled Cheese Recipes Guide for Beginners
Once you nail the basic technique—the butter, the mayo, the medium heat—you have to start playing around, because that’s the fun of a great grilled cheese! I always encourage beginners to try one tiny tweak next time. It’s a fun way to experiment without messing up the core technique. Remember, if it gets too fancy, it stops being a quick lunch, so keep it simple!
Here are three ideas I always suggest:
- First, add a thin slice of ripe tomato while the sandwich grills on the first side. It adds a little acidity that cuts through the richness of all that melty cheese. Just make sure your tomato slice is patted dry first so it doesn’t make the bread soggy!
- Next, try seasoning the cheese blend differently. Instead of onion powder, mix in a pinch of smoked paprika or a tiny bit of dried thyme right in with your shredded cheese. It gives such a sophisticated flavor twist.
- And finally, swap out the bread once you’ve mastered sourdough. A nice whole wheat or even a good rye bread totally changes the texture and pushes the flavor profile!
Serving Suggestions to Complement Your Grilled Cheese
Okay, you’ve got this gorgeous, perfectly melty sandwich hot off the griddle. Now, what goes with it? Since this is meant to be a quick lunch, we keep the sides simple, but they need to complement that creamy texture. Honestly, a classic cup of tomato soup is unbeatable. The hot, tangy broth cuts right through the richness of the cheese. If you want something a little different—and since I love a good, hearty side—try a small green salad tossed with a bright vinaigrette!
If you need a heartier side that’s still pretty easy, you might want to check out how I make my stuffed peppers sometime. Even though it’s a different meal, it shares that cozy, comforting vibe. You can see that recipe here for a weekend lunch idea, but for today, soup is really the way to go!
Storage and Reheating for Your Grilled Cheese
Let’s be honest, the best grilled cheese is the one you eat the second it comes off the skillet. That initial crunch and immediate melty pull is magic! But what if you made a few too many, or you have leftovers staring at you the next morning? Don’t even think about tossing them!
For storage, wrap each sandwich tightly in foil or put them in an airtight container. They are best eaten within 24 hours. To bring that magic back, forget the microwave—it makes everything soggy fast! Instead, place the cooled sandwich back in a dry, medium-hot skillet. Resist the urge to add more butter unless the bread looks really pale. Reheat carefully until the crust is crisp again and the cheese inside warms back up. It’s almost like making it fresh all over again!
Frequently Asked Questions About The Ultimate Grilled Cheese Recipes Guide for Beginners
I know when I first started baking and cooking, I always had a million little questions floating around my head while I had the pan hot. That’s where the difference between a good lunch and a truly great, comforting one lies! Here are some things I get asked all the time about making the perfect, melty sandwich.
What is the best bread for a quick grilled cheese?
For a quick and shatteringly crisp sandwich, you want something sturdy that’s not too porous. Sourdough, like we used here, is amazing because it has a beautiful tang and holds up well to the butter and mayo without collapsing. Thick-cut brioche is lovely but can brown too fast. Avoid super soft white bread if you can, because it tends to get soggy right in the middle when the cheese starts releasing steam.
How do I prevent the cheese from burning before it gets melty?
This is the eternal struggle! The answer is always heat management. You must stick to medium heat or even medium-low. If the pan is too hot, the bread browns instantly, but the cheese inside stays solid. You can help it along, though! If you notice the exterior is perfect but the cheese still needs just a minute more, cover the skillet with a lid for about 60 seconds. That traps the heat and acts like a mini-oven, coaxing that cheese to become wonderfully melty without scorching the crust!
If you want to know more about my journey in the kitchen and why I value these heritage recipes so much, you can read all about my background over on my About page!
Sharing Your Perfect Grilled Cheese Creations
Wow, we did it! You just made what I honestly believe is the best, most comforting, and perfectly melty introduction to the world of grilled cheese sandwiches. See? Not complicated at all when you use the right foundations!
I am so excited for you to taste that crispy sourdough crunch giving way to the gooey center we worked so hard to achieve. Please don’t be shy! I absolutely love hearing from everyone who tries my recipes. Did you add smoked paprika? Did you stick to the classic blend? Let me know how it turned out!
Drop a star rating below—it really helps other beginners feel confident trying this quick recipe out. And if you have any burning questions about bread thickness or cheese types, hit up the comments section. You can always reach out for more specific questions on my contact page too. Happy cooking, and enjoy that phenomenal sandwich!

The Ultimate Grilled Cheese Recipes Guide for Beginners
Ingredients
Equipment
Method
- In a small bowl, mix the shredded brie, manchego, cheddar, Monterey jack, and gruyere cheeses together. Stir in the onion powder.
- Spread a thin layer of mayonnaise on one side of each slice of bread. This side will face outward for grilling.
- On the un-mayonnaised side of four bread slices, divide the cheese mixture evenly.
- Top each with the remaining four slices of bread, mayonnaise-side up, to form four sandwiches.
- Spread 1 tablespoon of softened butter on the outside (mayonnaise side) of each sandwich.
- Heat a large skillet or griddle over medium heat. Place the sandwiches in the hot skillet.
- Grill for 4 to 5 minutes per side. Press down gently with a spatula while cooking. Cook until the bread is golden brown and the cheese is fully melted and gooey.
- Remove the sandwiches from the skillet. Slice them in half and serve immediately.
Notes
Tried this recipe?
Let us know how it was!
Gluten-Free Culinary Storyteller & Recipe Heritage Specialist
Getting diagnosed with non-celiac gluten sensitivity in my late twenties felt like losing my Italian identity. Growing up in nonna’s Brooklyn kitchen, learning traditional techniques that suddenly became off-limits—I decided to fight for those family food traditions instead of giving up.
With my food journalism background and European baking training, I became obsessed with recreating authentic flavors in gluten-free formats. I’ve adapted 400+ traditional recipes from various cultures, with my gnocchi recipe winning “Recipe of the Year” from the National Gluten-Free Living Awards in 2022.
I collaborate with the Italian-American Cultural Center to document traditional family recipes and volunteer with the Westchester Celiac Support Group, teaching monthly pasta-making classes.
Food is the heart of family storytelling. No one should sacrifice their cultural heritage due to dietary restrictions.