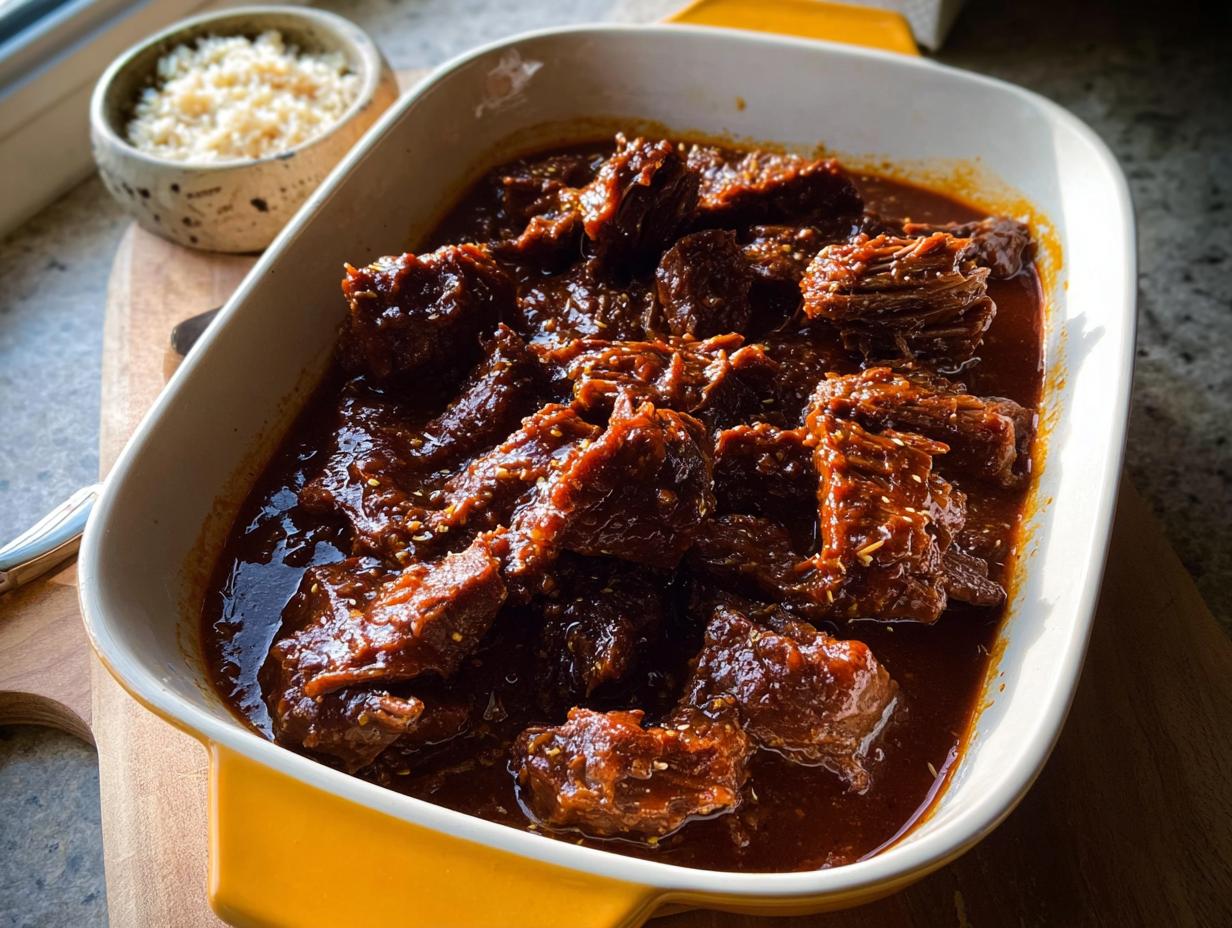
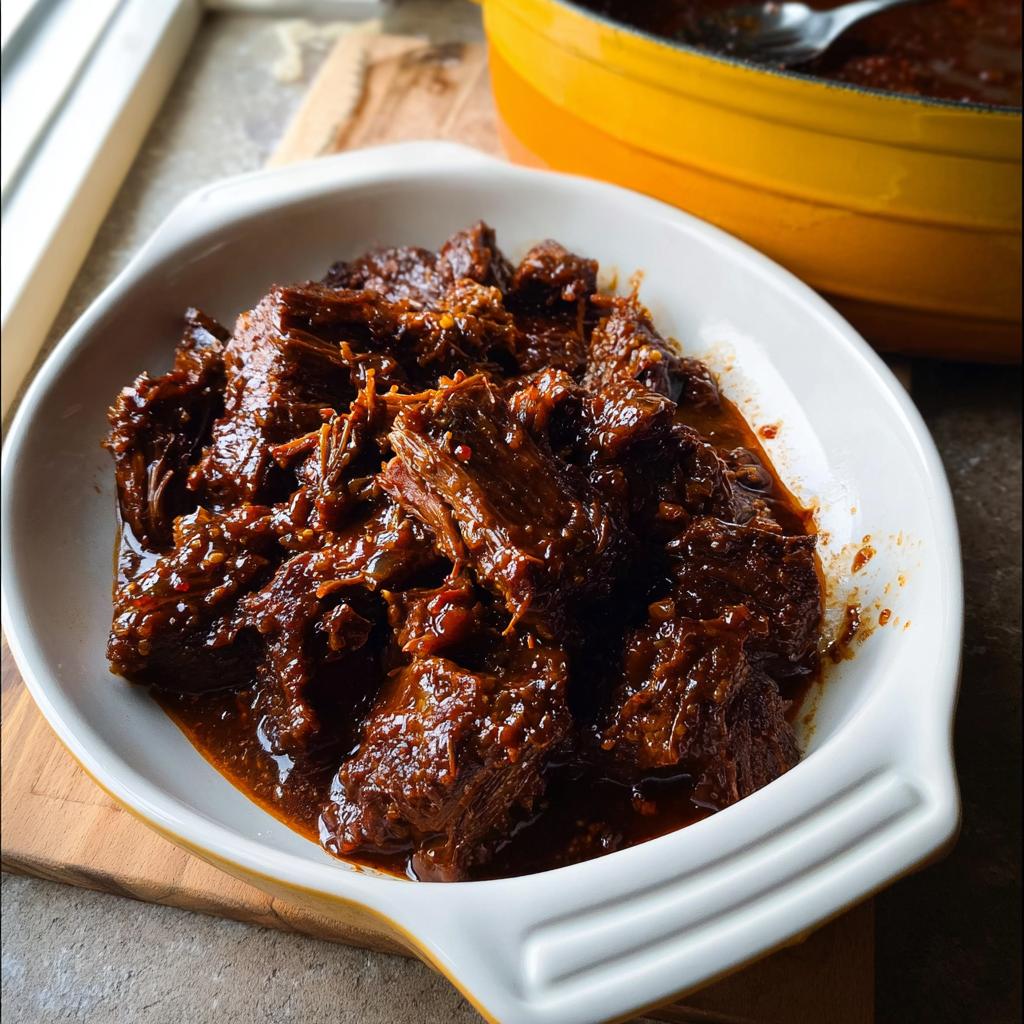
If you’re tired of boring weeknight dinners but still crave that deep-down, satisfying comfort food feeling—especially when you need a little spice kick—then you are going to absolutely love this recipe. Today, we’re diving headfirst into the richness of a Korean Style Pot Roast. It’s unbelievably tender and packs a flavorful punch!
The first time I tried making this, I was determined to find a way to bridge our family’s love for hearty meals with my commitment to gluten-free eating. I remember having the kids help mix the beef with soy sauce alternatives and all those amazing aromatics. The second that gorgeous, zesty aroma filled our home, I knew we had a winner. That evening, the heartiness of the dish combined with its unique flavors sparked so much joy. It quickly became a cherished favorite.
I’m Sophie Williams, and as a Gluten-Free Nutritionist and Family Meal Planning Expert, I promise this dish is simple enough for busy weeknights but delivers flavor that tastes like you spent all day on it. You can find the full method right here for this amazing roast.
Why This Korean Style Pot Roast Is Your New Weeknight Favorite
I know what you’re thinking: pot roast takes forever, right? Not this one! This Korean Style Pot Roast is designed for real families with busy schedules. You sear it, dump the sauce in, and let the oven do the heavy lifting until that beef is falling apart. It’s pure magic with minimal effort from you.
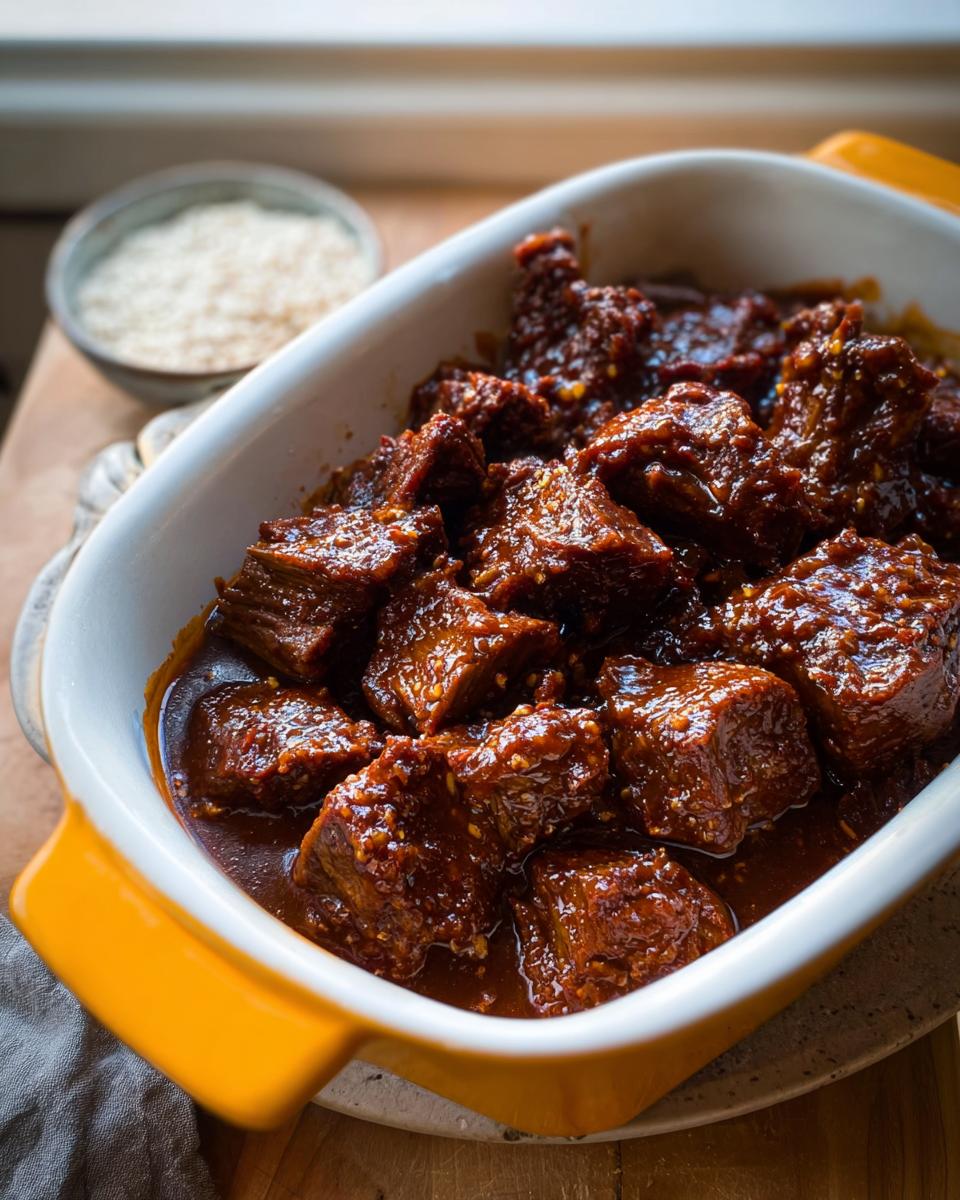
- The meat cooks low and slow until it melts in your mouth—seriously, no knife needed!
- Active prep time is under 20 minutes—perfect for getting homework done or throwing in a load of laundry.
- It freezes beautifully, making it a fantastic meal prep component for future busy nights. Check out some of my other favorite meal prep ideas here!
Flavor Profile: Bold and Comforting
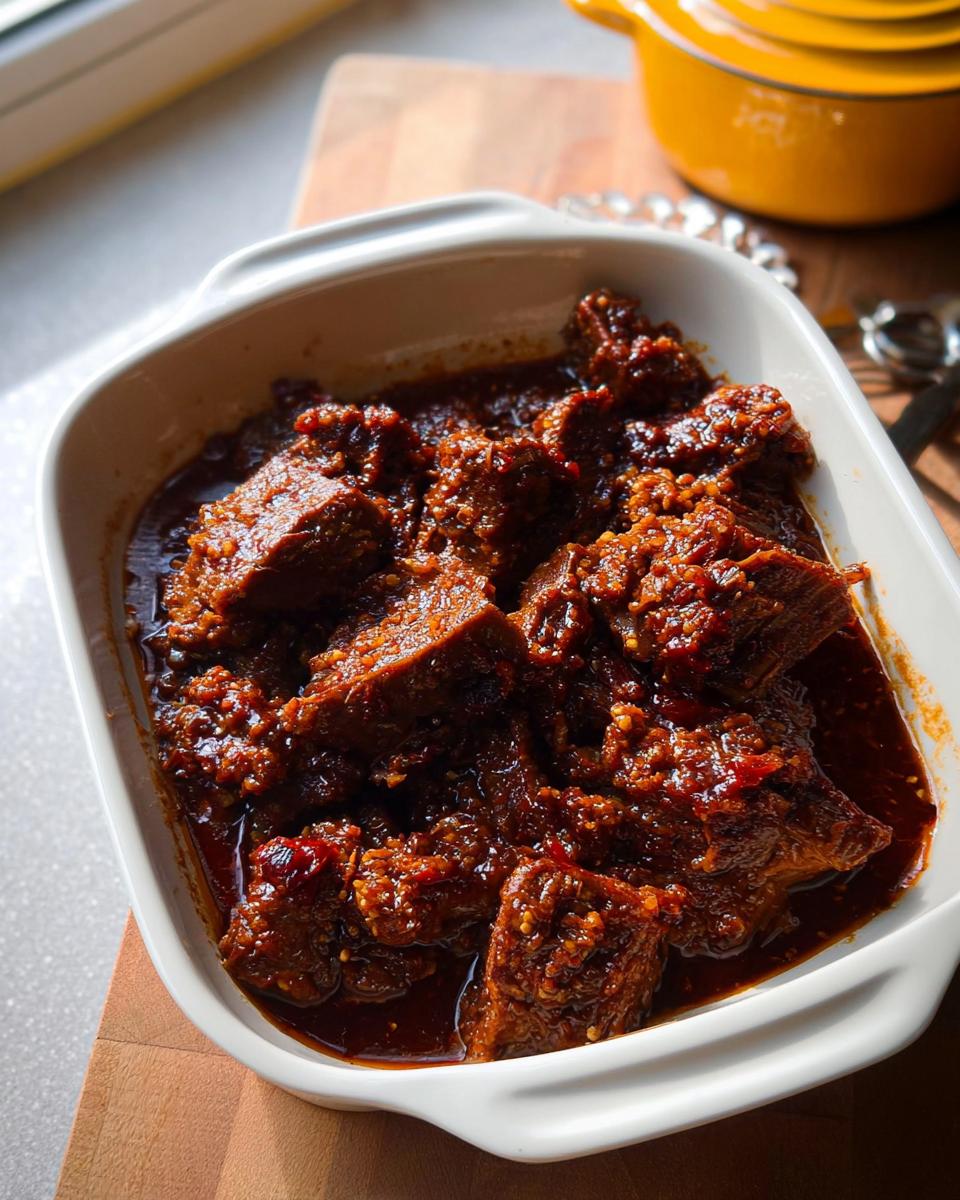
Forget the bland, watery traditional pot roast! This version has Asian flair thanks to that punchy sauce. The gochujang gives you warmth rather than searing heat, perfectly balanced by fresh ginger and a little bit of brown sugar sweetness. It’s deeply savory and coats every shred of beef beautifully.
Family-Friendly and Dietary Adaptable
Even if your kids are picky, the mild spice profile usually wins them over paired with white rice. As a Gluten-Free Nutritionist, I made sure this recipe is easily adaptable. By swapping soy sauce for tamari, you keep the savory depth while ensuring everyone at the table stays happy and healthy.
Gathering Ingredients for Your Korean Style Pot Roast
Okay, before we get this beautiful beef into the Dutch oven, we need to talk ingredients! The success of this Korean Style Pot Roast really hinges on getting that sauce balanced just right. It’s a quick mix, but hitting those spice and savory notes is crucial. You’ll need two main groups of items: the sauce magic and the beef foundation.
Don’t stress about hunting down specialty items for too long, though. Most major grocery stores carry what you need now. For other helpful grocery tips, you can check out my thoughts on healthy meal ingredient sourcing.
For the Korean Style Pot Roast Sauce
This is where the flavor bomb comes from! Make sure you whisk these vigorously in a measuring cup until that light brown sugar is totally dissolved:
- 1 cup low-sodium beef broth
- 3/4 cup low-sodium soy sauce (this is where you’ll sub tamari for GF diets!)
- 3 tbsp. garlic chili sauce (that’s the spicy kick!)
- 3 tbsp. gochujang (Korean chili paste for depth)
- 1 tbsp. sesame oil
- 1 tbsp. rice wine vinegar
- 1/4 cup light brown sugar, firmly packed—don’t skimp on packing it in tight!
For the Roast and Aromatics
You need a hardy piece of beef, and you need the fresh stuff for brightness. Don’t skimp on seasoning the beef before searing; it locks in so much flavor!
- 2 tbsp. vegetable oil (for searing only)
- 3 to 3.5 lb. boneless beef chuck roast
- Salt and pepper, applied generously to taste
- 1 cup yellow onion, finely chopped
- 1 tbsp. grated fresh ginger (fresh is non-negotiable here!)
- 4 to 6 cloves garlic, finely chopped
We will use cornstarch mixed with water later to thicken this up nicely, but that’s the very last move!
Essential Equipment for Making the Korean Style Pot Roast
Because this recipe relies on that long, slow braise, you need the right vessel to hold all that incredible sauce and steam into tenderness. I’m a big believer that using the right tool makes any job easier, and for this Korean Style Pot Roast, two things are absolute must-haves.
Don’t worry, you probably already own these necessities! You won’t need any fancy gadgets, just sturdy workhorses for your kitchen.
- A large Dutch oven: This is our primary cooking tool. It needs to be heavy enough to hold heat steady and have a tight-fitting lid so none of that amazing spicy steam escapes during the 2.5 hours of cooking.
- A large measuring cup or bowl: We need a dedicated spot to mix up our sauce base before pouring it over the beef. Make sure this container is big enough to comfortably whisk in all those broths and spices without sloshing over the edges.
That’s it! Seriously, no stand mixer or immersion blender required for this comfort food classic. Just good, solid cookware!
Step-by-Step Instructions for Perfect Korean Style Pot Roast
Getting this Korean Style Pot Roast done right is all about layering those flavors properly. It takes time, yes, but most of that time is hands-off! Think of it as low-maintenance luxury for your dinner table. Follow these steps exactly, and I promise that beef will be the most tender thing you’ve made all year.
Preparing the Oven and Sauce Base
First things first—get your oven warmed up! We need a nice, low heat for this gentle braise, so preheat it to 300 degrees Fahrenheit. While that’s coming up to temperature, grab your big measuring cup. Whisk together all those sauce goodies: the broth, the soy sauce (or tamari!), the chili sauce, gochujang, sesame oil, vinegar, and that light brown sugar. You want to mix until everything looks homogenous and you don’t feel any gritty sugar bits left on the bottom. Set that beautiful marinade aside; it’s patiently waiting!
Searing the Beef and Building Flavor Layers
Grab your chuck roast and pat it *really* dry with paper towels—this is key for a good crust! Season it generously with salt and pepper on all sides. Heat that vegetable oil in your Dutch oven over medium-high heat until it shimmers slightly. Sear that roast until it gets a rich, dark brown crust on every single side. Don’t rush this part; this color equals flavor, trust me! Once it’s beautifully browned, scoop it out onto a plate and set it aside.

Lower the heat a hair, toss in your chopped onions, and let them sweat until they start getting soft, maybe 3 to 5 minutes. Then, toss in your fresh ginger and garlic. They only need about one minute until you really smell them waking up. Careful not to burn that garlic!
The Long Braise and Finishing the Korean Style Pot Roast Sauce
Now, pour your reserved sauce mixture right into the aromatic pot. Let it bubble and simmer for about 4 or 5 minutes, scraping up any brown bits stuck to the bottom—that’s pure gold! Return your gorgeous seared roast to the Dutch oven. Cover it tightly with the lid and pop it into that 300-degree oven. It needs about 2 1/2 hours, or until you can shred it with just a fork. When it’s done, pull it out. Whisk together your cornstarch and water until it’s a smooth slurry, then stir that right into the sauce in the pot over the stove on low heat until it thickens up perfectly. Time to shred and serve this amazing Korean Style Pot Roast! For more great pro cooking advice, see how to cook like a pro.
Tips for the Best Korean Style Pot Roast Results
You’ve got the recipe down, but let me give you my two cents on making sure your Korean Style Pot Roast is absolutely undeniable. It all comes down to selecting the right beef and managing that low, slow cooking environment. This isn’t a quick sauté; we need to coax that connective tissue into submission!
First, stick to the chuck roast, please! It has the marbling we need for flavor and texture once it breaks down. Do not substitute for leaner cuts, or you’ll end up with dry, stringy beef instead of that melt-in-your-mouth tenderness. Remember, patience is your most important tool here.
Also, resist the urge to lift that lid during the braise! Every time you peek, you let out precious heat and steam. I know it’s hard to wait when the whole house smells like ginger and spice, but trust the process. For more ideas on making comforting meals ahead of time, I always turn to inspiration like these comforting dishes.
Ingredient Notes and Gluten-Free Substitutions
So, let’s talk about that lovely soy sauce situation for our Korean Style Pot Roast. Since we are serving this to families who might be gluten-free, this substitution is super important! The recipe calls for regular soy sauce, but if you or someone you love needs to keep gluten out of the kitchen, you simply swap it out.
Go for tamari or coconut aminos instead. Both options deliver that deep, salty, savory backbone that soy sauce brings to the gochujang, but without the wheat. It makes zero difference in the final tenderness of the beef, I promise! For more thoughts on navigating GF cooking for family meals, I have a whole section on baking and cooking gluten-free.
Also, remember that light brown sugar needs to be firmly packed when measuring. It adds the complexity we need to balance the spice elements in this dish!
Serving Suggestions for Your Korean Style Pot Roast Dinner
Now comes the best part: deciding what to serve alongside this flavor bomb of a Korean Style Pot Roast! Because the sauce is so rich and savory, you need something simple to soak up every last drop. You absolutely can’t go wrong with plain steamed white rice—it’s the perfect neutral base for scooping up the tender beef and the thickened sauce.
But if the family is craving something a little creamier after a long day, don’t hesitate to whip up a batch of mashed potatoes! I have my favorite mashed potato hack for maximum creaminess. Alternatively, simple steamed or lightly seasoned veggies like broccoli keep things light and healthy. If you want an interactive meal, try turning it into a big rice bowl, maybe using one of these easy rice bowl formulas!
Storing and Reheating Leftover Korean Style Pot Roast
Oh, leftovers from this Korean Style Pot Roast are even better the next day, I swear! Once everything has cooled down, just tuck the shredded meat and all that glorious sauce into an airtight container. You can easily slip that into the fridge for about three or four days.
When you’re ready to eat it again, the trick is being gentle. Don’t blast it on high heat! I like reheating mine slowly in a saucepan over medium-low heat, adding just a tiny splash of beef broth or water if it looks a little thick. This keeps the beef incredibly tender. For more ideas on making meals that are great for planned-overs, check out my tips on make-ahead strategies!
Frequently Asked Questions About This Recipe
When I first started making this Korean Style Pot Roast, I had a million questions too, especially since I was navigating gluten-free swaps alongside new flavors. It’s totally normal to wonder about those special ingredients or how to make it kid-friendly. Here are the things folks ask me most often!
If you’re looking for more general inspiration on healthy meal prep, you might find some fun new ideas over here in my Pinterest trends roundups.
Where can I find gochujang?
Gochujang is the heart of the flavor here, so finding it is important! Don’t stress if you don’t have a massive Asian market nearby. Most mainstream grocery stores now stock it right near the international sauces or the barbecue/hot sauce aisle. If you really can’t find it? You could try doubling the garlic chili sauce but honestly, the texture and flavor payoff of true gochujang is worth the hunt for this amazing pot roast.
How do I make this Korean Style Pot Roast milder for young children?
That’s a fantastic question if you’re cooking for little ones! The spice comes mainly from the gochujang and the chili sauce. To tone it down, just cut those amounts in half on the first go-round. My favorite trick, though, is to make the sauce exactly as written, cook the roast, and then just ladle out a portion of the shredded beef *before* you stir in the cornstarch slurry. Then, stir the thickener into the remaining sauce just for the adults!
Can I use a slow cooker instead of the oven?
Yes, absolutely! You can totally adapt this for a slow cooker. Brown the beef and sauté the aromatics on the stove just as written, then transfer everything to the slow cooker. I usually reduce the liquid a little bit since the slow cooker doesn’t lose steam like an oven does, and cook it on low for about 7 to 8 hours until that beef just falls apart. You’ll just need to thicken the sauce on the stovetop right at the end, just like the recipe says!
Share Your Delicious Korean Style Pot Roast Experience
Wow, I hope you’re getting hungry just reading about this amazing Korean Style Pot Roast! I truly poured my heart into making this recipe as easy and delicious as possible for you and your family.
When you finish making it, I’d be so grateful if you came back and left a star rating right here on the recipe card! Tell me what you loved, or if you tried any special side dishes. Please, snap a picture of your tender roast and tag me on social media—seeing your success stories means everything to me. If you ever need to reach out directly with a specific cooking question, you can always use my contact page. Happy cooking!
Korean Style Pot Roast
Ingredients
Equipment
Method
- Preheat your oven to 300 degrees Fahrenheit.
- Whisk together your beef broth, soy sauce, garlic chili sauce, gochujang, sesame oil, rice wine vinegar, and light brown sugar in a large measuring cup or bowl until combined. Set this mixture aside.
- Pat your roast dry and season it with salt and pepper. Heat the vegetable oil in a large Dutch oven over medium-high heat. Brown the meat on all sides. Remove the meat from the pan and place it on a plate. Set the meat aside. Add your onions to the pan and cook for 3 to 5 minutes before adding your ginger and garlic. Continue to cook for 1 more minute.
- Pour in your sauce mixture and cook for about 4 to 5 minutes. Return your roast to the Dutch oven. Cover the Dutch oven and cook for roughly 2 1/2 hours, or until the meat is very tender and shreds easily.
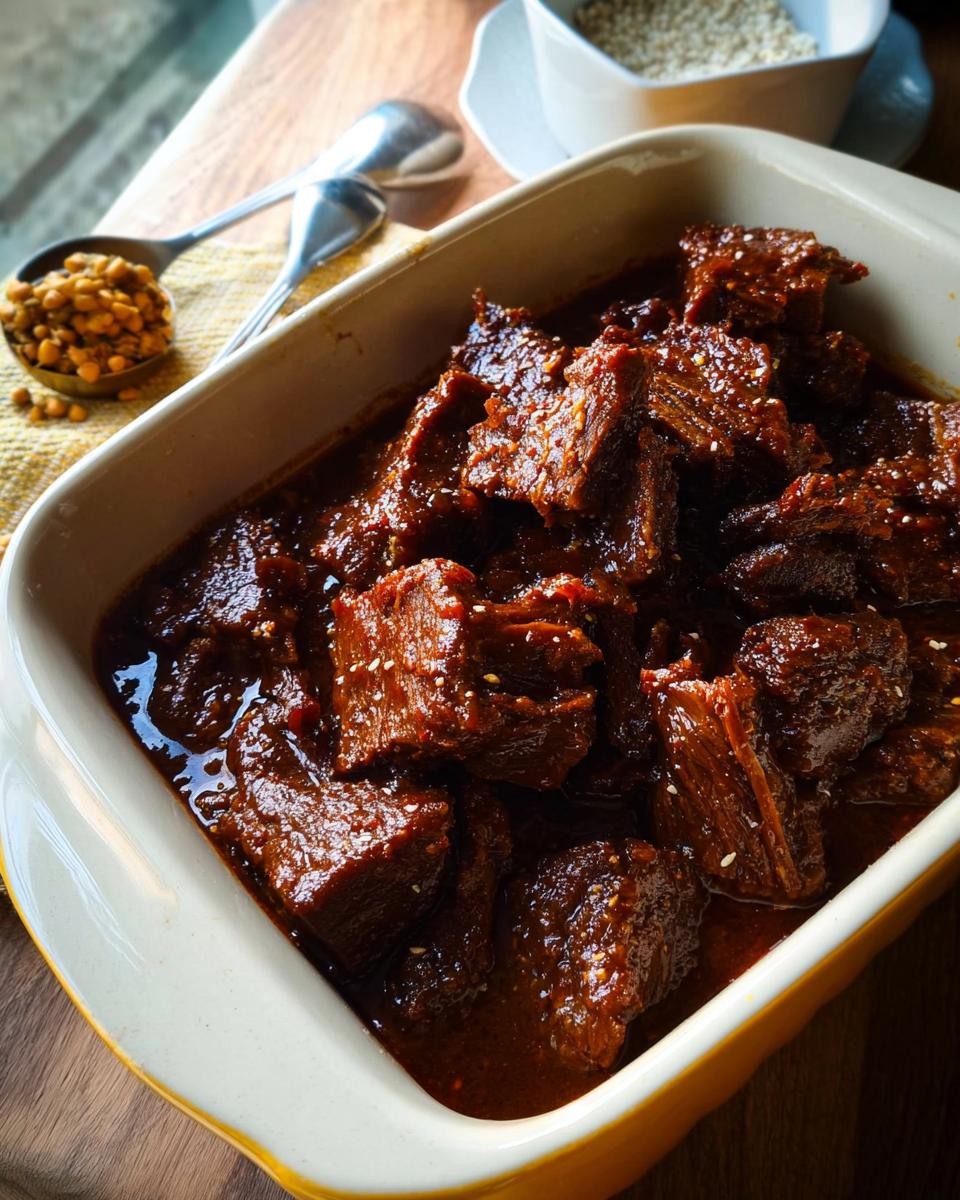
- Before you shred the meat, whisk two tablespoons of cornstarch with 1/4 cup of water. Stir this mixture into the sauce to make it slightly thicker. Serve the roast with steamed white rice or mashed potatoes. You can top it with sesame seeds if you like.
Nutrition
Notes
Tried this recipe?
Let us know how it was!
Gluten-Free Nutritionist & Family Meal Planning Expert
Working as a pediatric dietitian at Children’s Hospital of Denver, I kept meeting families overwhelmed by managing their children’s celiac disease. Parents stressed, kids frustrated, everyone eating bland boxed “gluten-free” products.
That’s when I realized my calling: creating practical, balanced gluten-free solutions for real families with busy schedules. I’ve developed 375+ family-friendly recipes focusing on lunch boxes, after-school snacks, and make-ahead dinners that actually work.
My meal planning system was featured in Parents Magazine, and I presented research at the Rocky Mountain Pediatric Nutrition Conference. My evidence-based approach ensures recipes meet both taste and health standards—families need solutions that work in the real world, not just perfect test kitchens.