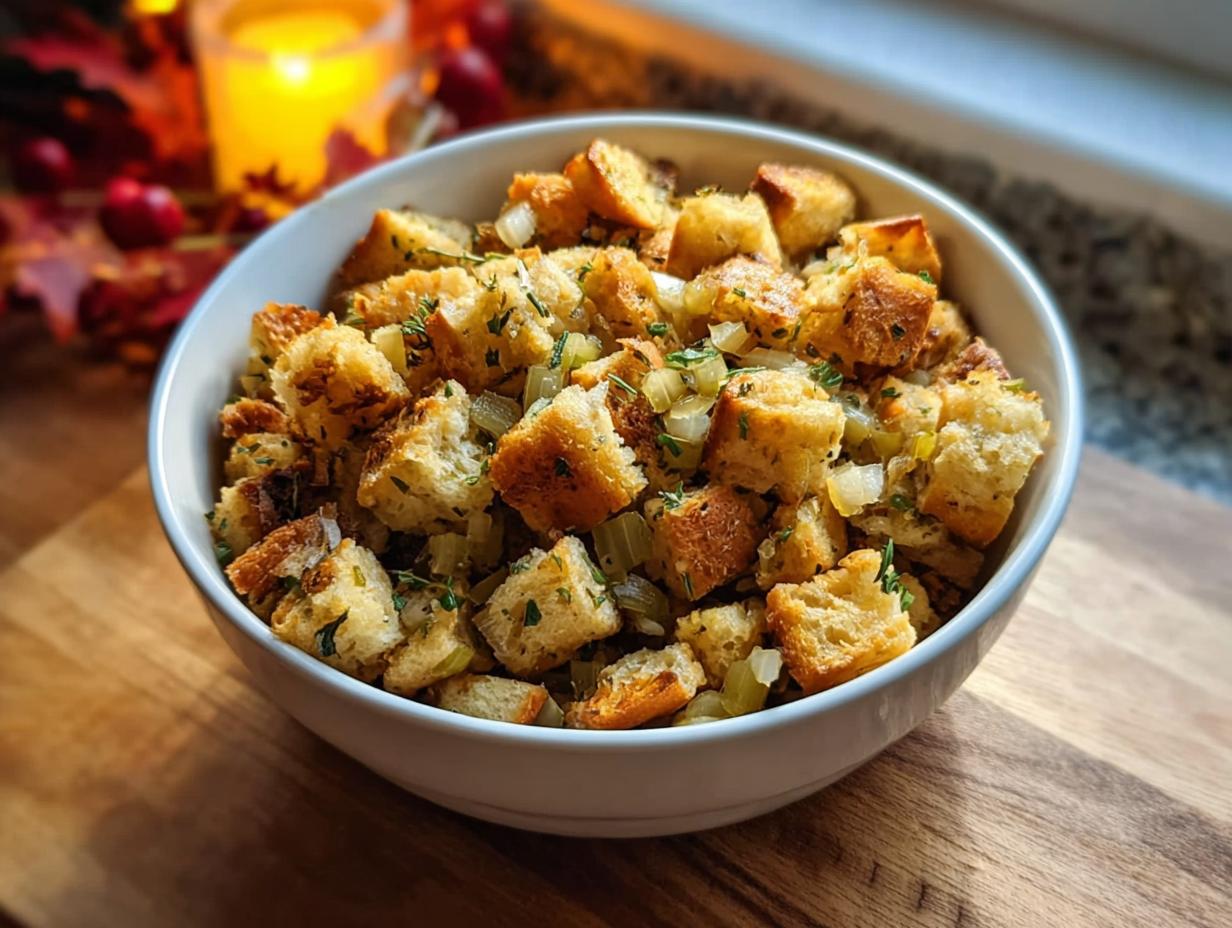
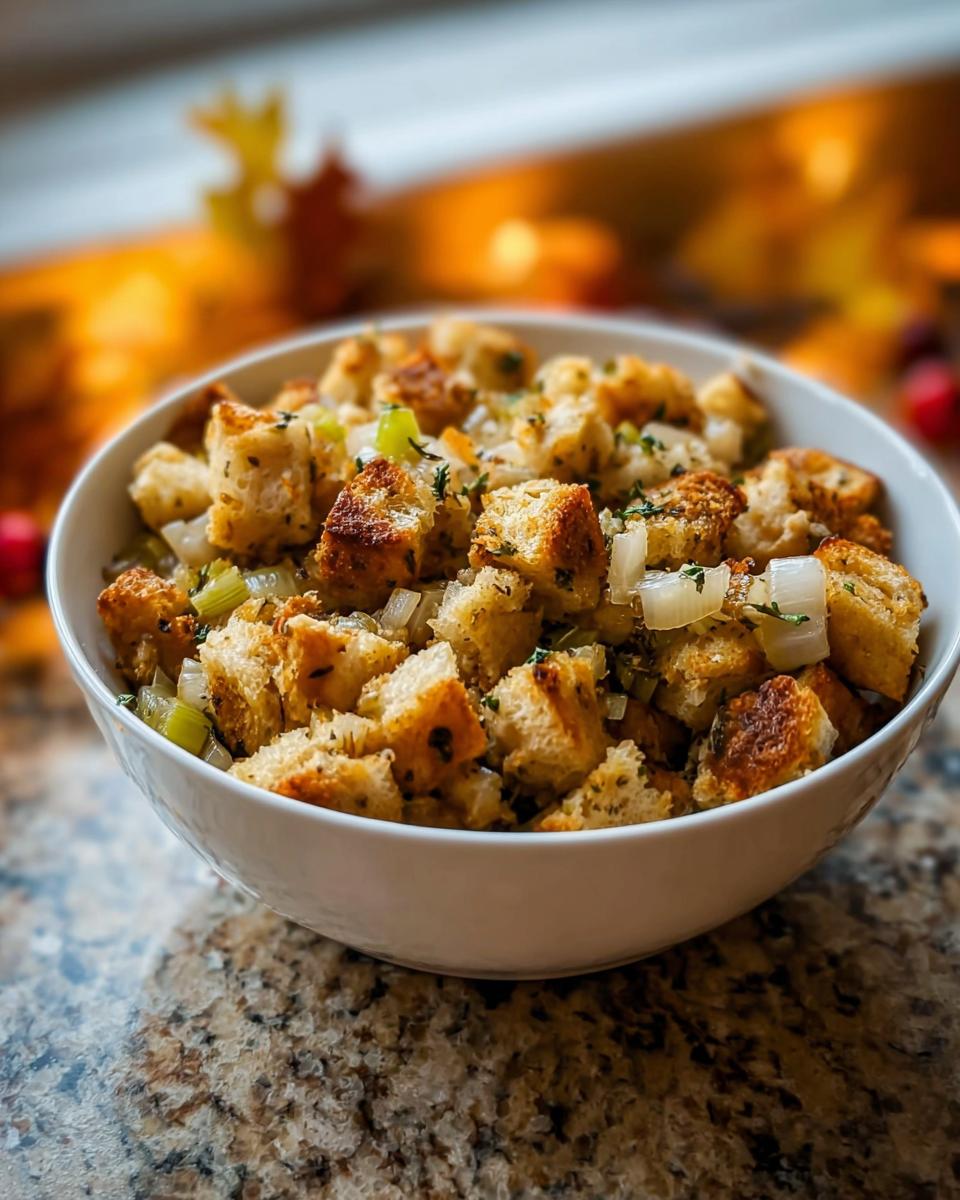
Forget that dry, crumbly stuffing that always seems to get left on the plate! We are done with that sad side dish business. I want you to achieve that glorious, savory bite—moist on the inside, beautifully textured on the edges—that makes everyone ask for your secret. Learning How to Make Stuffing Recipes Like a Pro (2025) is easier than you think, I promise.
The first time I really dove into perfecting stuffing was scary. My avó made the best version, but when my son was diagnosed with celiac disease, I had to step up. I started experimenting with gluten-free bread and loads of fresh sage. Wow, the look on my family’s faces when they tasted it—it was like lifting a memory straight from childhood! That experience really pushed me to master the traditional flavors while adapting for new needs.
We’re going to cover the essentials today, from picking the right cubes to nailing that perfect liquid ratio. You’ll be serving the star side dish at every gathering. Seriously, check out this classic guide for inspiration, but stick with these pro tips for the 2025 standard!
Why Mastering How to Make Stuffing Recipes Like a Pro (2025) Matters
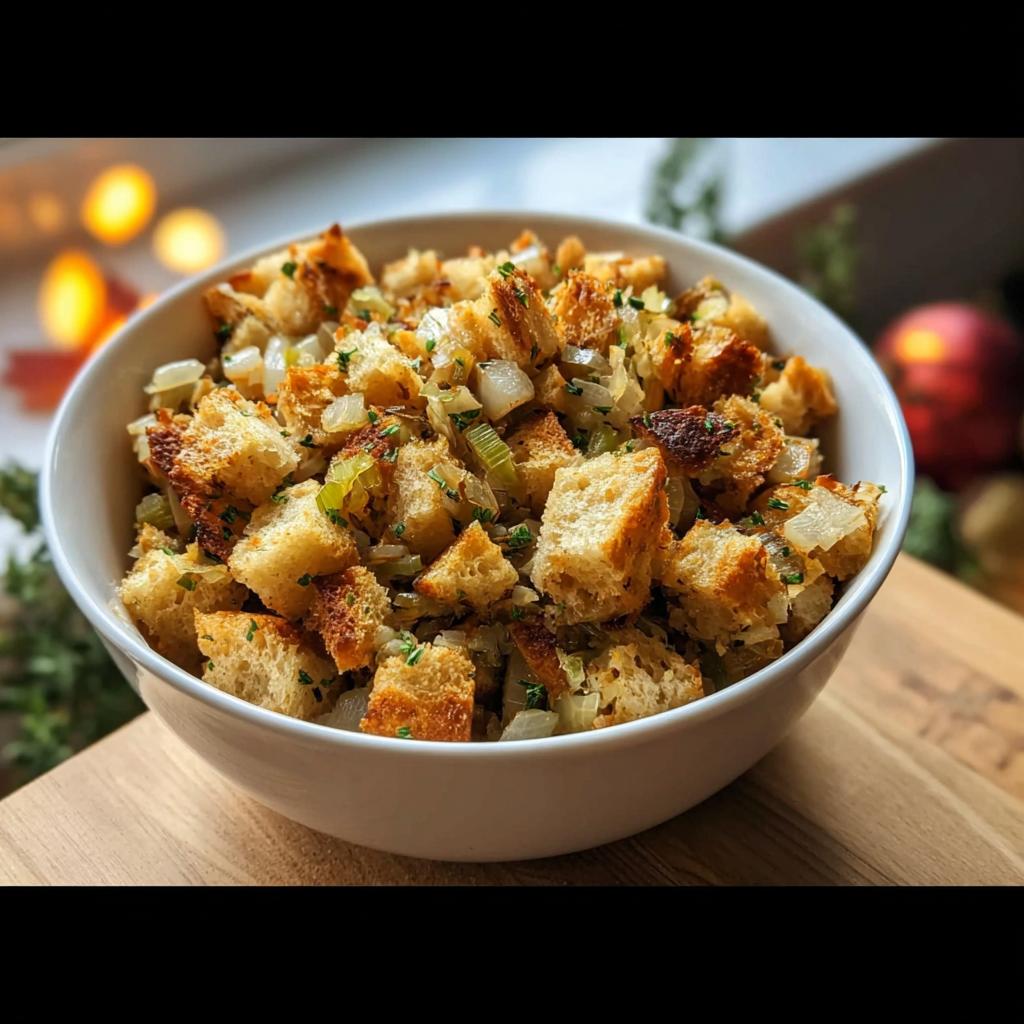
Look, the difference between good stuffing and *great* stuffing is always texture. We want that textural contrast, you know? That beautiful golden top that crunches just a tiny bit when you bite into it, meeting that incredibly savory, moist interior. That’s the magic we are chasing here.
When you learn to control the bread base and balance the liquid, you step right up to pro status. It’s not just about throwing things together; it’s about layering deep flavors that support your main dish perfectly.
The Importance of Bread Quality in How to Make Stuffing Recipes Like a Pro (2025)
If you try to use soft, fresh bread, you might as well just make a very savory bread pudding! It just turns into dense mush, and nobody wants that flavor in their holiday spread. That’s why drying the bread is non-negotiable.
You need those cubes sturdy enough to soak up the broth without collapsing entirely. Spend that time—we budget 120 minutes in the recipe details for drying—and it pays off big time. Trust me, that completely dehydrated base is what allows your stuffing to stay light and fluffy even after soaking up all those wonderful herbs and broth.
Essential Components for How to Make Stuffing Recipes Like a Pro (2025)
You can’t make world-class stuffing with second-rate components, right? This is where we stop guessing and start focusing on quality. When I adapted my avó’s recipe, I realized that the flavor wasn’t just in the technique; it was in what I put into that giant mixing bowl.
We need to treat our ingredients with respect. If you’re looking for more inspiration on recipe formulation, I always check out my favorite recipe archives for ideas, but these core parts are what make the difference.
Ingredient Clarity: Specifics for the Stuffing Base
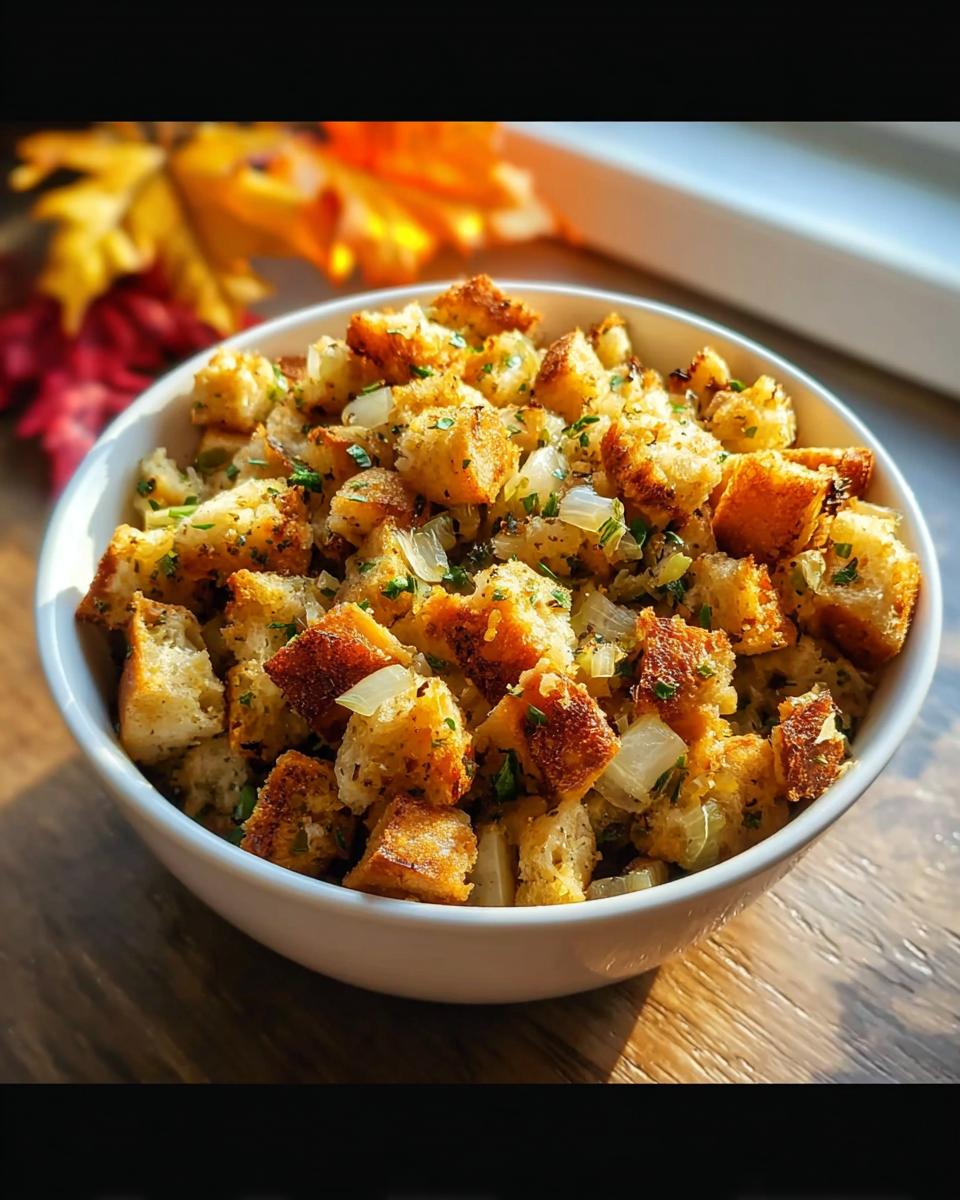
Let’s talk bread first. Forget grabbing any old loaf ends. We are using 8 ounces of really good, dry bread cubes—I prefer homemade garlic croutons if I can get them, which usually ends up being about 6 cups loosely packed. They need to hold their shape!
Next, the aromatics. Onions and celery are mandatory, but the chopping matters. You want them chopped finely, almost small dice. When they cook down nice and soft in the butter, they disappear just enough to distribute their savory backbone throughout every spoonful. That’s cooking smart!
Selecting Liquids and Seasonings for Depth of Flavor
The liquid is critical. We target about 1.75 cups of good chicken or vegetable broth. If you use water, you lose all that natural depth, and trust me, the family will notice the difference.
Then comes the seasoning orchestra! Don’t rely on just dried flakes. You need handfuls of fresh sage, thyme, and parsley. And poultry seasoning is our secret weapon here; it brings that traditional, warm hug of flavor. Mix it all together well after the broth is added so every piece of bread gets coated lightly.
Step-by-Step Guide: How to Make Stuffing Recipes Like a Pro (2025)
This is where the magic truly happens! We’ve prepped our incredible bread and gathered our quality ingredients. Now we just follow the process. Remember, a successful bake relies on a clean start, so patience during the initial stages is what separates the pros from the weekend cooks. We’re mixing technique with intuition here!
Preparing the Bread Base and Aromatics
First things first: make sure your bread is bone dry. You either left those cubes out for a day or two, or you spent about 45 to 60 minutes in a low oven getting them perfectly stale. This is crucial for fluffiness.
Next, grab your skillet. Melt that butter over medium heat and get your chopped onions and celery humming along in there. You aren’t looking for brown here; you want them soft, translucent, and fragrant—just starting to release all that sweet vegetable aroma. That flavor base is going to carry the entire dish!
Combining and Hydrating the Stuffing Mixture
Toss those lovely cooked veggies into your largest mixing bowl, right on top of your dry bread cubes and fresh herbs. Give it a gentle toss with your hands—don’t mash it! We want air pockets still intact.
Now for the liquid—go slow! Start with just half a cup of that beautiful broth. If you need more inspiration on how to blend starches and liquids, check out this one-pot strategy for reference on balancing moisture.
You’re stirring gently, incorporating the liquid until the mixture feels moist enough that it almost clumps when squeezed, but definitely not soggy. You can always add more broth later, but trust me, taking away liquid when you’ve gone too far is the biggest headache in stuffing prep. Don’t over-liquidate!
Baking Methods: Inside the Bird or Outside
This is your choice! If you’re stuffing the turkey, do it right before it goes into the oven—that’s the safest way to manage holding times, remember that note about food safety.
If you’re baking it separately, get that mixture into a greased dish and spread it out nicely so the top can get that coveted brown finish. No matter where it bakes, the absolute final word on safety is temperature. That stuffing must hit a safe internal temperature of 165°F. Cook until it sings!
Expert Secrets for Perfect Texture and Moisture
Okay, we covered the basics, but let’s talk about achieving that legendary texture. This is where you go from being a good holiday cook to the person everyone begs for the recipe. It’s all about the details you don’t see written in every basic recipe card.
My biggest secret, which I learned the hard way when my first batch was too thick, is liquid control. Yes, I said it again: start small with the broth. You can’t un-soak bread, so be stingy at first!
Preventing Dry Stuffing: Liquid Control
When you think the mixture looks *almost* right, stop adding liquid. I often sneak in a tablespoon or two of melted, good quality butter right at this stage, or if I’m cooking a turkey, a spoonful of those wonderful little drippings from the bottom of the roasting pan. That fat coats the bread cubes and keeps them from sucking up too much water later, ensuring richness.
If you’re using gluten-free bread, you might need a tiny bit more liquid than traditional recipes, but add it drop by drop! You want that savory moisture from the vegetables and herbs to do most of the heavy lifting, not just swimming bread.
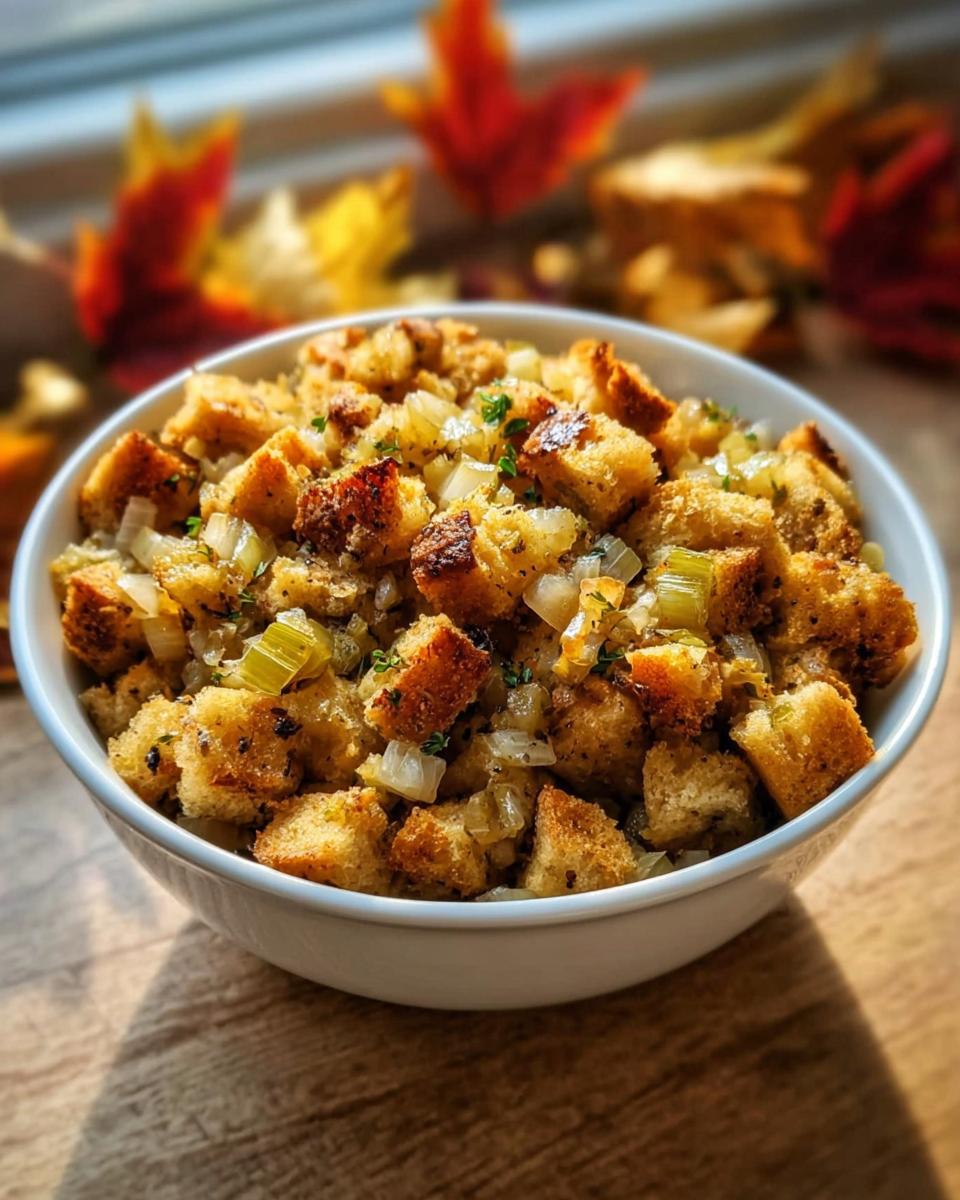
Achieving a Golden Crust When Baking Separately
If you’re brave enough to bake your stuffing outside the bird—which I totally recommend for crispier edges—you need a specific strategy for the top. Don’t just dump it in the dish!
Spread the mixture into your greased baking dish in a fairly even, thin layer. I’m talking maybe an inch and a half deep max. Then, take a few extra pats of butter and dot them all over the surface before it goes into the oven. That butter melts and fries the top layer of bread golden brown beautifully. You can peep at my skillet tricks for getting that perfect crispiness over here in my garlic herb skillet guide; the same principles apply to the top crust!
Variations on How to Make Stuffing Recipes Like a Pro (2025)
Once you nail the texture fundamentals, that’s when you can start having real fun. I love experimenting because, honestly, stuffing is just a canvas for savory goodness! When I started adapting my recipes for gluten-free needs, I found that adding texture really helped everything shine.
You don’t need a whole complicated new recipe; just toss in a few extras during that combining step. Think about what pops against the savory sage and thyme.
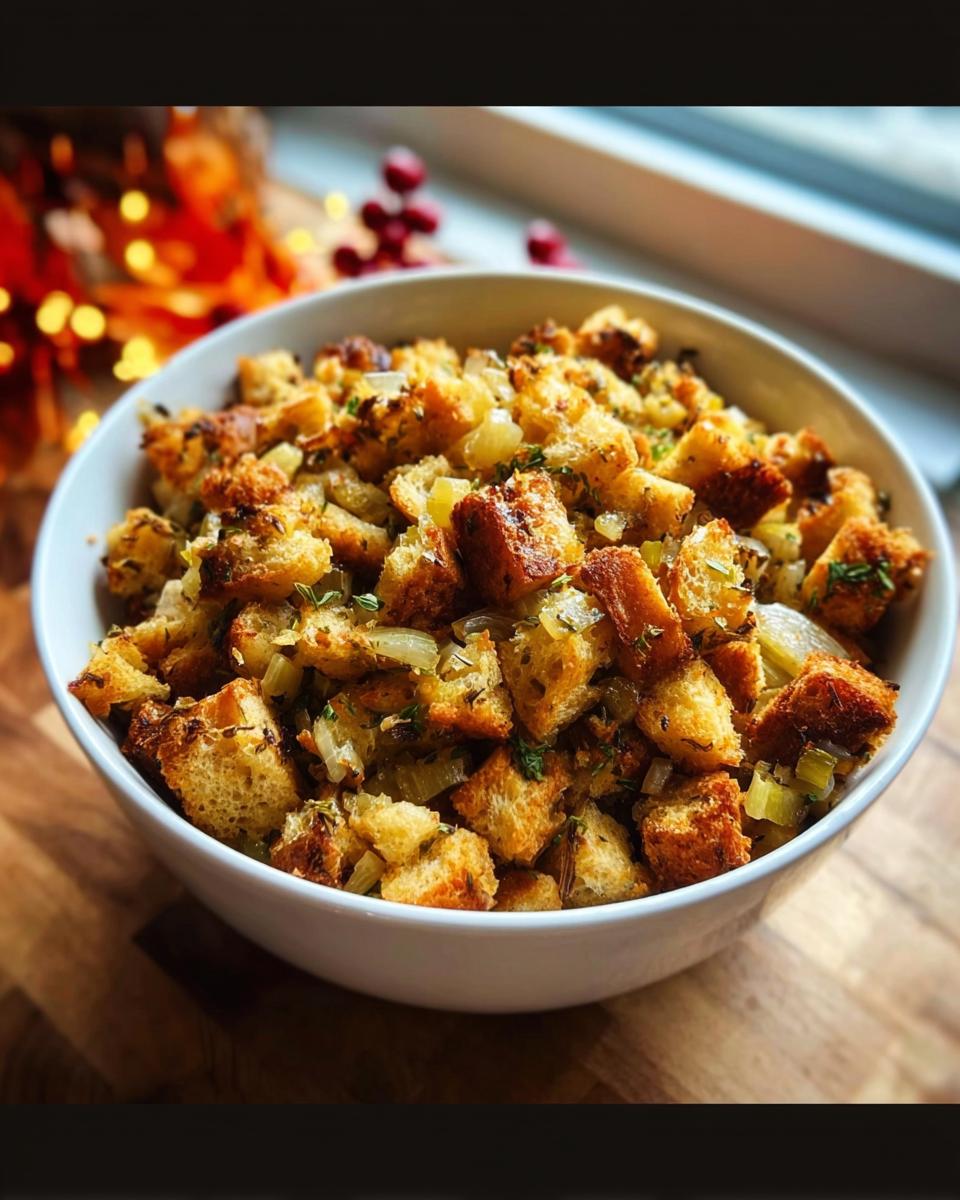
Incorporating Savory Add-ins
If you have mushrooms lying around, sauté them with your onions until they release all their moisture—that brings a wonderfully earthy note.
For some crunch that isn’t bread, toast up some pecans beforehand and throw them in. They add a lovely, buttery texture contrast. And for a hint of sweet-and-savory balance, I sometimes add dried cranberries. They plump up just enough to surprise you in every bite. I even have a great idea over at my stuffed pepper post about balancing sweet/savory that might spark some ideas for you!
Make-Ahead and Storage for Your How to Make Stuffing Recipes Like a Pro (2025)
The holidays are stressful enough without having to do everything the day of the big meal, right? I learned a long time ago that anything you can do the day before frees up oven space and stovetop chaos. With stuffing, you can actually prep most of it ahead of time!
Once you have mixed your bread, vegetables, and herbs together—before you add the broth—you can store that dry mix in an airtight container on the counter for up to 24 hours. It actually helps the bread dry out a little more, which is fantastic.
When you are ready to bake, just add your reserved broth and seasonings, stir, and proceed. If you aren’t going to bake it immediately after adding the liquid, it’s safer to cool the whole mixture (after adding broth) or refrigerate it! If you keep it cold, remember you might need an extra 10 or 15 minutes in the oven later.
For storage tips on other make-ahead favorites, I look at my guide on makeahead breakfast casseroles; the cooling and sealing rules apply here, too!
Frequently Asked Questions About Stuffing Preparation
I get so many questions after people try this recipe because they are suddenly making stuffing that everyone actually *wants* seconds of! It’s the little things like liquid control that make all the difference when you’re trying to be the stuffing superstar.
Can I use this recipe for a quick breakfast idea?
That’s a fun thought! While this is truly formulated as a holiday side dish, you absolutely can repurpose leftovers. Stuffing makes the best, most savory addition to a breakfast hash the next day. Just toss it in the pan with some potatoes and maybe a little extra cooked onion. Seriously, mix some leftover stuffing into scrambled eggs—it adds bulk and seasoning! It’s a really quick way to get a satisfying breakfast that tastes way more complicated than it actually is.
What is the best way to ensure my stuffing stays moist?
My golden rule, which I repeat often, is starting with too little broth rather than too much. That careful, gradual addition is step one. But once it’s in the pan, especially if you’re baking it outside the bird, cover that dish tightly with foil for the first 30 minutes of baking time.
That trapped steam keeps everything tender underneath while the top gets hot. I only remove the foil for the last 15 minutes so that top layer can crisp up nicely. You can find some more great make-ahead and reheating tips for things like this in my meal prep section, which covers similar storage strategies.
Nutritional Estimates for How to Make Stuffing Recipes Like a Pro (2025)
So, while this recipe is all about flavor and tradition, I know some of you are tracking things, so I pulled together a quick estimate for you. Keep in mind that these numbers are approximate! If you swap out the butter for olive oil or use a super lean broth, the final count changes.
Generally, a serving of this perfectly fluffy stuffing comes in around 350 calories. You’re looking at roughly 18 grams of fat, 40 grams of carbs from that wonderful bread base, and about 8 grams of protein.
It’s definitely rich—we use butter, after all! But when you realize this is the side dish everyone piles their plate with, these estimates can help you balance out the rest of your holiday meal planning!
Share Your Culinary Successes
I truly want to hear how mastering this stuffing changed your holiday table! Did you nail that contrast between crispy edges and that perfectly savory interior? Please, leave a rating below and tell me what you added.
If you snap a picture of your beautiful results, tag me on social media—I love seeing your successes! If you ever have questions or want to talk more about recipe tweaks, you can always reach out directly through my contact page. Happy cooking, friend!
How to Make Stuffing Recipes Like a Pro (2025)
Ingredients
Equipment
Method
- Dry your bread cubes. Leave them out for 1 to 2 days, or toast them at 250°F for 45 to 60 minutes, stirring occasionally. Dry bread results in light, fluffy stuffing.
- Melt the butter in a large skillet over medium heat. Cook the onions and celery until they are soft and fragrant. This creates a rich flavor base.
- Place the cooked vegetables into a large bowl. Add the dry bread cubes, chopped fresh herbs, and your chosen seasonings. Mix everything gently to distribute the ingredients evenly.
- Add the chicken or vegetable broth. Start with 1/2 cup and add more as needed until the stuffing is moist but not soggy. Do not over-liquidate the mixture.
- If stuffing the turkey, fill the cavity just before roasting. If baking outside the bird, place the mixture in a greased dish and spread it out to allow the top to brown.
- Bake the stuffing in the turkey or in the dish until it reaches an internal temperature of 165°F. This step is important for food safety.
Nutrition
Notes
Tried this recipe?
Let us know how it was!
Gluten-Free Chef & Latin Cuisine Innovation Specialist
My youngest son’s celiac diagnosis at four changed everything. Suddenly, all those traditional Brazilian and Portuguese recipes from my avó needed to be completely reimagined without losing their soul.
After graduating from Johnson & Wales and working Miami’s Latin fusion scene, my son’s diagnosis became my calling. How do you make gluten-free empanadas that taste like childhood? Over eight years, I’ve developed 320+ gluten-free recipes celebrating authentic Latin flavors using cassava flour and plantain alternatives.
My gluten-free empanada recipe won “Best Appetizer” at the 2023 Miami Gluten-Free Food Festival. I ran “Sabores Sin Gluten,” a catering business serving Miami’s Latino community—quinceañeras, family gatherings, all the celebrations that matter.
Food is culture, and everyone deserves to experience the joy of sharing traditional family meals, regardless of dietary restrictions.