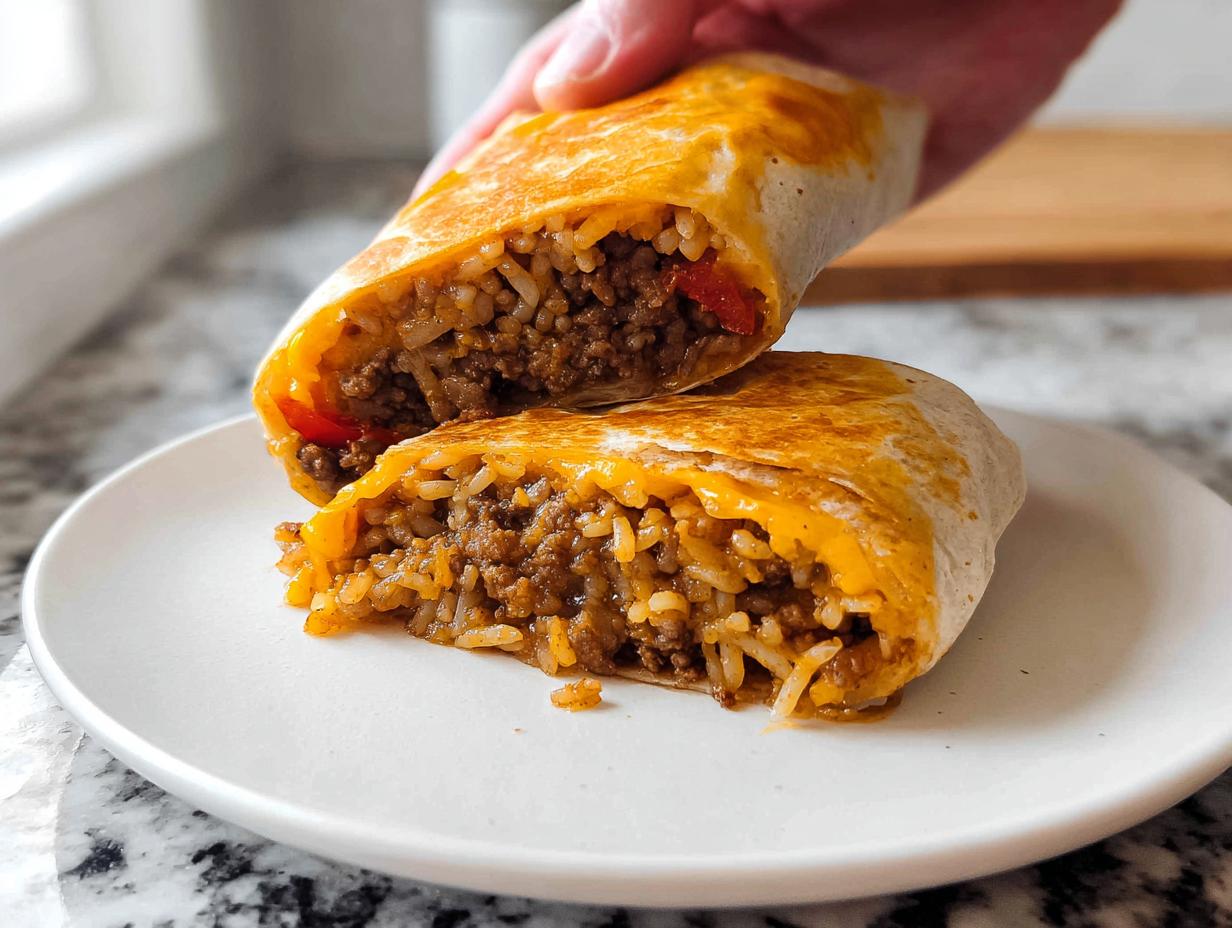
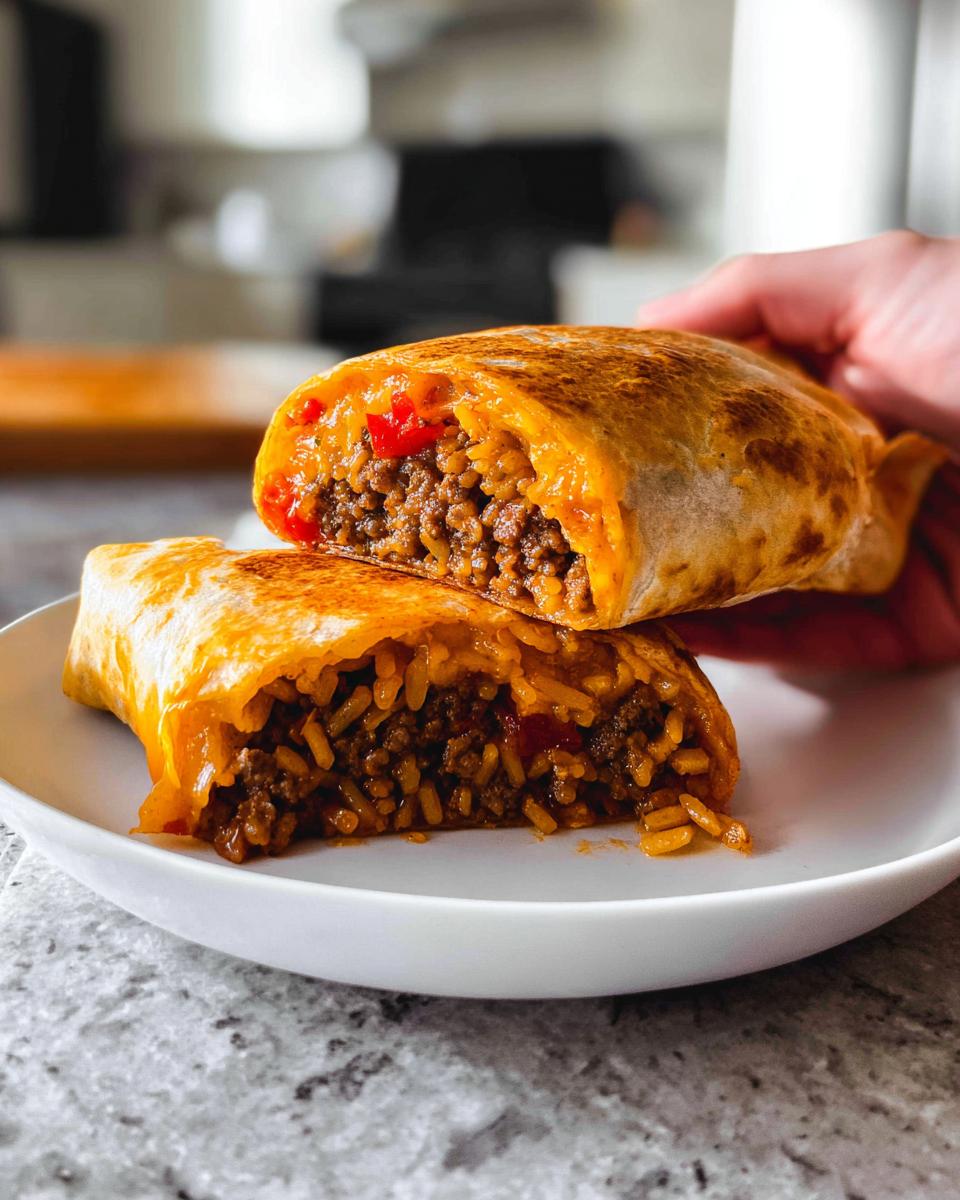
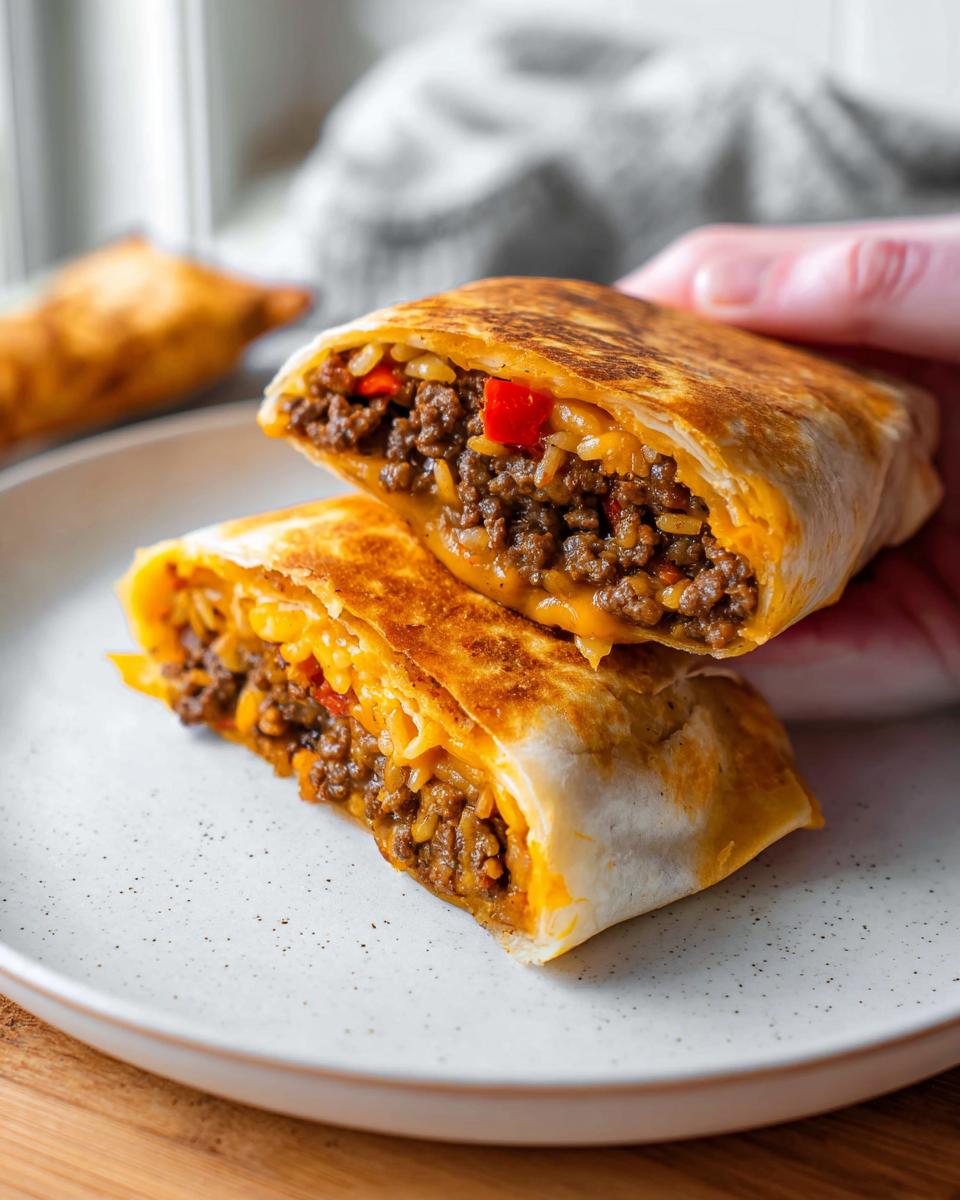
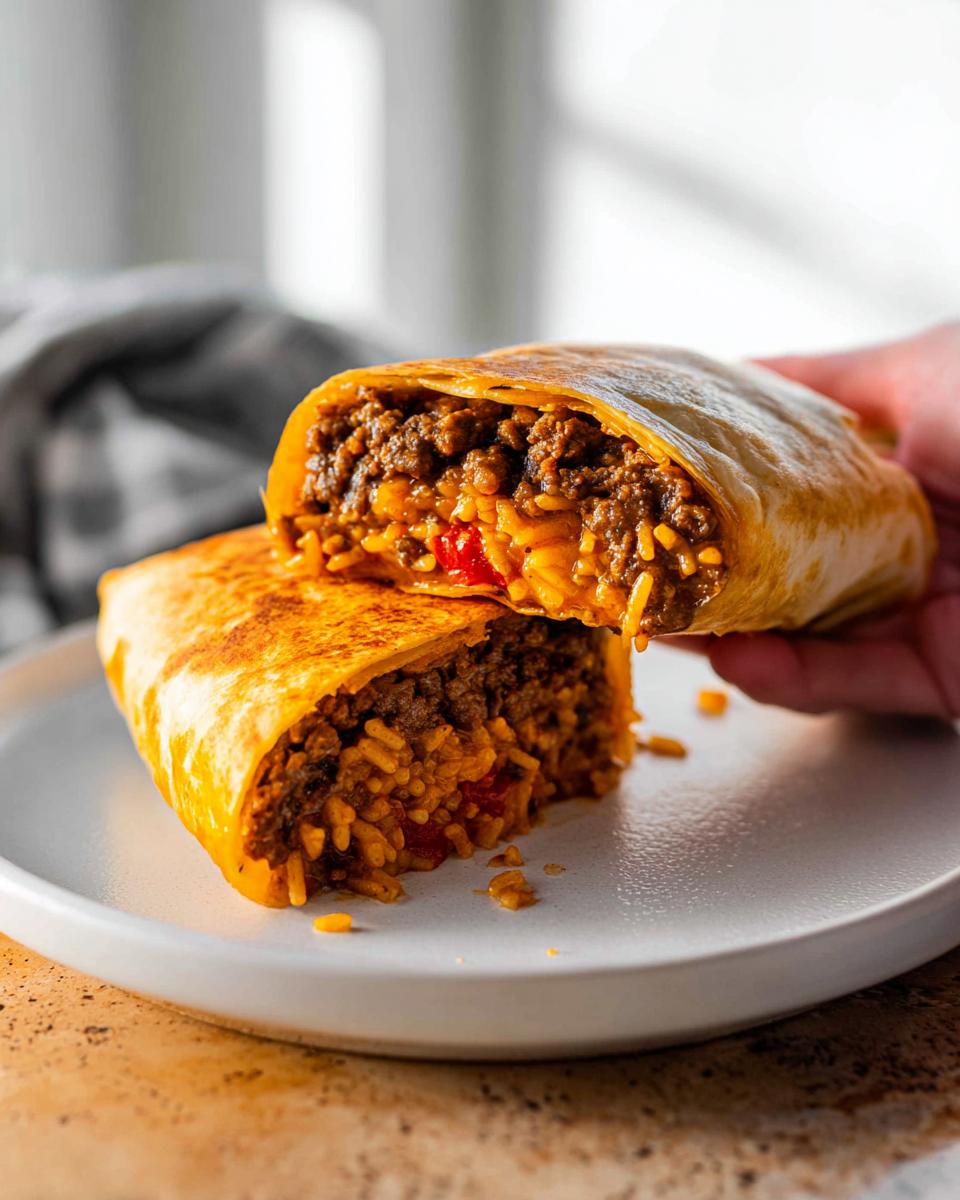
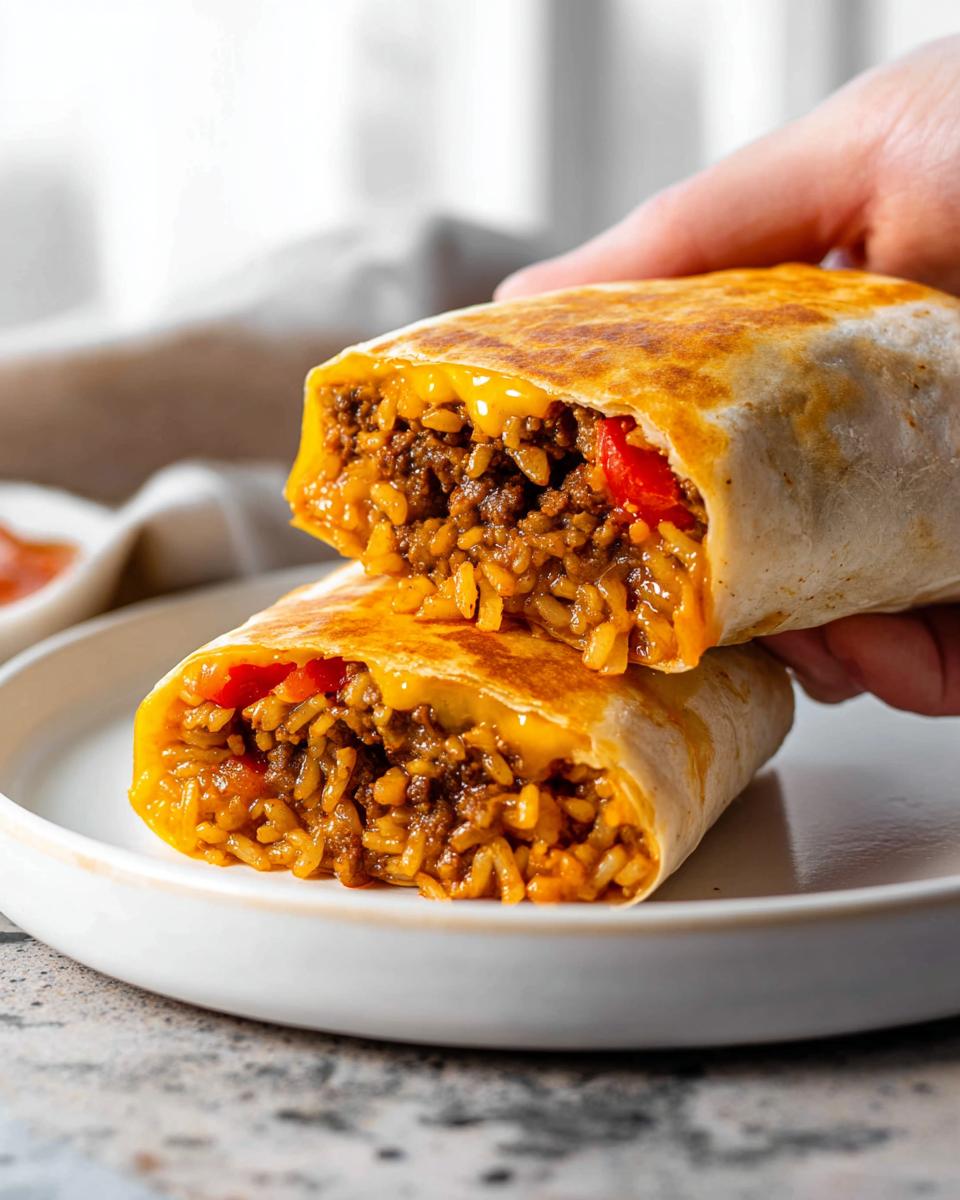
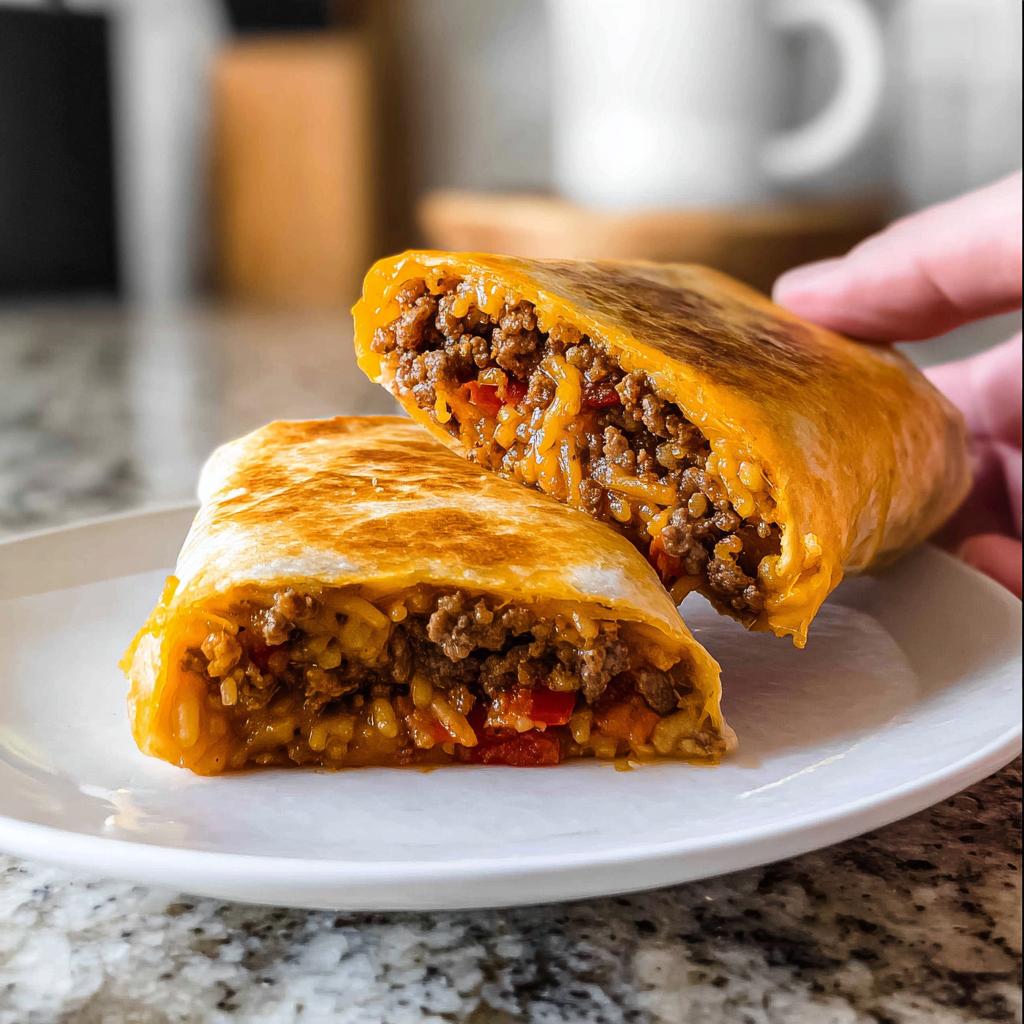
Oh, you know those days when you just need pure, unadulterated comfort food, but you don’t have hours to bake or fry? That’s where we step in! Who said you had to choose between a gooey grilled cheese sandwich and a satisfying burrito? We’re smashing those two icons together, my friends, to create the ultimate weeknight hug: the Grilled Cheese Burrito Made Easy. This recipe is fast, incredibly family-friendly, and sneaky good!
I still remember the first time I introduced my son to my gluten-free take on grilled cheese. He was skeptical, looking at me with those big eyes, unsure if anything could replicate the gooey goodness he loved. Grabbing some gluten-free tortillas and my favorite cheese, I swiftly assembled the “Grilled Cheese Burrito Made Easy” recipe, toasting it until golden and crisp. When he took that first bite, his face lit up with delight, and in that moment, I realized that food could bridge gaps, creating joyful memories even in the face of dietary needs. We went on to experiment with different fillings, turning our kitchen into a place of culinary innovation and laughter.
Why You Will Love This Grilled Cheese Burrito Made Easy Recipe
Honestly, this recipe has saved my weeknights more times than I can count! It tastes like a gourmet takeout order but comes together faster than ordering delivery. Plus, cleanup is usually just one skillet, which is always reason enough to celebrate, right?
- It’s unbelievably fast—we’re talking less than 35 minutes total for four servings!
- The ultimate comfort food fusion; it hits that cheesy, savory spot perfectly.
- Super flexible! You can swap the beef for chicken or keep it vegetarian if you like.
- Since we use gluten-free tortillas, it’s an easy meal idea that works for everyone at the table.
If you’re always looking for ways to bring joy back into meal prep, you absolutely have to see my tips over on my easy dinner recipes post!
Essential Ingredients for the Grilled Cheese Burrito Made Easy
Okay, let’s talk shopping! I know you’re busy, so I’ve broken down exactly what you need. Trust me when I say that using the right ingredients—especially for the cheese situation—makes a huge difference in getting that perfect, crispy golden crust we are aiming for. We are going to make four of these beauties, so make sure you grab the right size tortillas!
It’s important to keep the components separate until the last minute because nobody wants soggy rice mingling with sour cream before it’s time to wrap!
For the Seasoned Beef
- 1 lb ground beef 85/15 (We like the slight fat content for flavor here!)
- 1 teaspoon granulated garlic
- 1/2 teaspoon chili powder
- 1/2 teaspoon salt
- 1/4 teaspoon pepper
For the Chipotle Sour Cream
- 1 cup sour cream
- 1 tablespoon chipotle hot sauce (This gives it a lovely little kick!)
- 1/4 teaspoon cayenne pepper
For Assembly and Grilling
- 1 cup cooked spanish rice (I always keep a pouch of the microwave kind on hand for emergencies!)
- 3 cups shredded cheddar jack cheese (Make sure you separate your portions!)
- 1 cup red tortilla strips
- 2-3 tablespoons olive oil
- 4 extra large burrito tortillas (Seriously, don’t skimp on size here; we need the wrap space!)
Equipment Needed to Prepare Your Grilled Cheese Burrito Made Easy
Good news! This isn’t one of those recipes that requires every single gadget you own. We keep things super simple so you can get this awesome meal on the table fast. You don’t need fancy tools for this fusion feast, just a couple of trusty staples.
Here is the short list of what you’ll need ready to go:
- A large nonstick skillet – This is where we cook the beef AND where we grill the outside of the burrito to perfection! Multi-tasking equipment wins every time.
- A heavy cast iron skillet – This acts as our secret weapon! It’s our weight for pressing the burrito down so that cheese melts beautifully into the tortilla crust. Don’t skip this step; it’s what makes it amazing.
- A mixing bowl – Just one bowl is needed for whipping up that zesty chipotle sour cream. Easy cleanup is my jam!
Step-by-Step Instructions for the Grilled Cheese Burrito Made Easy
Alright, let’s get cooking! I promise this whole process, from raw meat to cheesy perfection, flies by. Keep everything moving at a good pace, and you’ll have these amazing wraps ready in no time. If you’re looking for ultra-fast cooking, check out my guide on quick weeknight dinners for more inspiration!
Cooking the Seasoned Beef
First thing’s first, we need that savory filling. Heat up your big nonstick skillet over medium heat. Toss in the ground beef and immediately start breaking that meat up with a spoon so it cooks evenly. Sprinkle in all your spices—the garlic, chili powder, salt, and pepper—right over the raw meat. Let that simmer and spice up for about 5 to 7 minutes until everything is brown and smells incredible. Once it’s cooked through, pull it off the heat and let it hang out for a minute.
Mixing the Chipotle Sour Cream
While the beef is cooling down just a tiny bit, grab your bowl. This sauce is my favorite part because it’s so easy! Just dump in the sour cream, the chipotle hot sauce, and that tiny pinch of cayenne pepper. Whisk it all together quickly until it’s completely smooth and perfectly pinkish. Set that zesty goodness aside!
Assembling the Grilled Cheese Burrito Made Easy
Now for the fun part: filling time! For just one burrito, you need to mix 1/4 pound of that cooked beef, 1/4 cup of the chipotle sour cream, 1/4 cup of your cooked rice, half a cup of shredded cheddar jack, and about a quarter cup of those crunchy red tortilla strips. Mix that all together well! My note says you can layer them, but honestly, mixing it all up first ensures the best melt. Spoon that whole mixture right into the middle of your extra large tortilla. Fold in the two sides tightly, and then roll the bottom edge up and over to create that tight burrito shape. Tuck those ends in as you roll it up!
Grilling for the Perfect Crisp
This is the showstopper step, so pay attention! Heat that same nonstick skillet back up over medium/high heat, and add just a teaspoon or two of olive oil. Don’t let it smoke, but you want it hot. Next, drop about 1/4 cup of cheese right in a line in the middle of the pan—this creates the cheesy crust! Set your wrapped burrito directly on top of that cheese line. Immediately grab that heavy cast iron skillet and set it right on top of the burrito to press it down evenly. Cook for 3 to 4 minutes until the cheese underneath is golden brown and gooey. Flip that burrito carefully, press it again, and cook the other side for 2 to 3 minutes. Repeat this for the remaining three burritos. Don’t forget to let them rest for just one minute before you slice them open. I actually got this pressing trick from a fantastic recipe nearby on Cheeseknees!
Tips for Success Making the Grilled Cheese Burrito Made Easy
Listen, success here hinges on two things: size and sticking power. You absolutely must use those extra-large, stretchy tortillas. If you try this with taco-sized ones, you’ll end up with frustrated cheese spills everywhere—trust me, I learned that the hard way! That’s why I love this easy dinner guide because it stresses the importance of the right foundation.
My big secret, going beyond the recipe note, is the cheese placement. Don’t just sprinkle the cheese *around* the outside border; make a distinct, thin line directly on the hot pan first, and then place your burrito right onto that bed of cheese. That contact point is what gives you that signature, sturdy, golden grilled cheese shell. It takes about ten seconds longer, but wow, what a difference it makes!
Storage and Reheating Instructions for Grilled Cheese Burrito Made Easy
We all love leftovers, but soggy grilled cheese is a culinary tragedy, right? Since this is such a satisfying meal, you’ll likely want to save any extras. The good news is these freeze and store really well, provided you handle the reheating correctly. No one wants a sad, limp burrito when they’re craving that satisfying crunch!
If you aren’t eating them right away, let those beauties cool down completely before you wrap them. I usually let them sit on a wire rack for about 20 minutes. Then, I wrap each one tightly in plastic wrap first, followed by a layer of foil. This double wrap keeps the moisture locked in or out, depending on if you are freezing or just refrigerating.
You can keep sealed burritos in the fridge for about three days. If you’re planning ahead, they freeze beautifully for up to three months! I’ve got tons of make-ahead strategies on my make-ahead tips page that might spark some inspiration for your week!
The Best Way to Reheat for Maximum Crispness
This is crucial, folks: Resist the microwave! If you use the microwave, you are guaranteeing a gummy, sad exterior, and we simply cannot have that after all that hard work grilling it the first time.
For the absolute best comeback, you have two choices, and both involve dry heat:
- Oven or Toaster Oven: This is my preferred method for a few at a time. Heat your oven to about 350°F (175°C). Place the burrito directly on the rack (or on a baking sheet lined with parchment paper) and warm it for about 10 to 12 minutes. This lets the internal cheese melt again without making the tortilla soggy.
- Air Fryer: If you have one, the air fryer is your best friend for quick crispness! Set it to 375°F (190°C) and cook for about 5 to 7 minutes, flipping halfway through. It gets that outside shell perfectly crisp again, almost like it was just made!
If you used the fridge, you might only need 5 minutes in the air fryer. If you’re reheating from frozen, give it 10 to 12 minutes, checking frequently so you don’t burn that beautiful cheesy crust!
Variations on the Grilled Cheese Burrito Made Easy
Once you master the core technique—getting that tortilla perfectly crispy over a melted cheese barrier—the sky is the limit! This recipe is so forgiving, which is why it’s one of my go-to Easy Meal Ideas. Since we are already working with gluten-free tortillas, we can play around with so many fun flavors in the filling. Don’t feel locked into the beef and cheddar jack combination; shake things up!
Here are a few ways my kids and I have changed things up on busy nights. If you ever need more fun twists, I often share my process for recreating classics over on my post about pork chop inspirations, which sometimes involves swapping proteins!
Swap the Protein: Fiesta Chicken
For a lighter flavor, ditch the ground beef and trade it for pre-cooked, shredded rotisserie chicken. Toss that chicken with about half the amount of the original ground beef spices, maybe adding a tiny dash of cumin for depth. Mix it with the chipotle sour cream and rice as directed. It keeps that satisfying texture but feels slightly fresher for a summer meal.
Cheese Board Upgrade
Cheddar Jack is great, but let’s get fancy! If you want something tangier, swap out half the Cheddar Jack for pepper jack or Monterey Jack. My absolute favorite hack, though, is using Colby and a small amount of smoked Gouda. The Gouda melts beautifully, and that little bit of smoke paired with the chipotle sauce is just incredible. Remember, you still need that layer of cheese *on the pan* to guarantee your crust!
Creamy Sauce Switch-up
If you’re not feeling the smoky heat or just ran out of chipotle sauce, you can make a quick, cool ranch swirl instead. Just mix 1/2 cup sour cream with 1 tablespoon of dry ranch seasoning mix. You might need to add a splash more milk or water to thin it slightly so it still folds nicely into the burrito. It gives the whole thing a totally different, herby vibe that pairs surprisingly well with the seasoned beef!
Frequently Asked Questions About the Grilled Cheese Burrito Made Easy
I get so many fantastic questions about this recipe, especially since we tweaked it to be gluten-free! It warms my heart knowing so many families are finding joy in this quick comfort food. Here are a few things I hear constantly when folks are making their first batch of the Grilled Cheese Burrito Made Easy. Don’t forget to check out my thoughts on why people love make-ahead egg recipes, which sometimes share similar texture tips!
Is this Grilled Cheese Burrito Made Easy recipe truly gluten-free?
Yes, absolutely, it is! That was honestly the driving force behind creating this specific version. The key, and this is important, is to make sure you are purchasing tortillas that are specifically certified gluten-free. Standard flour tortillas will not work for our gluten-free friends. As a gluten-free chef, I can tell you that the texture of GF wraps has improved so much over the years, and they crisp up beautifully when used with our butter/oil grilling method!
Can I skip the heavy skillet press?
Oh, please don’t! I know it seems like an extra step, but skipping the press is what separates a regular, somewhat floppy burrito from the legendary, crispy, gooey Grilled Cheese Burrito Made Easy we are aiming for. That weight—whether it’s a cast iron skillet or even a heavy oven-safe plate—achieves two things simultaneously.
First, it presses the filling down so the inside cheese melts completely and binds everything together. Second, and most importantly, it forces direct, even contact between the tortilla and the melted cheese layer we put on the pan. That contact is what creates that signature, buttery, crispy shell. Without the press, you end up with a slightly dry, unevenly browned wrap. Trust me, 3 minutes under that weight is totally worth the final texture!
What if I want to make this vegetarian?
That’s an easy swap! You can absolutely keep all the other components exactly as they are—rice, sour cream, cheese—and just skip the ground beef entirely. I suggest replacing the texture and bulk of the beef with something hearty. Two great options are black beans (drained and rinsed well!) or even sautéed, finely chopped mushrooms seasoned with the same spices.
Why do the recipe notes mention separating the cheese?
That tip is vital for the grilling process! We need a specific amount of cheese—1/4 cup of the cheddar jack—to melt directly onto the hot skillet to form that cheesy crust layer. If you don’t separate it, you might accidentally dump all your cheese into the filling, leaving nothing to sear on the pan. Keeping that cheese reserved specifically for the outside grilling step is the secret handshake for this meal!
Estimated Nutritional Data for Grilled Cheese Burrito Made Easy
I always want to be upfront about what we’re putting into our bodies, even when we’re indulging in cheesy comfort food! While these burritos are absolutely delicious and perfect for a busy family night, they aren’t exactly a light salad, you know? We’ve packed them with protein from the beef and plenty of flavor from that chipotle sour cream.
Here are the estimated nutritional details for one finished Grilled Cheese Burrito Made Easy, based on the recipe amounts listed. You can find more insight into how I balance flavor with health over on my post about healthy meal prep recipes!
- Calories: 869
- Fat: 57g
- Protein: 45g
- Carbohydrates: 44g
- Fiber: 2g
- Sugar: 6g
Now, here’s my important disclaimer, because I’m a chef, not a nutritionist! These numbers are based on the specific ingredients I used—like 85/15 ground beef and a store-bought pouch of Spanish rice. If you swap out the beef for leaner meat, use low-fat sour cream, or use a different brand of cheese, those numbers are going to shift! Think of this as a great baseline reference rather than a hard scientific truth. The important thing is that you get the flavor, the crispiness, and a happy family at the end of the day!
Share Your Culinary Creations
Whew! We made it! You now have all the secrets to mastering your very own Grilled Cheese Burrito Made Easy. I always say that cooking should be a communal joy, not a chore done in isolation. You took the time to gather the ingredients, you wrestled that heavy skillet into submission, and you achieved that perfect golden-brown crispness. That deserves some serious celebration!
Now, I absolutely love hearing from you all! Did you stick to the seasoned beef, or did you try swapping in chicken? Did you find that the pepper jack cheese variation took things to the next level for you? Don’t keep those amazing kitchen experiments to yourself!
Please, head down to the comments section right now and let me know how it went. Give this recipe some love with a star rating if you enjoyed it—it really helps other busy folks find these quick meal ideas. And if you snapped a picture of that glorious, cheesy explosion when you cut into it, please tag me on social media! Seeing your family gather around these amazing gluten-free fusion meals is genuinely the best part of my job here at the kitchen table. For those who want to know a little more about my journey perfecting these recipes, you can always check out my About Me page!
Grilled Cheese Burrito Made Easy
Ingredients
Equipment
Method
- Heat a large nonstick skillet over medium heat. Add the ground beef and break the meat up as it cooks. Sprinkle the granulated garlic, chili powder, salt, and pepper over the beef.
- Cook the beef with the spices for 5 to 7 minutes until it is fully cooked. Remove the beef from the heat and set it aside.
- Prepare the chipotle sour cream. Add the sour cream, chipotle hot sauce, and cayenne pepper to a bowl and mix until combined. Set this aside.
- Assemble one burrito filling by combining 1/4 pound of beef, 1/4 cup chipotle sour cream, 1/4 cup rice, 1/2 cup cheese, and 1/4 cup tortilla strips in a bowl. Fold the ingredients together until mixed.
- Place the filling mixture into the middle of one tortilla. Fold in the two sides and roll it tightly into a burrito shape.
- Heat the same large nonstick skillet over medium/high heat. Add 1 to 2 teaspoons of olive oil to the skillet. When the oil is fragrant, place 1/4 cup of cheese in a line down the center of the skillet and set the burrito on top of the cheese.
- Carefully place a heavy cast iron skillet on top of the burrito. Cook for 3 to 4 minutes, or until the cheese melts and begins to brown.
- Remove the cast iron skillet and carefully flip the burrito. Cook the opposite side for an additional 2 to 3 minutes until browned. Remove the burrito from the skillet.
- Repeat steps 5 through 7 until you have assembled and cooked all 4 burritos.
- Let the burrito rest for 1 minute before you serve it.
Nutrition
Notes
Tried this recipe?
Let us know how it was!
Gluten-Free Nutritionist & Family Meal Planning Expert
Working as a pediatric dietitian at Children’s Hospital of Denver, I kept meeting families overwhelmed by managing their children’s celiac disease. Parents stressed, kids frustrated, everyone eating bland boxed “gluten-free” products.
That’s when I realized my calling: creating practical, balanced gluten-free solutions for real families with busy schedules. I’ve developed 375+ family-friendly recipes focusing on lunch boxes, after-school snacks, and make-ahead dinners that actually work.
My meal planning system was featured in Parents Magazine, and I presented research at the Rocky Mountain Pediatric Nutrition Conference. My evidence-based approach ensures recipes meet both taste and health standards—families need solutions that work in the real world, not just perfect test kitchens.