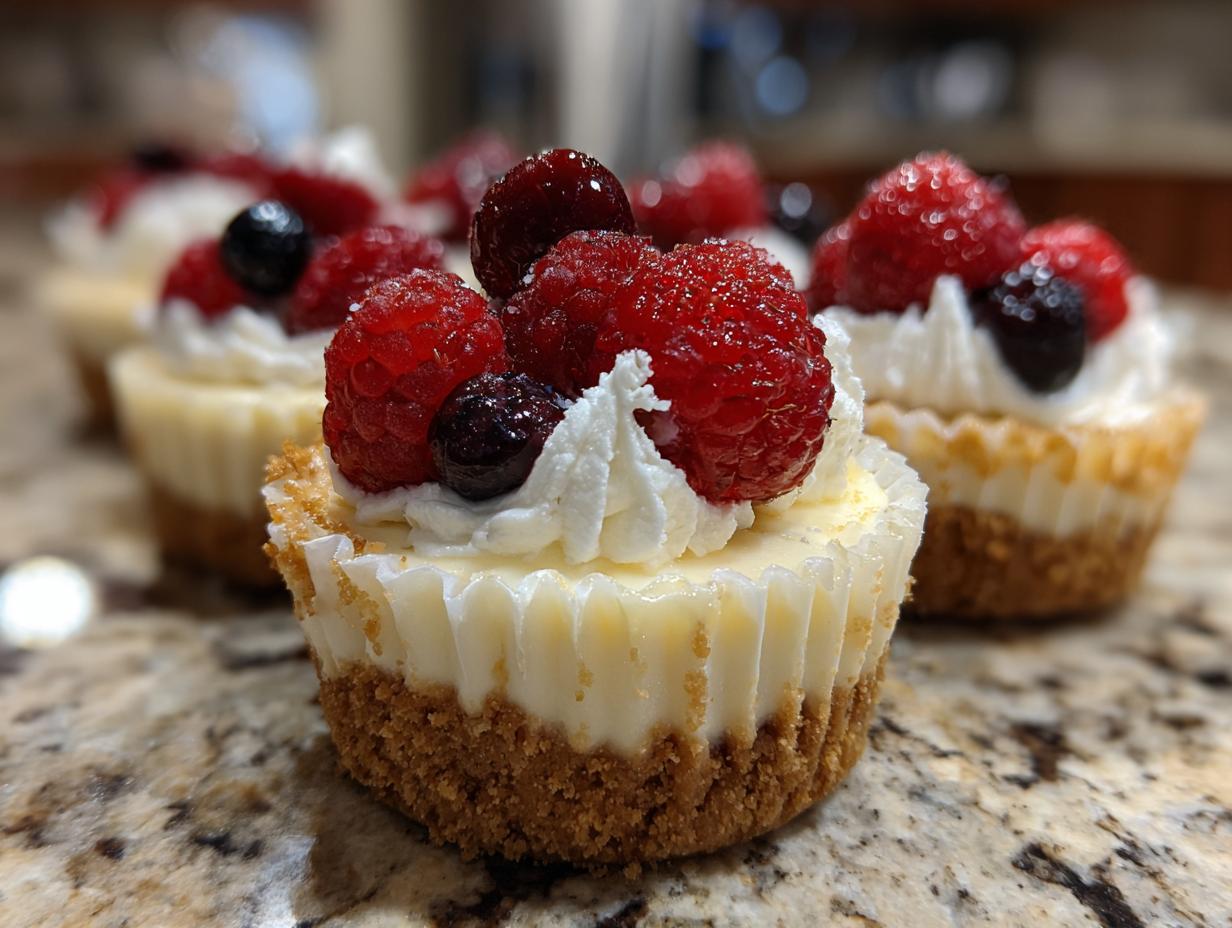
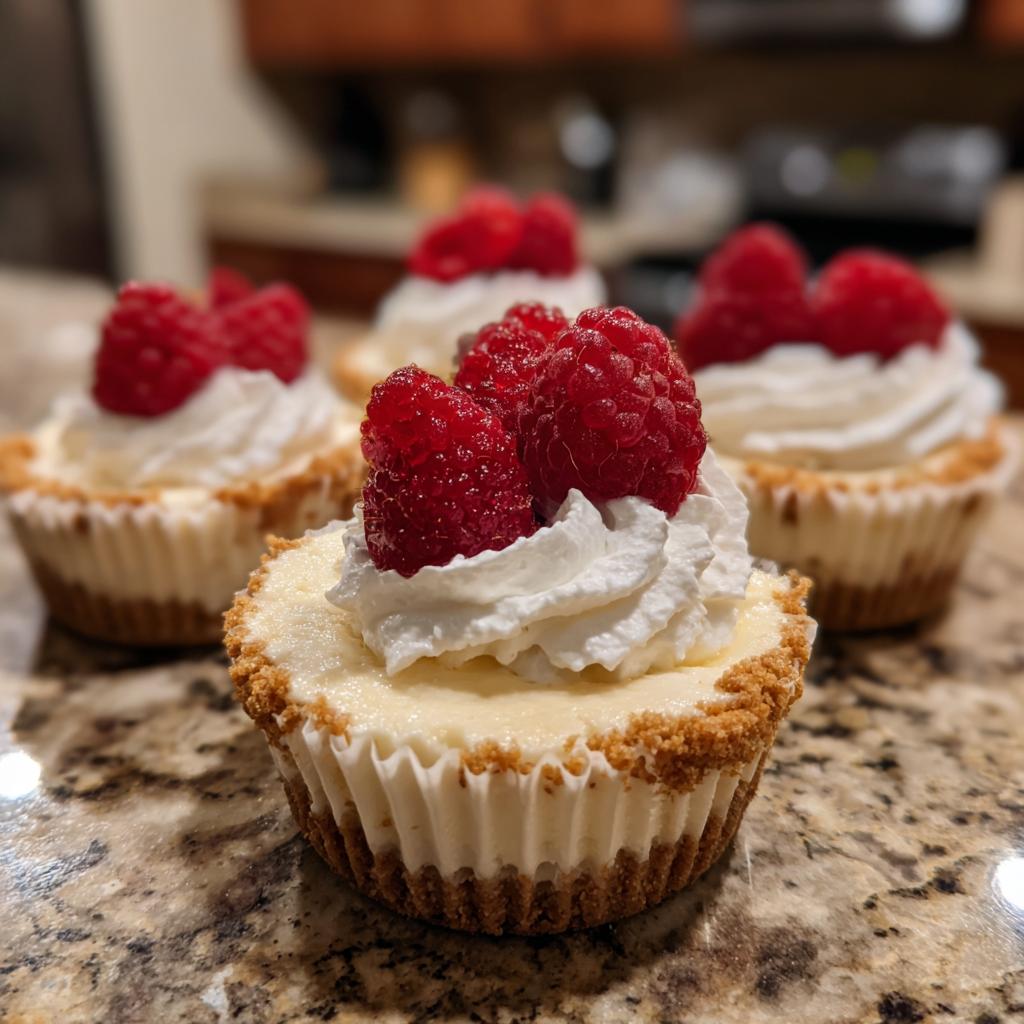
Okay, let’s talk about the absolute *best* way to celebrate the Fourth of July, or honestly, any party where you want to impress without stressing: Fourth of July Desserts With No Bake Cheesecake Cups for Parties! Seriously, these little cups are a game-changer. They’re so incredibly easy to whip up, and everyone raves about them. I remember last year, I made a batch for my neighbor’s backyard barbecue, and they were gone in minutes! It’s just something about that creamy, dreamy filling with that perfect crunchy crust, all in a cute little package. They’re just… happy desserts, you know?
Why You’ll Love These Fourth of July Desserts
Seriously, what’s not to love about these little gems?
- Super Easy to Make: They take just minutes to throw together!
- No Baking Required: Perfect for those hot summer days when you don’t want to turn on the oven.
- Totally Portable: Pack them up for picnics, BBQs, or potlucks.
- Crowd-Pleasers: Everyone, and I mean *everyone*, devours these.
- Make-Ahead Magic: Prep them the day before and save yourself time on the big day!
Essential Ingredients for Your No Bake Cheesecake Cups
Alright, let’s get down to business! To make these little slices of heaven, you’ll need a few key players. Trust me on this, using good ingredients really makes a difference, but don’t worry, these are all super common things you probably already have or can grab easily. And hey, if you have dietary needs, a few tweaks and you can make these work for almost anyone!
Here’s what you’ll need:
For the Crust:
- 1.5 cups graham cracker crumbs: You can buy these pre-crushed or pulse some graham crackers in your food processor until they’re nice and crumbly.
- 1/4 cup granulated sugar: Just a touch of sweetness to help bind it all together.
- 6 tablespoons unsalted butter, melted: This is what turns those crumbs into a nice, pressable base.
For the Filling:
- 2 packages (8 oz each) cream cheese, softened: This is SUPER important! Make sure your cream cheese isn’t straight from the fridge. Let it sit out for about an hour so it’s nice and pliable.
- 1 cup powdered sugar: For that smooth, sweet cheesecake flavor we all love.
- 1 teaspoon vanilla extract: A little splash here really makes everything pop.
- 1 cup heavy cream, cold: You want this *really* cold so it whips up nicely.
For Topping (Optional, but highly recommended!):
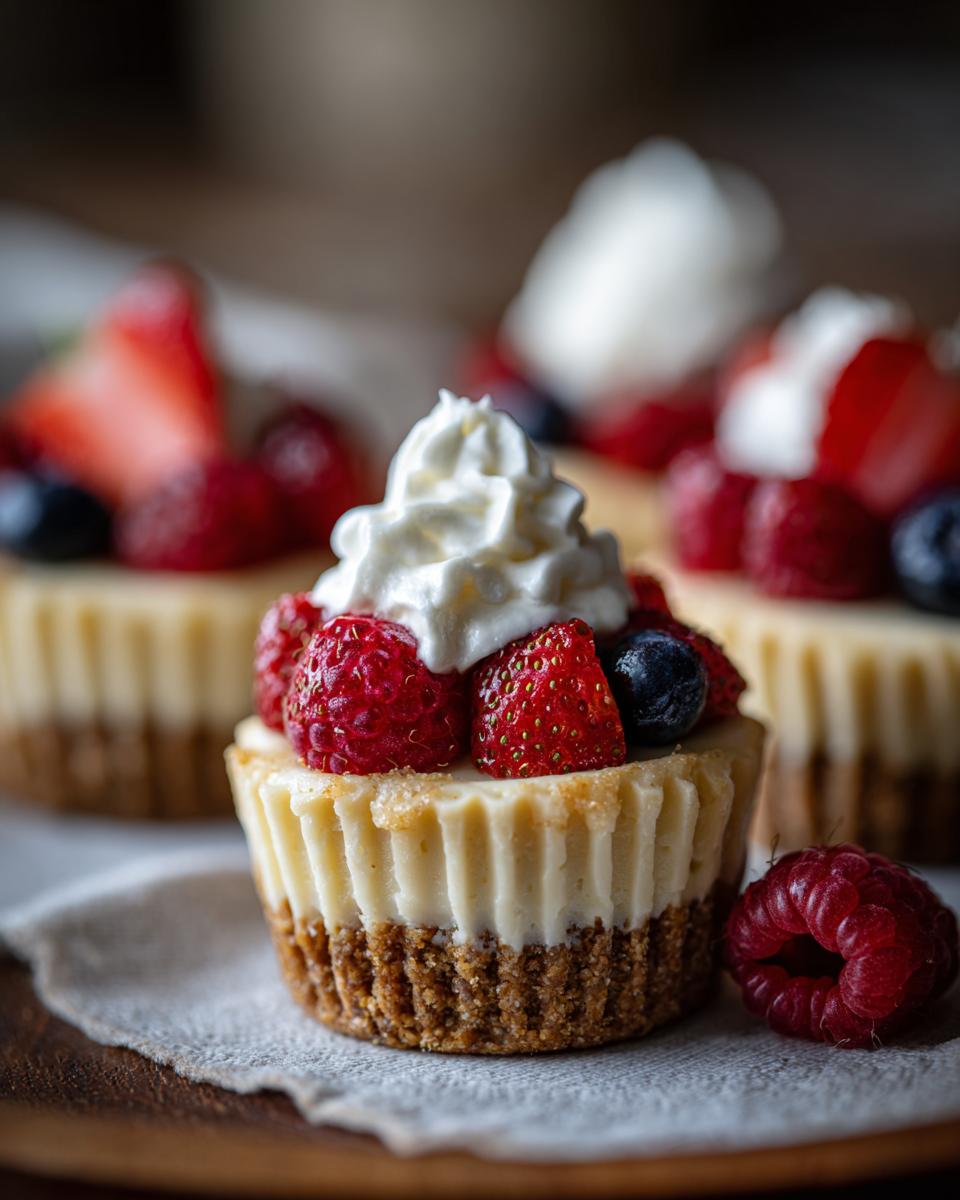
- Fresh berries: Think blueberries, strawberries, raspberries – whatever looks good and festive!
- Whipped cream: A dollop of fluffy cream is always a good idea.
Step-by-Step Guide to Making Fourth of July Desserts
Alright, let’s get these gorgeous little treats made! It’s honestly so satisfying to see them come together. We’ll start with the base, whip up that dreamy filling, and then let them chill out. It’s like magic, but tastier! If you’re looking for more easy no-bake ideas, you can find some here. And for another easy treat idea, check out these amazing baked churro bites – they’re a hit too!
Preparing the Graham Cracker Crust
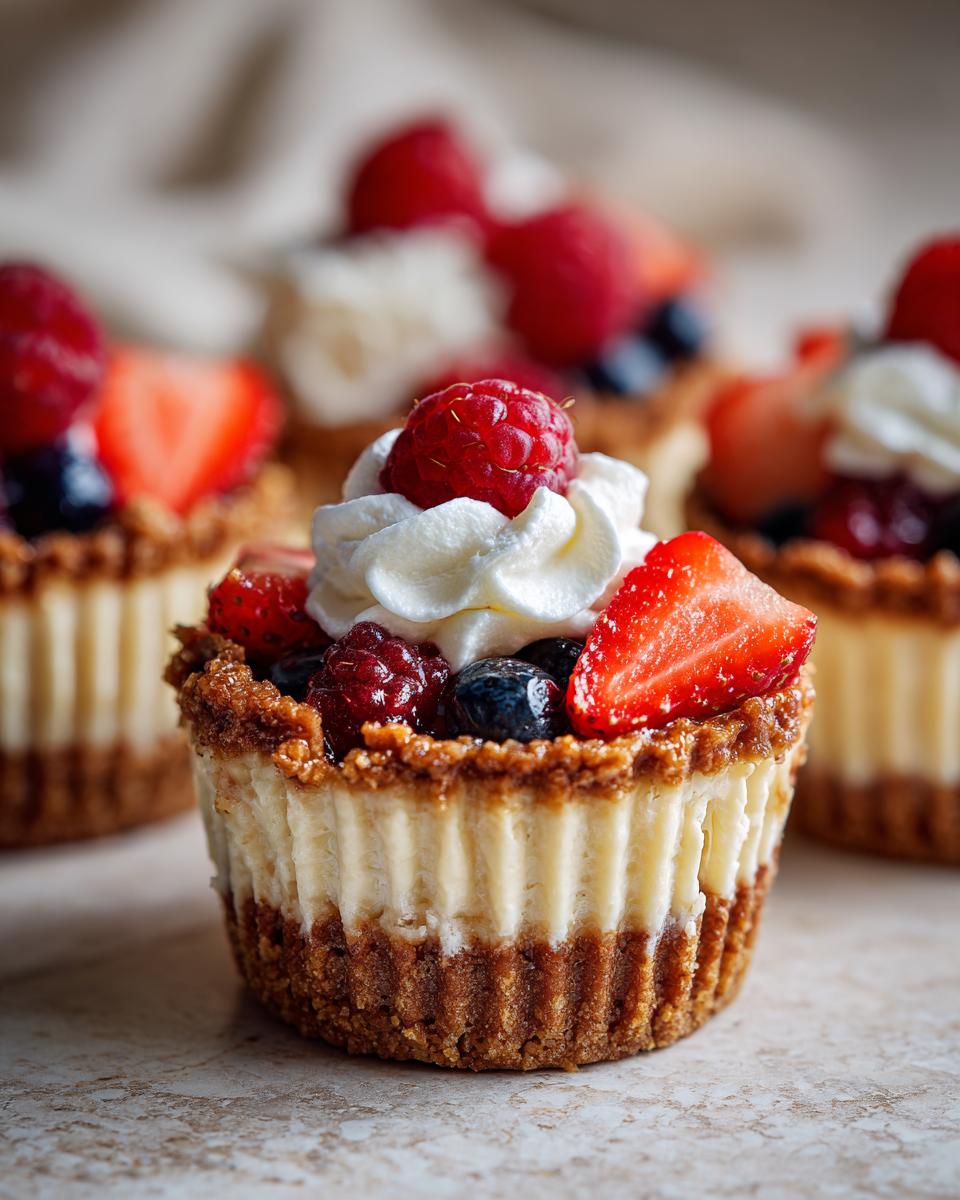
First things first, grab your muffin tin and line it with those cute paper liners. Now, in a medium bowl, just mix up your graham cracker crumbs and sugar. Pour in that melted butter and give it a good stir until it all looks like damp sand. Then, take about a tablespoon of this mixture and press it down firmly into the bottom of each liner. This is going to be your sturdy, yummy base!
Whipping Up the Creamy Cheesecake Filling
Okay, time for the star of the show! Make sure your cream cheese is nice and soft – seriously, don’t skip this step, it makes things SO much smoother. Pop it into a big bowl and beat it with your electric mixer until it’s totally smooth. Gradually add in the powdered sugar while you keep mixing, then stir in that vanilla extract. In a SEPARATE bowl, whip your cold heavy cream until it forms lovely stiff peaks. Gently, and I mean gently, fold that whipped cream into the cream cheese mixture until it’s just combined. You want it light and fluffy, not tough! You can find some super helpful tips on creating the perfect cheesecake filling here, too!
Assembling and Chilling Your Party Desserts
Now for the fun part! Spoon that luscious cheesecake filling right over the crusts in your muffin liners. Fill them up nicely, but don’t overflow! Once they’re all filled, pop that whole tin into the refrigerator. You’ll want to let them chill for at least 30 minutes, or until they’re firm to the touch. This chilling step is crucial – it lets everything set up so you get that perfect cheesecake texture instead of a melty mess. We’re not baking anything, so the chill is our friend!
Tips for Perfect No Bake Cheesecake Cups Every Time
Okay, so you’ve made these little beauties, and you want them to be absolutely *perfect*, right? I totally get it! Over the years, I’ve picked up a few tricks that make these no-bake cheesecake cups seriously foolproof. First off, that cream cheese? It *has* to be soft. I can’t stress this enough. Cold cream cheese is lumpy cream cheese, and nobody wants that. Let it sit on the counter for a good hour before you even think about mixing. If you’re in a rush, you can zap it *very carefully* in the microwave for 10-second intervals, but watch it like a hawk – you don’t want melted cream cheese!
Another biggie is the heavy cream. Make SURE it’s cold. Like, straight-from-the-fridge cold. Cold cream whips up into those lovely stiff peaks way better than room temperature stuff. And when you’re folding the whipped cream into the cream cheese mixture, be gentle! You want to keep all that air you just whipped in there. Overmixing will just deflate it, and you’ll end up with a dense, heavier filling instead of that light and airy goodness. For more inspiration on easy no-bake treats, check out this awesome collection. And if you’re ever looking for more easy recipes, you know where to find me at my easy recipes page!
Creative Variations for Your Fourth of July Desserts
Okay, these no-bake cheesecake cups are fantastic as is, but let’s be real, sometimes you want to add your own little flair, right? That’s the beauty of a great base recipe! You can totally switch things up to make them even more special for your party. Thinking about trying a different crust? No problem! Instead of graham crackers, you could totally crush up some vanilla wafers, shortbread cookies, or even some chocolate sandwich cookies for a richer flavor. Just make sure you use about the same amount and the same amount of melted butter to hold it together.
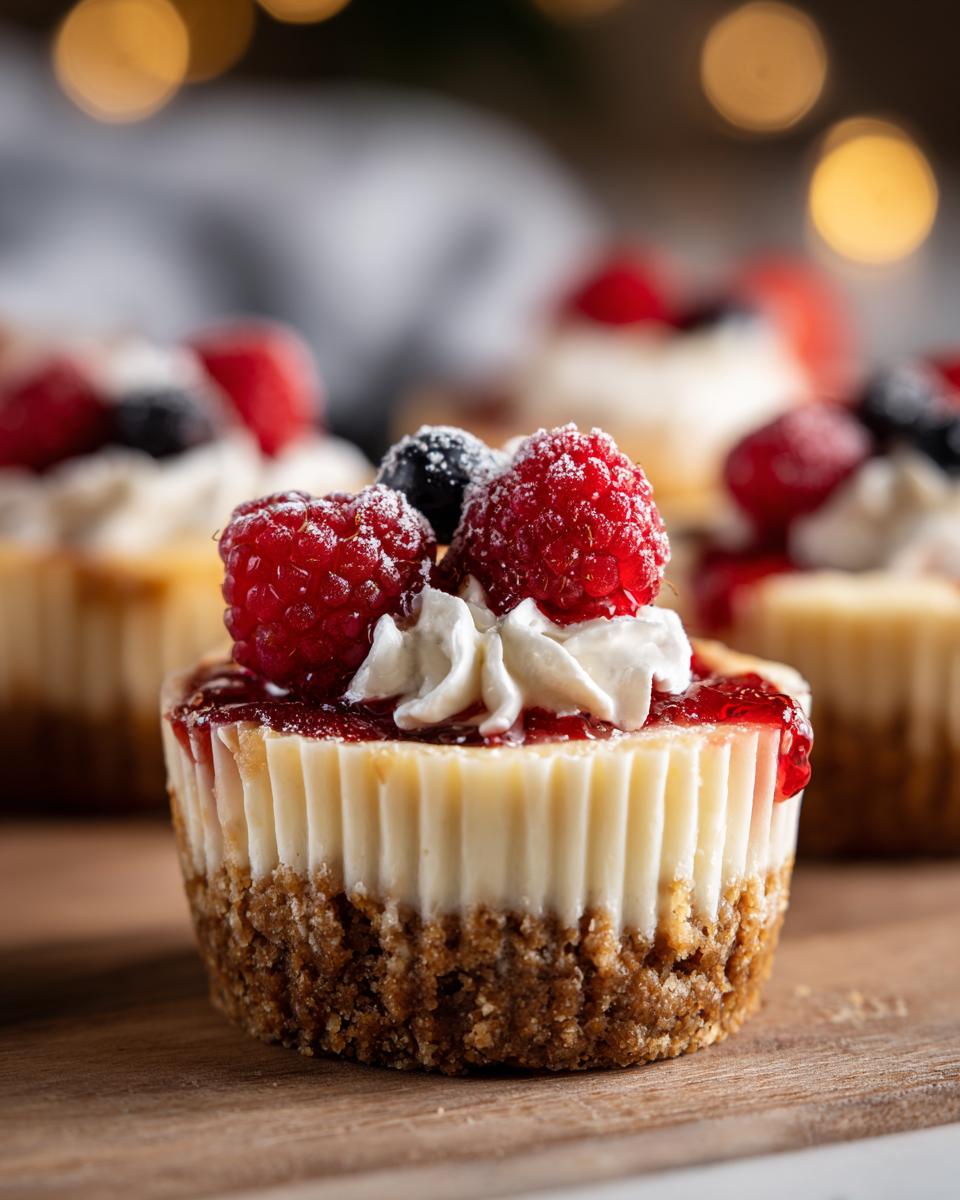
For the filling, want to add a fruity kick? Try swirling in a little bit of fruit puree – maybe some raspberry or strawberry for a lovely pink hue and extra flavor that’s just divine. Or, get really festive for the Fourth of July by layering in some fresh blueberries and strawberries right into the filling before you chill them! And don’t even get me started on toppings! Beyond the berries and whipped cream, think about a drizzle of chocolate sauce, some toasted coconut flakes, or even some cute red, white, and blue sprinkles. You can even try a delicious berry bake recipe and use some of those flavors as inspiration!
Serving and Storing Your Cheesecake Cups
Okay, so you’ve made these adorable no-bake cheesecake cups perfectly! For serving, I like to pull them out of the fridge about 10-15 minutes before guests dig in. That just softens them up a tiny bit and makes them extra creamy. If you’ve topped them with fresh berries or whipped cream, definitely do that right before you serve so they look their absolute best. Any leftovers? Lucky you! Just pop them back into an airtight container in the fridge. They’ll keep wonderfully for about 3-4 days, though honestly, they never last that long at my house!
Frequently Asked Questions About No Bake Cheesecake Cups
Got questions? I’ve got answers! It’s totally normal to wonder about a few things when you’re whipping up a new recipe, especially for a party. I’ve been there, trust me!
Can I make these ahead of time?
Absolutely! This is one of my favorite things about them. You can easily make these cheesecake cups a day in advance. Just make sure to store them covered in the refrigerator. The crust will stay perfectly crisp, and the filling will be set and ready to go. It’s perfect for reducing party-day stress – you can focus on greetings and games instead of last-minute dessert assembly!
What if my filling is too soft?
Oh, the dreaded soft filling! Don’t panic! If your filling seems a little too soft after chilling, it usually means the cream cheese wasn’t quite soft enough to begin with, or the heavy cream wasn’t whipped enough, or maybe it just needed a little more chilling time. The good news is, you can often fix it! Try popping the whole tray back into the freezer for about 15-20 minutes, or just give it another 30 minutes to an hour in the fridge. For more tips on getting things just right, I found this great resource on making things easier in the kitchen!
Can I use different cookies for the crust?
You bet! That’s the fun part of customizing. Graham crackers are classic, but feel free to experiment. Vanilla wafers, shortbread cookies, or even some digestive biscuits work wonderfully. Just make sure you crush them into fine crumbs and use the same amount of melted butter to bind them. They’ll give your cheesecake cups a slightly different, but equally delicious, flavor profile!
Estimated Nutritional Information
Okay, so this is just a super rough estimate, because, you know, we all use slightly different ingredients and portion sizes. But generally, each of these delightful little cheesecake cups comes in around 250-300 calories. You’re looking at about 15-20 grams of fat, 5-8 grams of protein, and roughly 20-25 grams of carbohydrates. These numbers can totally change depending on whether you go heavy on the crust, add extra toppings, or even use different types of cookies! They’re a treat, for sure!
No-Bake Cheesecake Cups for Parties
Ingredients
Equipment
Method
- Line a 12-cup muffin tin with paper liners.
- In a medium bowl, combine graham cracker crumbs and granulated sugar. Pour in the melted butter and stir until combined.
- Press about 1 tablespoon of the crumb mixture into the bottom of each muffin liner.
- In a large bowl, beat the softened cream cheese with an electric mixer until smooth. Gradually beat in the powdered sugar until well combined.
- Stir in the vanilla extract.
- In a separate bowl, whip the cold heavy cream until stiff peaks form.
- Gently fold the whipped cream into the cream cheese mixture until just combined. Do not overmix.
- Spoon the cream cheese filling evenly over the crusts in the muffin liners.
- Refrigerate for at least 30 minutes, or until firm.
- Top with fresh berries or whipped cream before serving, if desired.