Oh, those weeknight dinner struggles! Some nights I swear I’d rather just eat cereal, but the family needs something hearty, right? That’s why I want to share my absolute favorite secret weapon: the best Baked Cheesy Beef Enchiladas you will ever roll up. Seriously, these are a game-changer for busy families.
When I first started working as a gluten-free nutritionist, I remember feeling miserable at a family potluck. The incredible smell of savory beef and melted cheese was everywhere, but I couldn’t touch them because of gluten! That moment inspired me. Determined to make something amazing that my son could eat, I tinkered until I cracked the code on these enchiladas. The first time I served them, he took one bite and yelled, “Better than store-bought!”
It reminded me that love and creativity can transform any meal, and now these are a staple in our house. You can easily swap in certified gluten-free tortillas, and suddenly, everyone gets to enjoy this incredibly comforting, cheesy oven meal. I’m Sophie Williams, and you can learn more about my journey over at the About Me page. Trust me, you need this recipe next time you’re stumped for dinner!
Why You Will Make These Baked Cheesy Beef Enchiladas Again and Again
These aren’t just good; they are the weeknight lifesavers I promised! As I mention in my story, making everyone happy at the table is key, and this recipe just hits different. Let’s look at why they’ll become part of your regular rotation. You can find more comforting dinner inspiration on my site archives!
- They come together so quickly—prep is only 15 minutes!
- Major crowd-pleaser status; kids absolutely devour these.
- Super customizable. Need gluten-free? Just grab the right tortillas!
- Perfect for when you’re craving that bubbly, cheesy oven meal vibe.
Essential Ingredients for Perfect Baked Cheesy Beef Enchiladas
Honestly, the secret to ultimate deliciousness—especially when you’re dealing with cheesy oven meals—is using quality ingredients and prepping them right. I learned early on when I was perfecting these for my son that you cannot skimp on the cheese quality. I find my favorite recipe essentials within my full recipe index!
For the Beef Filling and Assembly
We need a really hearty base for these beef enchiladas, and using fresh veggies gives it such a nice brightness way beyond just plain meat!
- Ground Beef: We’re using 1.5 lbs of ground beef. Make sure you drain that grease really well when it’s cooked down.
- Veggies: A small onion and a small red bell pepper, both chopped up finely.
- Flavor: Two ounces of taco seasoning—that’s usually two packets, so just follow the back of the packet for cooking directions!
- Dairy Power: This is key! You need 1 lb of cheddar cheese and 1 lb of Monterey Jack cheese. Listen to me: you absolutely must grate this yourself. Pre-shredded cheese has anti-caking agents that stop it from getting that glorious, smooth melt we want.
- Tortillas & Sauce: You’ll need 6 to 8 medium tortillas (use corn or certified GF ones for celiac safety!) and one 20 oz container of red enchilada sauce.
Optional Toppings for Serving
These are totally optional, but they make the presentation for our fiesta night ideas so much better!
- A dollop of cool sour cream cuts through all that richness perfectly.
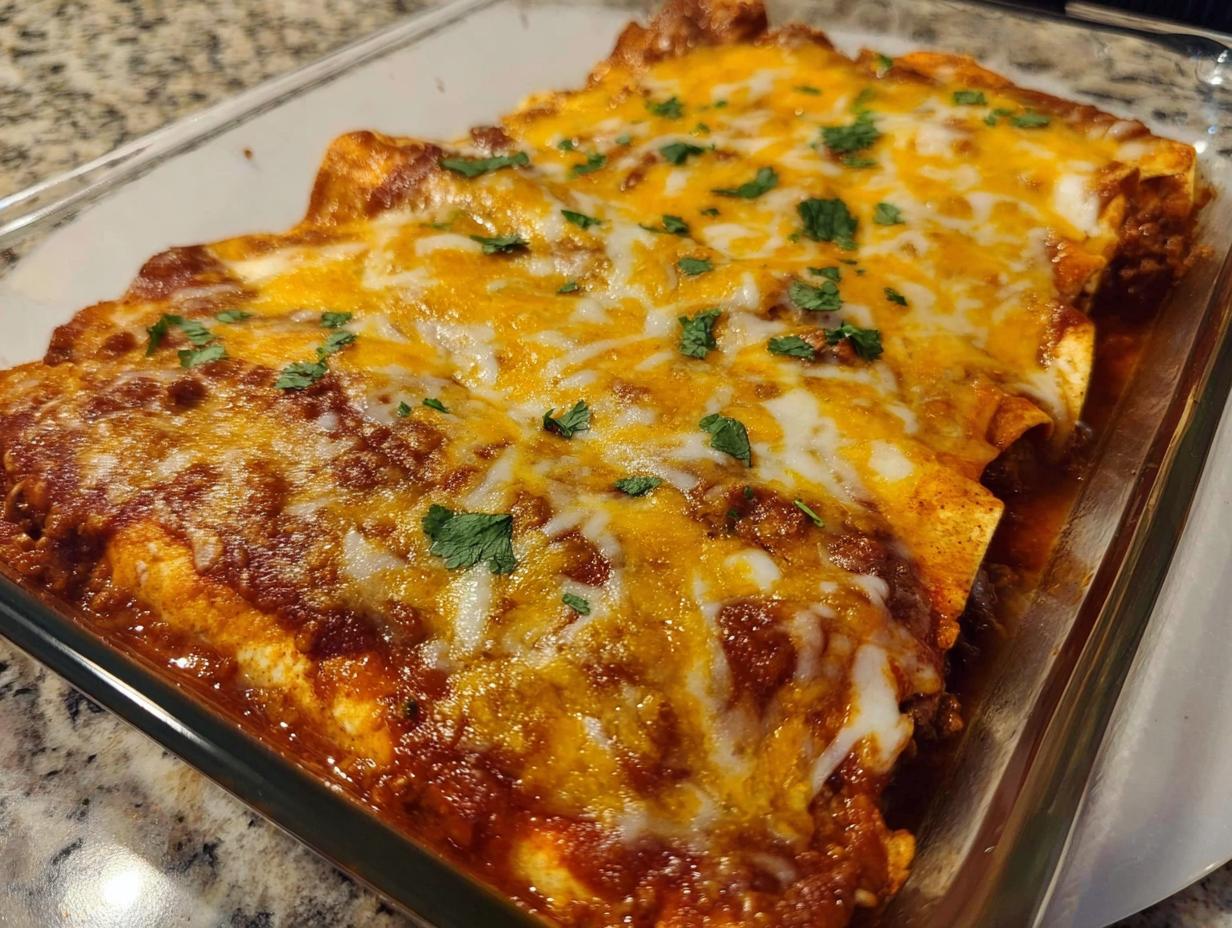
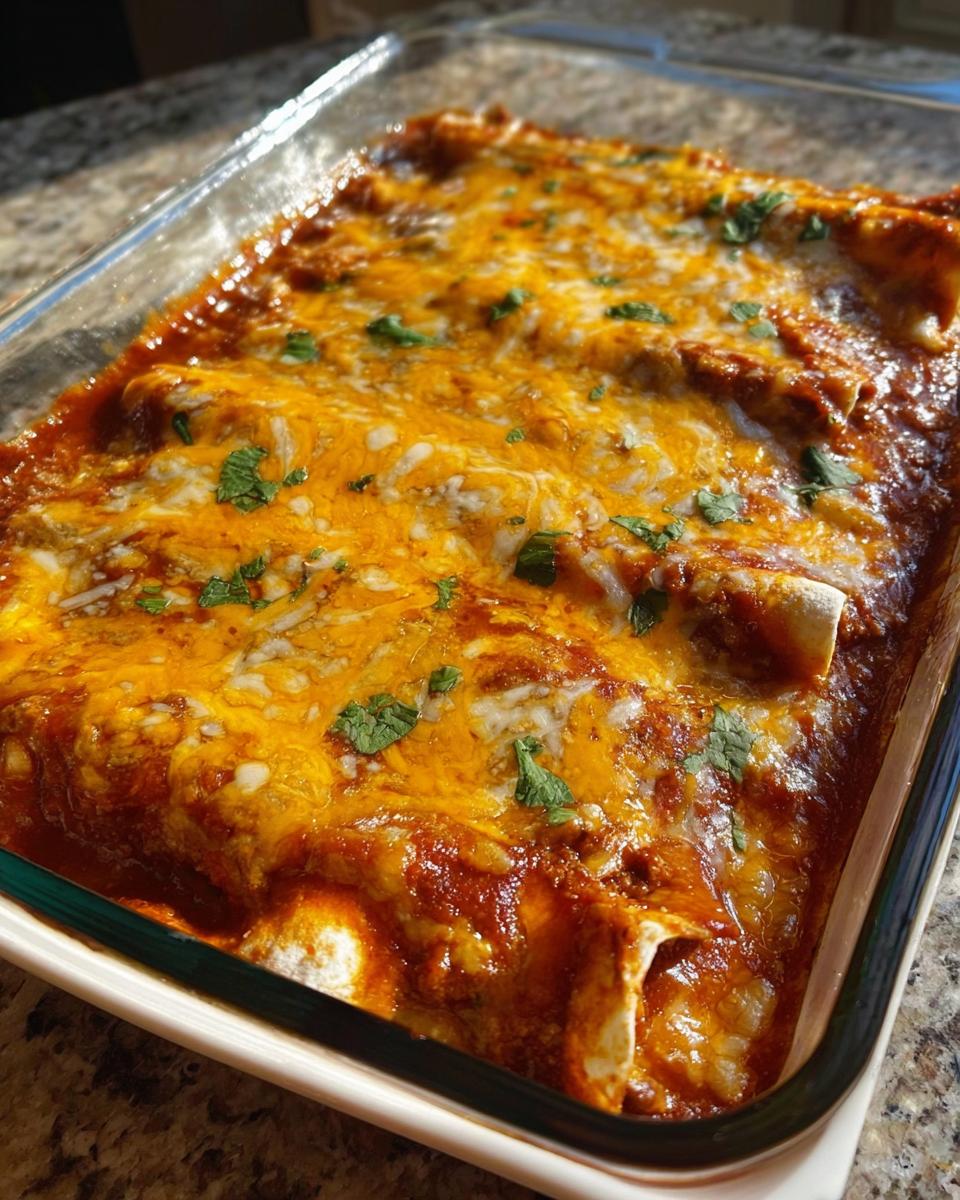
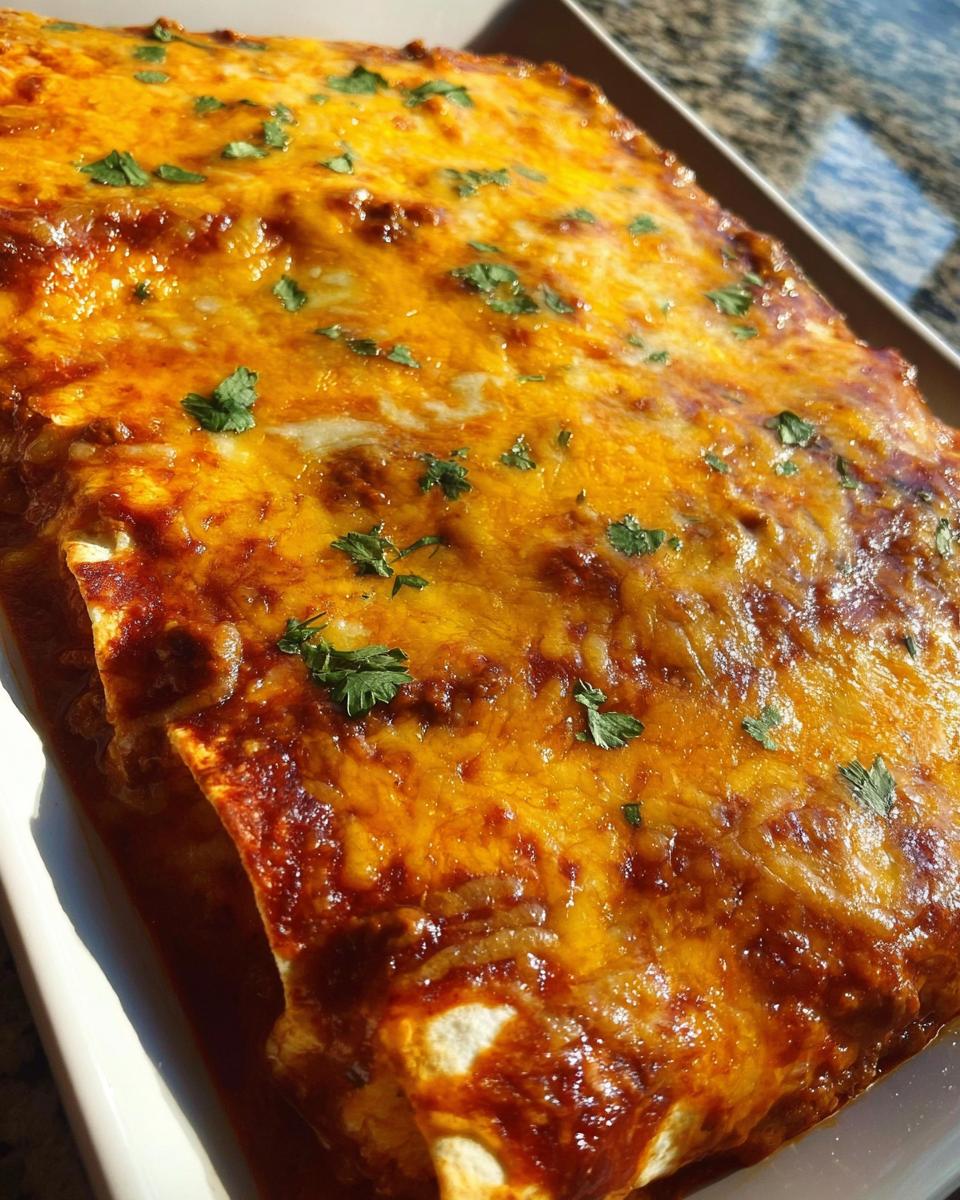
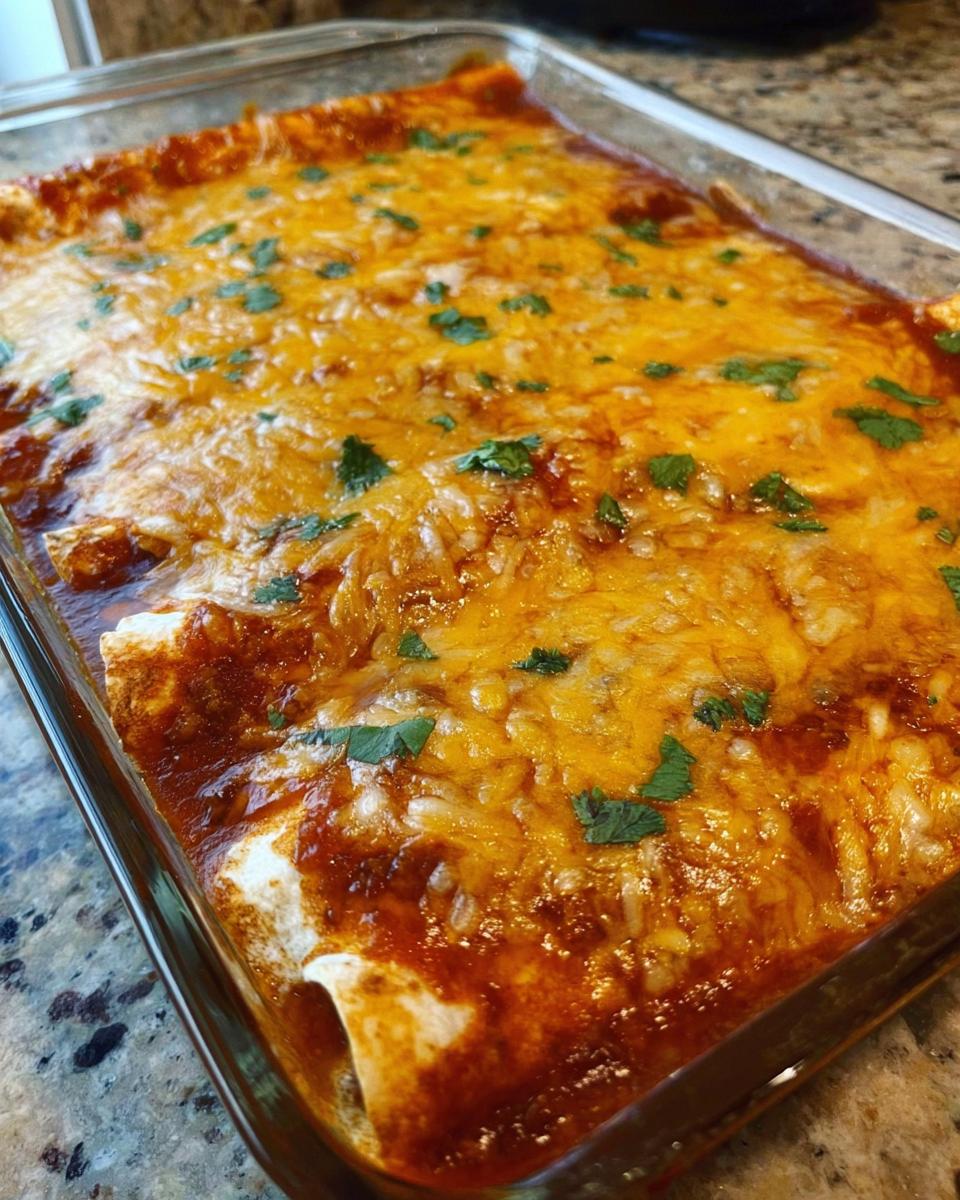
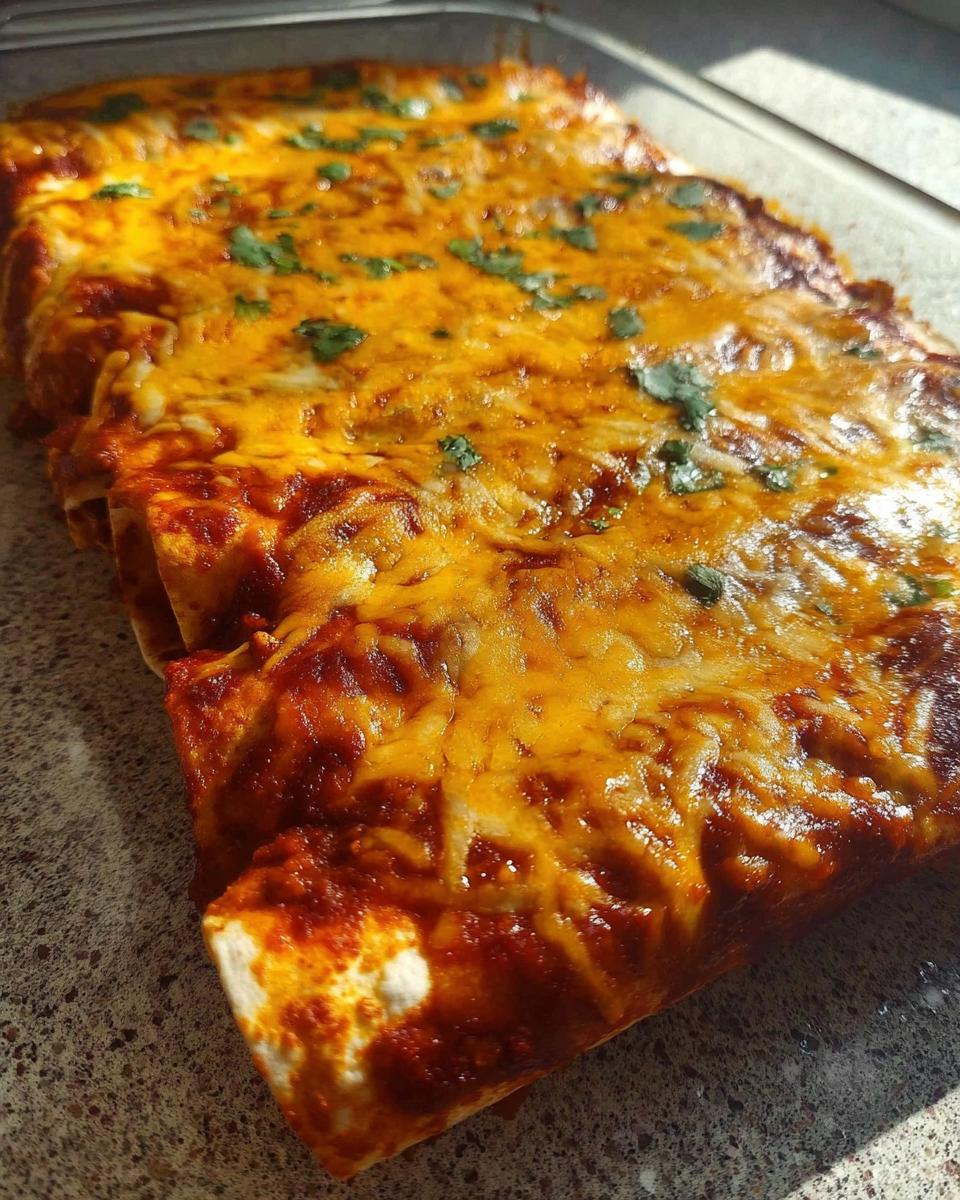
- A sprinkle of fresh parsley or cilantro right at the end gives you that fresh pop of color.
Step-by-Step Instructions for Baked Cheesy Beef Enchiladas
Okay, my friends, this is where the magic happens! Even though this is one of my favorite dinner recipes, it flies by. You only need about 15 minutes to prep everything before it heads into the oven for about 25 minutes of hands-off baking time. Let’s get rolling!
Preparing the Savory Beef Filling
First, grab your big skillet, maybe toss in a tiny bit of oil, and get that chopped onion and the red bell pepper sautéing until they start getting soft—that’s usually about five minutes. Next, toss in your 1.5 pounds of ground beef. You need to break it up really well as it cooks until it’s beautifully browned all over. Once it’s done, you absolutely must drain off all that grease thoroughly. Don’t skip this or your enchiladas will be swimming!
After draining, follow the directions on your taco seasoning packets—using two packets—and cook that down for a minute or two until it smells amazing.
Assembling Your Baked Cheesy Beef Enchiladas
We are moving fast now! Turn the burner off completely. Stir in about half of your grated cheddar and Monterey Jack mixture, along with a bit of that red enchilada sauce, just enough to make the beef filling creamy and bind it together. Then, it’s time to fill! Lay out your tortillas, divide the savory beef mixture evenly down the center of each one, and roll them up tightly. I like to tuck the ends in just a little bit so the filling doesn’t escape during the bake.
Nestle those rolled beauties seam-side down into your greased baking dish. Take your time here; neat rolling makes for a much prettier final plate!
Baking and Finishing the Cheesy Oven Meals
Now, pour the rest of that gorgeous enchilada sauce right over the top of your rolled enchiladas. Don’t be shy! Then, make sure you top generously with all the remaining shredded cheese. It needs to be utterly smothered.
Bake these glorious cheesy oven meals at 350°F for around 20 to 25 minutes. You’re looking for signs that the cheese is melted, gooey, and the edges of the sauce are hot and starting to bubble up around the sides. When they come out, resist the urge to dive in immediately! Let them rest for just a few minutes so they set up nicely before garnishing with fresh parsley or cilantro and serving with a big scoop of sour cream.
Tips for Making the Best Baked Cheesy Beef Enchiladas
As a nutritionist who constantly tests recipes, I can tell you the difference between a good enchilada and a GREAT one comes down to a couple of tiny things. These little tricks make sure your final dish tastes incredible and doesn’t fall apart when you try to serve it! You can check out more of my favorite hearty ground beef recipes for inspiration right here.
First, let’s talk cheese again: You MUST hand-grate your cheddar and Monterey Jack. Seriously, pre-shredded melts into a hard plastic layer, and we aren’t aiming for that! Second, warm your tortillas slightly before rolling them. If you’re using corn tortillas—especially when going gluten-free—warming them for 15 seconds in the microwave makes them pliable so they don’t crack.
My third must-do tip is about the sauce blend once the meat is cooked. You want the beef filling to be moist enough to hold together, but not soupy. If everything looks too dry after you stir in the sauce and half the cheese, add a splash more sauce until it’s perfectly moist. That little bit of extra moisture prevents the whole dish from being dry when it bakes!
Ingredient Substitutions for Your Baked Cheesy Beef Enchiladas
One of the best things about this recipe is how flexible it is! I know things happen—maybe you’re out of ground beef, or perhaps you’re trying to lighten things up a bit. Don’t panic! We can swap things around and still nail that satisfying, cheesy texture.
If you don’t have ground beef or are trying to cut down on red meat, ground turkey or ground chicken works beautifully here. Just brown it the same way you would the beef, but you might need a little extra splash of broth or water while you simmer the taco seasoning, since poultry tends to be leaner. You can find loads of substitution ideas in my general recipe archives.
When it comes to cheese, feel free to play around with the blend. If you love sharp flavor, maybe bump up the cheddar a little. A mix of Colby Jack works great too, as long as you are grating it fresh, remember what I said about that melt!
Now, speaking of swaps, let’s circle back to the gluten-free aspect, which is huge for me as a nutritionist. If you or someone you are cooking for has celiac disease or a serious sensitivity, the tortilla choice is non-negotiable: you must use certified gluten-free tortillas. Standard corn tortillas are often gluten-free, but cross-contamination is a real risk in large food facilities, so always read that package carefully. Using GF corn tortillas is the easiest swap, but you have to warm them up extra well before rolling, or they *will* crack on you!
Serving Suggestions for Fiesta Night Ideas
You’ve made the ultimate Baked Cheesy Beef Enchiladas, and now what? These rich, savory rolls are filling, bless their hearts, so we don’t need anything too heavy on the side. Keep it light and fresh when planning your next fiesta night ideas!
My go-to is always a simple, crisp green salad with a tart lime vinaigrette to cut through all that dairy goodness. If you’re serving hungry kids, a side of plain white rice is fantastic for soaking up any extra sauce.
And of course, no Tex-Mex spread is complete without amazing dips! You HAVE to make a batch of my fresh, zesty guacamole. Find the recipe for my guacamole with lime and cilantro and take your serving spread to the next level!
Storage and Reheating Baked Cheesy Beef Enchiladas
There is a genuine tragedy when you have leftovers from these amazing beef enchiladas and you mess up reheating them! Nobody wants a soggy, sad mess the next day, especially when you put in the effort to make these amazing cheesy oven meals. I usually manage to have a few leftover because I always over-roll them, but I’ve perfected the storage game so they taste almost as good the next day.
When you’re done enjoying your dinner, let the baking dish cool down slightly on the counter for about 30 minutes—never put piping hot food directly into the fridge, trust me on that one. Once slightly cooled, cover the entire baking dish tightly, either with foil or plastic wrap; tight wrapping keeps that delicious moisture locked in. These will keep happily in the refrigerator for about three to four days. Don’t forget to browse my other comfort food ideas for more make-ahead inspiration!
If you want to freeze them (and you totally should!), the best trick is to assemble them completely in an oven-safe dish, but **don’t add the final layer of sauce or cheese**. Cover that thing tightly with a layer of plastic wrap, then a layer of foil, and straight into the freezer it goes. They freeze beautifully for up to three months.
When you are ready to reheat leftovers, you have two main options depending on how much time you have. For the very best texture, I highly recommend reheating them in the oven. Cover the dish loosely with foil (this prevents the top cheese layer from burning before the center heats up) and bake at 350°F until they are piping hot all the way through—usually about 15 to 20 minutes. If you’re pressed for time, the microwave works, honestly, but place a piece of napkin over the top of your portion. It helps absorb a tiny bit of steam so the tortilla doesn’t get quite so chewy!
Frequently Asked Questions About Cheesy Oven Meals
I totally get it; sometimes you just need a quick answer so you can get dinner on the table! Since these Baked Cheesy Beef Enchiladas are one of my favorite comfort food recipes, I’ve heard almost every question under the sun regarding make-ahead meals and variations. Here are the most common ones I get about making these perfect cheesy oven meals.
Can I use canned meat instead of browning fresh ground beef?
Oh, that sounds like a shortcut attempt! While you *could* technically use canned corned beef or even leftover shredded roast beef, I really, really advise against it for these specific beef enchiladas. The reason these taste so amazing is that you render the fat out of the ground beef while sautéing the fresh onions and peppers. Canned meat tends to be mushy and overly salty, and you miss out on building that flavorful base in the skillet. Stick with fresh ground beef for the best texture!
Why are my tortillas tearing when I roll them up?
This happens almost every single time if you forget my little warming trick! Corn tortillas are brittle when cold, and they snap like a dry twig when you try to roll them around a scoop of filling. You have two options to fix this for next time: either gently warm them one by one right on a dry, hot skillet for about 15 seconds per side, or wrap them all in a damp paper towel and microwave them for 30–45 seconds until they are soft enough to bend easily. That pliability is key!
How spicy is this recipe, and can I make it hotter?
For my family, I try to keep these totally kid-friendly, so as written, they are mild. The spice level really comes from the taco seasoning you choose. If you buy a standard packet, it will have a very mild warmth. If you want to amp up the heat, it’s super easy! Before you add the taco seasoning in Step 2, try stirring in a teaspoon of cayenne pepper, or swap your mild taco seasoning for a hot variety. A little drizzle of chipotle sauce over the top before baking also gives a wonderful smoky kick to these cheesy oven meals!
Can I use a different type of cheese besides Cheddar and Monterey Jack?
Absolutely! While I adore the melt quality of Jack and the sharpness of Cheddar together, feel free to experiment. Monterey Jack is an essential melter, so try to keep some version of it in the mix. If you want a tangier flavor, try swapping half the Cheddar for a good quality Pepper Jack (if you want a little heat!) or even an aged Oaxaca cheese if you can find it. Just remember—if you use cheeses that aren’t technically designated shredding cheeses, you need to grate them yourself if you want that gorgeous, bubbly top!
Estimated Nutrition for Baked Cheesy Beef Enchiladas
Okay, so as a nutritionist, I know tracking food is important to a lot of you, especially when you’re optimizing your weeknight meals. Even though these Baked Cheesy Beef Enchiladas are comforting Mexican dinner recipes, we still want an idea of what we’re digging into, right?
Because every brand of cheese, every brand of sauce, and even the fat content of the ground beef can change the final numbers dramatically, these figures below are just estimates based on my standard measurements—think of this as Option A, the baseline version I used in my testing. You can always find more tips on making your favorite dishes healthier over on my healthy dinner inspiration page.
Disclaimer Alert: Please know that these values are just starting points since everyone measures slightly differently. If you have very specific dietary needs, you’ll want to plug your exact ingredient amounts into a proper tracking app!
- Calories: Estimated around 480-520 per enchilada (Remember, this is before adding sour cream!)
- Fat: Likely in the 28g to 32g range, mostly from that glorious cheese.
- Protein: A solid hit, usually around 30g to 35g per serving.
- Carbohydrates: Mostly dependent on your tortillas, but typically around 35g.
For me, the payoff of having a super satisfying, cheesy oven meal that my whole family actually eats outweighs worrying too much about the exact final number, but I always like having a general idea!

Baked Cheesy Beef Enchiladas
Ingredients
Equipment
Method
- Heat oil in a large skillet and sauté the bell pepper and onion for 5 minutes.
- Add the ground beef. Break it into small pieces and cook until the beef is brown. Drain the grease and follow the cooking directions on the back of the taco seasoning packets, using 2 packets for 1.5 lbs of beef.
- Turn the heat off and add enchilada sauce and shredded cheese. Stir everything together until it is evenly combined.
- Distribute the beef filling evenly into the center of each tortilla. Roll each tortilla up and place them seam side down into a greased baking dish.
- Pour more enchilada sauce over the rolled tortillas and top with the rest of the shredded cheeses.
- Bake them at 350°F for about 20 to 25 minutes, or until the cheese is melted and the sides are hot and bubbly.
- Let them cool slightly, garnish with parsley or cilantro, and serve with sour cream.
Notes
Tried this recipe?
Let us know how it was!
Gluten-Free Nutritionist & Family Meal Planning Expert
Working as a pediatric dietitian at Children’s Hospital of Denver, I kept meeting families overwhelmed by managing their children’s celiac disease. Parents stressed, kids frustrated, everyone eating bland boxed “gluten-free” products.
That’s when I realized my calling: creating practical, balanced gluten-free solutions for real families with busy schedules. I’ve developed 375+ family-friendly recipes focusing on lunch boxes, after-school snacks, and make-ahead dinners that actually work.
My meal planning system was featured in Parents Magazine, and I presented research at the Rocky Mountain Pediatric Nutrition Conference. My evidence-based approach ensures recipes meet both taste and health standards—families need solutions that work in the real world, not just perfect test kitchens.