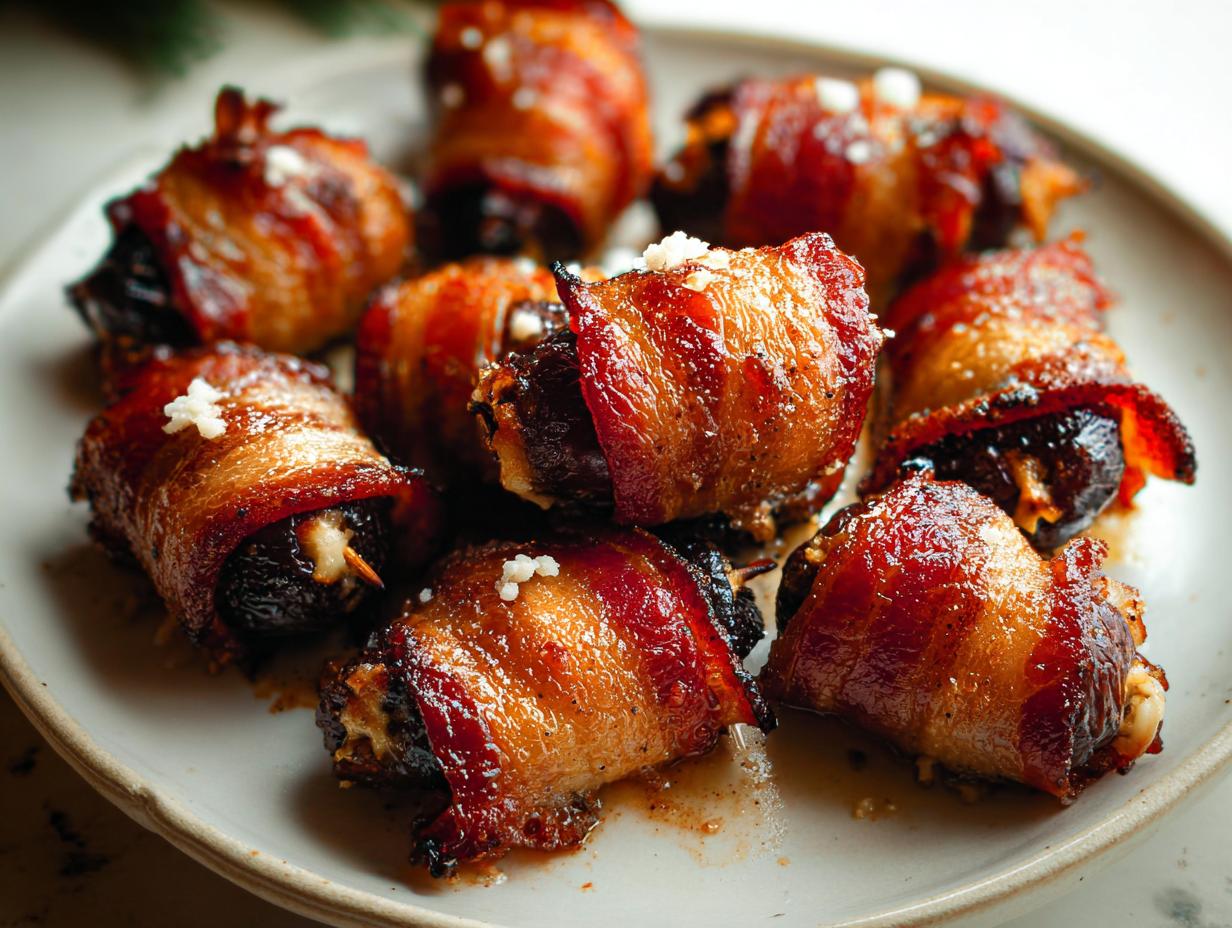
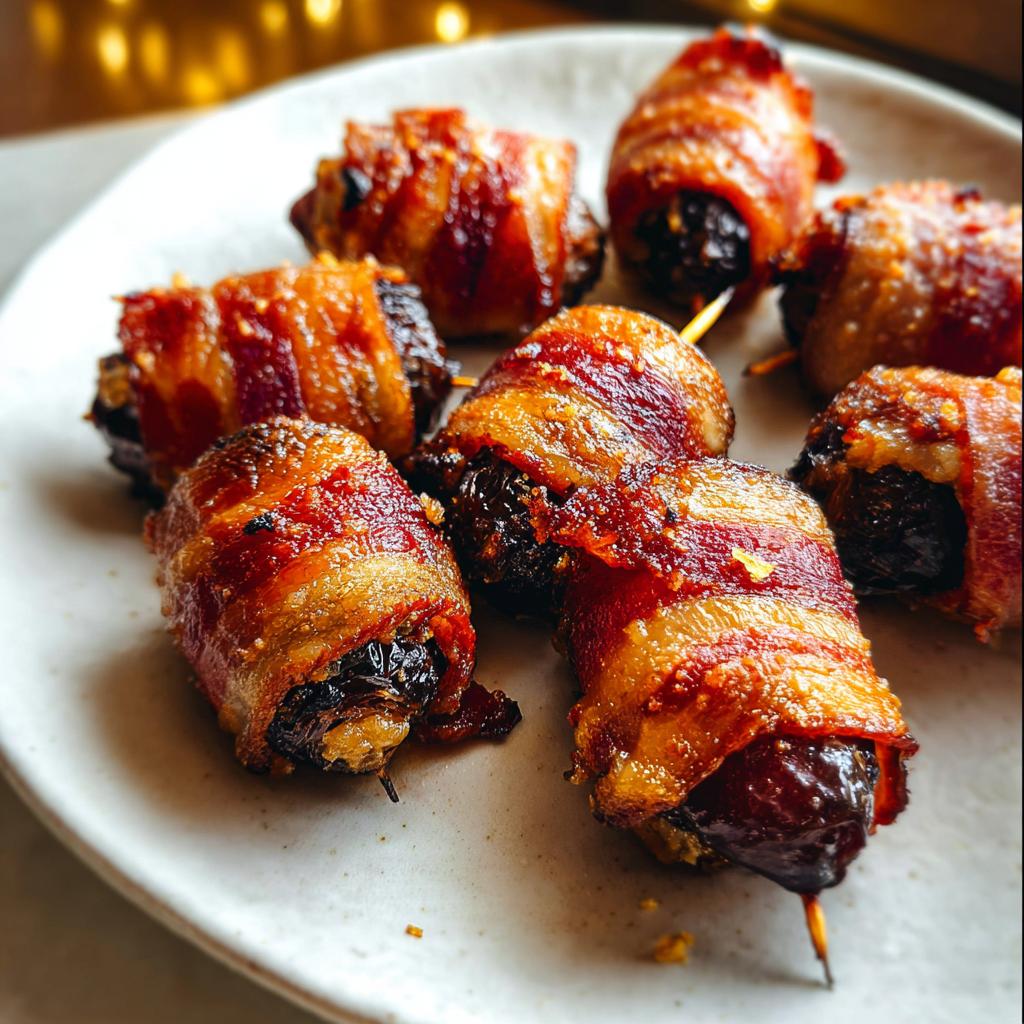
Oh, let me tell you about the secret weapon for any host: simple elegance on a platter! Forget spending hours fussing; sometimes the best treats rely on just a couple of amazing ingredients that sing together. That’s what makes these Bacon-Wrapped Dates absolute showstoppers. They achieve that incredible sweet and salty dance that makes everyone ask for the recipe immediately. I’ll never forget the first time I brought these to a potluck thinking I was cheating because they were so easy—I’m a dietitian, so I usually focus on healthy stuff, but this batch disappeared first! Filled with creamy cheese and hugged by perfectly crisp bacon, the joy on everyone’s faces reminded me that simple indulgence brings people together beautifully. Plus, they are naturally gluten-free, so everyone can enjoy them! If you want to learn more about my approach to easy family meals, check out my mission statement on my About Page.
Why You Will Love These Bacon-Wrapped Dates
Honestly, if I could only bring one appetizer to a party for the rest of my life, it would be these. They’re ridiculously simple but look like you spent all day crafting them. Here are the top reasons I always reach for this recipe:
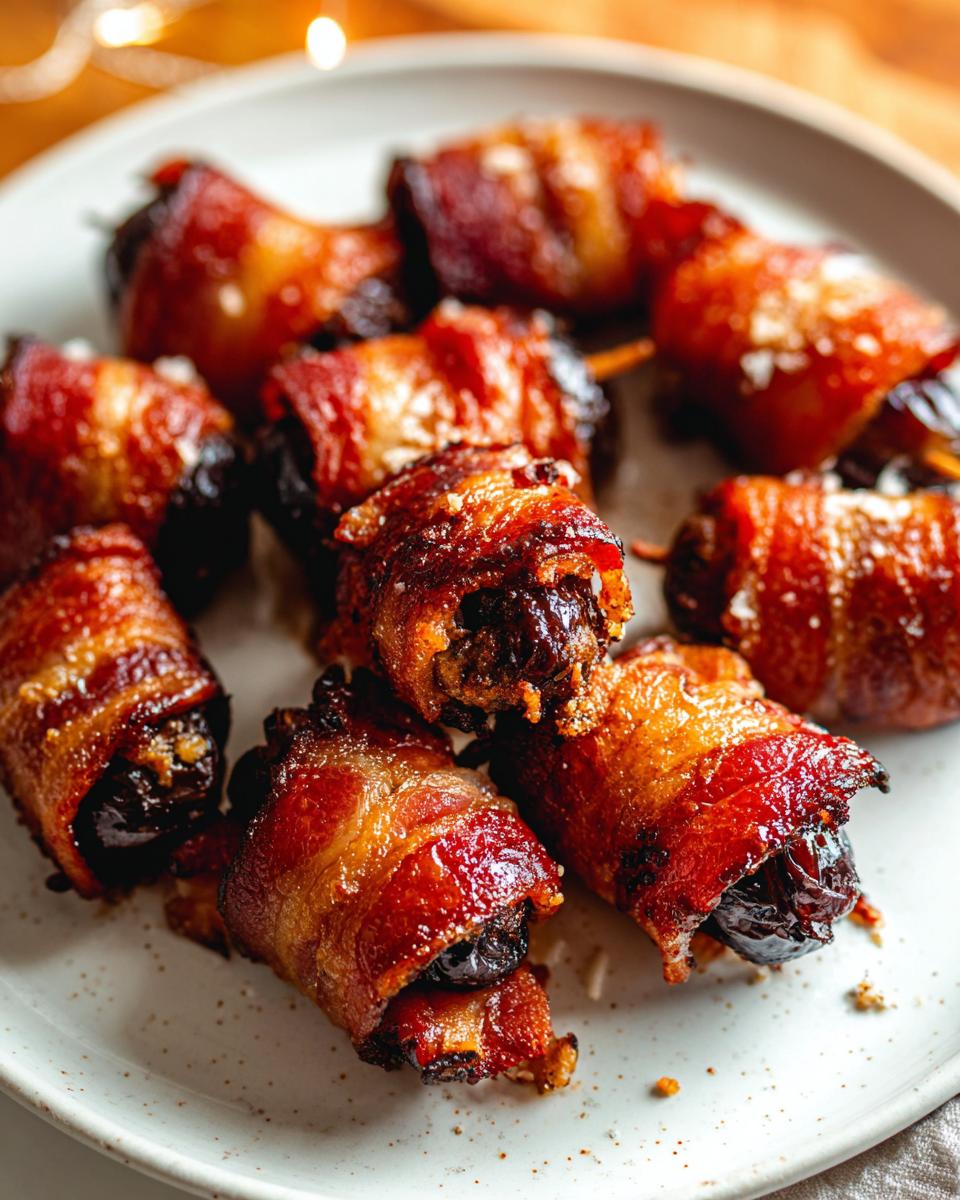
- The Ultimate Sweet And Salty Rush: That combination of caramelized, sweet date and savory, salty bacon is just magic. They hit every flavor note perfectly!
- It’s an Easy Appetizer Miracle: Seriously, this is basically a three-ingredient wonder if you skip the fancy cheese! They come together faster than almost anything else on the appetizer circuit.
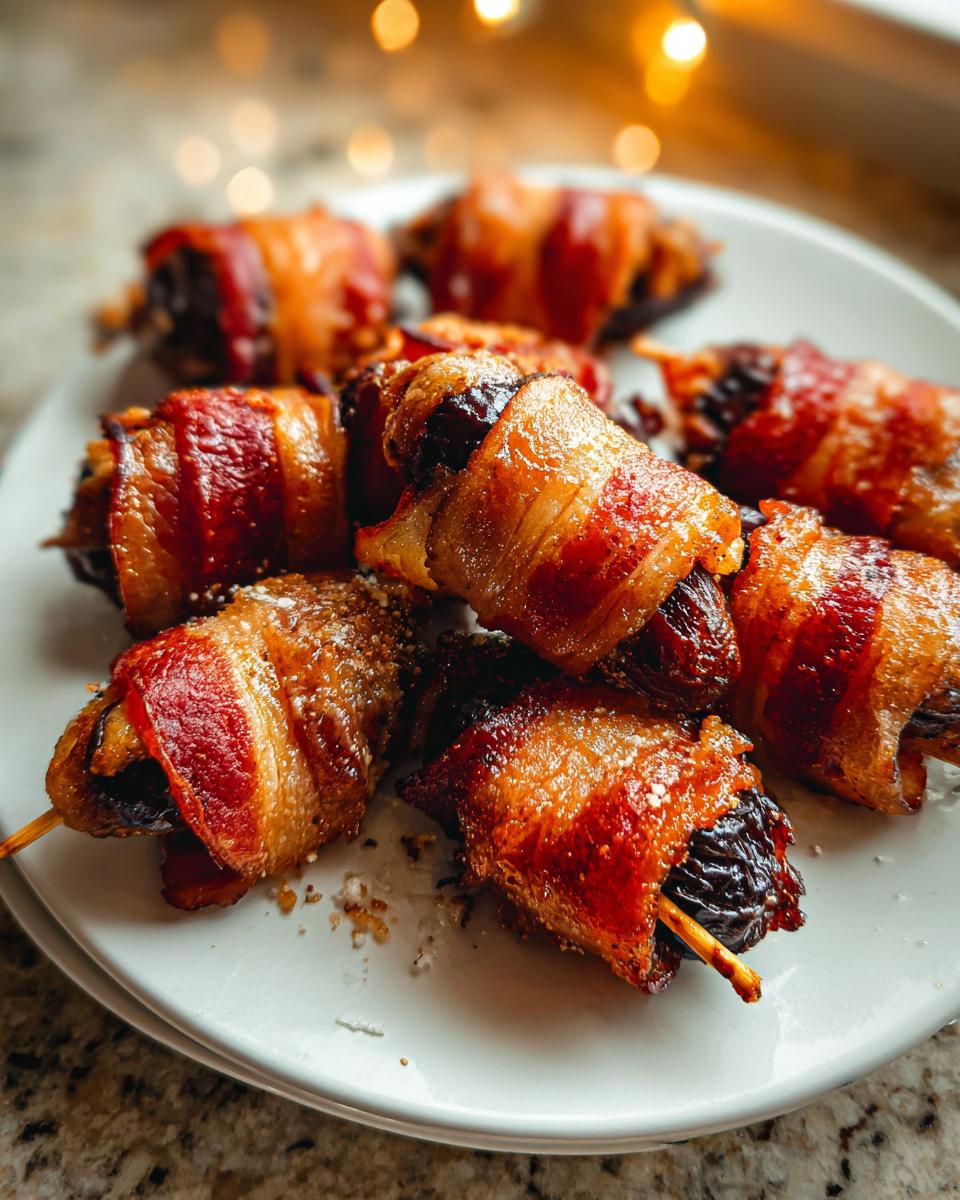
- Perfect for Entertaining: They can be assembled ahead of time, and everyone loves grabbing one (or five!) straight off the platter. It makes hosting feel less stressful.
- Naturally Gluten-Free: For my friends who need or prefer gluten-free options, this is a huge win! It’s a delicious showstopper that requires zero substitutions.

Essential Ingredients for Perfect Bacon-Wrapped Dates
You see those secondary keywords pop up naturally here! This recipe is so straightforward; if you have these few things, you’re practically done. The quality of your dates really matters for this recipe, so make sure you grab the big, juicy ones! We keep things organized here so you know exactly what goes where when you’re setting up your assembly line.
For the Dates
- 20 Medjool dates: These are non-negotiable! They are naturally sweeter and large enough to properly stuff.
- 4 ounces Crumbled blue cheese: Make sure it’s crumbled so it fits nicely inside. (But remember, goat cheese or feta work great too!)
For the Bacon
- 10 slices Bacon: We need these sliced thin so they wrap tightly and cook evenly.
For Seasoning
- 1 pinch Freshly-ground black pepper: Just a little zip for contrast.
- 1 pinch Flaky sea salt: This is for sprinkling right at the end, not for the cooking bacon!
See? That’s it! A perfect example of a Three Ingredient wonder waiting to happen.
Step-by-Step Guide to Making Bacon-Wrapped Dates
Okay, getting these ready for the oven is where the magic really happens. I know it seems like an extra step, but trust me, handling the bacon before you wrap the dates prevents sad, flabby bacon later! We are aiming for that perfect crispy bite to contrast that gooey center. When you finish this recipe, you’ll see why I’ve linked some of my other favorite quick recipes over here.
Preheating and Preparing the Bacon
First thing’s first: get that oven cranked up to 400°F (200°C). Line whatever baking sheet you use with parchment paper—it saves on cleanup later, I promise! Lay those 10 strips of bacon out flat. They go into the oven alone for about 10 minutes. This precooking step is my secret sauce! It takes the raw edge off the bacon, so when you wrap it, the bacon cooks through and gets crispy right around the time the date is perfectly soft and caramelized, without scorching your poor fruit.
Stuffing and Wrapping Your Bacon-Wrapped Dates
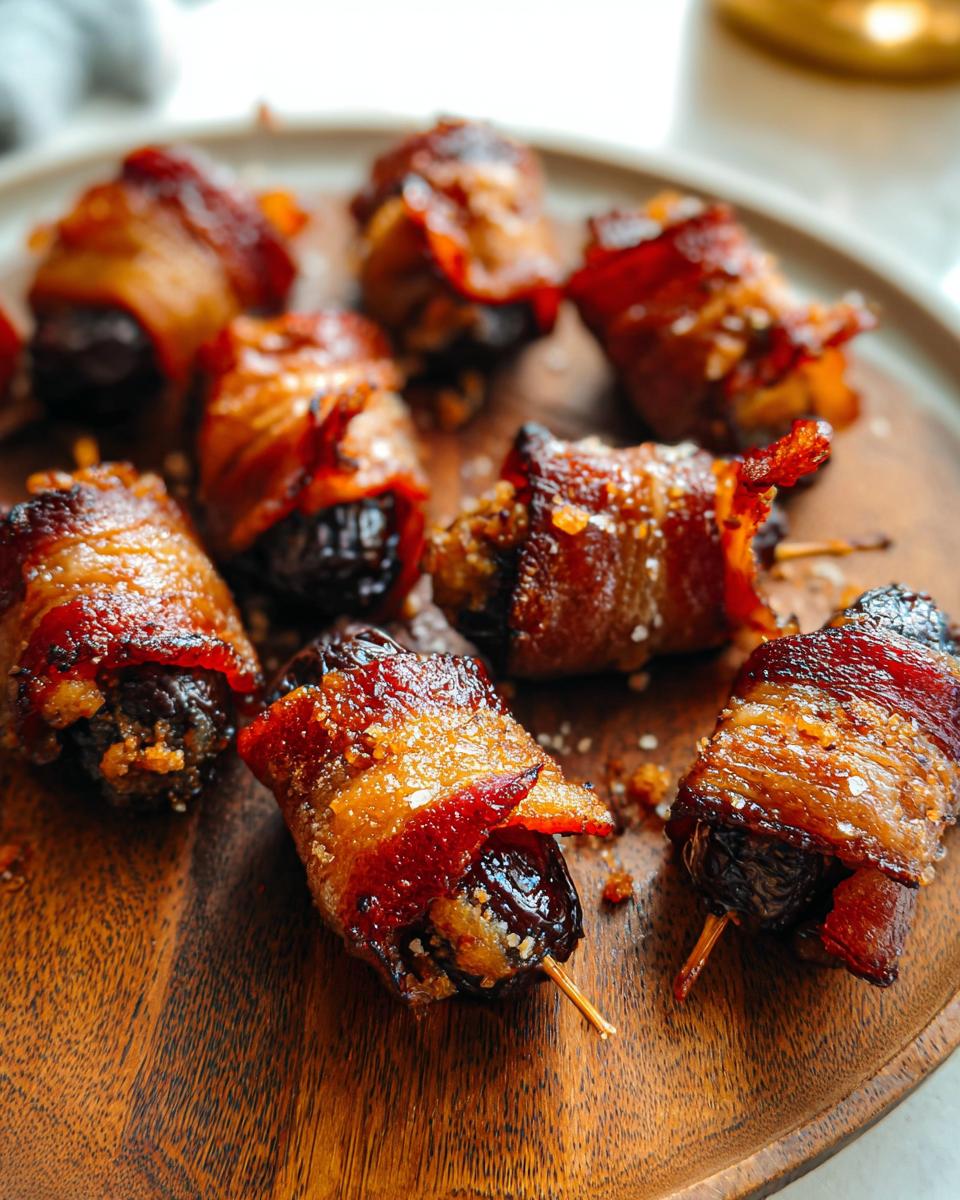
While that bacon is getting happy in the oven, grab your pitted dates. Use a small paring knife to make a neat little slit down the length of the date—don’t cut it in half, just enough room! Use a tiny bit of that crumbled cheese to fill the cavity. Now, take one half-strip of that pre-cooked bacon and wrap it tightly around the stuffed date. Grab a toothpick and secure the ends so your stuffing stays snug inside your Bacon-Wrapped Dates! Don’t be shy with the toothpicks; they keep everything together during baking.
Final Bake and Seasoning
Place the wrapped beauties back onto a fresh, parchment-lined sheet. Pop them back into the 400°F oven. They need about 5 to 7 minutes per side. You’ll need to flip them halfway through to make sure both sides of the bacon get golden and crinkly. Watch them like a hawk near the end—they go from perfect to burnt in about 30 seconds! Once they look flawless, pull them out. Immediately sprinkle them with flaky sea salt and black pepper while they are still hot. That final sprinkle just amps up that stunning flavor profile.
Tips for Success with Bacon-Wrapped Dates
Getting these right isn’t hard, but a few pointers will elevate these from good to legendary. The absolute biggest thing is the date itself! You really need Medjool dates here; they are softer and larger, which means they don’t dry out in the oven while you wait for the bacon to crisp up.
When it comes to controlling that bacon crispness, remember the precooking step we talked about. If you skip it, your dates might burst open trying to squeeze out all that raw fat! But if you’re in a huge rush and still want an Easy Appetizer, use pre-cooked bacon, though the flavor won’t be quite as rich.
Also, pack the cheese in lightly. If you overstuff the date, the cheese will melt out too quickly when baking, leaving your beautiful Bacon-Wrapped Dates looking sad and deflated! Aim for just enough filling to gently plug the hole.
Ingredient Notes and Substitutions for Bacon-Wrapped Dates
This is where we talk customizations, because I love that you can tailor these a little bit to your taste, even though the classic version is perfection! Making Bacon-Wrapped Dates is flexible, but knowing what works best helps maintain that ideal sweet-and-salty balance. If you’re looking for deep dives into ingredient comparisons for gluten-free baking and savory snacks, I often share my research in my general Recipe guides.
Let’s chat cheese first. Blue cheese is my go-to because that sharp funk cuts right through the sweetness of the Medjool date—it’s a thrilling combination! But if blue cheese makes your guests wrinkle their noses, don’t panic. Goat cheese is wonderfully creamy and tangy, and Feta provides a saltier, more crumbly texture. I’ve even used aged cheddar for a richer, nuttier flavor profile. Try whatever you have on hand!
On the bacon front, the recipe calls for partly cooking the strips first, right? That’s to ensure the bacon renders its fat and crisps up nicely. If you’re really in a pinch, you can actually use store-bought pre-cooked bacon strips. It saves you that 10-minute oven time, but honestly, the flavor from raw bacon that renders down around the date is just superior. For more specific blue cheese stuffing inspiration, check out this recipe here.
Remember, whether you swap the cheese or use slightly different bacon, the core structure of the perfect warm, gooey center wrapped in crispy deliciousness is what makes these Bacon-Wrapped Dates such a fantastic crowd-pleaser!
Serving Suggestions for Your Bacon-Wrapped Dates
Part of the fun of making these treats is how gorgeous they look when you put them out for your guests! These Bacon-Wrapped Dates look like they belong on a fancy restaurant menu, but they only took you minutes. They are truly one of the best things you can have ready when you’re Entertaining because they hold their heat nicely but are equally good warm or at room temperature.
Presentation is everything, and since they look so rich, you don’t need much fanfare. I love serving them on a simple white platter or maybe a wooden cutting board if I’m going for a more rustic vibe. Lay them out so the toothpick is easily accessible, maybe slightly crisscrossing them to give the platter height and visual interest instead of just lining them up in boring rows.
When it comes to pairing, think about what cuts through the richness of the bacon and the sweetness of the date. If you’re looking for a drink pairing, a crisp, dry white wine like a Sauvignon Blanc is fantastic. It cleanses the palate between bites. For something non-alcoholic, a strong, cold iced black tea without sugar works surprisingly well!
If you want one last little flavor boost (and you know I always have one more little trick up my sleeve!), try drizzling just a whisper of balsamic glaze over the top right before serving. It adds a beautiful shine and a tang that makes people wonder how you possibly made something so complex! Remember to check out my ideas on how to dress up your table for different special occasions here!
Storage and Reheating Instructions for Bacon-Wrapped Dates
Don’t you hate when perfectly amazing leftovers go to waste? Luckily, these little bites keep really well, though the texture changes slightly, which is totally normal for anything involving bacon fat.
If you have any stragglers left after your party—and honestly, I hope you don’t, because they never last in my house!—you can safely store them in an airtight container in the refrigerator for up to three days. Make sure they are completely cooled before you seal the lid, otherwise, you’ll steam them inside the container, and we definitely don’t want soggy bacon!
Now, when it comes to reheating, this is the crucial part: ditch the microwave! The microwave might warm them up fast, but it turns that beautiful crispy bacon instantly rubbery. Yuck!
For the best result—bringing back that slightly crispy exterior—you want to use the oven or even an air fryer if you have one.
- Oven Method: Set your oven to a lower heat, maybe 300°F (150°C). Place the dates on a baking sheet lined with parchment paper (just in case a little cheese melts out). Bake them for about 8 to 10 minutes. You’re just trying to warm them through and gently crisp up that exterior again.
- Air Fryer Tip: If you’re using an air fryer, 325°F (160°C) for about 4 minutes usually does the trick. It’s faster and keeps things really crisp around the edges.
They should be warm and gooey again! This careful reheating process ensures that your second round of snacking is almost as good as the first time they came out of the oven. It shows you put thought into every bite, which is what good hosting is all about!
Frequently Asked Questions About Bacon-Wrapped Dates
I get so many questions about these little bites because everyone wants to make sure they turn out absolutely perfect, and honestly, I love talking kitchen hacks! Here are the things I hear most often about turning out the best appetizers.
Can I skip precooking the bacon for my Bacon-Wrapped Dates?
You technically can, but I really, really advise against it! If you use raw, regular-thickness bacon, you run the risk of the bacon not getting crispy by the time the date softens, or worse, the bacon burns before the date is warm. The precooking step is crucial for achieving that wonderful, balanced texture we want in our Sweet And Salty bites.
What kind of dates should I use?
You absolutely must use Medjool dates! They are large, naturally soft, and very caramel-y when baked. Smaller, dryer dates won’t give you that luxurious, gooey center that makes these such a standout treat. They are the foundation of this whole Three Ingredient concept!
Can these be made entirely ahead of time?
Yes! You can definitely stuff and wrap everything ahead of time, securing them with toothpicks and keeping them covered in the fridge for up to a day. However, I always recommend cooking them right before serving for the best flavor and crispness. If you need to bake them hours ahead, follow the storage advice. The key to amazing Bacon-Wrapped Dates is serving them warm!
Is this recipe really only three ingredients?
If you only count the main components—dates, bacon, and cheese—then yes, it is! That’s what makes us call it a Three Ingredient recipe. Of course, salt and pepper are pantry staples, but they don’t count towards the main magic! If you’re experimenting with fillings, you might end up with four or five, but the basic structure holds true.
If you have any other burning questions about hosting or gluten-free cooking, please don’t hesitate to reach out through my contact form!
Sharing Your Bacon-Wrapped Dates Experience
Now that you know all my tricks for turning out perfectly crispy, gooey Bacon-Wrapped Dates every single time, I really want to hear how they went over at your next gathering! Seriously, don’t keep this delicious secret all to yourself!
Did you stick with the sharp blue cheese, or did you try that creamy goat cheese alternative? Were they the first appetizer gone, just like they always are in my house? I built this entire site to share kitchen moments and simple, delicious food that doesn’t stress anyone out, so telling me about your success makes my day!
Please drop all your thoughts, ratings, and any funny mishaps (I’m sure we’ve all got a few!) in the comments below. A quick rating helps other folks feel confident trying this recipe out for their next party or weeknight snack. And if you snapped a picture of your gorgeous golden platter, tag me! I love seeing these turn out for you.
If you want to explore more about how I handle user experience and protect your info when you leave comments, you can check out the Privacy Policy linked below. But for now, get cooking, and happy hosting!
Bacon-Wrapped Dates
Ingredients
Equipment
Method
- Preheat your oven to 400°F (200°C). Line a large baking sheet with parchment paper.
- Lay the bacon strips side by side on the prepared baking sheet. Cook for about 10 minutes, or until halfway cooked but still pliable. Drain any excess grease.
- While the bacon precooks, make a shallow cut lengthwise down the top of each date, being careful not to cut all the way through. Remove the pits. Fill each date with a spoonful of cheese. Gently squeeze each date to help it close around the cheese.
- Once the bacon is cool enough to handle, slice each strip in half. Wrap a bacon half around each stuffed date and secure with a toothpick.
- Line the baking sheet with a fresh sheet of parchment paper. Arrange the wrapped dates evenly on the baking sheet. Season with black pepper. Bake for 5-7 minutes per side, flipping halfway through, until the bacon is cooked and slightly crispy. Watch closely to prevent burning.
- Transfer the baking sheet to a wire rack. Sprinkle the dates with flaky sea salt. Serve warm.
Notes
Tried this recipe?
Let us know how it was!
Gluten-Free Nutritionist & Family Meal Planning Expert
Working as a pediatric dietitian at Children’s Hospital of Denver, I kept meeting families overwhelmed by managing their children’s celiac disease. Parents stressed, kids frustrated, everyone eating bland boxed “gluten-free” products.
That’s when I realized my calling: creating practical, balanced gluten-free solutions for real families with busy schedules. I’ve developed 375+ family-friendly recipes focusing on lunch boxes, after-school snacks, and make-ahead dinners that actually work.
My meal planning system was featured in Parents Magazine, and I presented research at the Rocky Mountain Pediatric Nutrition Conference. My evidence-based approach ensures recipes meet both taste and health standards—families need solutions that work in the real world, not just perfect test kitchens.