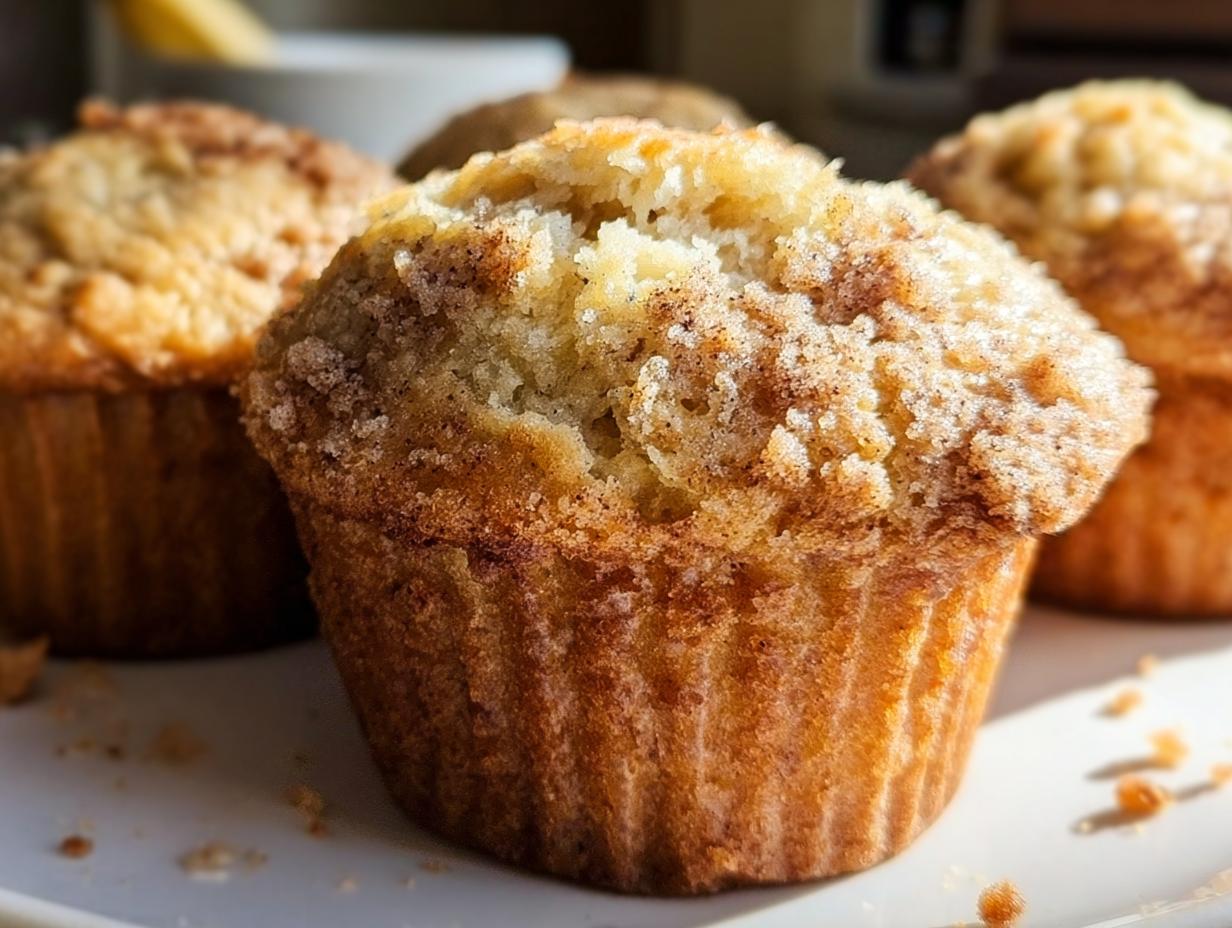
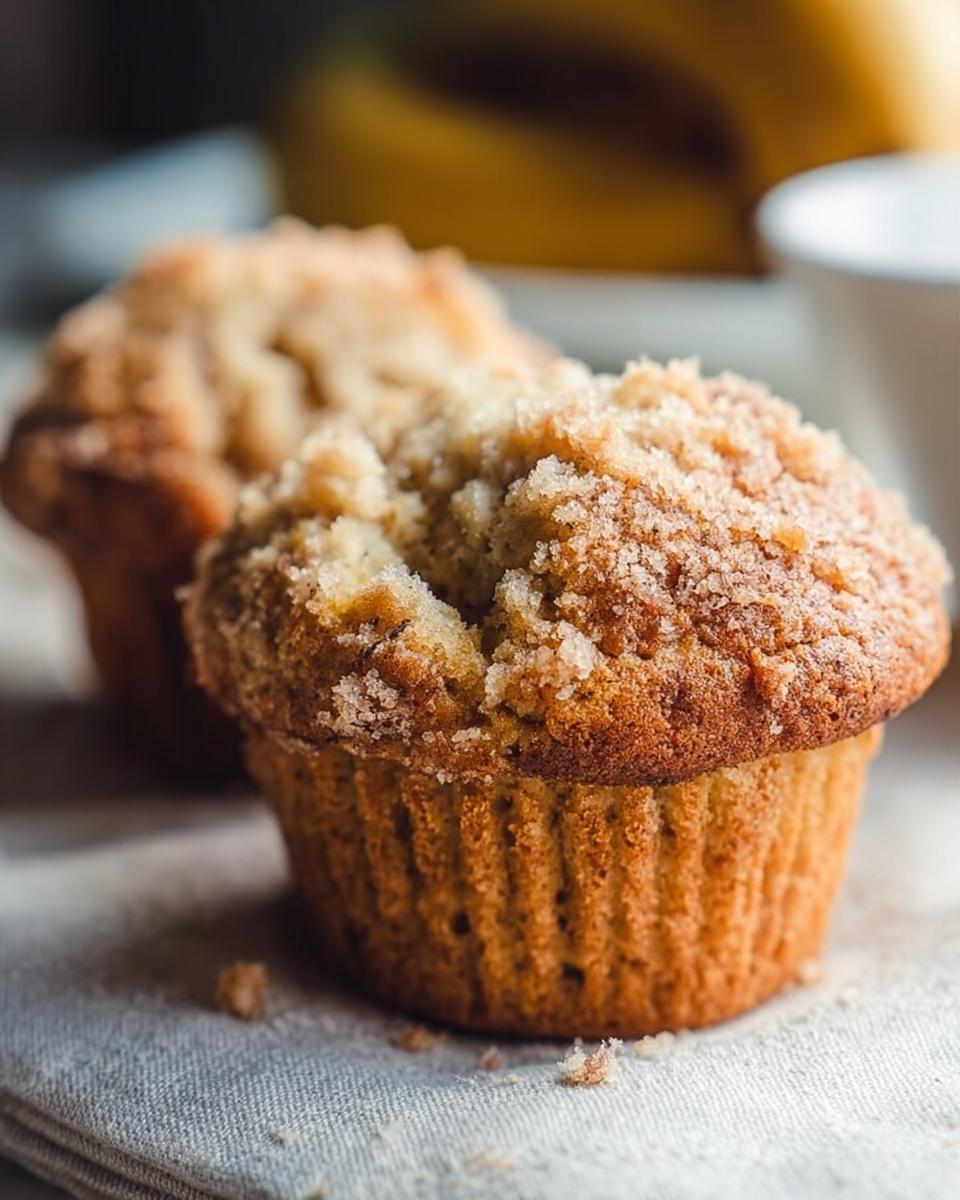
Oh my goodness, if you’ve ever walked into that wonderful, fragrant neighborhood bakery and thought, “I wish I could make those giant, perfectly domed muffins at home,” then you are in the right spot! I am sharing my absolute favorite technique for creating stunning Banana Muffins (Bakery Style) that have that unbelievable, soft, tender crumb. I still remember those rainy Saturday mornings baking with my kids. We had so many ripe bananas staring at us, and I always got frustrated when our gluten-free attempts ended up tasting flat. But not anymore! These are joyful, delicious, and prove that dietary needs don’t mean sacrificing that incredible, moist, bakery quality we all crave. To learn more about my journey balancing good food and family life, check out my About Page!
We’re aiming for those sky-high tops, folks; trust me, it’s easier than you think once you know the secret heat trick! Plus, they are such a fantastic, quick bake for when you need something wholesome ready fast.
Why These Banana Muffins (Bakery Style) Are Your New Favorite Breakfast Muffins
I know how hectic life gets when you’re trying to feed a whole family something that tastes amazing but doesn’t take all morning. That’s why these muffins are the answer! They deliver that coveted bakery experience right in your kitchen. You get incredible moisture and flavor without any heavy texture. They are genuinely perfect for grab-and-go mornings. For more ideas on quick, family-friendly morning meals, check out my collection of Breakfast Recipes.
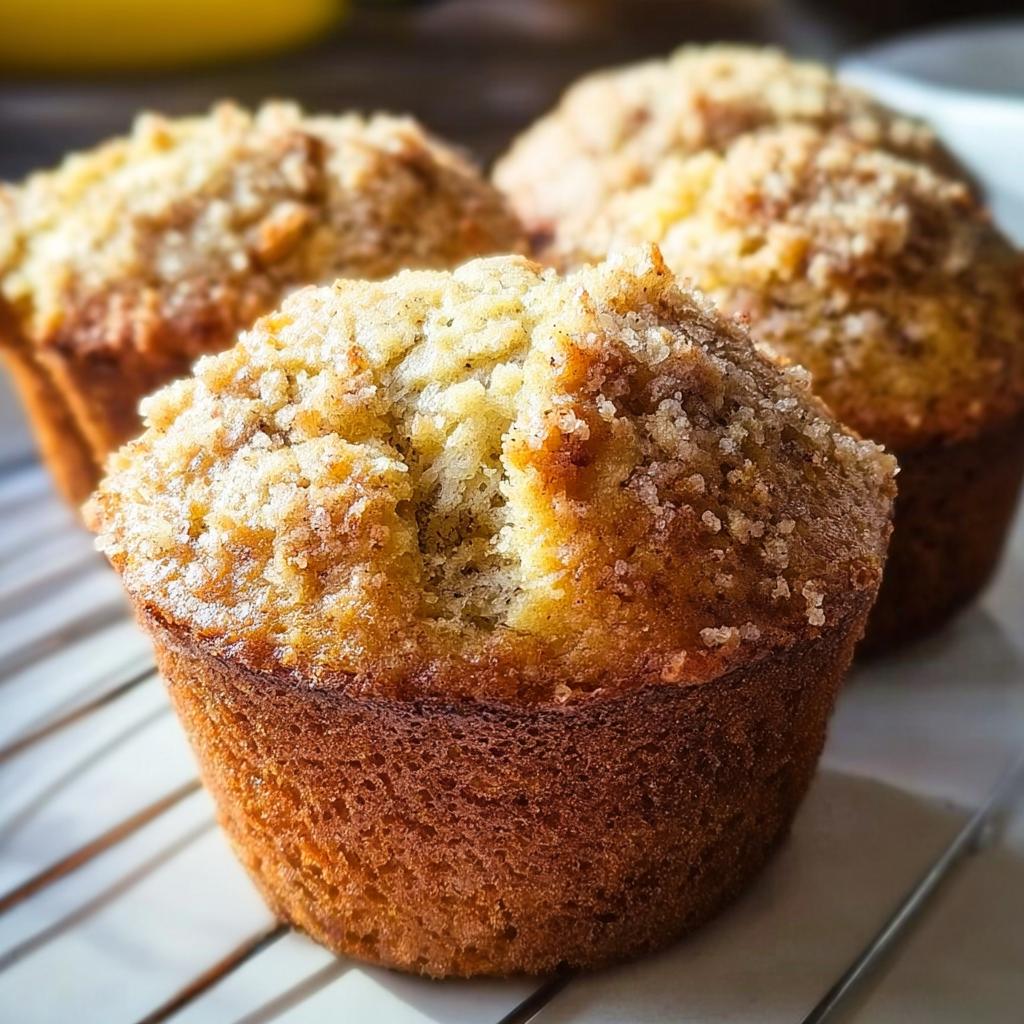
- They have the height! Those beautiful, rustic tall domes you usually only see at a coffee shop.
- The crumb is so moist and tender; they never taste dry or crumbly.
- Total prep and bake time is under 45 minutes, which is fantastic for busy schedules.
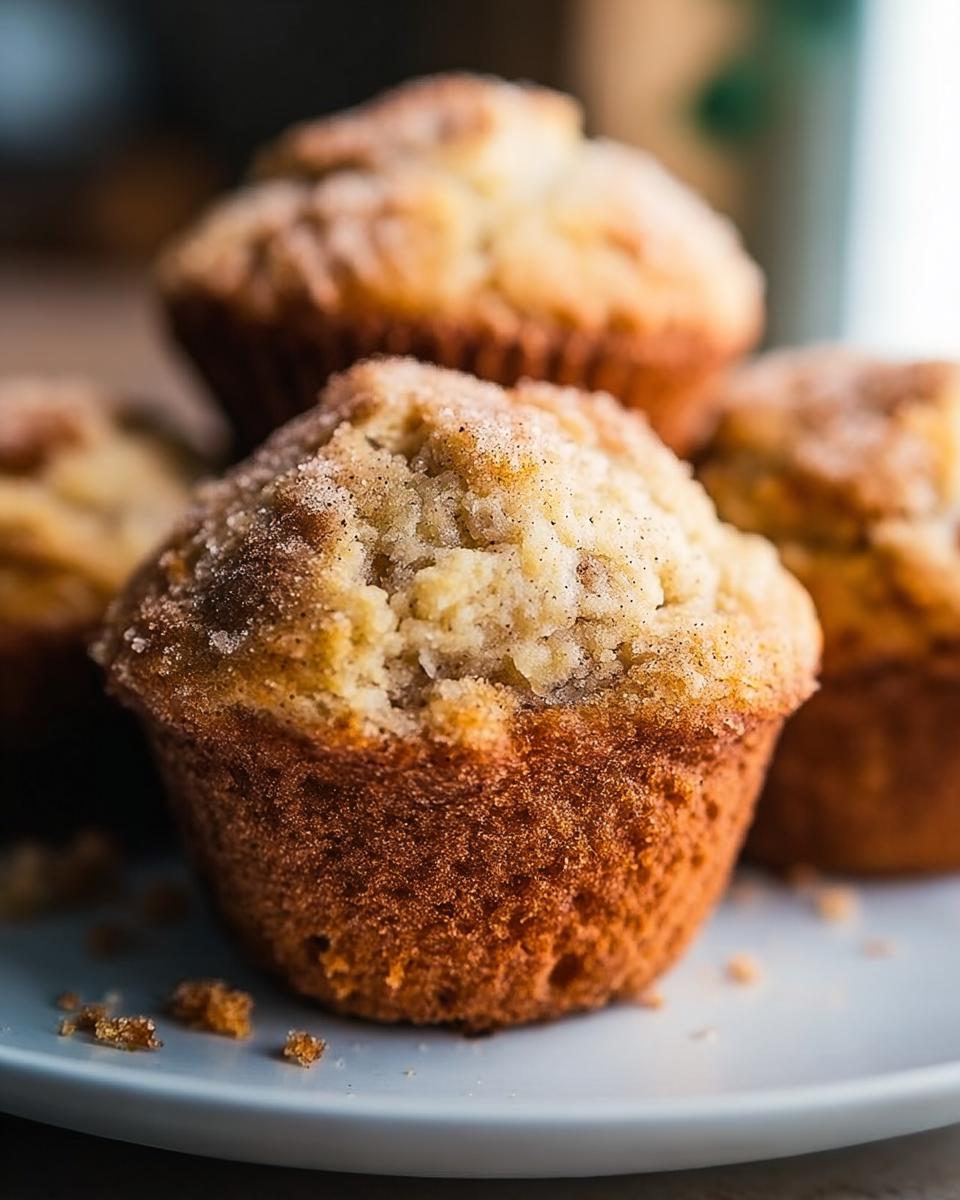
Achieving Tall Domes for Bakery Style Banana Muffins
This is the secret sauce, honestly! We start the oven super hot—425F—for just the first eight minutes. That initial blast of high heat causes a massive, rapid lift in the batter. It puffs up before it has a chance to set. Then, we immediately drop the temperature way down so the inside can finish cooking gently without burning the outside. That quick temperature shift is exactly how you get those dramatic, gorgeous tops.
Quick Bake: Perfect for Busy Mornings
Seriously, the whole process is a dream. From smashing the bananas to pulling the finished tray out, it’s only about 35 minutes total if you count the cooling time as resting time! This makes them an ideal Breakfast Muffin choice. You can whip these up while the kids are getting dressed, minimizing kitchen time when you need to rush out the door.
Essential Ingredients for Perfect Banana Muffins (Bakery Style)
Okay, so how do we get that bakery magic? It all boils down to the ingredients and making sure our wet components are happy and relaxed when they hit the dry stuff. You seriously can’t skimp on super ripe bananas—the ones with brown spots all over them are the best; they are sweeter and mash up perfectly. Also, remember that eggs and buttermilk should be room temperature. I know it sounds fussy, but it really helps everything blend smoothly without having to aggressively mix your batter. If your wet ingredients are cold, your batter gets grumpy!
If you’re looking for more tips on sticking to delicious recipes while managing dietary needs, check out my section on Gluten-Free Baking!
For the Banana Muffins (Bakery Style) Batter
Here’s what you need for the main event:
1.5 cups well-mashed (about 3 large) ripe bananas
0.25 cup avocado oil or vegetable oil (or canola oil)
0.25 cup unsalted butter, melted and cooled
0.5 cup sugar
0.5 cup light brown sugar, tightly packed
2 large eggs, room temperature
0.25 cup buttermilk, room temperature
1 Tablespoon vanilla extract
2 cups all-purpose flour
1.5 teaspoons baking powder
0.5 teaspoon baking soda
0.5 teaspoon salt
Optional Streusel Topping Ingredients
If you want that crunchy, sweet top—and trust me, you do—grab these extras, but make sure your butter is really cold!
0.5 cup all-purpose flour
0.5 cup brown sugar
0.25 teaspoon salt
0.25 cup unsalted butter, cold
Ingredient Notes and Substitutions for Your Banana Muffins (Bakery Style)
Listen, I get it. Sometimes you look at a recipe and think, “I don’t have buttermilk!” or “Can I really use oil instead of solid fat?” The beauty of this recipe is its adaptability, but stick near the original specs if you want those incredible bakery results. When I first started baking treats that were easier on my family’s sensitivities, I learned that moisture retention is everything, especially in muffins and cupcakes. These few ingredients are your secret weapon for keeping them soft for days.
If you’re curious about other great recipes that focus on texture, check out this helpful source: The Best Banana Muffin Recipe.
The Secret to Moistness: Oil and Buttermilk
Why am I mixing oil AND melted butter? Because they do two different fantastic jobs! The melted butter gives you that classic, almost caramelized flavor notes that we associate with comfort baking. But the oil—I prefer avocado oil because it’s neutral—keeps the muffins soft and tender for much longer than butter alone can. Oil coats the flour particles better, which really helps prevent that dry, crumbly texture, a common issue when we’re trying to make baked goods softer for sensitive tummies!
Now, let’s talk buttermilk. Oh, buttermilk! If you don’t have any, don’t panic. You can make a quick substitute by stirring a tablespoon of white vinegar or lemon juice into your standard milk—let it sit for five minutes until it slightly curds. The acidity in the buttermilk reacts beautifully with the baking soda and powder, giving you a better lift. That lift is essential for those tall domes we keep talking about. It tenderizes the crumb without making the final product too delicate.
Step-by-Step Instructions for Bakery Style Banana Muffins
Ready? Because this is where the magic happens! We are going to handle our batter gently—that’s a non-negotiable rule for getting that soft interior. I always lay out my tools first, just like I’m setting up a little baking station. Get your tin lined, oven preheated, and all your sweet banana mush mixed and waiting. If you’re adding optional chocolate chips or nuts, toss them in right at the very end before dividing the batter. Remember what I said about overworking the flour? Keep your mixing tool going only until streaks of white disappear. We want tender muffins for our Breakfast Ideas, not tough ones!
Mixing the Wet and Dry Components
Once your wet ingredients are perfectly combined (that fatty, sweet, banana goodness), you’ll whisk your dry ingredients separately. When they meet, you fold them together slowly. You are looking for *just* combined—no more. If you mix too much, you activate too much gluten in the flour, and instead of light, fluffy bakery texture, you get heavy ones that are chewy. And who wants that? Gently fold until you almost don’t see any dry patches left. That’s it!
Line up your 15 muffin cups—yes, this recipe makes 15, so get that second tin ready! Scoop the batter into the liners, filling them about three-quarters full. If you’re using that wonderful streusel, sprinkle it lightly over the top now.
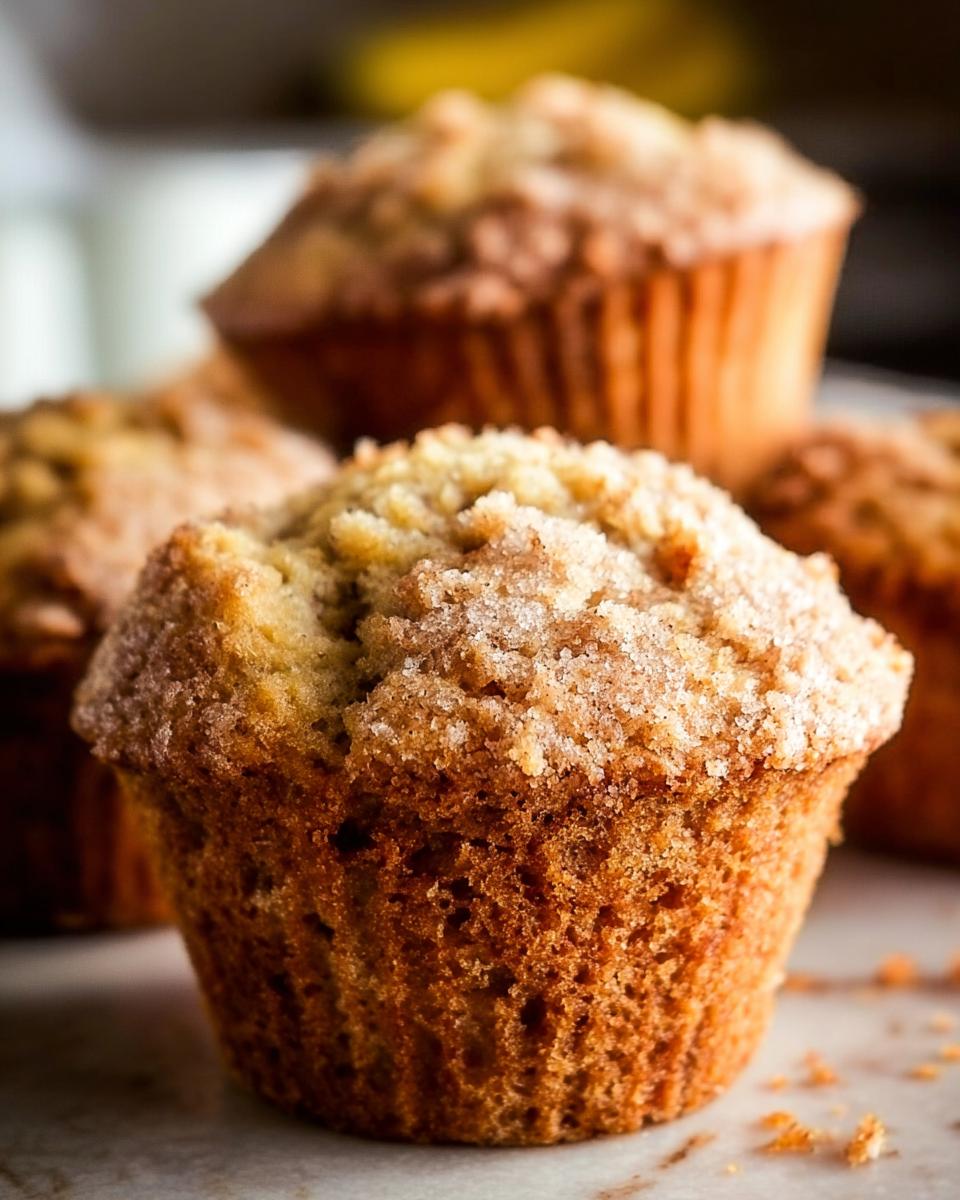
The High-Heat Baking Trick for Tall Domes
This two-stage baking is the absolute key to those stunning tall domes you see in bakeries. First, get your oven cranking hot to 425F (220C). Bake the filled tins for exactly 8 minutes. During this time, the outside sets quickly, trapping the leavening gases inside for that explosive upward puff!
Right after those 8 minutes, reduce the heat immediately to 350F (175C). Here is the crucial part: Do not open the oven door! Let the heat drop naturally. Bake for another 7 to 8 minutes at this lower temperature. This allows the inside to cook through perfectly without burning the top. If you open that door too soon, the puff falls flat, and we lose our height! Once done, check with a toothpick; it should come out with moist crumbs clinging to it.
Tips for Success Making Banana Muffins (Bakery Style)
Even when you follow the best recipes, sometimes baking fights back a little, right? I learned the hard way—and I mean, REALLY hard way—that a few small tweaks can save your batch of Banana Muffins from disaster. The biggest headache is usually sunken centers after that beautiful dome appears. That almost always means the center wasn’t quite done when we pulled them out, or that large temperature drop was too sudden!
My biggest near-miss was when I got distracted by a phone call during the first 8 minutes at high heat. I forgot to lower the temperature! The tops were basically charcoal, and the center was still soup. I salvaged them by quickly covering the tops loosely with foil, dropping the heat to 350F, and baking for an extra 10 minutes. They weren’t perfectly pretty, but they were edible! So, listen to your timer, but also listen to your instincts.
Here are my absolute non-negotiables for getting that bakery finish every single time:
- Don’t Pack the Bananas: When measuring the mashed bananas, just gently spoon them into the cup and level off. Don’t press them down hard, or you’ll accidentally add more than the recipe calls for, which throws off the wet-to-dry ratio.
- Check Your Leaveners: Since these rely heavily on baking powder and soda for that big spring, make sure they aren’t ancient! If your baking powder has been sitting in the back of the pantry for three years, it won’t give you the power needed for those tall, proud tops.
- Don’t Peek at the Wrong Time: I mentioned this before, but it bears repeating! From minute 9 through minute 12 of baking (after you drop the temp), keep the oven door shut tighter than a clam. Peeking lets the heat escape, and guess what happens? Sad, flat muffins.
For more ways to ensure your baked goods come out perfectly every time, no matter what dietary adjustments you make, take a look at my tips for Gluten-Free Baking Success!
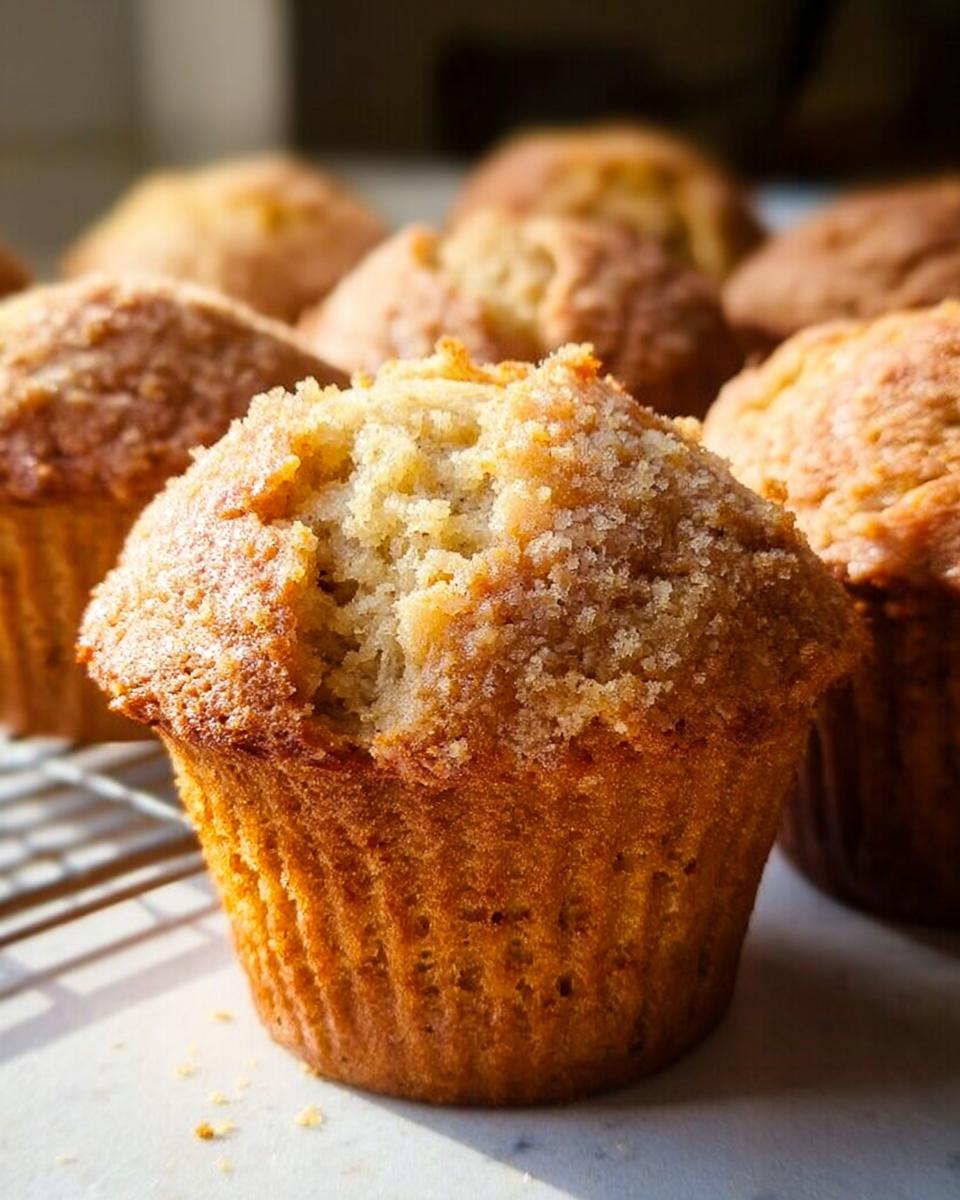
Storage and Reheating for Your Breakfast Muffins
When you’re busy feeding a family, baking a big batch of these Banana Muffins (Bakery Style) all at once is the way to go. The good news is that because of all the moisture we packed into them with the oil and bananas, they keep really well! But you have to store them correctly, or that beautiful bakery dome tends to sweat and get sticky.
If you plan to eat them within two or three days, just let them cool completely—and I mean *completely*—before you store them. Warm muffins trapped in a container equal soggy bottoms! I use a large, sealable plastic container or a good airtight container on the counter. Keep them at room temperature. They’ll stay wonderfully soft for about three days this way, perfect for making mornings easier.
Freezing for Future Breakfast Muffins
If you’ve made the whole batch, freezing is your best friend! These Breakfast Muffins freeze beautifully. Once they are fully cooled, wrap each muffin tightly in plastic wrap first. Yes, individually! This locks in all that moisture we worked so hard to achieve. After wrapping, toss them all into a large, heavy-duty freezer bag, squeezing out as much air as you can.
They last great in the freezer for about three months. I always tell parents to pull out two or three the night before they need them. If you forget, no worries! You can reheat them straight from frozen by wrapping them loosely in a slightly damp paper towel (this helps steam them back to life) and microwaving them for about 30 to 45 seconds. They come out tasting almost freshly baked. For more ideas on making your week easier by planning ahead, check out some inspiration over at my Meal Prep Ideas collection!
Frequently Asked Questions About Banana Muffins (Bakery Style)
I always get flooded with questions whenever I post this recipe—which tells me you guys *really* need these tall-domed beauties in your life! Baking is usually straightforward, but when you’re aiming for that professional ‘Bakery Style,’ little details matter. Here are the things folks ask me most often about mastering these Banana Muffins (Bakery Style).
If you still have burning questions after reading through these, please don’t hesitate to reach out to me over at my Contact Page!
Can I make these Banana Muffins without the streusel topping?
Absolutely, yes! The streusel is just my little extra flourish for crunch, but honestly, these muffins are so packed with moisture and sweet banana flavor that you don’t need it at all. If you skip the topping, they bake up beautifully smooth on top, and the texture inside is still that dreamy, tender crumb we are aiming for. They still qualify as wonderful Breakfast Muffins even plain!
What is the best way to ripen bananas quickly for this recipe?
If you have pale yellow bananas but need that deep, sweet flavor for the recipe *today*, here’s my little trick—it’s a lifesaver around here! Preheat your oven to about 300°F (150°C). Place your unpeeled bananas directly onto a baking sheet. Bake them for about 15 to 20 minutes. You’ll see the skins turn completely black, and when you take them out, they will be super soft and almost gooey inside. Let them cool enough to handle, peel them, and mash away! They give you that intense sweetness needed for the best loaf, even though they aren’t technically “ripe” on the counter.
What if I don’t have buttermilk?
Like I mentioned earlier, you can fake it, and it works perfectly fine for these Banana Muffins! You just need to activate the magic in the milk. For the 1/4 cup of buttermilk required, take 1/4 cup of regular milk (2% or whole works best) and stir in one slightly heaping teaspoon of white vinegar or lemon juice. Let that sit on the counter for about five or ten minutes. You’ll notice it starts to look a little bit clumpy or curdled—that’s the reaction starting, and it gives you the acidity needed to react with the baking soda for a great rise!
How do I make these gluten-free friendly?
This is a question I get all the time, especially since I focus on family-friendly meals that work for everyone! While this exact recipe uses all-purpose flour, adapting it to be gluten-free and still achieve those tall domes is totally doable. You need a high-quality, 1:1 gluten-free baking blend that already contains xanthan gum. If your blend doesn’t have xanthan gum, mix in about 1 teaspoon for this batch. Then, you need to be extra careful about mixing—GF flours can turn gummy if over-mixed, so stick strictly to the folding instructions! It keeps them wonderfully moist, even when using GF flour blends.
Estimated Nutritional Data for Banana Muffins (Bakery Style)
Okay, so if you’re keeping track of macros, or if you’re navigating specific dietary concerns for your family—like I often do—it’s helpful to have a ballpark idea of what’s in these treats. Since we are focused on making sure these Banana Muffins (Bakery Style) taste incredible but also fit into a balanced diet, the stats are important, even if they are just estimates!
Please remember that this data is based on the ingredients listed in the recipe, assuming standard measurements and the optional streusel topping being included. If you skip the topping or substitute flour types (especially if moving to a gluten-free blend), these numbers will change slightly. When feeding little ones or managing specific needs, you always want to adjust based on your exact ingredients!
Here is what our recipe yields for one muffin, based on 15 servings:
- Calories: Approximately 281 kcal
- Total Fat: Around 11 grams (with 5g saturated fat)
- Carbohydrates: About 43 grams
- Sugar: Roughly 24 grams (that’s where all that lovely banana sweetness goes!)
- Protein: A little boost at 3 grams
It’s a nice balance for a hearty breakfast or an afternoon snack! We get good energy from the carbs for running around, and the fat helps keep everyone feeling full until the next meal. Happy baking, and if you want to know more about how I handle privacy and recipe sharing on my site, you can pop over to the Privacy Policy!
Share Your Bakery Style Banana Muffins Creations
I truly hope that when you pull these beauties out of the oven—all golden and perfectly domed—you feel that same little burst of success I feel every time! These Banana Muffins (Bakery Style) are meant to be shared, whether it’s with your busy family on a Tuesday morning or sent over to a neighbor who needs a sweet treat.
I absolutely love hearing from you all! Once you’ve enjoyed a few of these tender, flavorful muffins, I would be so grateful if you could pop back over to the top of the post and give the recipe a star rating. Those ratings really help let other families know this recipe is worth making!
And if you snap a picture of your towering muffins—maybe with a little streusel crunch on top—please tag me on social media! Seeing your kitchen creations makes my day and reminds me why I love sharing these family-tested treasures. Keep making those joyful moments around the table!
Don’t forget to browse all my other successful treats and family favorites over at my main Recipes Page!
Banana Muffins (Bakery Style)
Ingredients
Equipment
Method
- Preheat your oven to 425F (220C) and line a muffin tin with paper liners.
- Mash the ripe bananas in a large bowl using a fork or potato masher until they are well-mashed.
- Add the oil and melted butter to the mashed bananas and stir well.
- Stir in the sugars until they are well-combined.
- Add the eggs, buttermilk, and vanilla extract, then stir well. Set this mixture aside.
- In a separate bowl, whisk together the flour, baking powder, baking soda, and salt.
- Add the dry ingredients to the wet batter and gently fold them in until just combined. Do not over-mix the batter.
- Portion the batter into the prepared muffin tin, filling each liner about ¾ of the way full. Set aside and prepare your Streusel topping.
- To make the Streusel topping, combine the flour, brown sugar, and salt in a medium-sized bowl and stir with a fork.
- Use a pastry cutter to cut in the cold butter until the mixture resembles coarse crumbs.
- Sprinkle the streusel topping evenly over each muffin.
- Bake the muffins at 425F (218C) for 8 minutes. Then, reduce the oven temperature to 350F (175C) without opening the oven door or removing the muffins. Bake for another 7-8 minutes.
- Test for doneness by inserting a toothpick into the center of the largest muffin. It should come out clean or with a few moist crumbs, but no wet batter.
- Allow the muffins to cool before enjoying.
Nutrition
Notes
Tried this recipe?
Let us know how it was!
Gluten-Free Nutritionist & Family Meal Planning Expert
Working as a pediatric dietitian at Children’s Hospital of Denver, I kept meeting families overwhelmed by managing their children’s celiac disease. Parents stressed, kids frustrated, everyone eating bland boxed “gluten-free” products.
That’s when I realized my calling: creating practical, balanced gluten-free solutions for real families with busy schedules. I’ve developed 375+ family-friendly recipes focusing on lunch boxes, after-school snacks, and make-ahead dinners that actually work.
My meal planning system was featured in Parents Magazine, and I presented research at the Rocky Mountain Pediatric Nutrition Conference. My evidence-based approach ensures recipes meet both taste and health standards—families need solutions that work in the real world, not just perfect test kitchens.