Oh, the party baking panic! We’ve all been there, right? Staring at a long list of treats required for a big gathering and feeling like you need three extra hands just to keep up. That stress just melts away when you realize you have the secret weapon tucked away in your fridge: the ultimate, easiest, Slice-and-Bake Party Cookies!
Seriously, these are showstoppers without the scary details. The first time I figured out this method was during one of our crazy, loud family summer reunions—you know, the kind filled with storytelling and way too much food. I stayed up late rolling out the dough, dreaming up colorful combinations just like the ones I loved as a kid. Slipping those vibrant dough logs into the oven, the smell that poured out of the kitchen instantly connected us all. Sharing those cookies, even my gluten-free versions, proved that baking and togetherness are just the best recipe around. You can find a little more about my baking journey over here!
Why These Slice-and-Bake Party Cookies Are Your New Go-To
If you’re anything like me, you want impressive results without spending the entire day before the party chained to your stand mixer! That’s why I adore these cookies. They tick every box for a busy baker who still wants to wow the crowd.
- Total convenience for when life gets hectic.
- They look festive and fun with almost zero effort on party day.
- The recipe is practically built for organization—hello, Make Ahead Dough!
Effortless Preparation with Make Ahead Dough
The magic is in the log, truly! You mix the dough, roll it up tight, and then stick it in the fridge for its required 240 minutes of chilling—or longer! Because you do all the mixing ahead of time, when party day finally arrives, all you have to do is slice and bake. No last-minute scrambling, I promise!
Perfect for Any Celebration: The Ultimate Party Cookies
Whether it’s a birthday bash, a holiday get-together, or just a random Tuesday because you deserve happiness, these work. You can change up the sprinkles for every single occasion. Seriously, swapping the colors means these become the perfect Party Cookies for any theme you dream up!
Gathering Your Ingredients for Slice-and-Bake Party Cookies
Okay, let’s get down to the essentials! For these amazing cookies, having your ingredients prepped and ready to go is half the battle won. Because this dough comes together so fast once you’re ready to mix, you don’t want to be hunting for the vanilla halfway through. Trust me on this one—mise en place makes baking feel like magic, not a chore.
I’ve broken everything down for you below, exactly how it looks on my famous stained recipe card. Note those little reminders right next to the ingredients; those are Grandma’s updates, meaning they are crucial for success!
For the Cookies
- 3/4 cup unsalted butter, softened to room temperature
- 2/3 cup packed light brown sugar
- 1 large egg, at room temperature
- 1 1/2 teaspoons pure vanilla extract
- 1/2 teaspoon almond extract
- 2 cups all-purpose flour, spooned & leveled
- 1/4 teaspoon salt
- 2/3 cup sprinkles, plus more for garnish
- Optional: coarse sugar for rolling
For the White Chocolate Drizzle
- 8 ounces white chocolate, coarsely chopped
Mastering the Slice-and-Bake Party Cookies Dough
This is where the real magic happens, but don’t let that sound intimidating! We’re building a dough that comes out perfect every single time, which is why you want to follow the order I use. If you aren’t worried about your dough spreading into sad, flat puddles when they bake, it’s because you mastered the creaming!
Mixing the Base for Perfect Slice And Bake Cookies
Grab your biggest bowl! You start by beating that soft butter until it’s just smooth—no chunks allowed. Then, we introduce the brown sugar. You have to beat these two together until they get light and fluffy before you even think about adding the egg. I just watch for that pale yellow color; that fluffiness builds the structure for these Slice And Bake Cookies. The extracts go in next, followed by the flour and salt. Make sure you’re gently mixing the flour in so you don’t deflate all that lovely air you just whipped in! If you are experimenting with gluten-free flours, make sure you check out my tips on gluten-free baking over here.
Shaping and Chilling the Dough Logs
Once the flour is just combined, stir in those colorful sprinkles. Now, dump that slightly sticky dough out onto your counter. Divide it in two and get busy rolling! You need two tight, neat logs, about 8 inches long and 2.5 inches thick. Wrap them tightly in plastic wrap—and I mean *tightly*—because they need to hold that perfect circular shape. Pop them immediately into the fridge. We need a minimum of 4 hours chilling time, but honestly? Letting them chill overnight means the flavor really deepens. You won’t regret that patience, trust me!
Baking Your Slice-and-Bake Party Cookies
After all that patient chilling time, it feels so good to finally get these babies into the oven! Since the dough is already made and shaped, the baking process itself is fantastically fast—that’s the real joy of the ready-made log. We want consistency here, so paying attention to how you slice them makes all the difference in the final tray of treats.
Preheating and Slicing Tips
First things first: get that oven warmed up to 350°F (177°C) and get your baking sheets lined with parchment paper or those great silicone mats. Do not skip lining them, or you’ll be scrubbing sugar off your pans later! Once the dough is out, if you decided to roll the logs in extra coarse sugar for sparkle, do that now. Then, grab your sharpest knife—a serrated one works wonders sometimes—and slice those logs evenly. If your slices aren’t the same thickness, they won’t bake evenly, so take a moment to make them uniform!
Achieving the Ideal Quick Bake
Place your cookies about two inches apart on the sheet. These really shine because they are a Quick Bake! We’re looking for about 12 to 14 minutes in the oven. You’ll know they are done when the edges start looking just lightly browned. Don’t wait until the centers look dry, because they keep baking once they are out! Let them sit right there on the hot pan for about five minutes; this lets them firm up just enough. Then, carefully move them over to a wire rack to cool completely before you even think about drizzling them!
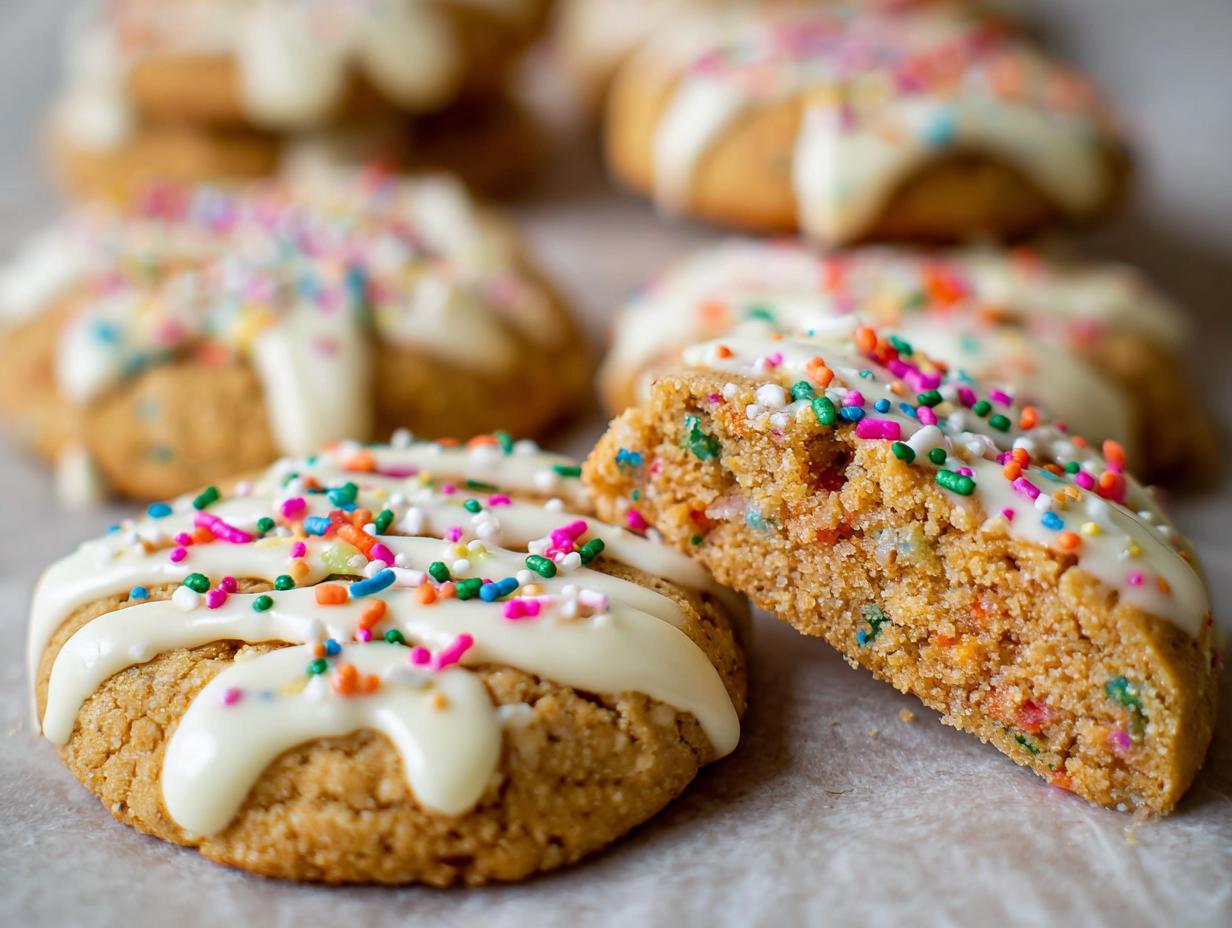
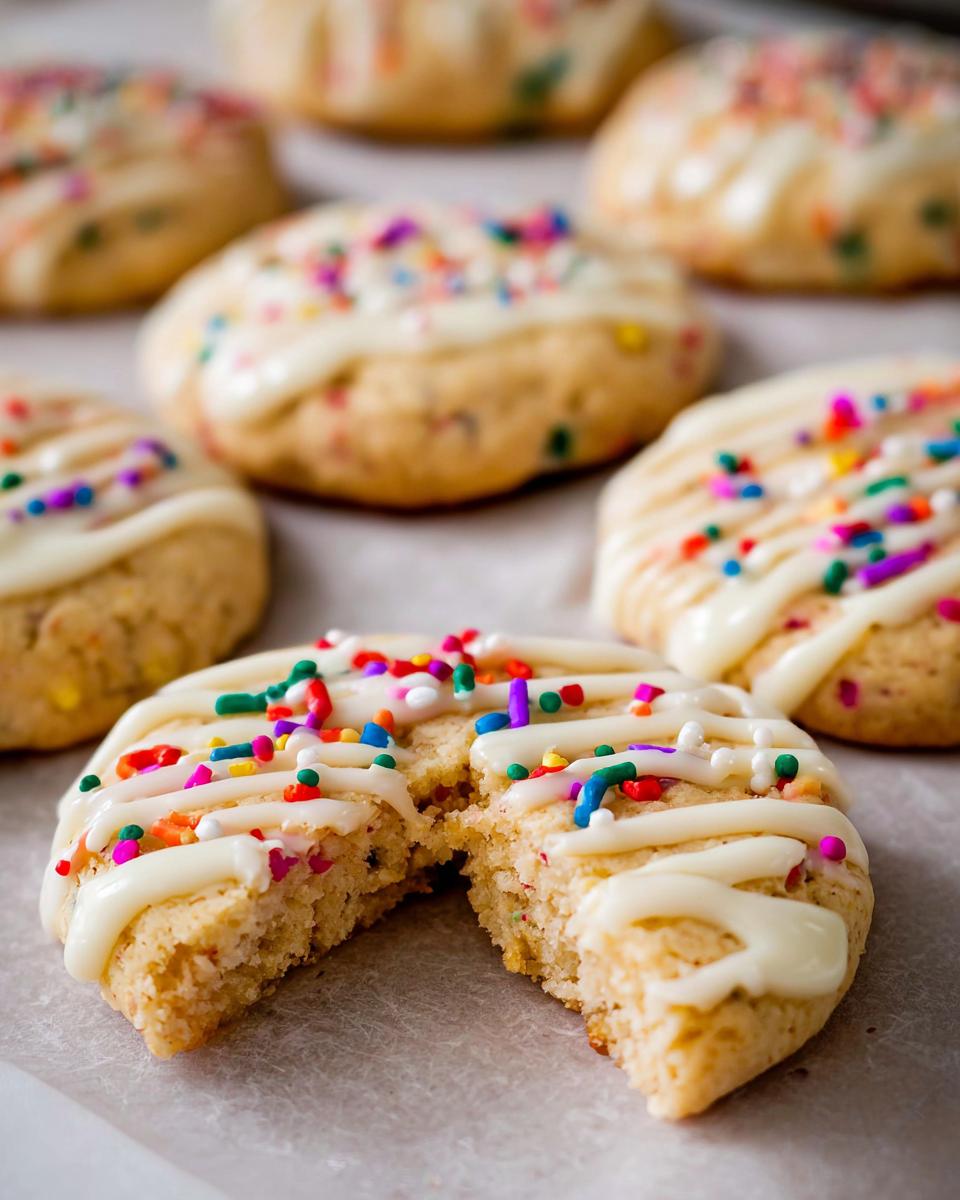
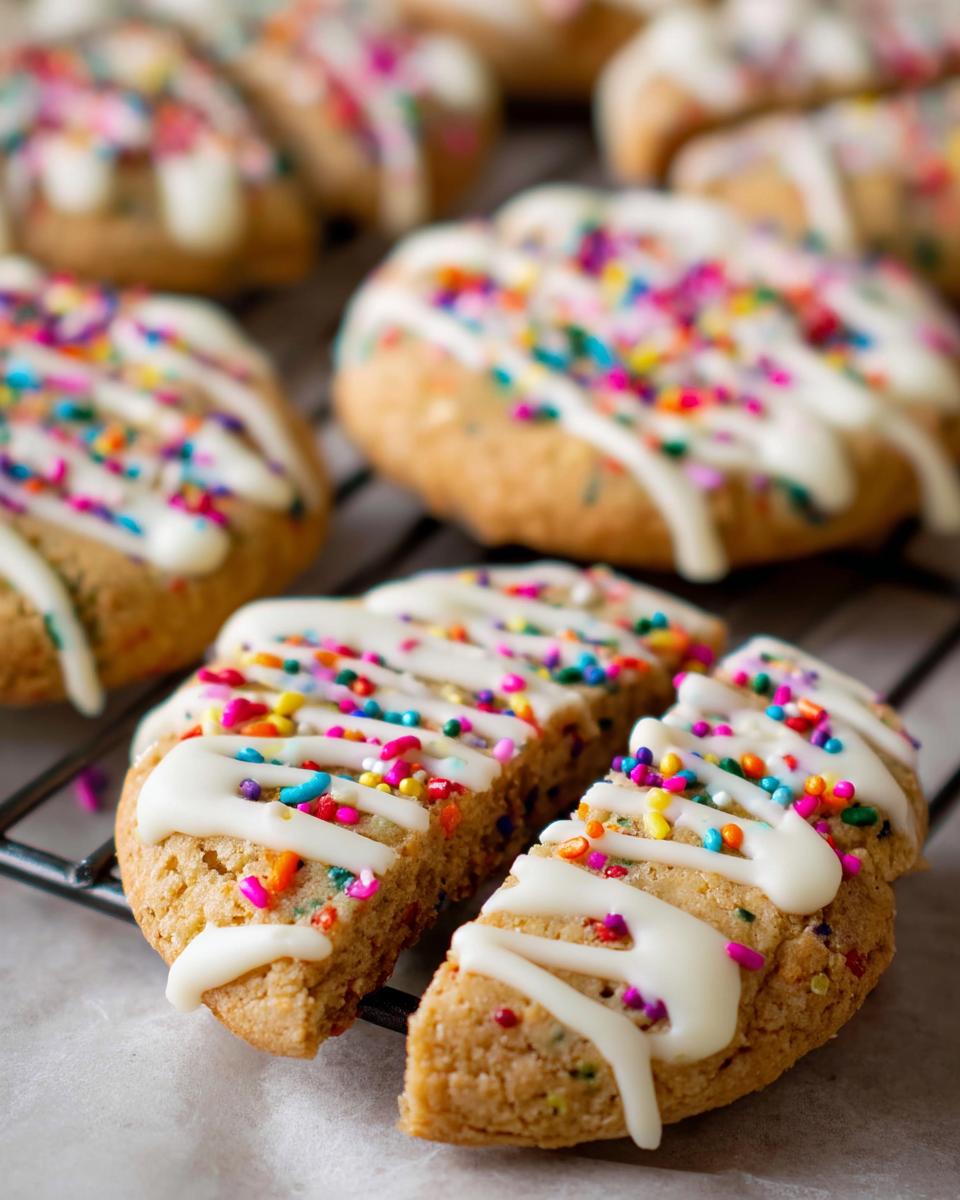
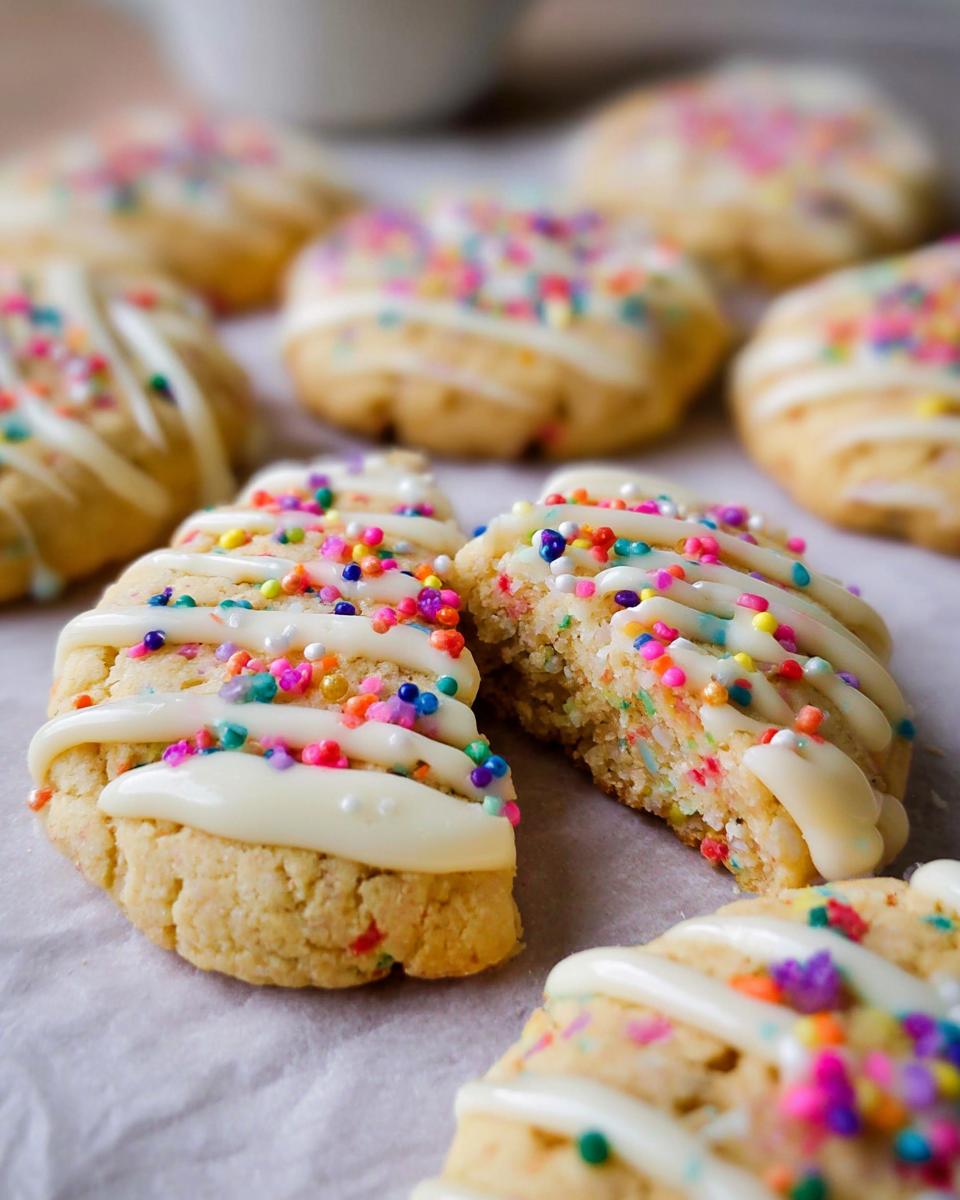
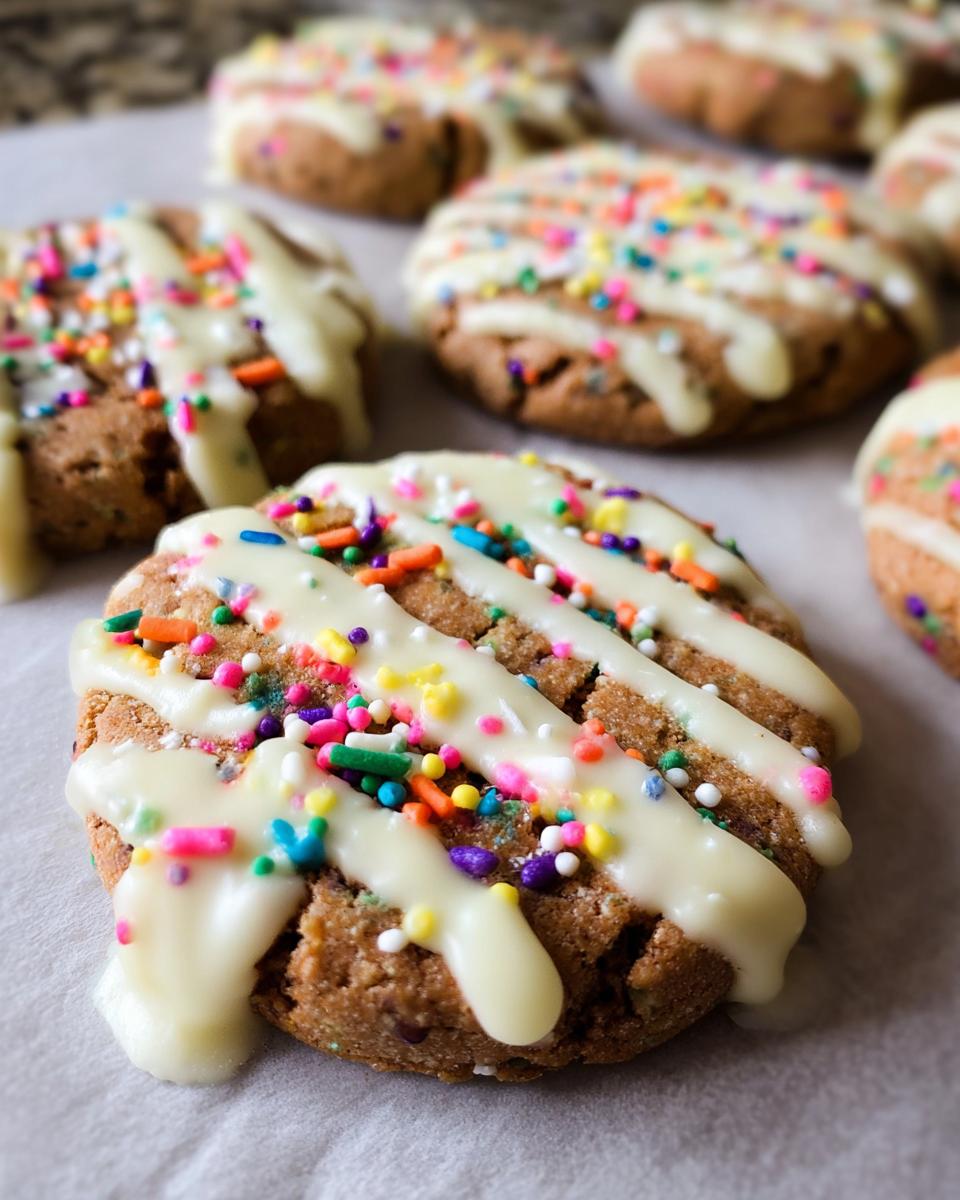
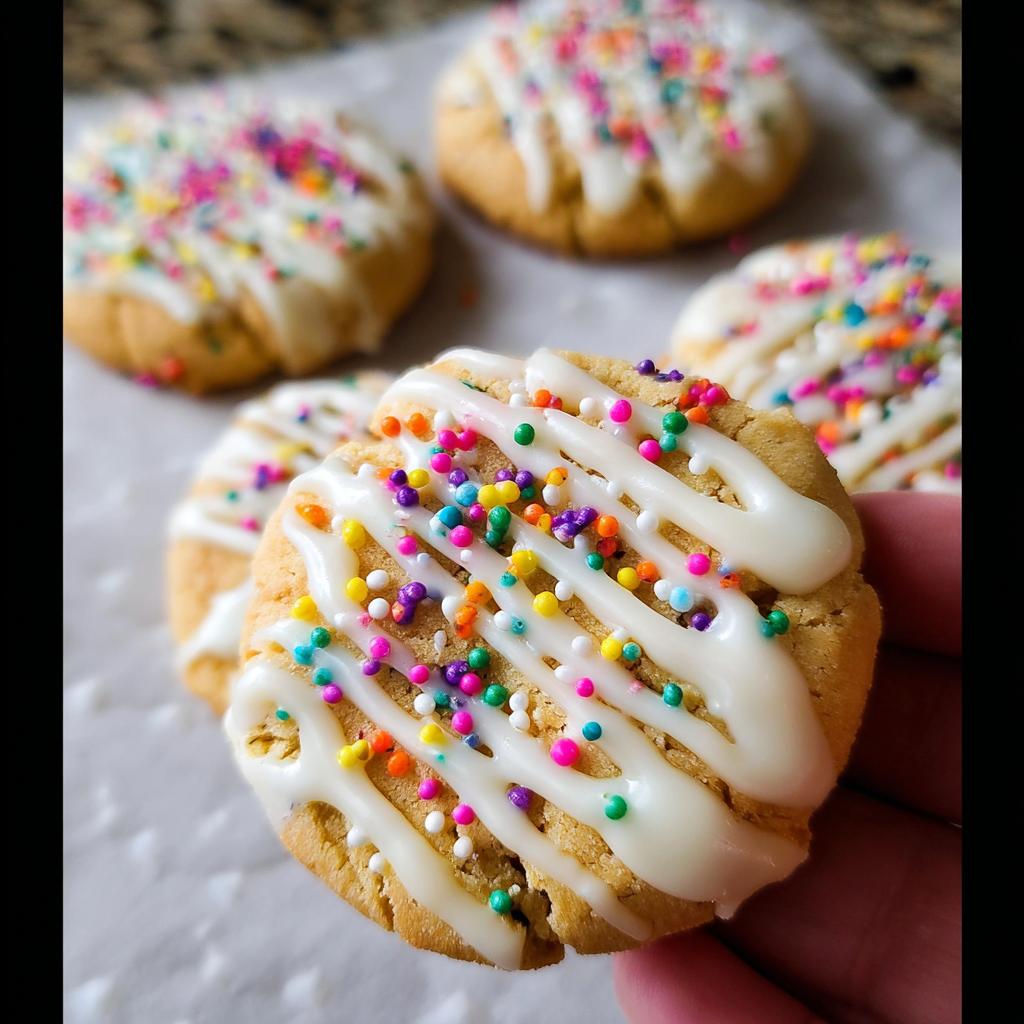
Decorating Your Slice-and-Bake Party Cookies with Drizzle
This is my absolute favorite part, where those perfect little baked rounds officially become Slice-and-Bake Party Cookies ready for the spotlight! Once they are completely cool—and I mean *totally* cool, or the chocolate will just melt into a slippery mess—it’s time for the drizzle.
We are using that chopped white chocolate. You have two options for melting: the double boiler, which is the safest bet against scorching, or the microwave. If you microwave, please, please stir every 15 seconds! Stop when there are still just a couple of lumps left, and just keep stirring; the residual heat will take care of those last bits. If you try to melt it all the way in the microwave, it’s going to seize up on you, and nobody wants that gray, clumpy chocolate! It melts beautifully smooth otherwise—so smooth you can use it just like dipping paint. I love dipping half of the cookie, setting it on parchment, and immediately tossing a few extra sprinkles on top before that chocolate sets. Pop them into the fridge until that gorgeous white chocolate hardens, and you’re done! For awesome festive ideas, you can check out some other great candy treat inspiration. You know, if you want another amazing flavor profile, check out Sally’s take on sprinkle cookies right here.
Storing and Freezing Your Make Ahead Dough
The best part about this recipe, besides the taste, is how easy it is to plan ahead! You aren’t stuck making these the day of the party because this dough lasts like a champ. We are talking about serious convenience because this Make Ahead Dough is incredibly stable in the fridge for up to five days. That means you can bake off your cookies whenever you have a spare hour!
This is essential information if you’re trying to manage a huge event timeline. Having the dough ready cuts down stress so much. Plus, if you need to prep months ahead, this recipe is completely Freezer-Friendly. I love knowing I have a beautiful tray of treats ready to go just by pulling a log out a day early!
Freezer-Friendly Tips for Slice-and-Bake Party Cookies
For the absolute best results, I highly recommend freezing the logs of dough rather than the already baked cookies. Make sure they are double-wrapped in plastic wrap before hitting the deep freeze. When you’re ready to bake, don’t bother thawing them completely! Just slice them right off the log while they are still stiff, place them on the sheet, and bake them just a little longer—I usually add about three extra minutes to the baking time. If you want ideas for other make-ahead recipes, I have a whole collection of meal prep inspiration you might love!
Frequently Asked Questions About Slice-and-Bake Party Cookies
I always get so many questions once people see how easy these are to make! It’s great that you’re planning ahead. Here are a few things folks usually ask when they are getting their Slice-and-Bake Party Cookies tray ready for an event.
Can I skip the chilling time for the dough?
Oh, please don’t try that! I know you’re excited for a Quick Bake, but chilling is absolutely non-negotiable for these cookies. If you slice that soft dough and put it straight onto the baking sheet, they will melt outwards immediately. They’ll turn into thin, greasy discs rather than cute, thick circles. That minimum 4-hour chill time solidifies the fat, which keeps that gorgeous log shape perfect when they hit the heat!
What happens if my cookies spread too much?
If you found that your cookies spread way more than you hoped after baking, it usually boils down to two things. First, did you use butter that was too soft or even slightly melted? The butter needs to be soft, yes, but still cool to the touch. Second, did you chill the logs long enough? If they only chilled for two hours instead of the minimum four, they might spread. Next time, try leaving them overnight! That extra deep chill locks everything in place.
How can I make these cookies gluten-free?
This is close to my heart! Since I focus on gluten-free baking over at the blog, I’ve tested this extensively. You can definitely swap out the all-purpose flour for a high-quality 1:1 gluten-free blend that contains xanthan gum. But here’s my pro tip: Because GF flours can sometimes absorb liquid differently, I find that adding just one extra tablespoon of milk or water to the dough when mixing the flour in keeps the texture just right. Don’t forget to reach out if you have more specific questions; I love helping bakers! You can always find me on my contact page.
Estimated Nutritional Data for Slice-and-Bake Party Cookies
Now, I know we aren’t baking these cookies for a marathon, but it’s always good to have a general idea of what we’re dealing with, right? Since these Slice-and-Bake Party Cookies are rich with butter and sugar—hello, flavor!—they are definitely a treat. I ran the numbers based on the recipe we used for 24 servings to give you a ballpark estimate. Remember, this is just a suggestion based on average grocery store ingredients!
I always say, the best nutrition you get from home baking is the joy it brings, but here are the cold, hard numbers for reference:
- Calories: Approximately 180–200 per cookie (before the optional white chocolate drizzle adds more!)
- Total Fat: Around 9g–10g
- Protein: About 2g
- Total Carbohydrates: Approximately 24g (mostly sugar, of course!)
I have to put a little disclaimer here because it’s important for expertise, you know? These numbers are just estimates. If you use fancy European butter or swap your sugar for a specialty brand, those amounts will shift slightly. Think of this as a helpful guide, not a strict dietary chart. Enjoy your beautiful Party Cookies!
Share Your Fun with These Party Cookies
We baked, we chilled, we drizzled—now it’s your turn to show off! I truly hope these Slice-and-Bake Party Cookies make your next celebration totally effortless and delicious. Head over to my recipes section and let me know what you thought! Did you try blue sprinkles or maybe something sparkly? Drop a comment below and rate this recipe for me!
Slice-and-Bake Party Cookies
Ingredients
Equipment
Method
- In a large bowl, beat the softened butter for 1 minute on medium speed until smooth. Add the brown sugar and beat on medium-high speed until fluffy. Beat in the egg, vanilla extract, and almond extract on high speed until fully combined.
- Beat in the flour and salt on medium speed until combined. The dough will be thick and slightly sticky. Beat in the sprinkles. Turn the dough out onto a floured surface and divide into two equal portions. Shape each portion into an 8-inch log, about 2.5 inches in diameter. Tightly wrap the logs in plastic wrap and chill in the refrigerator for at least 4 hours, or up to 5 days.
- Preheat your oven to 350°F (177°C). Line two large baking sheets with parchment paper or silicone baking mats.
- Remove the chilled logs from the refrigerator. If desired, roll the logs in coarse sugar. Slice each log into about 12 equally thick cookies. Place the cookies on the prepared baking sheets, about 2 inches apart.
- Bake for 12-14 minutes, or until the edges are lightly browned. Let the cookies cool on the baking sheets for 5 minutes before transferring them to a wire rack to cool completely.
- Melt the chopped white chocolate using a double boiler or in the microwave in 15-second increments, stirring after each, until smooth. Dip each cooled cookie halfway into the melted white chocolate. Place the dipped cookies onto a parchment-lined baking sheet. Sprinkle with additional sprinkles, if desired. Refrigerate the baking sheet until the chocolate is set.
Notes
Tried this recipe?
Let us know how it was!
Gluten-Free Culinary Storyteller & Recipe Heritage Specialist
Getting diagnosed with non-celiac gluten sensitivity in my late twenties felt like losing my Italian identity. Growing up in nonna’s Brooklyn kitchen, learning traditional techniques that suddenly became off-limits—I decided to fight for those family food traditions instead of giving up.
With my food journalism background and European baking training, I became obsessed with recreating authentic flavors in gluten-free formats. I’ve adapted 400+ traditional recipes from various cultures, with my gnocchi recipe winning “Recipe of the Year” from the National Gluten-Free Living Awards in 2022.
I collaborate with the Italian-American Cultural Center to document traditional family recipes and volunteer with the Westchester Celiac Support Group, teaching monthly pasta-making classes.
Food is the heart of family storytelling. No one should sacrifice their cultural heritage due to dietary restrictions.