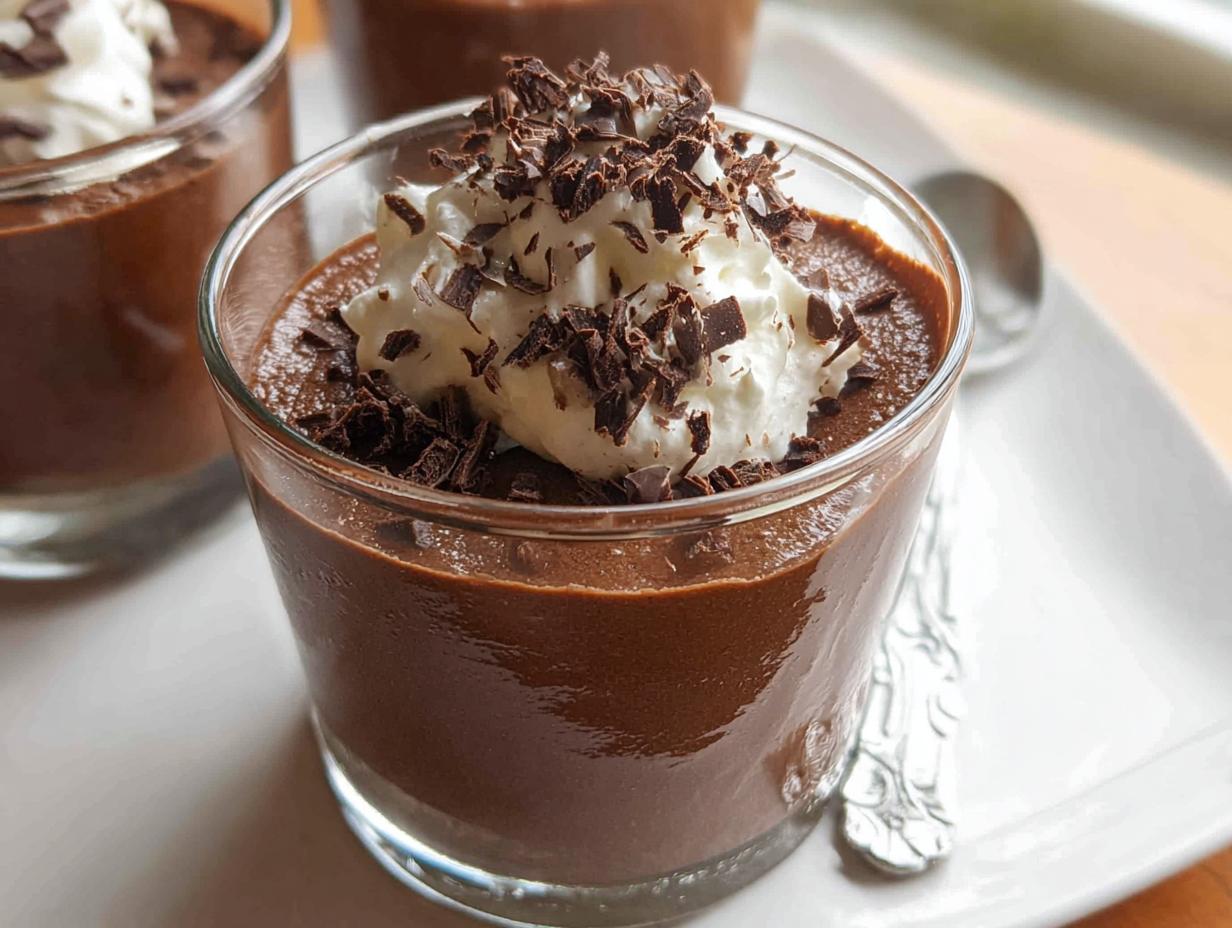
Forget those rushed, second-rate desserts, friends! When you’re hosting something special—maybe New Year’s Eve or just a truly important family dinner—you need that showstopper moment without having one eye glued to the oven. That’s where this ultra-rich, unbelievably elegant dessert comes in: the ultimate Chocolate Mousse (Make-Ahead Dessert). It’s decadent, it’s absolutely glorious, and it lets you actually enjoy your guests!
I remember making this for my family when I wanted to really impress them; I was worried about scrambling at the last minute, but this mousse saved the day. The aroma alone as you melt that dark chocolate? Pure magic. The best part? It’s naturally gluten-free, so everyone at the table can indulge in every luxurious spoonful. I’m Marco Santos, and as a Gluten-Free Chef and Latin Cuisine Innovation Specialist, I promise you this technique delivers perfection every single time.
This recipe proves you don’t have to stress to create moments of pure joy around the table. Trust me on this one!
Why This Chocolate Mousse (Make-Ahead Dessert) Is Your New Favorite
Seriously, friends, you need this in your entertaining arsenal. This magnificent creation isn’t just fluff; it’s dependable luxury! It sets up beautifully in the background, so you aren’t trapped in the kitchen when the doorbell rings.
Here’s why you’ll be bookmarking this recipe right now:
- It’s incredibly Elegant Dessert packaging—perfect for making any night feel special.
- It truly is the ultimate Make Ahead Dessert; the longer it chills, the better it tastes!
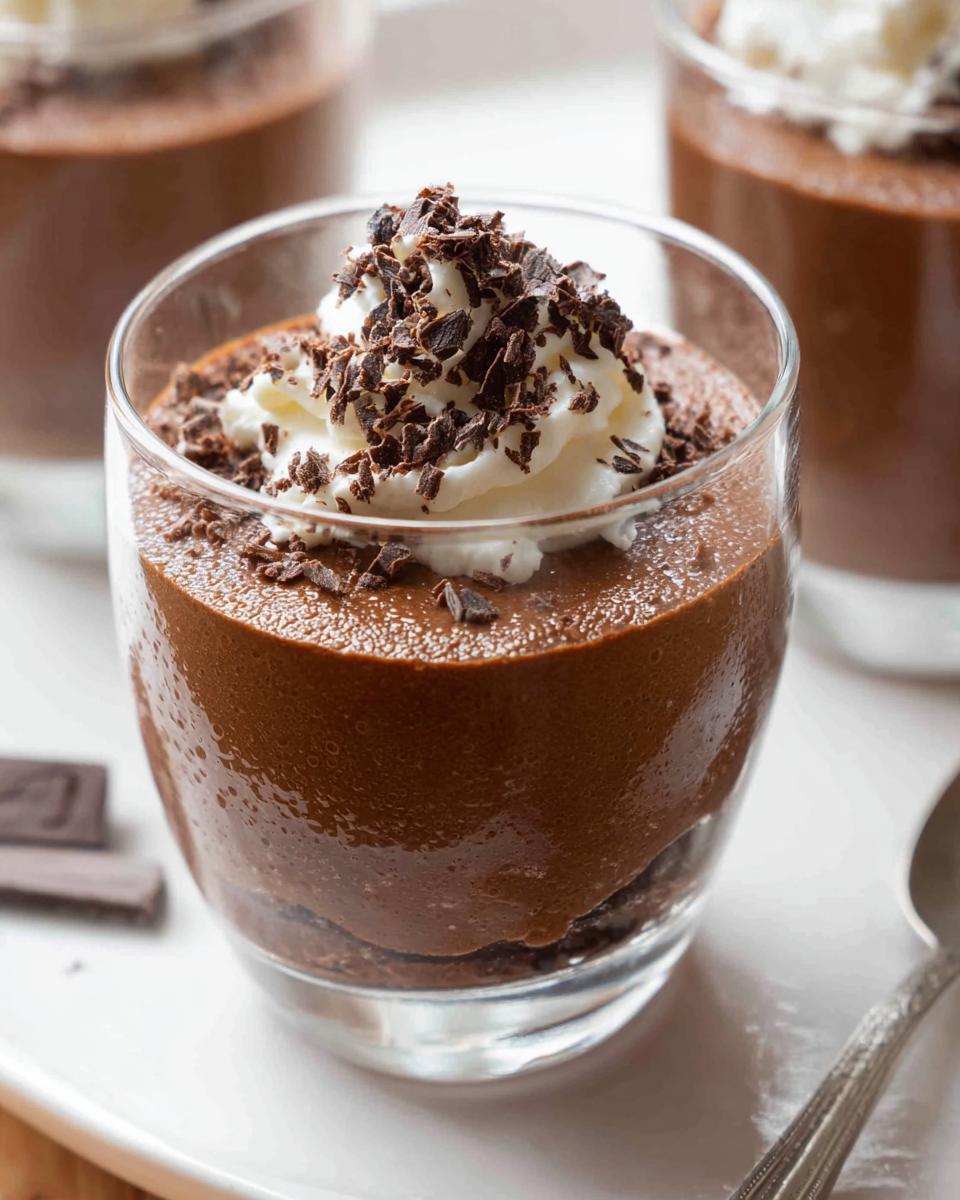
- It’s wonderfully Crowd Friendly, portioned perfectly in little glasses, which means nobody fights over the last slice.
- It’s naturally gluten-free, so you’re serving something everyone can enjoy safely!
This simple Chocolate Mousse (Make-Ahead Dessert) delivers maximum wow factor for minimum day-of effort. You just can’t beat that!
Essential Ingredients for Perfect Chocolate Mousse (Make-Ahead Dessert)
Shopping for this mousse is half the fun, but you have to be precise, especially with ingredients that determine texture. Remember, we are aiming for elegance here, so quality counts! I sorted my list to make sure you grab everything you need before you start melting things. Check out these essentials for our amazing Chocolate Mousse (Make-Ahead Dessert).
For the Mousse Base
These are the heart of the dessert, and following these specific notes is crucial for that airy-yet-rich set:
- 3 eggs: These absolutely must be separated into whites and yolks, and they certainly need to be at room temperature before whipping!
- 125 g dark cooking chocolate: Please use bittersweet or 70% cocoa—no standard eating chocolate, trust me on this!
- 10 g unsalted butter: This helps the chocolate stay smooth and glossy.
- 1/2 cup cream: Only use full-fat heavy cream or whipping cream; light cream just won’t whip right for this magnificent dessert.
- 3 tbsp caster sugar: Fine sugar dissolves beautifully into the egg whites.
For Decoration
Garnishes are what take this from great to truly stunning for your special occasion:
- Additional whipped cream
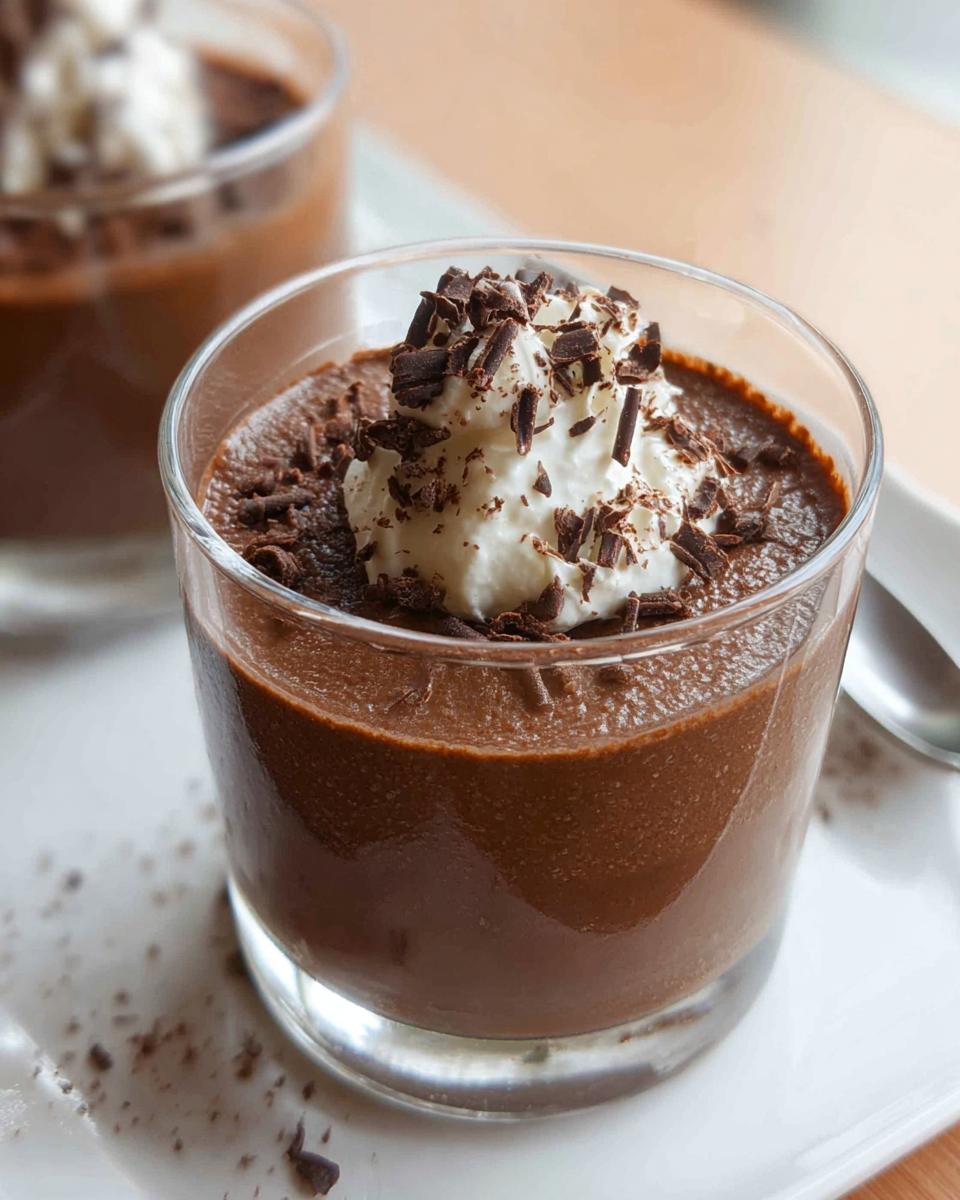
- Chocolate shavings (I love scraping a block with a vegetable peeler!)
Equipment Needed for Your Chocolate Mousse (Make-Ahead Dessert)
Okay, let’s talk tools! Having the right gear handy makes this whole process feel like a breeze, which is exactly what we want for a wonderful Make Ahead Dessert. You don’t need fancy pastry gear, but you definitely need a few basics to get those whites perfectly stiff and the chocolate smoothly incorporated.
Here’s what I always pull out of the cupboard for making my signature Chocolate Mousse (Make-Ahead Dessert):
- A Microwave-proof bowl—this is for melting that glorious chocolate quickly and safely. Watch it carefully, though; chocolate burns faster than you think!
- A sturdy Whisk. You’ll use this for the egg yolks initially.
- An Electric mixer—honestly, beating all those egg whites by hand is just cruel! This saves your arm when aiming for those firm peaks.
- A good, flexible Rubber spatula. The world relies on that spatula when folding air into a mousse, so make sure yours is ready for duty.
- Small glasses or pots—you need these for final chilling and serving! These let you create that individual, Elegant Dessert presentation we talked about.
Get these ready, and the physical work part of this recipe is practically done. Since this is a make-ahead item, you can always clean up later, but having your serving glasses waiting really helps you visualize the final result!
Step-by-Step Instructions for Making Chocolate Mousse (Make-Ahead Dessert)
Alright, this is where the magic happens! Making a spectacular mousse is all about technique—it’s about air and chocolate respecting each other, not fighting. Don’t be intimidated by the folding; it just means you have to move gently! We want that fluffy texture, not deflated chocolate soup, so keep those gentle motions practiced.
Preparing the Base Components
First things first: handling those eggs! Even though it’s easier to separate eggs when they are cold, you absolutely need the whites to reach room temperature before you whip them up. Separate your 3 eggs; the yolks go into a small bowl, and the whites go into a nice, clean, large bowl. Give those yolks a quick whisk until they look uniform, just to get them ready.
Next, let’s take care of the chocolate. Break up your 125g of dark cooking chocolate and pop it in a microwave-proof bowl with the 10g of butter. Melt this in short bursts—I mean 30 seconds at a time—stirring in between until it’s beautifully smooth. Set that aside so it cools down just a touch.
Time for structure! Whip that full-fat heavy cream until it forms stiff peaks, but stop right there; we don’t want it grainy. Then, add your 3 tablespoons of caster sugar to the egg whites and beat them until they have firm peaks. Remember, don’t over-whip the whites!
Folding for the Perfect Chocolate Mousse (Make-Ahead Dessert) Texture
This sequence is absolutely vital for that ethereal lightness. First, take about a quarter of your fluffy egg whites and fold them into the yolk-and-cream mixture. The instructions say to use a maximum of 8 folds here—we are just lightening things up, so don’t worry about perfection yet, maybe about 10 folds using that gentle ‘smearing’ motion.
Now, wait for your chocolate—it should be warm but runny, ideally between 95°F and 104°F. If it’s too cool, give it a quick 5-second zap in the microwave. Pour that tempered chocolate right into your lightened cream mixture. Fold that in gently, aiming for just 8 folds; streaks are totally okay at this stage!
Finally, take all that gorgeous chocolate base and gently fold it into the remaining egg whites. Listen to me: 12 folds is your absolute maximum here! We are incorporating, not mixing aggressively. We want to keep every bit of happy air we just whipped in there for the best texture in your Chocolate Mousse (Make-Ahead Dessert). If you want to see how other people handle this folding, check out the brilliant tips over at RecipeTin Eats!
Setting and Serving Your Make Ahead Dessert
Once it looks just combined—no big white patches remaining—it’s time to portion it out. Divide the mixture evenly into your four little glasses or pots. This is the crucial step for our Make Ahead Dessert! Cover them up nicely (plastic wrap works great) and send them straight into the refrigerator.
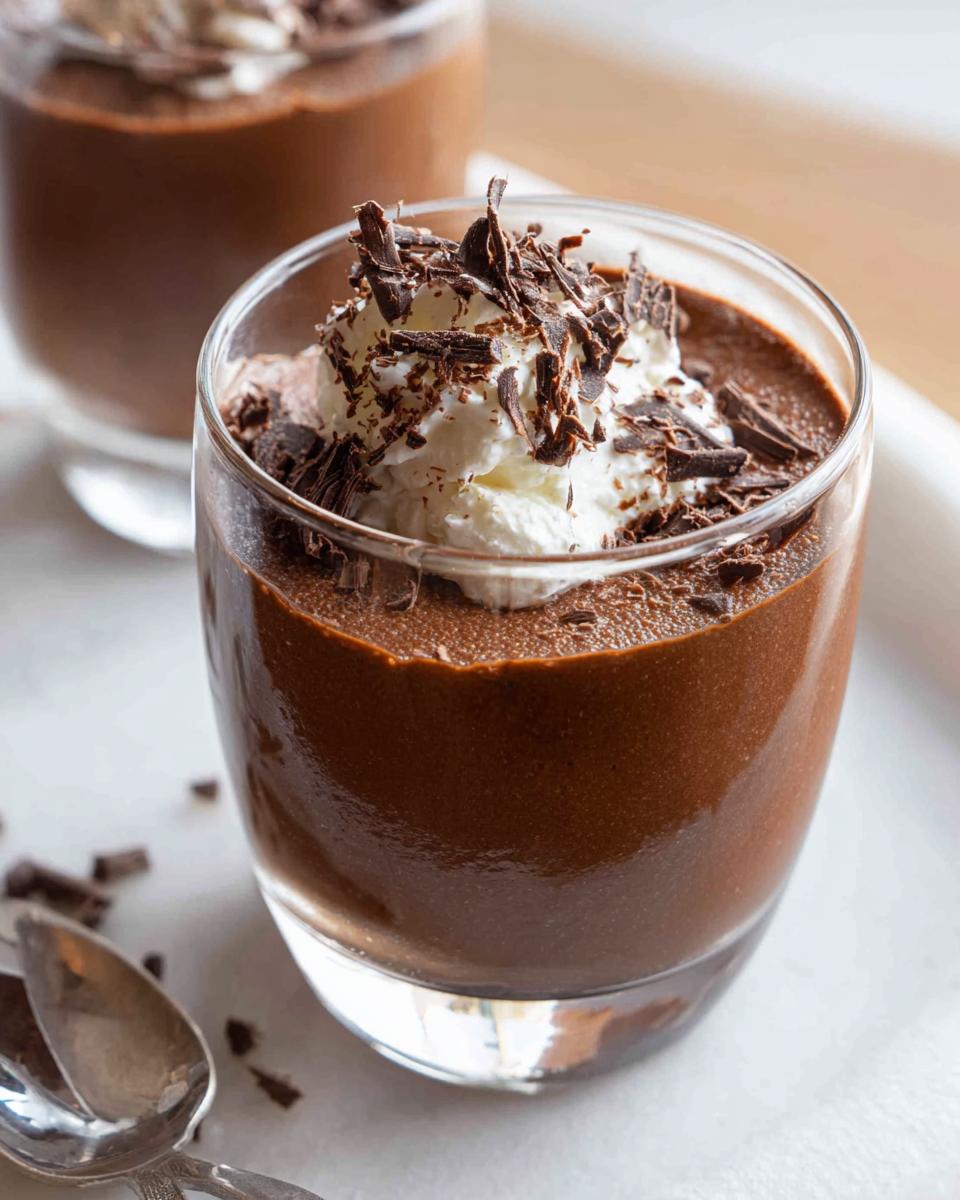
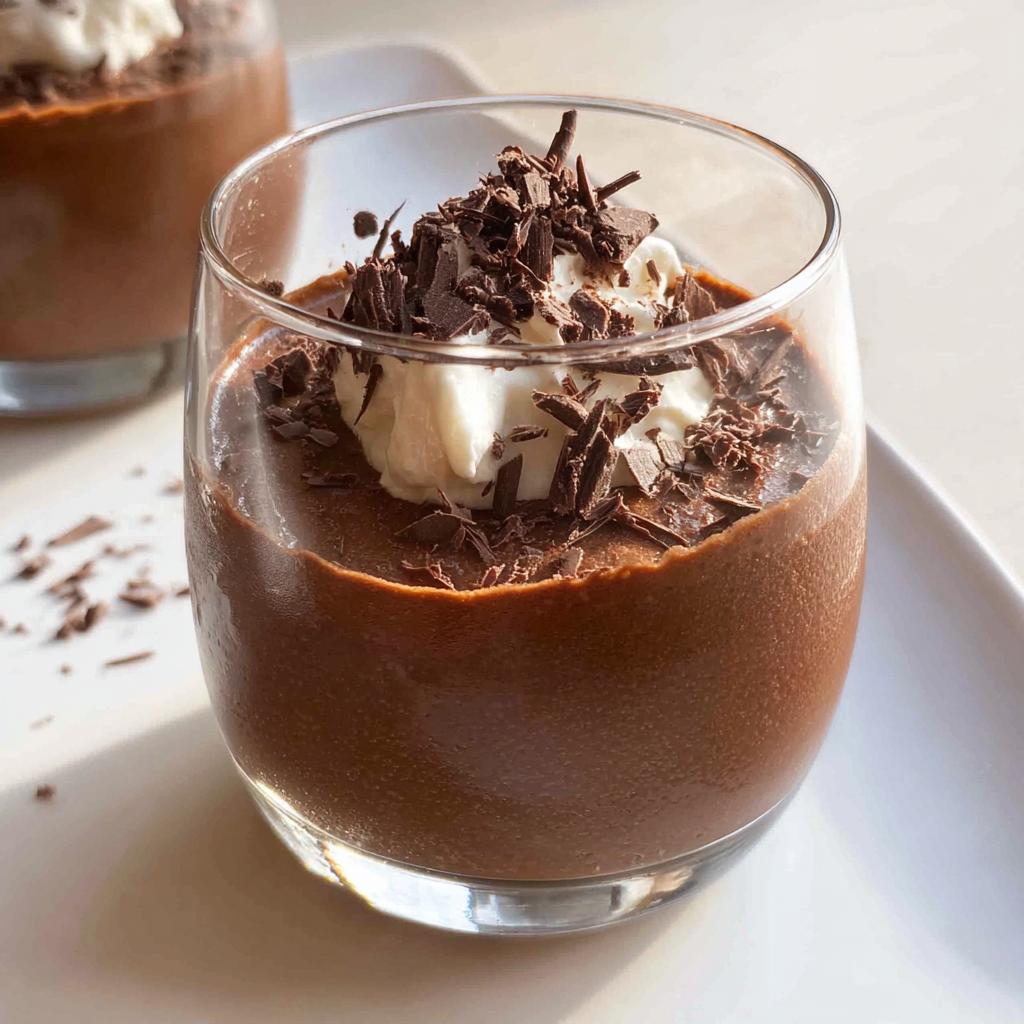
They need a minimum of 6 hours to set up properly, but honestly? If you can leave them overnight, you’ll have the firmest, most satisfying mousse texture possible for your guests. When it’s time to serve this Elegant Dessert, just top each one with a swirl of extra whipped cream and a scattering of fine chocolate shavings. Easy serving, maximum elegance!
Expert Tips for Success with Chocolate Mousse (Make-Ahead Dessert)
Look, making this Chocolate Mousse (Make-Ahead Dessert) feels fancy, but it truly rests on a couple of non-negotiable steps listed in my notes. If you nail these details, you’ll come off like a true pastry chef without breaking a sweat!
First up, the chocolate quality. You *must* use real cooking chocolate, that bittersweet 70% cocoa stuff. Don’t try to substitute with your favorite milk chocolate bar; it changes the fat content and ruins the proper set and texture. We want rich, deep flavor, not something that wilts the second it hits the air!
My biggest non-negotiable tip? Egg white temperature. I know it’s tempting to separate them when they’re cold because they hold their shape better, but you simply must let those whites come up to room temperature before you start whipping. Room-temp whites trap air so much more efficiently, giving you that incredible volume we need to keep the mousse from deflating.
Because I love adding little punches of flavor, especially when serving this for a big celebration, I sometimes sneak in a dash of liqueur—maybe Grand Marnier or a high-quality dark rum. But heed this warning: use it sparingly! If you add more than about one tablespoon total (depending on your batch size), the alcohol can prevent the mousse from setting properly. It just weighs everything down! If you’re looking for other ways to dress up your homemade goodies, pop over to my collection of other homemade dessert inspiration.
Follow those three things—good chocolate, warm whites, and careful liqueur use—and you will have the most reliable Make Ahead Dessert you’ve ever tried!
Storage and Reheating Instructions for Your Make Ahead Dessert
This is where the “make-ahead” genius really pays off! I know we talked about chilling for at least six hours, but let’s get down to real-life storage. Since this magnificent Chocolate Mousse (Make-Ahead Dessert) relies on natural ingredients—especially those lovely eggs—how you store it matters for texture and safety.
Here is the deal my notes spelled out for me:
- Best Flavor Window: You want to serve this mousse when it’s at its absolute peak, which is usually within 48 hours of making it. The flavor melding is perfect, and the air hasn’t had time to settle.
- Maximum Life: Because of the high-quality ingredients (and because I can never resist sneaking a spoonful), I’ve kept sealed portions in the fridge for up to a full week. It’s still perfectly safe to eat, but it might lose just a tiny bit of that initial airy lift.
The secret to successful storage is tight covering. Make sure those individual pots or glasses are wrapped tightly with plastic wrap pressed directly onto the surface of the mousse—this stops any funky fridge smells from sneaking in and helps prevent a skin from forming on top. Since this is designed as a chilly, Elegant Dessert, “reheating” isn’t really a thing!
If you are prepping these servings for a big event, say for your big holiday party, making them two days ahead is my champion recommendation. That way, they are firmly set, deeply flavored, and you just pull them out of the fridge 15 minutes before you seal them with those pretty shavings. Easy entertaining means a happy host, and that’s what this recipe is all about!
Serving Suggestions for an Elegant Dessert
Okay, now that you’ve perfectly executed the folding and your glorious Chocolate Mousse (Make-Ahead Dessert) is set like a dream, it’s time for the fun part: making it look ridiculously sophisticated! Presentation is everything when you are going for that Elegant Dessert impact, especially for something like a big party or that special NYE Dessert.
We already mentioned the classic duo: a dollop of freshly whipped cream and some elegant chocolate shavings scraped off a block of that good dark chocolate. But let’s get a little more creative, shall we? These little touches don’t add any work since the mousse is already done.

Try these easy upgrades for maximum elegance:
- Bright Berries: You absolutely need red to contrast that deep, dark brown! A few fresh raspberries or sliced strawberries nestled right against the side of the glass look incredible. If you’re feeling super fancy, place a single perfect blueberry right on top of the whipped cream swirl.
- Cocoa Kiss: Instead of just adding shavings, grab a very fine mesh sieve and dust the entire top surface (including the edges if you want to be extra neat) with high-quality unsweetened cocoa powder. It smells amazing and gives it that matte, professional bakery finish.
- A Hint of Green: Don’t underestimate the power of mint! A single, small sprig of fresh mint tucked into the side of the whipped cream adds an unexpected pop of color and freshness that cuts through the richness of the chocolate. It just screams “special occasion.”
- Crunch Factor: If you want a little texture in this incredibly creamy dessert, consider crushing a few toasted hazelnuts or almonds very finely and sprinkling them around the rim of the serving glass before you fill it. This gives you a delightful crunch along with every bite.
Remember, since this is a wonderful Crowd Friendly option, serving it in individual portions means everyone gets a picture-perfect plate without you having to slice or plate anything when the guests are seated. Go ahead, make it look like it took hours—we know the secret is that it’s a super reliable Make Ahead Dessert!
Frequently Asked Questions About Chocolate Mousse
I get so many wonderful questions after sharing this recipe—it truly is a showstopper! Since this is meant to be your go-to go-to elegant dessert, let’s tackle the worries you might have before you pop these gorgeous little pots into the fridge.
Can I make this Chocolate Mousse (Make-Ahead Dessert) more than one day early?
That’s the million-dollar question for any Make Ahead Dessert, right? The short answer is yes, you absolutely can! My personal sweet spot—where the mousse is firm but still has that perfectly billowy airiness—is serving it about 24 hours after making it. However, based on my testing, it keeps beautifully for up to a week as long as it’s tightly covered. You might find that after day three, it firms up *slightly* more than on day one, but it’s still delicious and safe. Just remember to take it out about 15 minutes before serving if it’s had several days to chill completely!
Is this recipe truly a Crowd Friendly option?
One hundred percent yes! That’s one of the biggest reasons I love making this for big gatherings, especially looking ahead to that big New Year’s Eve bash. Because you prepare the entire Chocolate Mousse (Make-Ahead Dessert) in individual servings ahead of time, you avoid the chaotic cutting and plating that comes with a large cake or pie. Plus, since it’s naturally gluten-free, you don’t have to worry about cross-contamination or making separate dessert experiments for a few guests. It’s simple, elegant serving for everyone!
Do I really need to use high-cocoa chocolate, or can I sweeten it myself?
Stick to the bittersweet stuff, 70% cocoa if you can find it! The structure of this mousse relies heavily on the fat content and bitterness of quality cooking chocolate interacting perfectly with the whipped cream and egg whites. If you use milk chocolate, it’s often too sweet and has a different melting point, which can lead to weeping or a greasy texture instead of that light, Elegant Dessert fluff we are aiming for. We want depth of flavor, not just sweetness!
What happens if my mousse deflates after chilling?
Don’t panic if you see a little deflation! Deflating usually happens for two main reasons. First, you may have over-folded during the mixing stage (remember that 12-fold limit for the egg whites!). Second, if you microwaved the chocolate too long and super-heated it, it might have cooked the egg proteins slightly. If you see some weeping, don’t worry! Just give the top a gentle swirl with a spoon before adding your garnish. It’s still going to taste like pure decadence, even if it’s not perfectly airy!
Estimated Nutritional Information for Chocolate Mousse
Now, I know what some of you are thinking! While this is hands-down the most luxurious Make Ahead Dessert you’ll ever whip up, it’s important to know what you’re serving, especially if you’re counting macros or watching sugar intake. Because this recipe relies on high-quality dark chocolate and full-fat cream, this isn’t exactly a light snack—it’s meant to be an indulgent, elegant finish to a beautiful meal!
Please remember that these figures are an estimate based on the exact measurements provided in the recipe above. Since we aren’t using commercial stabilizers, the actual count can shift slightly depending on the specific brand of dark chocolate or cream you use. But for general planning when creating your stunning NYE Dessert spread, here are the numbers per single serving (based on 4 servings):
- Calories: Approximately 375 kcal
- Fat: Roughly 26g (watch that saturated fat content is around 18g)
- Protein: A solid 7g per serving
- Carbohydrates: About 27g (much of this coming from the natural sugars in the chocolate and sugar added)
You can see why this works so well as a rich finale! It’s satisfying, deeply decadent, and completely gluten-free, of course. If you wanted to dial down the calories slightly, the easiest adjustment without ruining the texture of this Chocolate Mousse (Make-Ahead Dessert) is to use slightly less topping, though I personally wouldn’t mess with the mousse base itself—it’s too perfect!
Share Your Experience Making This Elegant Dessert
Wow, after all that rich chocolate goodness, I truly hope you loved making (and eating!) this Chocolate Mousse (Make-Ahead Dessert) as much as I do. There’s nothing better than seeing photos of your incredible dessert spreads!
I’m dying to know how this turned out for you. Did you serve it for a big celebration? Was it the star of your recent NYE Dessert spread? Did your family go wild for it?
Please, please, please take a moment once you’ve enjoyed every last spoonful to drop a rating below. Your feedback helps other bakers gain the confidence to try this recipe!
If you snapped a picture of your perfectly portioned, Elegant Dessert sitting on the table, I would absolutely love to see it! Tag me on social media so I can show off your beautiful work. Knowing that this recipe brought a moment of joy and ease to your kitchen—that’s what makes all this recipe writing completely worth it!
Happy baking, and thank you for trusting me with your dessert plans!
Chocolate Mousse (Make-Ahead Dessert)
Ingredients
Equipment
Method
- Separate the eggs while cold. Place the whites in a large bowl and the yolks in a small bowl. Set the whites aside.
- Whisk the egg yolks until uniform in color.
- Break the dark chocolate into pieces and place in a microwave-proof bowl with the butter. Melt in the microwave in 30-second intervals, stirring between each, until smooth. Set aside to cool slightly.
- Beat the cream until stiff peaks form. Be careful not to over-whip.
- Add the sugar to the egg whites. Beat the egg whites until firm peaks form.
- Gently fold the egg yolks into the whipped cream using a rubber spatula. Use a maximum of 8 folds; some streaks are acceptable.
- Check the temperature of the melted chocolate. It should be runny but warm (between 35C/95F and 40C/104F). If it has cooled too much, microwave in 5-second bursts until runny again.
- Pour the slightly cooled chocolate into the cream and yolk mixture. Fold gently until just combined, using a maximum of 8 folds. Some streaks are okay.
- Add about one-quarter of the beaten egg whites to the chocolate mixture. Fold them in using a “smearing” motion with the spatula to incorporate the white lumps. Aim for about 10 folds.
- Pour the chocolate mixture into the remaining egg whites. Fold gently until no obvious white patches remain, using a maximum of 12 folds.
- Divide the mousse mixture evenly among 4 small glasses or pots.
- Refrigerate for at least 6 hours, or preferably overnight, to set.
- To serve, garnish with additional whipped cream and chocolate shavings. You can also add raspberries and a sprig of mint for color.
Nutrition
Notes
Tried this recipe?
Let us know how it was!
Gluten-Free Chef & Latin Cuisine Innovation Specialist
My youngest son’s celiac diagnosis at four changed everything. Suddenly, all those traditional Brazilian and Portuguese recipes from my avó needed to be completely reimagined without losing their soul.
After graduating from Johnson & Wales and working Miami’s Latin fusion scene, my son’s diagnosis became my calling. How do you make gluten-free empanadas that taste like childhood? Over eight years, I’ve developed 320+ gluten-free recipes celebrating authentic Latin flavors using cassava flour and plantain alternatives.
My gluten-free empanada recipe won “Best Appetizer” at the 2023 Miami Gluten-Free Food Festival. I ran “Sabores Sin Gluten,” a catering business serving Miami’s Latino community—quinceañeras, family gatherings, all the celebrations that matter.
Food is culture, and everyone deserves to experience the joy of sharing traditional family meals, regardless of dietary restrictions.