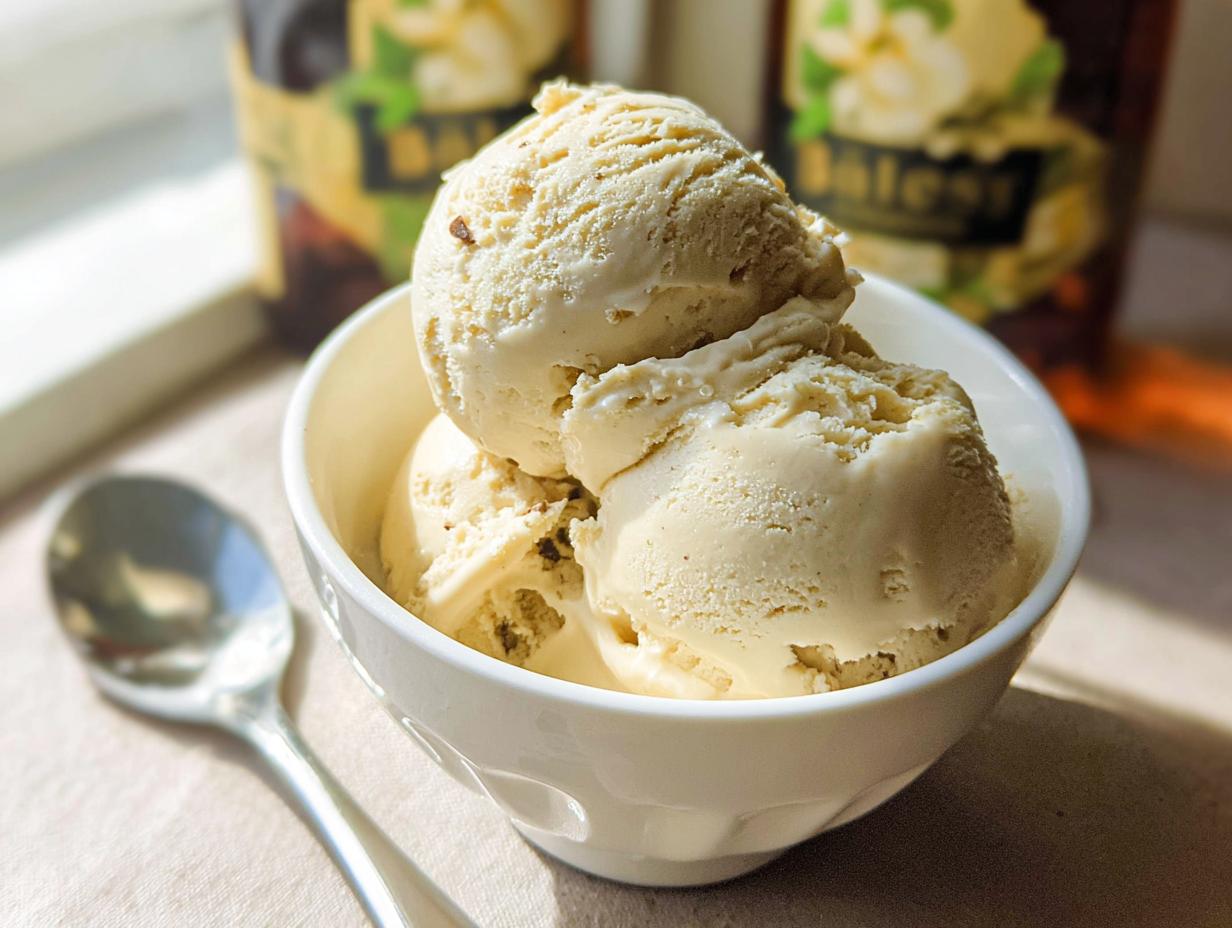
Oh, there’s just something magical about making ice cream at home, isn’t there? It’s like unlocking a little bit of pure joy, especially when you get to dream up your own flavors. And let me tell you, creating your own creamy, boozy dream like Baileys ice cream right in your own kitchen? That’s a whole other level of delicious! The best part? This indulgent treat is naturally gluten-free, a real showstopper for any occasion. I remember the first time I experimented with homemade ice cream – my son and I were blending up cream, cocoa, and a splash of whiskey after Sunday lunch when I was reminded of my *avó* back in Brazil. She always said love was the real secret ingredient. Now, every scoop of this Baileys ice cream brings me back to her kitchen, proving how food really brings generations together. I’m Marco Santos, by the way, and as a Gluten-Free Chef & Latin Cuisine Innovation Specialist, I just love finding ways to make special treats accessible to everyone.
Why You’ll Love This Make Your Own Baileys Ice Cream Recipe
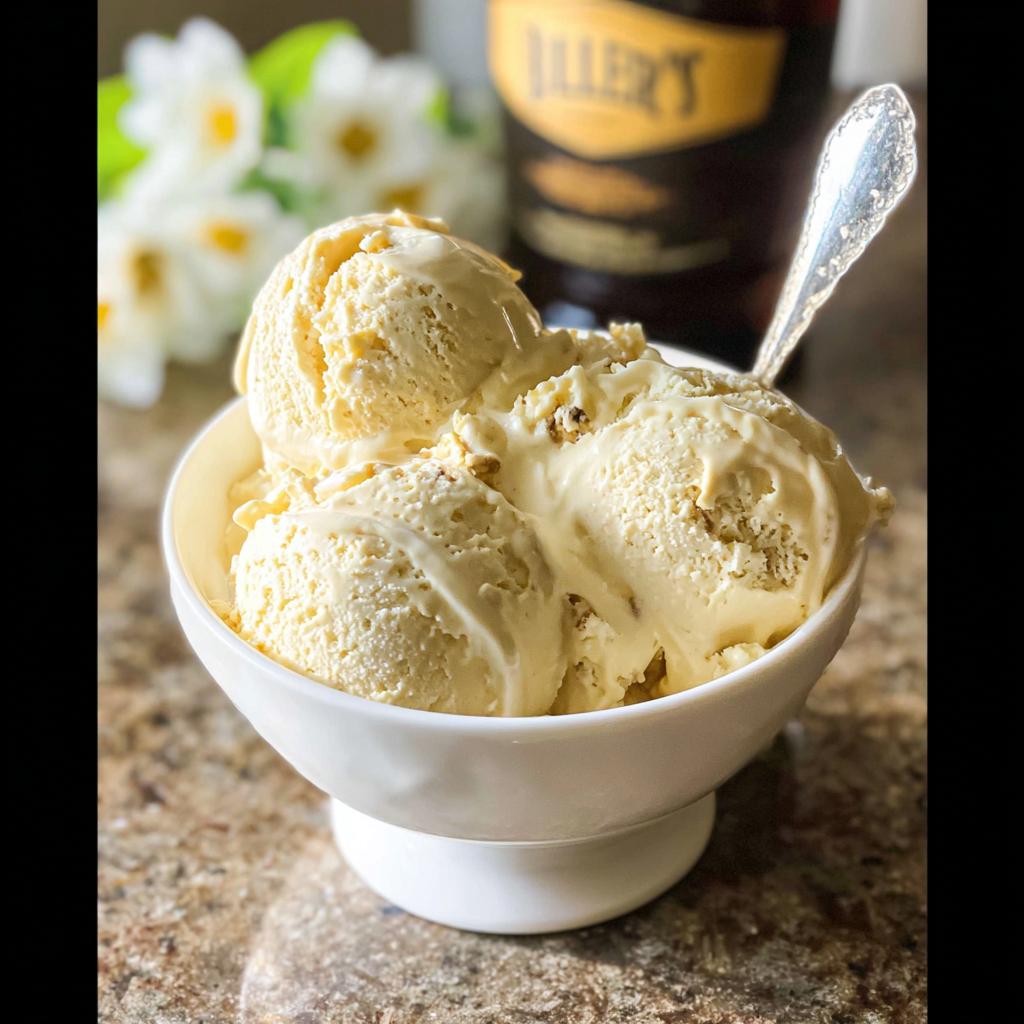
Seriously, you’re going to adore this recipe because it’s just so darn good and surprisingly simple!
- Incredibly Easy: Even if you’ve never made ice cream before, you can totally nail this.
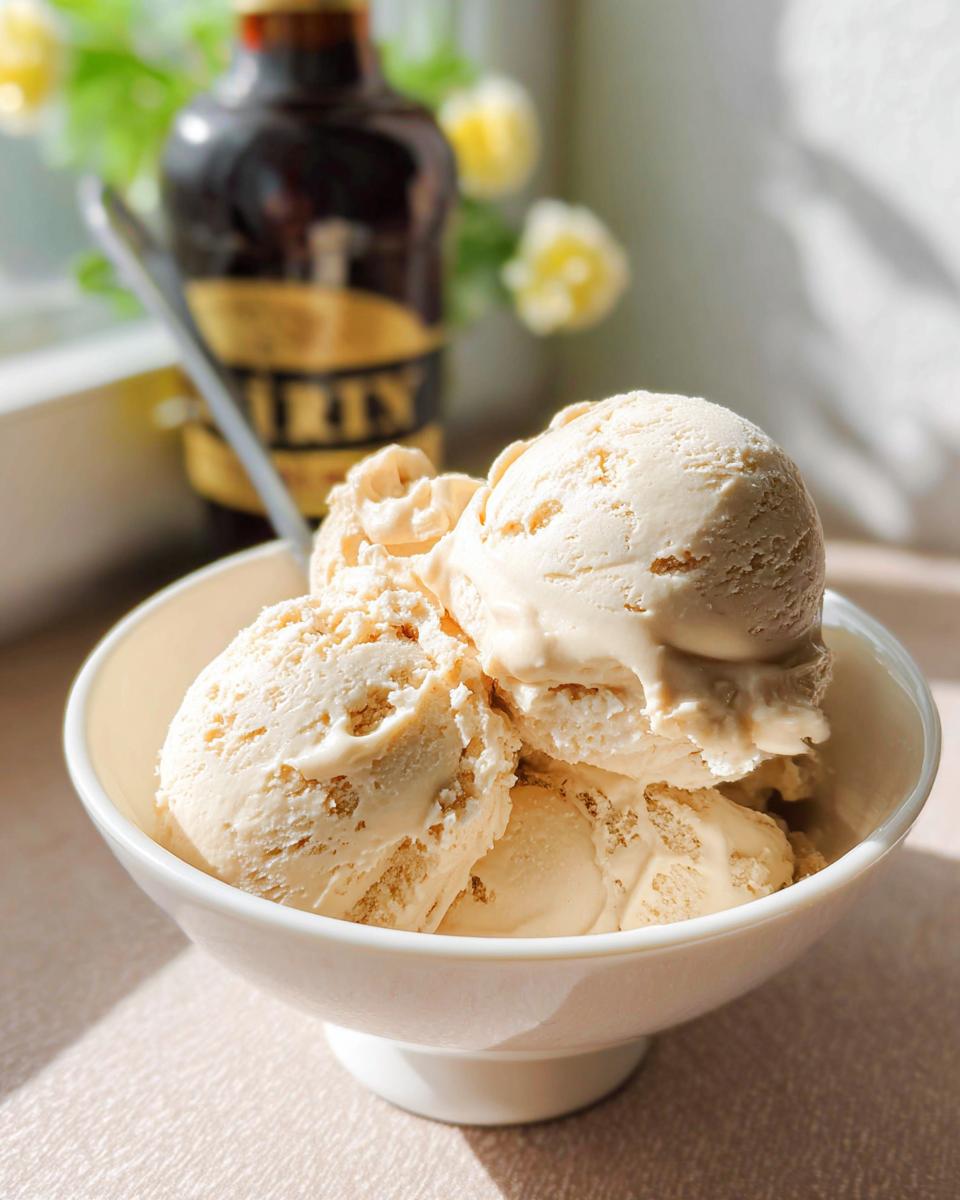
- Rich & Creamy Flavor: That iconic Baileys taste? It comes through in every spoonful, pure bliss!
- Decadent Texture: You get that luxurious, smooth, melt-in-your-mouth texture that store-bought just can’t beat.
- Naturally Gluten-Free: Perfect for everyone to enjoy without worrying about gluten.
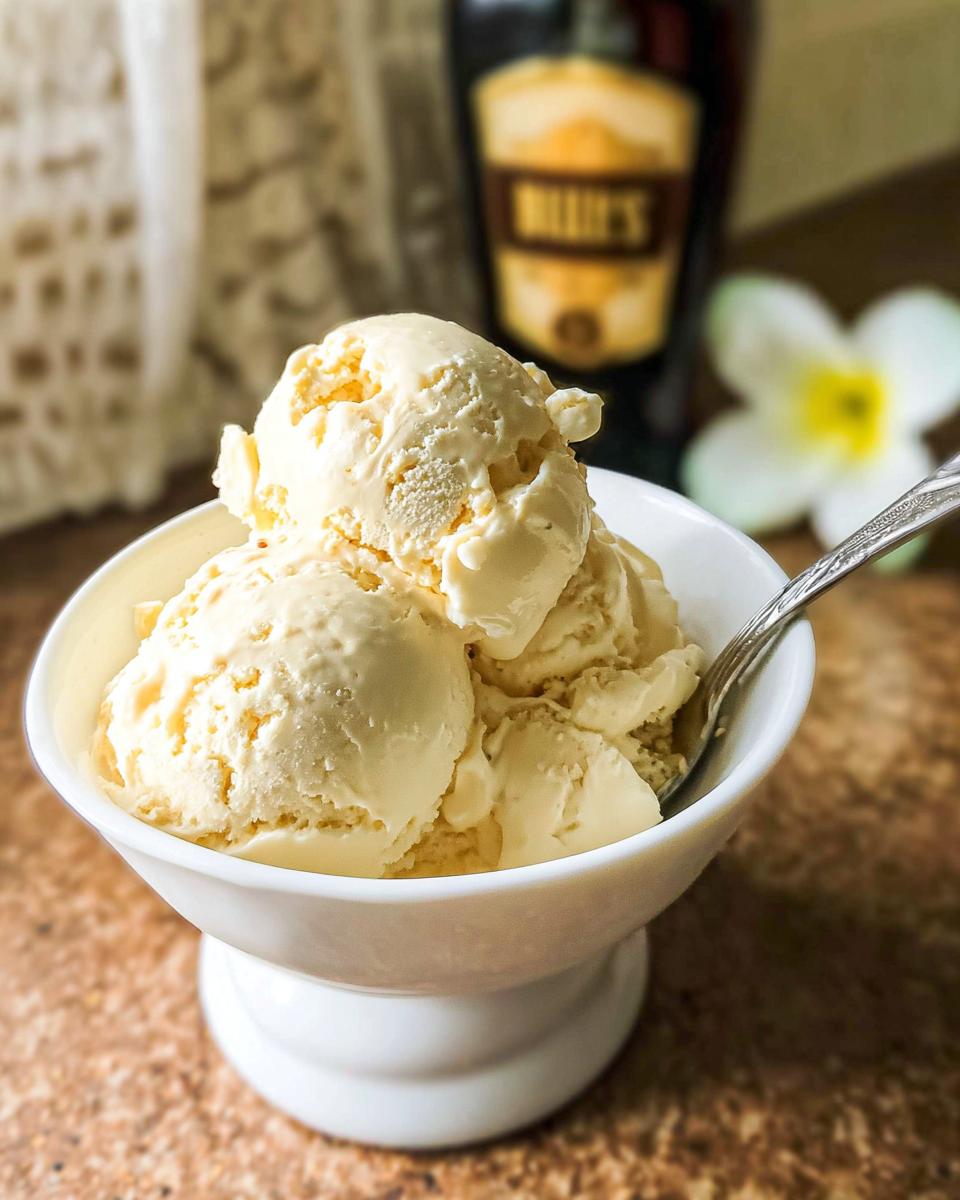
- Festive Perfection: It’s an absolute showstopper for holidays, dinner parties, or just making a regular weekend feel extra special.
Gather Your Ingredients for Make Your Own Baileys Ice Cream
Alright, time to get our flavor-making magic on! For this amazing Make Your Own Baileys Ice Cream, you’ll want to grab some quality stuff. Using good ingredients really makes a difference, trust me!
For the Custard Base:
- 2 cups heavy cream
- 2 cups whole milk
- 1 cup sugar
- 7 large egg yolks (make sure they’re good and fresh!)
- 1 tablespoon vanilla extract
For the Ice Cream Finish:
- 5 tablespoons Baileys Irish Cream (grab your favorite bottle!)
Having everything prepped and measured makes the whole process smooth sailing. And hey, if you’re ever curious about making your own Irish cream, check out this cool recipe for homemade Irish cream liqueur!
Essential Equipment for Homemade Baileys Ice Cream
To whip up this dreamy Baileys ice cream, you’ll want a few key players in your kitchen. First up, an ice cream maker is pretty essential – it’s what gives us that perfect churned texture. You’ll also need a medium saucepan for gently heating our glorious custard base. A large mixing bowl is a must for tempering those eggs and cooling down the custard, and some plastic wrap is key to keeping that custard silky smooth while it chills. Having these ready makes the whole process feel so much easier!
Step-by-Step Guide to Make Your Own Baileys Ice Cream
Alright, let’s get down to business! Making your own Make Your Own Baileys Ice Cream is totally achievable, and honestly, it’s a blast. Just follow these steps, and you’ll be scooping out creamy, boozy goodness in no time. Remember, patience here is key!
Preparing the Custard Base
First things first, grab a medium saucepan. Whisk together your heavy cream, whole milk, and sugar. We’re going to gently heat this over medium heat, just until it simmers. Give it a good whisk now and then to make sure that sugar dissolves completely. Once it’s simmering (not boiling, mind you!), take it off the heat. While that’s happening, in a separate bowl, whisk those 7 egg yolks with the vanilla extract until they turn a lovely pale yellow color – give it a good three minutes of whisking. Now, for the tempering! Add about a quarter to half a cup of that warm cream mixture into the egg yolks, whisking like crazy the whole time. This stops the eggs from scrambling! Do this just two or three times, warming them up gradually. Then, pour that tempered egg mixture back into the saucepan with the rest of the cream. Whisk it all constantly over medium heat and bring it back to a simmer. You’re looking for it to thicken up and coat the back of a wooden spoon – this usually takes about six to ten minutes. Again, don’t let it boil!
Chilling the Custard for Optimal Texture
Once your custard is nice and thick, pour it into a large mixing bowl. Let it sit for a few minutes to cool down a bit. Then, here’s a pro tip from your friendly gluten-free chef: lay a piece of plastic wrap directly on the surface of the custard. This stops a weird skin from forming. Pop the whole bowl into the fridge and let it chill out, completely cold. You’ll want at least four hours, but honestly, overnight is even better. The colder the base, the creamier your ice cream will be!
Churning and Adding the Baileys
Now for the fun part! Get your ice cream maker ready – make sure you’ve prepped it according to the manufacturer’s instructions (most need the bowl frozen for a good 24 hours beforehand, so plan ahead!). Pour your super-chilled custard base into the churning machine and let it do its thing. In the last few minutes of churning, when it’s starting to look like soft-serve, carefully pour in your Baileys Irish Cream. Let it churn for another minute or two to incorporate.
Freezing for the Perfect Firmness
Almost there! Once the ice cream is churned to a nice, soft-serve consistency, scrape it out into an airtight container. Pop it back into the freezer for a few hours, maybe two to four, until it’s firm enough to scoop properly. This is where it really sets up and gets that perfect ice cream texture we all love!

Tips for the Best Homemade Baileys Ice Cream
Okay, so you’ve made the ice cream, but want to make sure it’s absolutely perfect? I’ve picked up a few tricks along the way, and honestly, they make all the difference! First off, make sure your ice cream maker’s bowl is super frosty. Seriously, give it that full 24-hour freeze; it’s crucial for getting that smooth, creamy texture without icy bits. Remember that custard consistency we talked about? If it’s too thin, your ice cream might not churn properly. And when you’re adding the Baileys? Don’t dump it all in at once. A slow drizzle in the last few minutes of churning lets it incorporate beautifully without messing with the freezing process too much. It’s these little things that make all the difference between good ice cream and *wow* ice cream. You can find lots more great gluten-free recipes I’ve developed over the years!
Frequently Asked Questions about Make Your Own Baileys Ice Cream
Got questions swirling around like a good ice cream scoop? I’ve got you covered! Here are some things people often ask about whipping up this delicious Make Your Own Baileys Ice Cream.
Can I make this Baileys ice cream dairy-free?
Oh, absolutely! You can swap the heavy cream and whole milk for full-fat canned coconut milk or a really rich, unsweetened plant-based cream alternative. It might change the texture a little, but it’ll still be dreamy!
How long does homemade Baileys ice cream last?
It’s best enjoyed within about two weeks. Make sure it’s in a truly airtight container in the coldest part of your freezer to keep it at its best and prevent those pesky ice crystals!
Can I adjust the amount of Baileys?
You sure can! If you want a stronger Baileys kick, you can bump it up a bit. Just know that more alcohol can sometimes keep the ice cream from freezing quite as firm, so it might be a little softer!
Nutritional Information for Baileys Ice Cream
Just a little heads-up: the nutritional details can change a bit depending on the exact brands and ingredients you use. But, as a good estimate, each serving of this delightful ice cream clocks in around:
- Calories: 412
- Carbohydrates: 35g
- Protein: 4g
- Fat: 27g
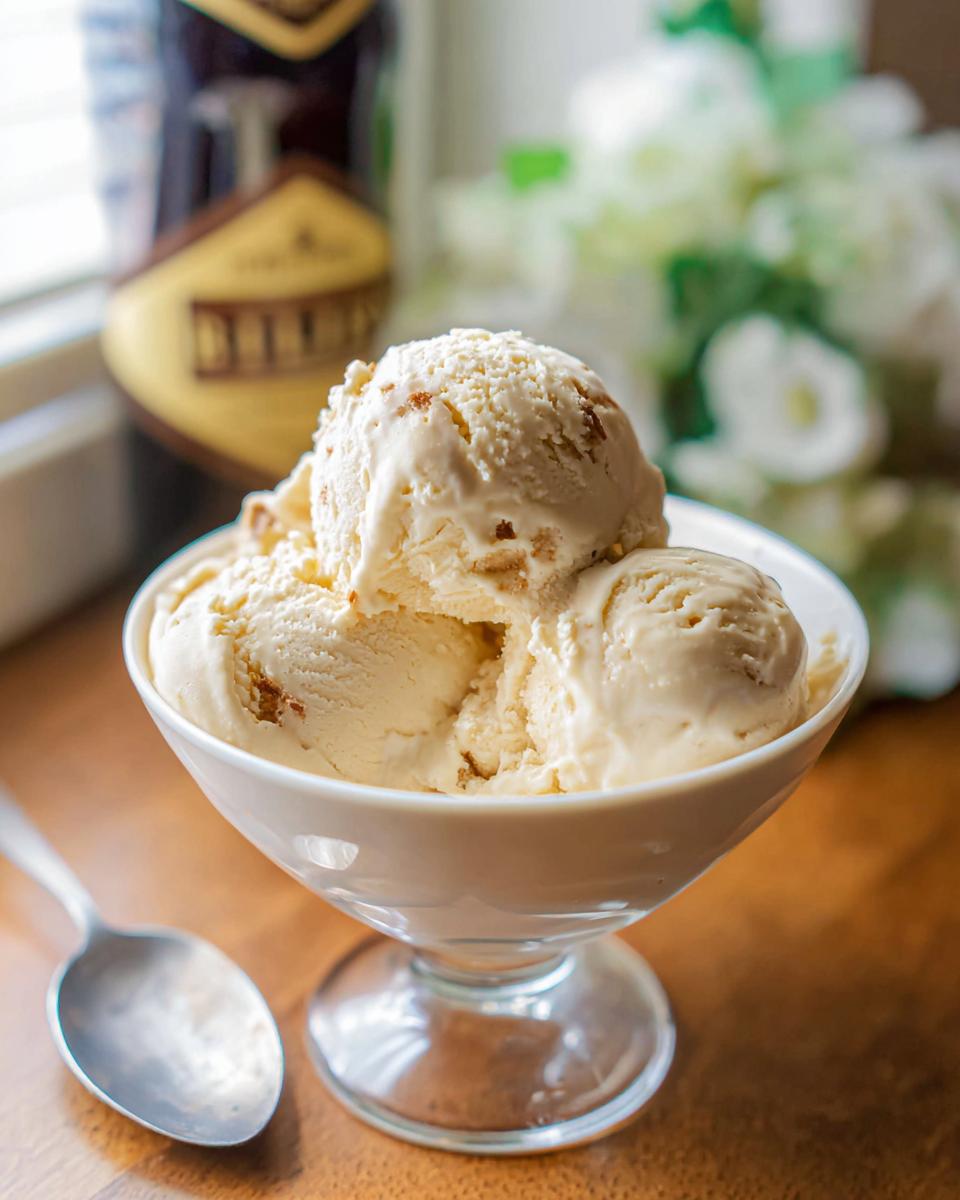
Enjoy every decadent spoonful!
Share Your Homemade Baileys Ice Cream Creations!
I absolutely poured my heart into this recipe, and I can’t wait to hear what you think! Did it turn out perfectly scoopable? Did the Baileys flavor sing? Please, leave a comment below with your honest feedback, and if you snap a pic of your creamy creation, tag me on social media – I’d love to see your amazing Baileys ice cream! You can always reach me directly through my contact page too. Happy scooping!
Make Your Own Baileys Ice Cream
Ingredients
Equipment
Method
- Whisk together the heavy cream, whole milk, and sugar in a saucepan. Bring to a simmer over medium heat, whisking periodically to dissolve the sugar. Once simmering, turn off the heat. Do not bring to a boil.
- In a bowl, whisk egg yolks and vanilla until pale, about three minutes.
- Add about 1/4 to 1/2 cup of the warm cream mixture into the egg mixture, whisking constantly. Repeat this a few times to temper the eggs.
- Add the tempered egg-cream mixture back to the pot. Whisk constantly over medium heat and bring back to a simmer. Cook until the mixture thickens and coats the back of a wooden spoon, about six to 10 minutes. Do not boil. Turn off heat.
- Pour the mixture into a large mixing bowl. Allow to cool for a few minutes, then place plastic wrap directly on the surface of the custard. Refrigerate until cold, at least four hours, or preferably overnight.
- Pour the cold custard into an ice cream maker and churn according to the manufacturer’s instructions. In the last few minutes of churning, pour in the Baileys Irish cream.
- Pour the churned ice cream into an airtight container and freeze for a few hours until firm. Enjoy!
Nutrition
Notes
Tried this recipe?
Let us know how it was!
Gluten-Free Chef & Latin Cuisine Innovation Specialist
My youngest son’s celiac diagnosis at four changed everything. Suddenly, all those traditional Brazilian and Portuguese recipes from my avó needed to be completely reimagined without losing their soul.
After graduating from Johnson & Wales and working Miami’s Latin fusion scene, my son’s diagnosis became my calling. How do you make gluten-free empanadas that taste like childhood? Over eight years, I’ve developed 320+ gluten-free recipes celebrating authentic Latin flavors using cassava flour and plantain alternatives.
My gluten-free empanada recipe won “Best Appetizer” at the 2023 Miami Gluten-Free Food Festival. I ran “Sabores Sin Gluten,” a catering business serving Miami’s Latino community—quinceañeras, family gatherings, all the celebrations that matter.
Food is culture, and everyone deserves to experience the joy of sharing traditional family meals, regardless of dietary restrictions.