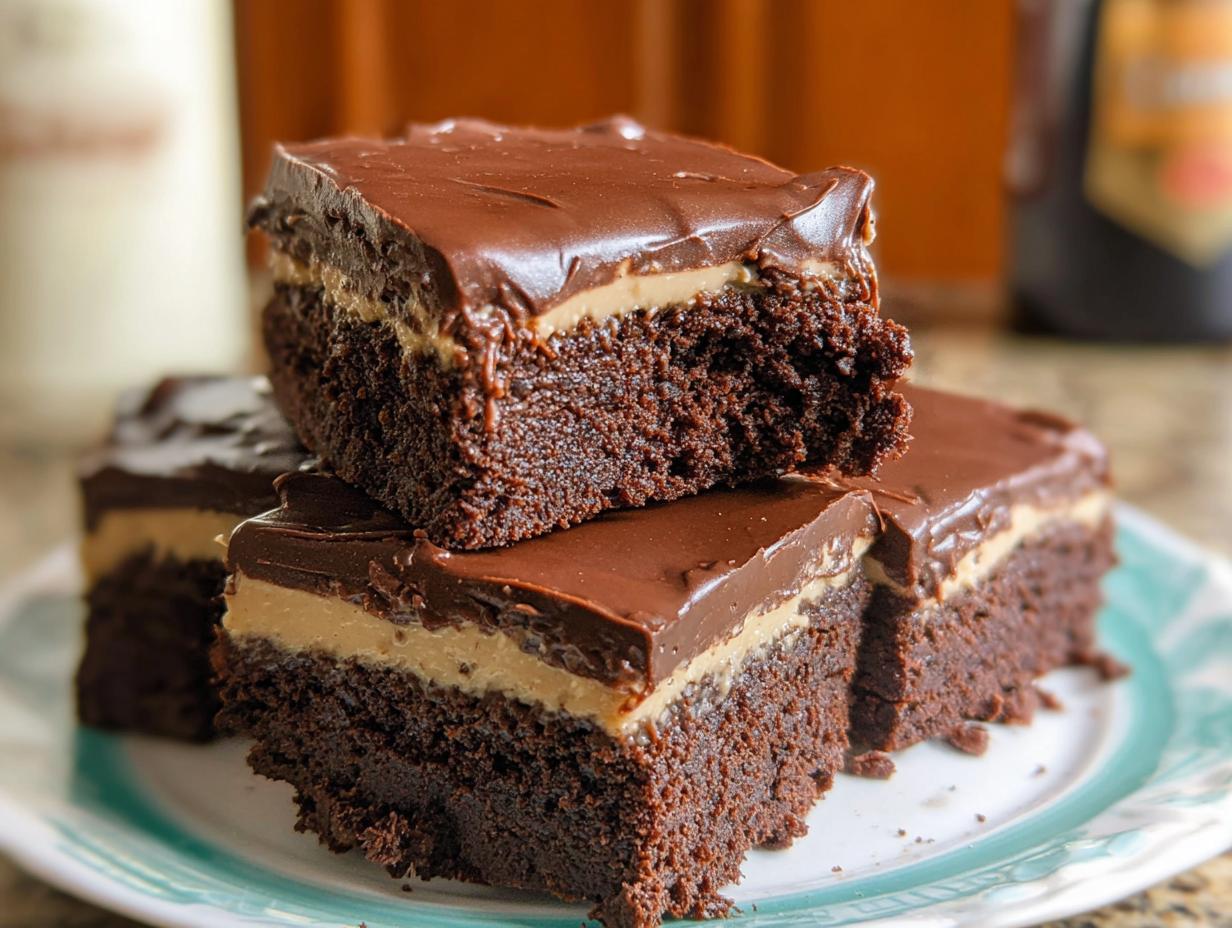
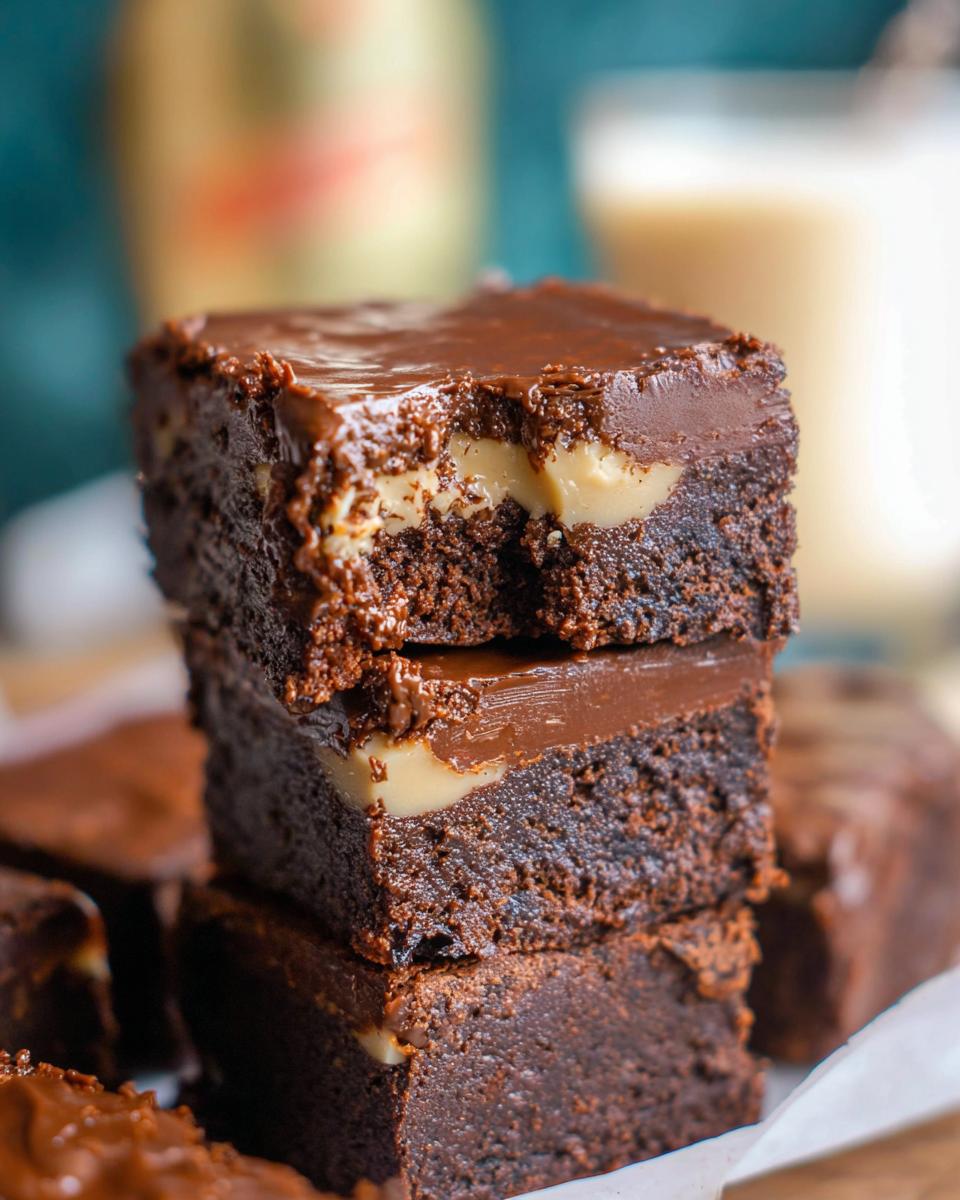
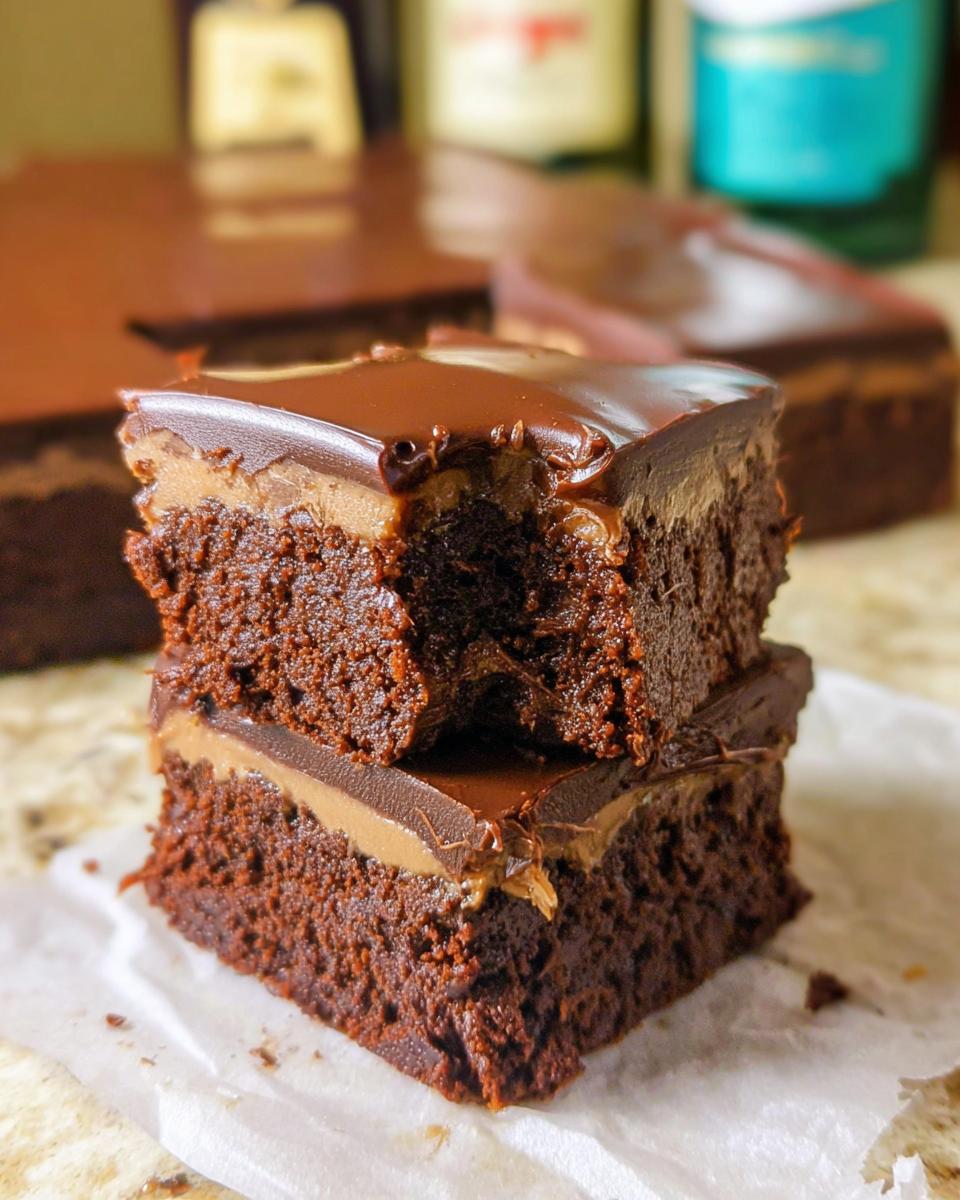
There’s just something magical about a rich, fudgy brownie, right? And when you swirl in that creamy, dreamy Baileys Irish Cream flavor, it takes it to a whole new level of cozy indulgence. That’s exactly what you get with these Homemade Baileys Fudge and Brownies – it’s that perfect marriage of intensely chocolatey goodness and that signature Baileys warmth. I still remember baking with my nonna back in Brooklyn; she never really measured, just used instinct and a whole lot of love. Years later, after I went gluten-free, I really missed that feeling. So, on a chilly December afternoon, I decided to stir some Baileys into my go-to brownie batter, hoping to recapture that memory. Wow! The first bite was pure bliss – rich, velvety, and just so comforting. It’s amazing how food can connect us to our past, even when we need to tweak it a bit.
Why You’ll Love These Homemade Baileys Fudge and Brownies
Seriously, what’s not to adore about these little squares of heaven? They’re:
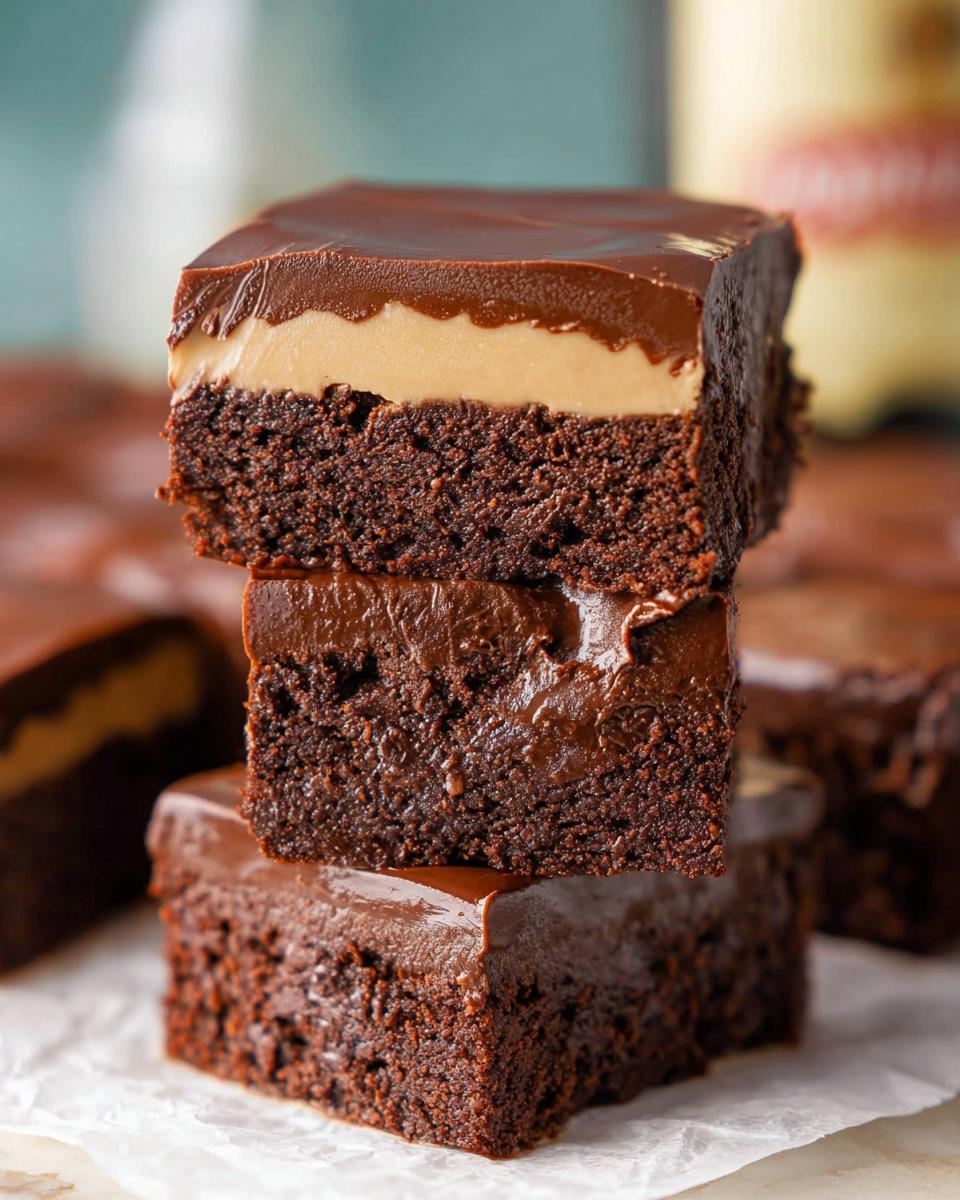
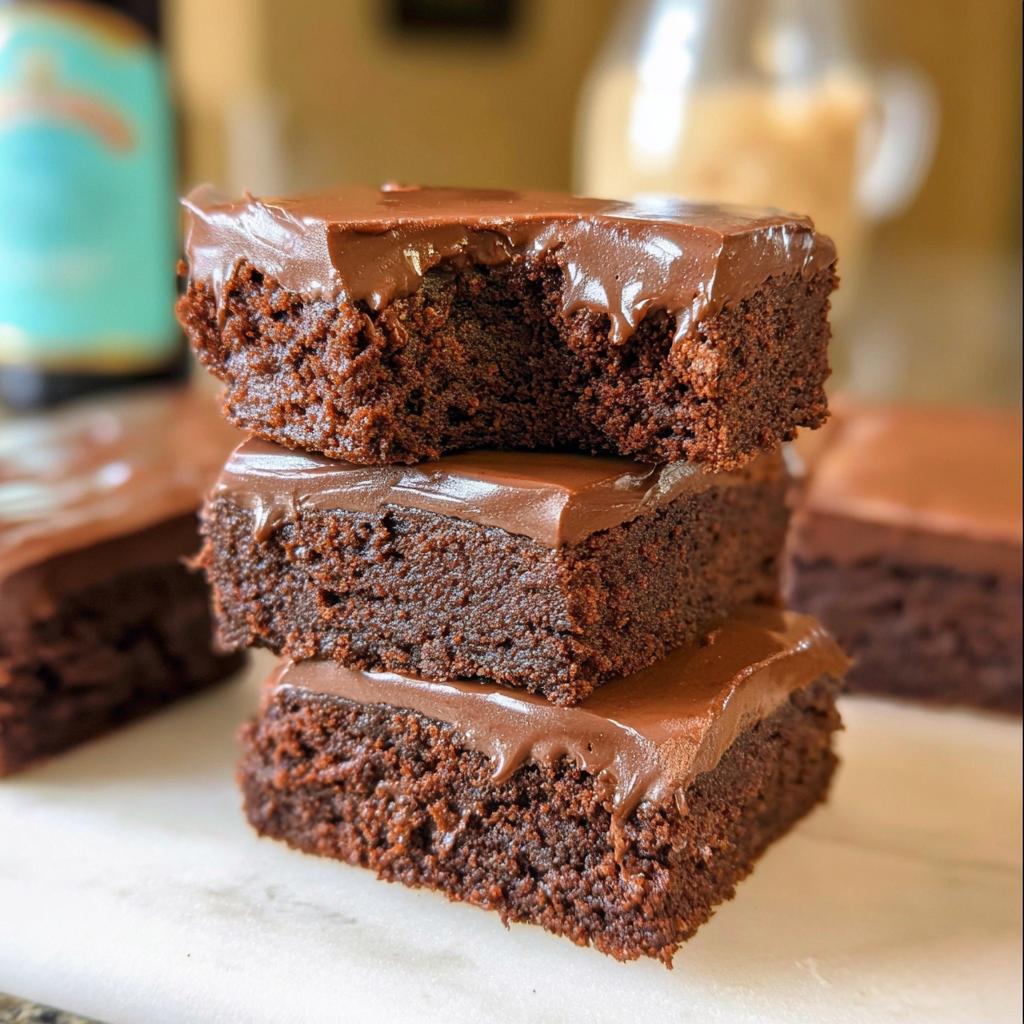
- Incredibly Decadent: You get that amazing, gooey brownie base meet a smooth, velvety Baileys fudge layer. Double the yum!
- So Easy to Make: Honestly, even if you’re new to baking, this recipe is totally doable. The steps are straightforward, and the results are *so* worth it.
- Perfect for Any Occasion: Think holiday parties, Christmas baking gifts, or just a fancy weekend treat. They always make an impression!
- Gluten-Free Friendly: Yep, you can enjoy all this chocolatey goodness without the gluten.
Gather Your Ingredients for Homemade Baileys Fudge and Brownies
Alright, let’s get our ducks in a row! To whip up these glorious Homemade Baileys Fudge and Brownies, you’ll want to round up the following goodies. Trust me, having everything ready makes the whole process so much smoother:
For the Baileys Brownie:
- 3/4 cup (168g) unsalted butter, melted
- 1 cup (207g) sugar
- 1 tsp vanilla extract
- 3 tbsp Baileys Irish Cream
- 2 large eggs
- 3/4 cup (98g) all-purpose flour
- 6 tbsp natural unsweetened cocoa powder (43g)
- 1/4 tsp baking powder
- 1/4 tsp salt
For the Baileys Fudge:
- 1/2 cup (120ml) sweetened condensed milk
- 1 3/4 cups (11 oz | 312g) semi-sweet chocolate chips
- 5 tbsp Baileys Irish Cream (75ml)
- 1/2 tsp vanilla extract
For the Topping:
- 6 oz chocolate chips
- 1 tbsp shortening
Essential Equipment for Baking
You don’t need a fancy kitchen for these! Just grab a dependable 9×9 inch baking pan – lining it is key for easy release. Having a couple of mixing bowls on hand will make combining wet and dry ingredients a breeze, and a small saucepan will be perfect for melting that luscious fudge layer.
Step-by-Step Guide to Homemade Baileys Fudge and Brownies
Alright, let’s get baking! Making these Homemade Baileys Fudge and Brownies is a bit like a delicious puzzle, and I promise, the picture it creates is absolutely worth it. Don’t worry if some steps seem fiddly; I’ve got some little tricks up my sleeve that make everything go super smoothly. My goal is always to make baking feel more like a joy and less like a chore, just like my nonna taught me. So, let’s dive in! You can find even more delicious gluten-free recipes if you’re curious!
Preparing the Baileys Brownie Batter
First things first, get that oven preheated to 350°F (176°C) and prep your 9×9 pan. Lining it with parchment paper is my favorite trick – it makes lifting those beauties out so easy! In a good-sized bowl, whisk together the melted butter, sugar, vanilla, and that lovely Baileys. Then, toss in the eggs and mix until it’s all happy and combined. In a separate bowl, give your flour, cocoa, baking powder, and salt a little whisk to get them acquainted. Now, gently add the dry stuff to the wet and stir until *just* combined. Seriously, don’t overmix here; we want tender brownies, not tough ones!
Baking and Adding the Baileys Fudge Layer
Spread that gorgeous brownie batter evenly into your prepared pan. Pop it into the preheated oven for about 18-20 minutes. You’re looking for that magic moment when a toothpick comes out with just a few moist crumbs clinging to it – no wet batter, but not completely dry either. While those brownies are baking, let’s get the fudge ready. You’ll want to combine the sweetened condensed milk, chocolate chips, and the rest of the Baileys and vanilla in a heatproof bowl. The best way to melt this, in my opinion, is over a gentle double boiler – just set the bowl over a pot of simmering water (make sure the bowl isn’t touching the water!). Stir, stir, stir until it’s all smooth and melty. Once the brownies are out, immediately spread that dreamy Baileys fudge right over the top. It’ll start to set up beautifully. You can see more amazing fudge ideas over at Life Love and Sugar!
Creating the Chocolate Topping and Chilling
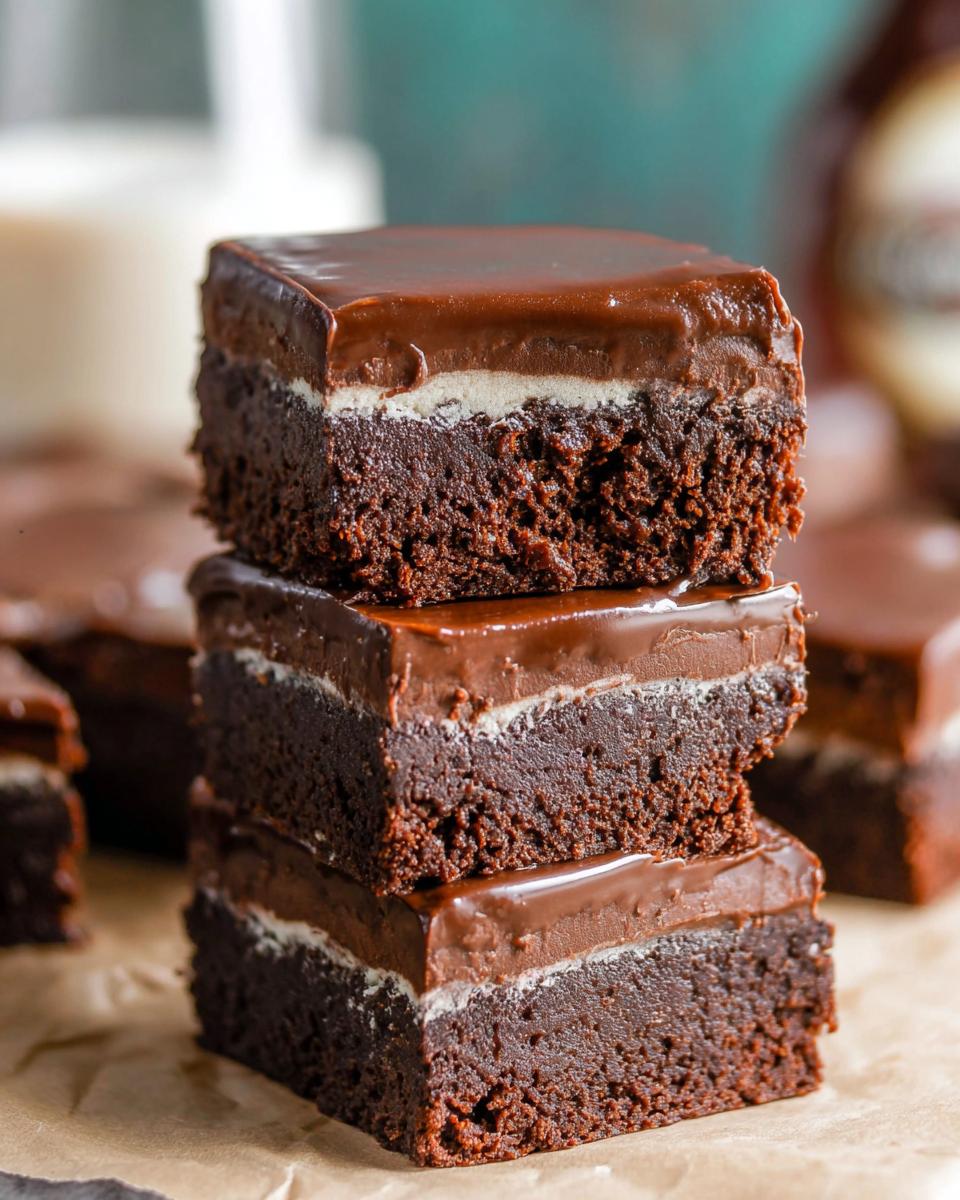
Now for the crowning glory! Gently melt the last 6 oz of chocolate chips with the tablespoon of shortening. A quick trip to the microwave, zapping in 15-second bursts and stirring in between, works like a charm until it’s silky smooth. Carefully spread this chocolate topping over the fudge layer. The hardest part is next: patience! You *must* let these chill in the refrigerator for at least 4-5 hours. This is crucial for the fudge to set properly. Trust me, resisting the urge to cut into them right away makes all the difference!
Tips for Perfect Homemade Baileys Fudge and Brownies
Okay, so you’ve got the recipe, but let’s talk about making these Homemade Baileys Fudge and Brownies absolutely perfect every single time. As a gluten-free baker, I’ve learned a few tricks, and they really make a difference! First off, use good quality chocolate chips – it really does impact that rich, fudgy flavor. And for the Baileys, don’t skimp! A good quality Irish Cream makes the flavor pop. If you’re feeling adventurous, a splash of espresso powder in the brownie batter can really deepen the chocolate notes. Remember, the chilling time is your friend, don’t rush it! For more gluten-free baking tips, check out my other posts.
Ingredient Notes and Substitutions for Your Homemade Baileys Fudge and Brownies
Let’s chat ingredients for these Homemade Baileys Fudge and Brownies! When baking gluten-free, using the right stuff is key. For the flour, I love using a good quality 1-to-1 gluten-free baking blend – they usually have xanthan gum in them, which helps give structure. If yours doesn’t, you might want to add about 1/4 teaspoon. For the chocolate chips, both in the brownie and fudge layers, semi-sweet is my go-to, but you could totally swap for milk chocolate if you like it sweeter, or even dark chocolate if you’re a dark chocolate fanatic! And for the cocoa powder, natural unsweetened is best here; it gives that classic brownie flavor. Don’t have Baileys? A Kahlua or other coffee liqueur would also be delicious!
Serving and Storing Your Festive Treats
These brownies are pretty much perfect all on their own, but they’re also fantastic served with a warm cup of coffee or Irish tea, especially during those cozy holiday dessert moments. They look absolutely stunning as part of a festive treat platter or served alongside other Christmas baking goodies. Once they’re all cut up, just pop them into an airtight container. I like to keep them in the fridge because of the fudge layer; they’ll stay yummy for about 4-5 days. They also make an amazing gift for friends and family! For more ideas on celebrating holidays, you can check out occasions and holidays.
Frequently Asked Questions about Homemade Baileys Fudge and Brownies
Got some questions buzzing around about these delicious Homemade Baileys Fudge and Brownies? I get it! Since I’ve been perfecting these, I’ve heard a few things, and I’m happy to clear them up. They’re honestly one of my favorite holiday desserts and always a hit when I give them as gift ideas. For more about my baking journey, you can check out my About page!
Can I make these brownies without Baileys?
Absolutely! If you don’t have Baileys or prefer not to use it, you can easily substitute it. For the brownie batter, use an extra tablespoon of milk or hot coffee. For the fudge layer, use an extra tablespoon of heavy cream or milk, and maybe add a tiny pinch of almond extract for depth. They’ll still be super fudgy and delicious!
Are these brownies truly gluten-free?
Yes! This recipe is specifically developed to be gluten-free. The key is using a good quality 1-to-1 gluten-free baking flour blend in place of regular all-purpose flour. I’ve tested it thoroughly, and you won’t even miss the gluten; they’re incredibly moist and fudgy.
How long do these brownies last?
Because of the fudge layer, I really recommend storing these in an airtight container in the refrigerator. They’ll stay delightfully fudgy and safe to eat for about 4-5 days. They’re honestly just as good, if not better, a day or two after you make them!
Can I freeze these?
You sure can! Once they’re completely set and cut into bars, wrap them well in plastic wrap and then place them in a freezer-safe container or bag. They should keep well in the freezer for about 2-3 months. Just thaw them in the refrigerator overnight before you’re ready to enjoy them.
Estimated Nutritional Information
Just a heads-up, these numbers are estimates, you know? They can bounce around a bit depending on the brands you use and exactly how you measure things. But generally, you’re looking at about 374 calories per bar, with around 20.8g of fat, 5g of protein, and 44.7g of carbohydrates, including about 36.5g of sugar. Perfect for a little indulgence!
Homemade Baileys Fudge and Brownies
Ingredients
Equipment
Method
- Preheat your oven to 350°F (176°C). Grease a 9×9 baking pan or line it with parchment paper or aluminum foil. This will help you remove the brownies easily.
- In a medium bowl, combine the melted butter, sugar, vanilla extract, and Baileys Irish Cream.
- Add the eggs and mix until well combined.
- In another medium bowl, combine the flour, cocoa powder, baking powder, and salt.
- Add the dry ingredients to the wet ingredients and mix until just combined. Do not overmix.
- Pour the batter into the prepared pan and spread it evenly.
- Bake for 18-20 minutes, or until a toothpick inserted into the center comes out with a few moist crumbs.
- While the brownies bake, prepare the fudge. Combine the sweetened condensed milk, semi-sweet chocolate chips, Baileys Irish Cream, and vanilla extract in a heatproof bowl. Place the bowl over a pot of simmering water (ensure the bottom of the bowl does not touch the water).
- Stir the mixture constantly until everything is melted and smooth. Then, carefully spread the fudge evenly over the baked brownies.
- For the topping, combine the chocolate chips and shortening in a microwave-safe bowl. Microwave in 15-second intervals, stirring between each, until the chocolate and shortening are melted and smooth.
- Spread the melted chocolate topping into an even layer over the fudge.
- Place the pan in the refrigerator to set for 4-5 hours.
- Once set, cut the brownies into bars. Store the brownies in an airtight container in the refrigerator. They are best enjoyed within 3-4 days, but can last up to 5-6 days.
Nutrition
Notes
Tried this recipe?
Let us know how it was!
Gluten-Free Culinary Storyteller & Recipe Heritage Specialist
Getting diagnosed with non-celiac gluten sensitivity in my late twenties felt like losing my Italian identity. Growing up in nonna’s Brooklyn kitchen, learning traditional techniques that suddenly became off-limits—I decided to fight for those family food traditions instead of giving up.
With my food journalism background and European baking training, I became obsessed with recreating authentic flavors in gluten-free formats. I’ve adapted 400+ traditional recipes from various cultures, with my gnocchi recipe winning “Recipe of the Year” from the National Gluten-Free Living Awards in 2022.
I collaborate with the Italian-American Cultural Center to document traditional family recipes and volunteer with the Westchester Celiac Support Group, teaching monthly pasta-making classes.
Food is the heart of family storytelling. No one should sacrifice their cultural heritage due to dietary restrictions.