There is nothing quite like that first warm spoonful of soup when the world outside feels a little too chilly or too loud. For me, it’s more than just food; it’s a hug in a bowl. I remember vividly sitting in my Brooklyn kitchen after my gluten-free diagnosis, clutching my nonna’s recipe book. Nostalgia hit hard, surrounded by the aromas of her memory, and I realized I could take those old, rich flavors and make them work for us now. That experience truly pushed me to figure out How to Make Soup Recipes Like a Pro (2025), focusing intensely on developing true, deep flavor profiles. It’s all about infusing that heritage into a nourishing meal, and I want to show you just how empowering that journey is!
Why Mastering How to Make Soup Recipes Like a Pro (2025) Starts with Flavor Building
You know the difference between a soup that’s just warm water with vegetables and a soup that makes you close your eyes when you taste it? That difference? It’s all about layering flavor. Bland soup happens when you dump everything in and walk away. A pro-level soup, the kind we are making today for How to Make Soup Recipes Like a Pro (2025), demands respect for the building blocks.
We focus on two main things: building that aromatic foundation and using the absolute best liquid we can find. This is where your recipe goes from good to unforgettable. Forget using just water—that’s cheating! We need depth, we need body, and we need that savory backbone.
The Foundation: Sautéing Aromatics for How to Make Soup Recipes Like a Pro (2025)
This is the most important part, seriously! Before the peas and broth even think about entering the pot, you need to spend a good five minutes coaxing sweetness out of your onions, carrots, and celery—your classic mirepoix. We aren’t browning them hard; we want them to sweat until they are soft and shimmering in that olive oil. This melting process releases all their natural sugar, creating a base flavor so deep you won’t need to add much else later. If you rush this step, your whole pot of soup will taste flat. Trust me on this technique for How to Make Soup Recipes Like a Pro (2025).
Stock Quality Over Quantity
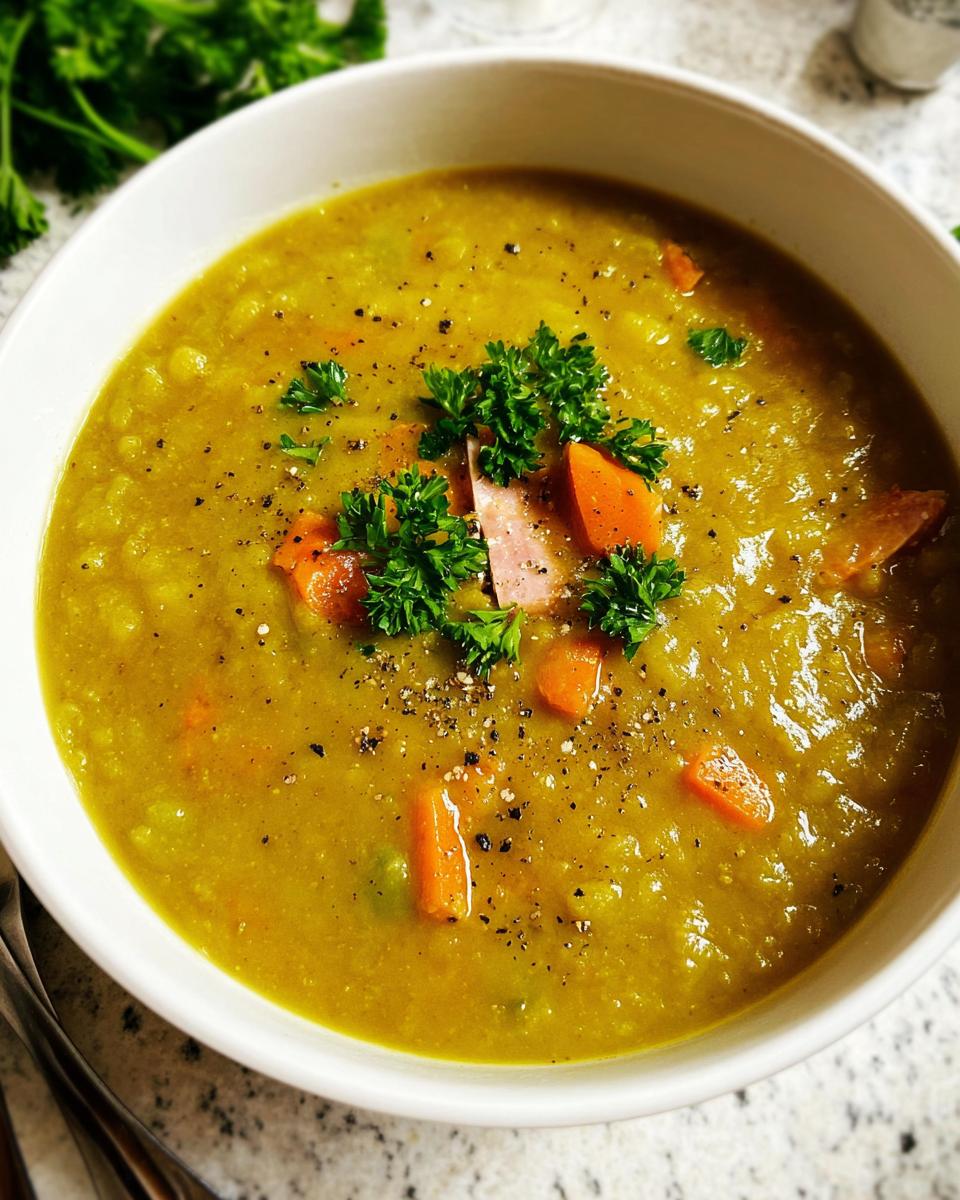
If you skip the ham bone in this split pea recipe, or if you just use water, you’re missing out on magic! Whether you use homemade stock or a really high-quality low-sodium store brand, this is your soup’s soul. The ham bone we toss in doesn’t just taste smoky; it melts down and adds rich collagen, giving our soup that beautiful, velvety texture that canned soups just can’t touch. It takes the soup from thin to comforting in less than an hour!
Essential Equipment for How to Make Soup Recipes Like a Pro (2025)
Okay, you don’t need a mountain of gadgets to make amazing soup, but you do need a couple of reliable workhorses. Having the right tools really does make you feel more confident in the kitchen, which is half the battle when trying to master How to Make Soup Recipes Like a Pro (2025).
For this split pea recipe, the main item is a really big, heavy pot. I absolutely rely on my enameled cast iron Dutch oven for everything, but any large pot or stockpot that heats evenly will do the trick. When you’re simmering something for over an hour, hot spots are your enemy because they lead to scorching, and nobody wants gritty soup stuck to the bottom!
The other tool I specifically called out is a good set of tongs. It sounds silly, right? But when you are fishing out a giant, greasy, flavorful ham bone from boiling hot liquid, you want something sturdy and long! Tongs are safer and give you much better control than a slotted spoon ever could when handling that meaty centerpiece of our soup.
Gathering Ingredients for This Hearty Split Pea Soup
Now that we’ve talked flavor philosophy and the tools we need, let’s get our components organized. Having everything chopped and measured before you even turn on the stove is a game-changer. It keeps your heart rate down when the heat is up! I like to use matching little prep bowls for everything, which makes sliding things into the pot super easy. This list covers everything we need to pull off this incredibly flavorful and healthy dinner.
Soup Base Ingredients
This is where all the aromatic magic starts:
- 2 tablespoons extra-virgin olive oil
- 1 medium onion, diced
- 3 carrots, diced
- 3 ribs celery, diced
- 2 garlic cloves, minced
- 1 pound dried split peas, rinsed—seriously, rinse them well!
- 1/2 teaspoon dried thyme
- 1/2 teaspoon kosher salt
- 1/2 teaspoon freshly ground black pepper
- 1 bay leaf
- 1 meaty ham bone—this is the key to that deep flavor!
- 4 cups low-sodium chicken broth
- 3 to 4 cups water (We start with 3 and save the rest just in case the peas drink too much!)
Finishing Touches
These ingredients make the final presentation gorgeous and complete the texture:
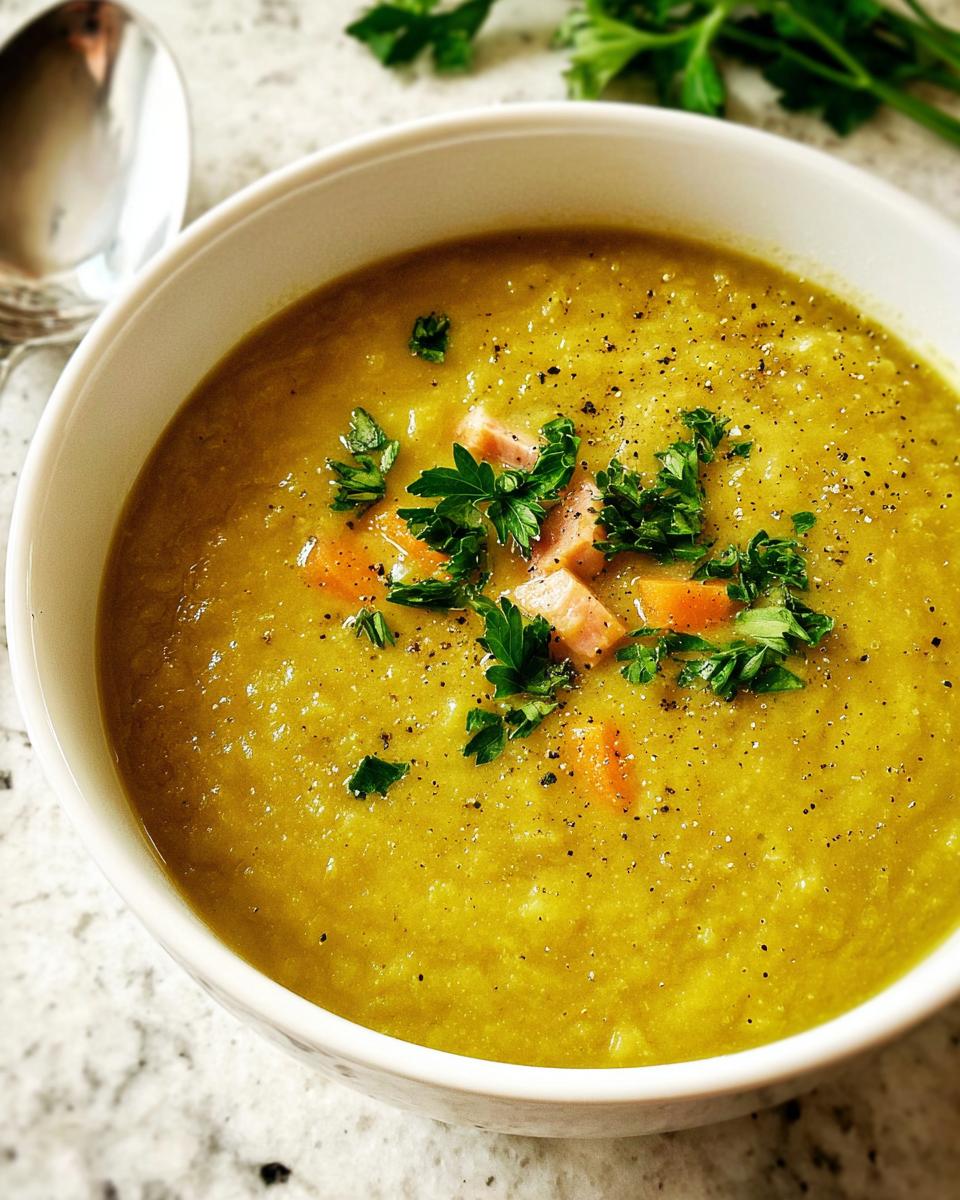
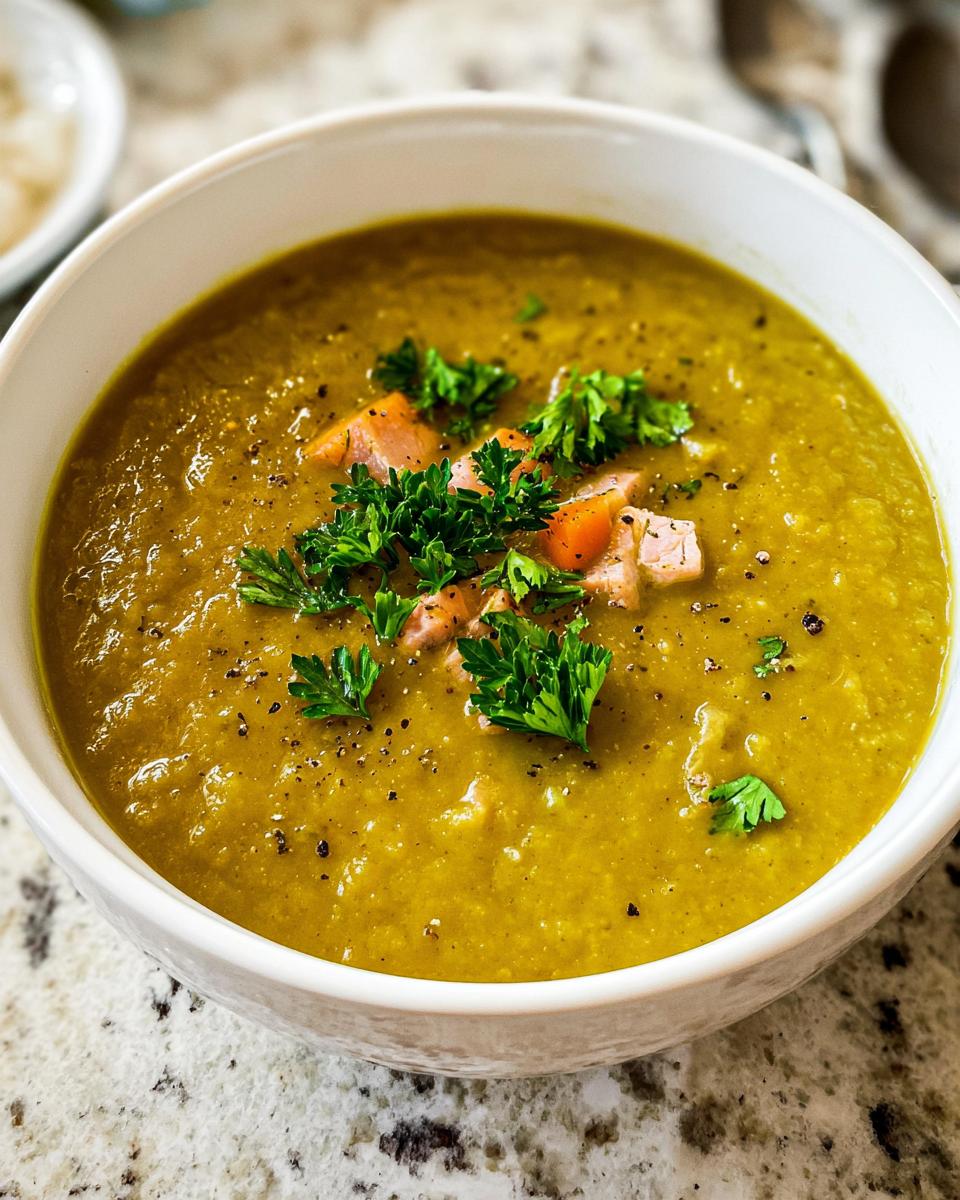
- 1 cup diced ham (from the bone or added separately)
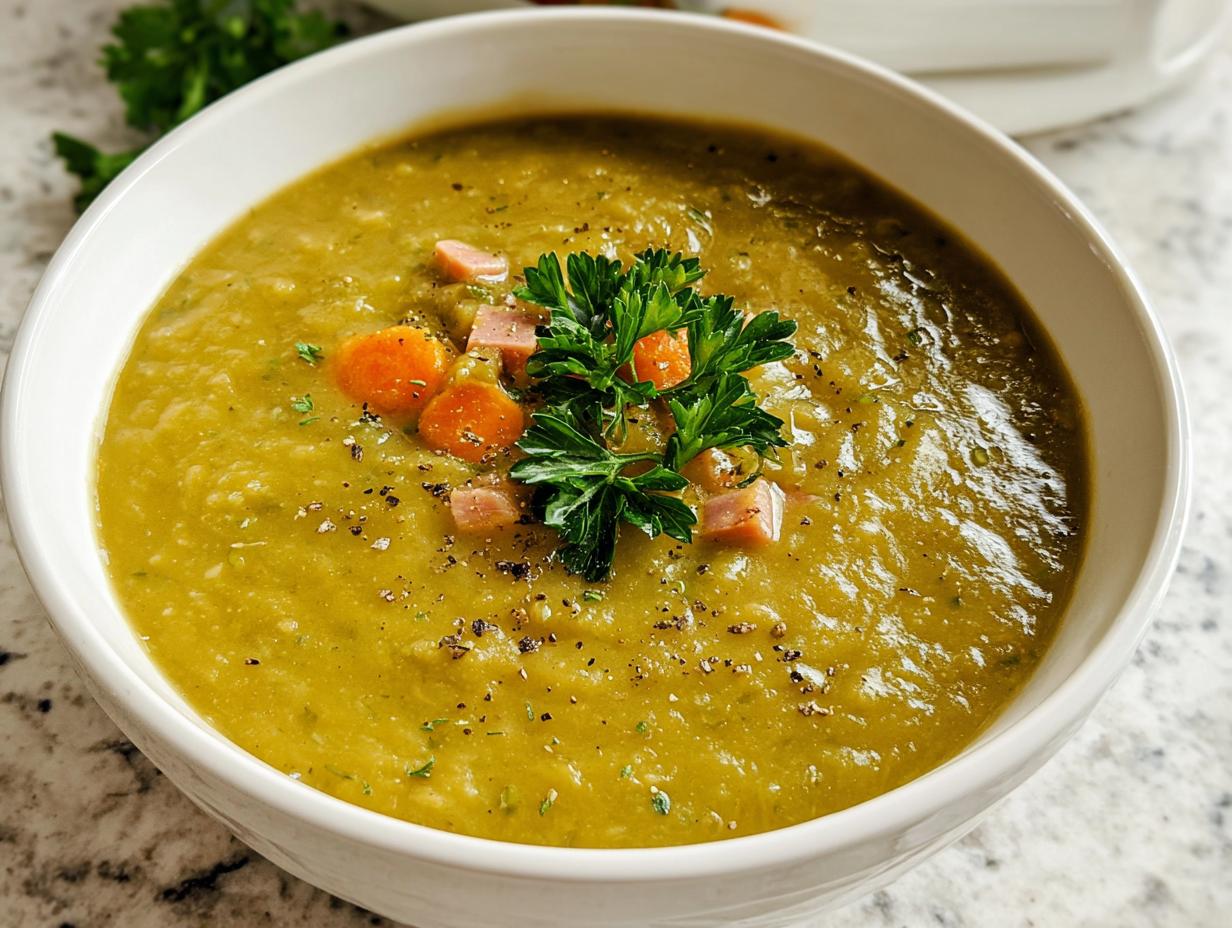
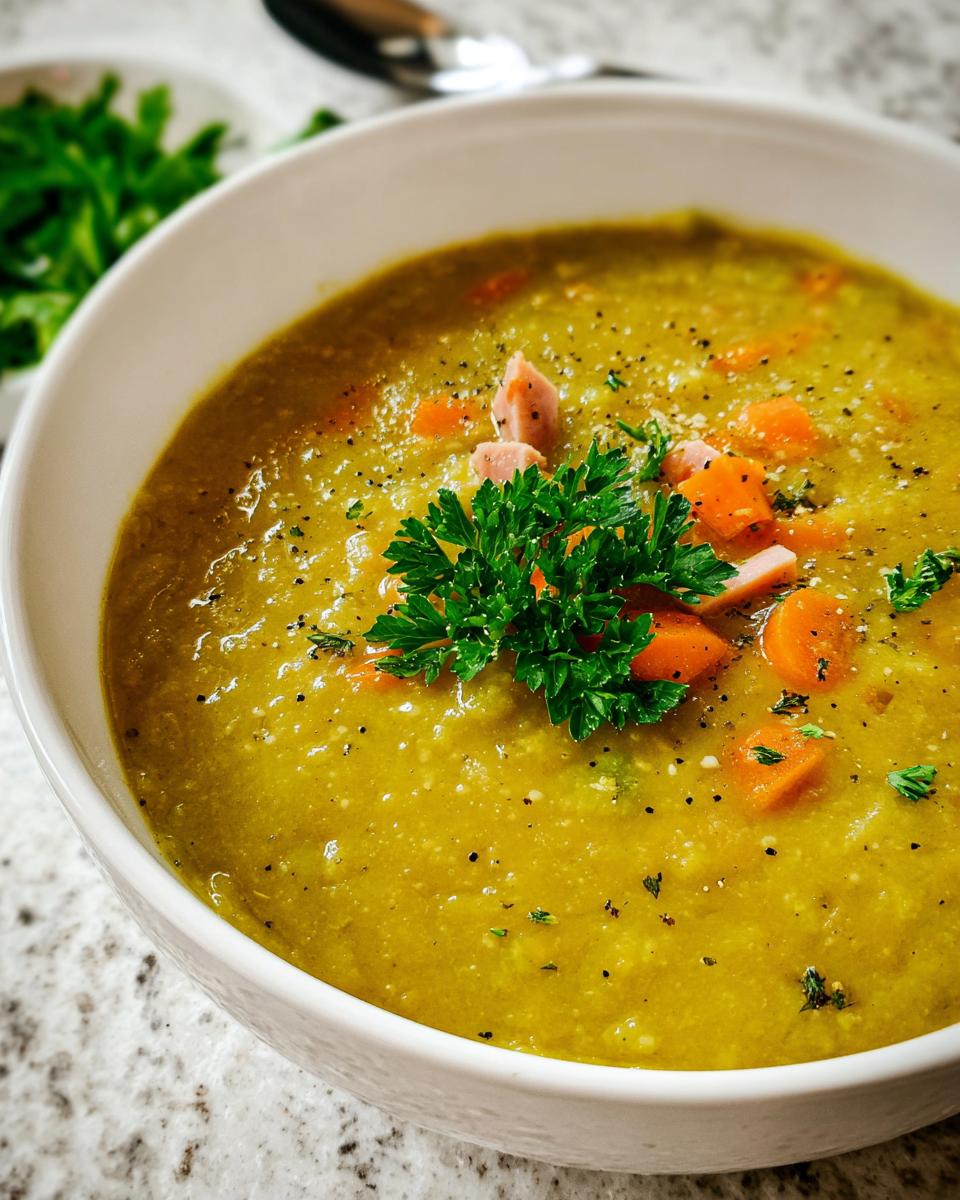
- Finely chopped fresh parsley, for garnish
See? Nothing too complicated, just good quality stuff ready to be layered! Make sure your ham bone has some meat left on it; that’s where all the leftover savory goodness hides.
Step-by-Step Instructions: How to Make Soup Recipes Like a Pro (2025)
When you are trying to figure out How to Make Soup Recipes Like a Pro (2025), the method matters just as much as the ingredients. This split pea soup comes together in phases, and respecting the timing is essential for that professional, silky finish. I’ve learned that the secret to making sure nothing sticks to the bottom while simmering for an hour is to stir it gently but thoroughly every 15 minutes or so—you have to wake those peas up!
Building the Flavor Base
First things first! Get that big pot or Dutch oven over medium-high heat and warm up your olive oil. Now, toss in the onion, carrots, and celery. We aren’t looking for color here; we are just sweating them down until they start getting lovely and soft. That usually takes about 3 to 4 minutes. Once they’re softened up, throw in your minced garlic and let it cook for just one more minute until you can really smell it—don’t let it burn, or you’ll have to start over!
Simmering for Thickness and Depth
Time to layer! Stir in your rinsed split peas, the thyme, salt, and pepper right into those softened vegetables. Give it a good mix so everything gets coated in that fragrant oil mixture. Next, introduce the liquids: the bay leaf, your hero ham bone, the chicken broth, and start with 3 cups of water. Bring the whole thing up to a boil. As soon as it bubbles, dial that heat way, way back to a low simmer. Cover the pot and let it work its magic for 50 to 60 minutes. You’ll see the peas start breaking down and the soup getting thick.
Achieving Perfect Texture in How to Make Soup Recipes Like a Pro (2025)
Once the peas are tender—and I mean really tender—it’s time to reclaim that ham bone! Carefully use your tongs to pull it out onto a cutting board. Let it cool just enough so you can hack off all that delicious meat and dice it up. Add that diced ham right back into the soup. Now, keep simmering it uncovered for another 5 to 15 minutes, or until it looks exactly how you want it. If it seems too thick at this point—and trust me, split pea soup gets shockingly thick—you can stir in that last cup of water we saved. Remember, it thickens even more as it cools off the heat, so aim for slightly looser than you think you want it right now! Toss out that bay leaf and enjoy serving up your perfect rendition of How to Make Soup Recipes Like a Pro (2025).
Pro Tips for Next-Level Soup Flavor
The basic steps are great, and they give you a perfectly satisfying bowl based on tradition, but if you really want to start getting those compliments—the ones where people ask, “What is your secret?”—you need to think about the final adjustments. This is where the real flavor elevation happens, and it’s all about instinct and a few simple finishing touches that seasoned cooks always use.
Even with a rich ham bone lending flavor to this split pea soup, sometimes a soup just needs a little “zing” to lift it out of the heavy, earthy zone. I learned this trick years ago when I was trying to make my vegetable broth richer without just adding more salt. If you want to explore other deeply flavored dinners, check out my recipe for hearty beef and vegetable barley soup!
Acid and Salt Balancing
You might think soup needs more salt, but often, what it really needs is acid. Acid acts like a spotlight, illuminating all the other flavors you’ve worked so hard to build in the pot. Don’t just stop at the kosher salt added earlier! If your soup tastes dull or flat right before serving, reach for something bright.
A tiny splash—maybe just a teaspoon to start—of red or white wine vinegar can work wonders, especially in hearty, thick vegetable soups like this one. Lemon juice is also fantastic. You add it right at the very end, after you’ve turned the heat off, stir it in, and taste again. I promise you, that little bit of sourness cuts through the richness of the ham and makes the carrots taste brighter. It makes your healthy dinner taste expensive!
Infusing Herbs Correctly
Knowing *when* to add your herbs is just as important as knowing *which* herbs to use. We put the thyme and the bay leaf in early with the liquid, right? That’s because those are “hard” herbs. They need that long, slow simmer time, usually 30 minutes or more, to fully release their woody, deep essential oils into the broth. They can handle the heat!
But then you have soft herbs, like the fresh parsley we use for garnish. If you boil parsley for an hour, it turns into swamp-colored mush and loses all its fresh, vibrant flavor. You need soft herbs added at the very last second—literally just before the ladle hits the bowl. That way, they provide a burst of fresh, green aroma that plays beautifully against the deep, slow-cooked flavor of the peas and ham. It’s a contrast that makes the whole bowl sing.
Serving Suggestions: Beyond the Bowl for How to Make Soup Recipes Like a Pro (2025)
This split pea soup is so hearty, it practically counts as its own meal, but we are aiming for that elevated, balanced plate, right? When you’ve mastered the flavor development for How to Make Soup Recipes Like a Pro (2025), you want your serving style to match that effort. Since this soup is thick and incredibly filling, it pairs wonderfully with something simple and wholesome alongside it.
If you are looking for a truly satisfying healthy dinner, skip the heavy bread bowl and look toward grains. We love serving this leftover soup ladled right over a bed of fluffy, warm brown rice or quinoa. Suddenly, you’ve transformed a simple soup into these amazing, comforting rice bowls that taste absolutely gourmet.
For something a little crunchier, try making some simple baked GF crackers seasoned with a little rosemary. Don’t forget that pop of color! A side salad with a sharp vinaigrette is the perfect counterpoint to the savoriness of the smoky ham. It ensures our wholesome meal feels complete and exciting, not just heavy. That’s the final touch that shows off your new pro skills!
Storage and Reheating: Keeping Your How to Make Soup Recipes Like a Pro (2025) Fresh
I always make a huge batch of split pea soup because, honestly, leftovers are where the real magic happens! Unlike some delicate soups, this one actually tastes better on day two. When you’re learning How to Make Soup Recipes Like a Pro (2025), you learn to embrace leftovers!
For refrigeration, make sure the soup has cooled down slightly—don’t put scorching hot soup straight into the fridge, as that can mess with your fridge temperature. Once it’s just warm, transfer it into airtight containers. It should keep beautifully in the fridge for about four to five days. You’ll notice it gets incredibly thick overnight; those peas just keep absorbing liquid!
When you go to reheat it, you absolutely must plan on adding extra liquid. I usually grab my container, scoop out the portion I want, and put it back in a small saucepan with a splash of chicken broth or even just water. Heat it slowly over medium-low heat, stirring frequently, until it’s warmed through and creamy again. If you don’t add liquid, you’ll end up with a solid brick of split pea paste, and nobody wants that for an easy dinner!
Freezing works wonderfully too, though! Just follow the same rule: cool it down first, and leave about an inch of headspace at the top of your freezer-safe container because soup expands when it freezes. It’s great to know you have a container of your own expert soup ready to go for a busy weeknight. This is one of those deeply nourishing meals that’s easiest to enjoy later!
Frequently Asked Questions About How to Make Soup Recipes Like a Pro (2025)
I know you’ve got questions! When you start aiming for that professional level of flavor, sometimes the traditional steps leave you wondering about shortcuts or substitutions. Don’t worry, that’s totally normal, even when you’re trying to nail How to Make Soup Recipes Like a Pro (2025). Here are the things I hear most often when people try this recipe for the first time.
Can I make this soup without a ham bone for a healthy dinner?
Oh, absolutely you can! That ham bone gives us phenomenal depth and smokiness, but if you’re avoiding pork or just don’t have one handy, we have smart substitutions. Since we are focused on a healthy option anyway, we need to replace that smoky richness. I suggest using a teaspoon of liquid smoke, or even better, a teaspoon of smoked paprika stirred in when you add the thyme and seasonings. That will give your soup the depth it needs to still feel like a satisfying, hearty dinner without the meat addition.
What is the best way to serve this if I want rice bowls?
That’s a fantastic idea for turning this into a super substantial, healthy meal! When I’m serving this up as rice bowls instead of just soup bowls, the key is texture contrast. Make sure your soup is on the thicker side—maybe simmer it uncovered for the full 15 minutes during that final stage. Spoon a nice, generous layer of hot brown rice or even quinoa into the bottom of a wide bowl, and then ladle that thick, savory split pea mixture right over the top. Garnish it well with fresh parsley and maybe a drizzle of olive oil for richness. It stacks up beautifully!
How do I ensure my split peas break down completely when I make soup recipes like a pro (2025)?
This is the panic moment for everyone making split pea soup! You’ve simmered for an hour, and you still see whole, hard peas floating around. First thing: you *must* rinse your split peas thoroughly before they ever touch the water. They often have little bits of dust or debris you don’t want floating around. Second: time and gentle heat are non-negotiable. Your soup must maintain a gentle, barely-there simmer for that full 50 to 60 minutes. If the heat is too high, the outside of the pea might dissolve, but the inside stays firm. Keep stirring every so often to prevent any setting on the bottom, and those peas will melt into that creamy perfection we look for when learning How to Make Soup Recipes Like a Pro (2025).
Final Thoughts on Your Soup Journey
See? Making a truly wonderful, restaurant-quality soup isn’t about impossible tricks; it’s just about taking the time to build your flavor layers properly. This ham and split pea recipe is proof positive that slow, careful cooking makes all the difference. Now that you know the secrets, I can’t wait to hear about your results! Do you have a favorite soup technique you swear by? Or maybe you tried the acid trick? If you’re looking for more comfort food inspiration after mastering this one, you should check out my recipe for classic homestyle chicken noodle soup! Drop a comment below and let’s keep this culinary conversation going!
How to Make Soup Recipes Like a Pro (2025)
Ingredients
Equipment
Method
- Heat the oil in a large pot or Dutch oven over medium-high heat. Add the onion, carrots, and celery, and saute for 3 to 4 minutes.
- Add the garlic and saute for another minute.
- Add the split peas, thyme, salt, and pepper. Stir these ingredients together.
- Add the bay leaf, ham bone, chicken broth, and 3 cups of water. Bring the mixture to a boil, then reduce the heat to a simmer. Cover the pot and cook for 50 to 60 minutes, stirring occasionally, until the soup has thickened and the peas have broken down.
- Use tongs to remove the ham bone to a cutting board and dice the remaining meat (about 1 cup of diced ham). Add the diced ham back to the soup.
- Stir the soup and simmer it uncovered for an additional 5 to 15 minutes, or until it reaches your preferred thickness. If the soup is too thick, add the remaining cup of water. Remember that the soup will thicken more as it rests.
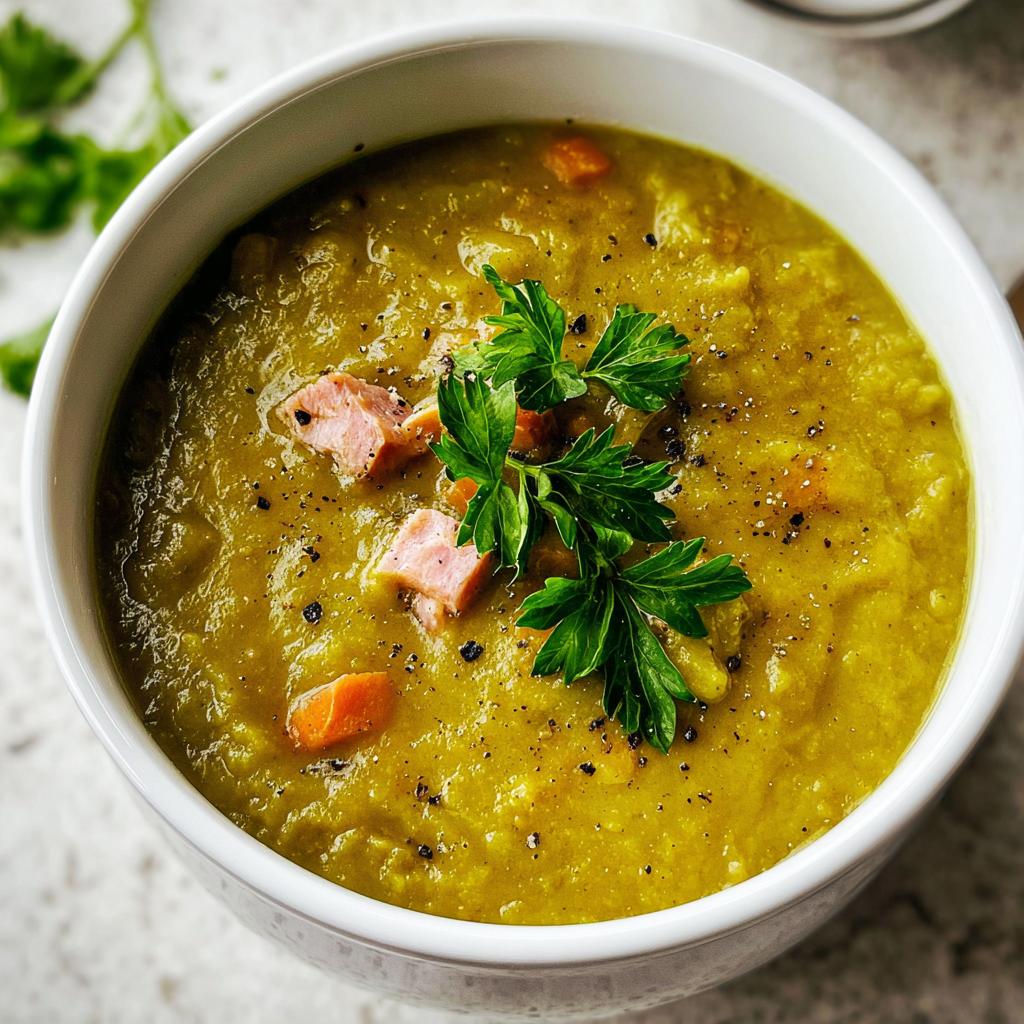
- Discard the bay leaf. Ladle the soup into bowls and garnish with finely chopped fresh parsley and black pepper before serving.
Nutrition
Notes
Tried this recipe?
Let us know how it was!
Gluten-Free Culinary Storyteller & Recipe Heritage Specialist
Getting diagnosed with non-celiac gluten sensitivity in my late twenties felt like losing my Italian identity. Growing up in nonna’s Brooklyn kitchen, learning traditional techniques that suddenly became off-limits—I decided to fight for those family food traditions instead of giving up.
With my food journalism background and European baking training, I became obsessed with recreating authentic flavors in gluten-free formats. I’ve adapted 400+ traditional recipes from various cultures, with my gnocchi recipe winning “Recipe of the Year” from the National Gluten-Free Living Awards in 2022.
I collaborate with the Italian-American Cultural Center to document traditional family recipes and volunteer with the Westchester Celiac Support Group, teaching monthly pasta-making classes.
Food is the heart of family storytelling. No one should sacrifice their cultural heritage due to dietary restrictions.