Oh, the holidays! Doesn’t the pressure to make *everything* perfect sometimes make you want to just order takeout? I used to feel that way, especially around Thanksgiving, because nothing ruins a good side dish faster than soggy stuffing. That’s why I’m obsessed with nailing that crisp edge and rich flavor every single time. Learning the secrets behind Restaurant-Style Stuffing Recipes at Home (2025) changed my whole game!
I still remember the first Thanksgiving I hosted after my son was diagnosed with celiac disease. I wanted the meal to feel just as joyous as the traditions I grew up with, and frankly, the kitchen felt overwhelming. As I experimented with various gluten-free stuffing recipes, the air eventually filled with the comforting smells of herbs and roasting vegetables. The first bite of that perfectly seasoned, flavorful, and textured stuffing brought the biggest smile to his face. That moment told me I could bring that holiday joy back, and now perfecting amazing stuffing is my favorite yearly ritual. I can’t wait to share how you can achieve that gourmet result too!
Why Restaurant-Style Stuffing Recipes at Home (2025) Deliver Superior Flavor
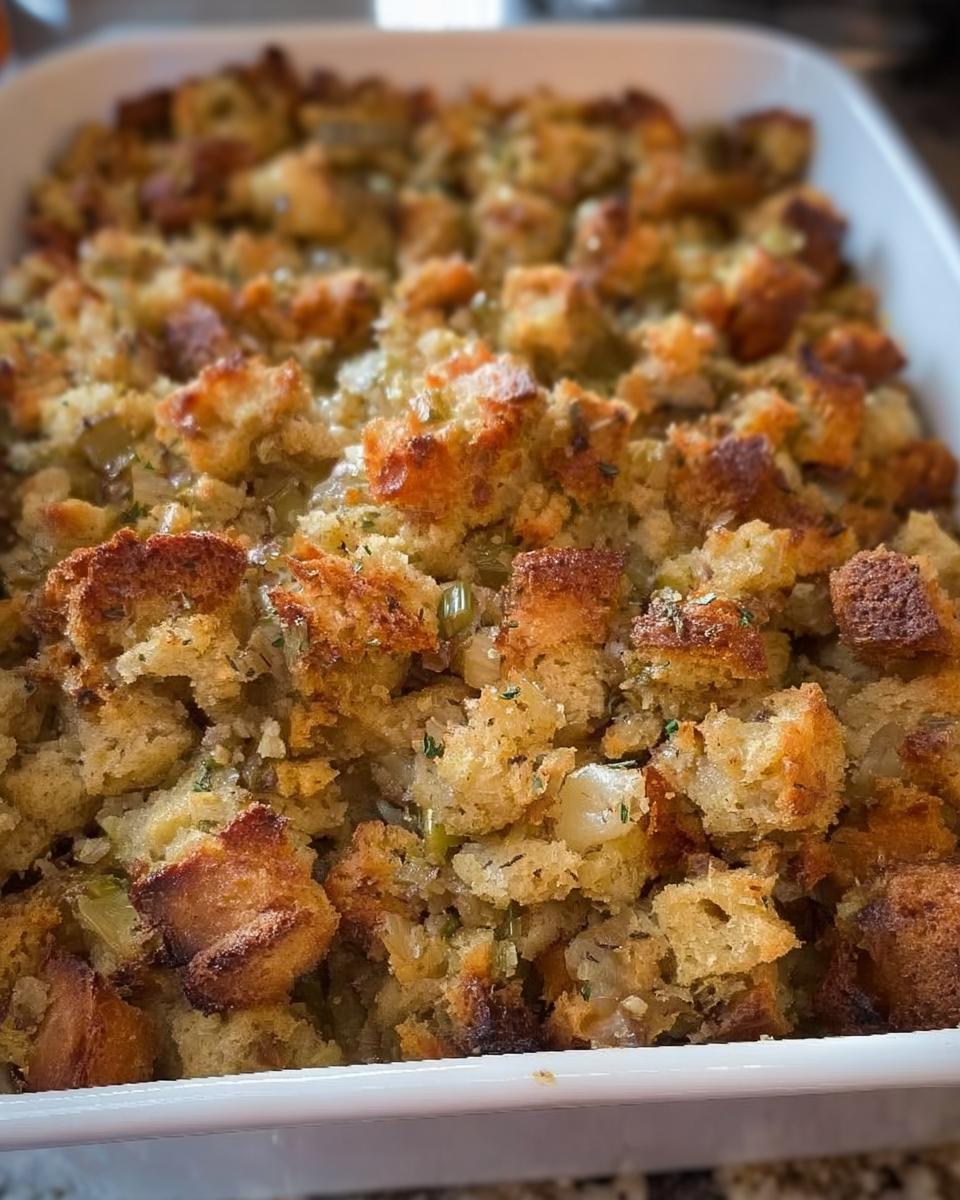
If you’ve ever dealt with stuffing that tastes like a wet sponge, you know what I’m talking about. That’s what happens when you use soft, fresh bread. Restaurant kitchens know the trick: dry bread is the foundation of incredible texture. That’s why we insist on 24 hours of drying time before we do anything else. Trust me, this is the biggest secret to elevating your Restaurant-Style Stuffing Recipes at Home (2025).
The Secret to Perfect Stuffing Texture
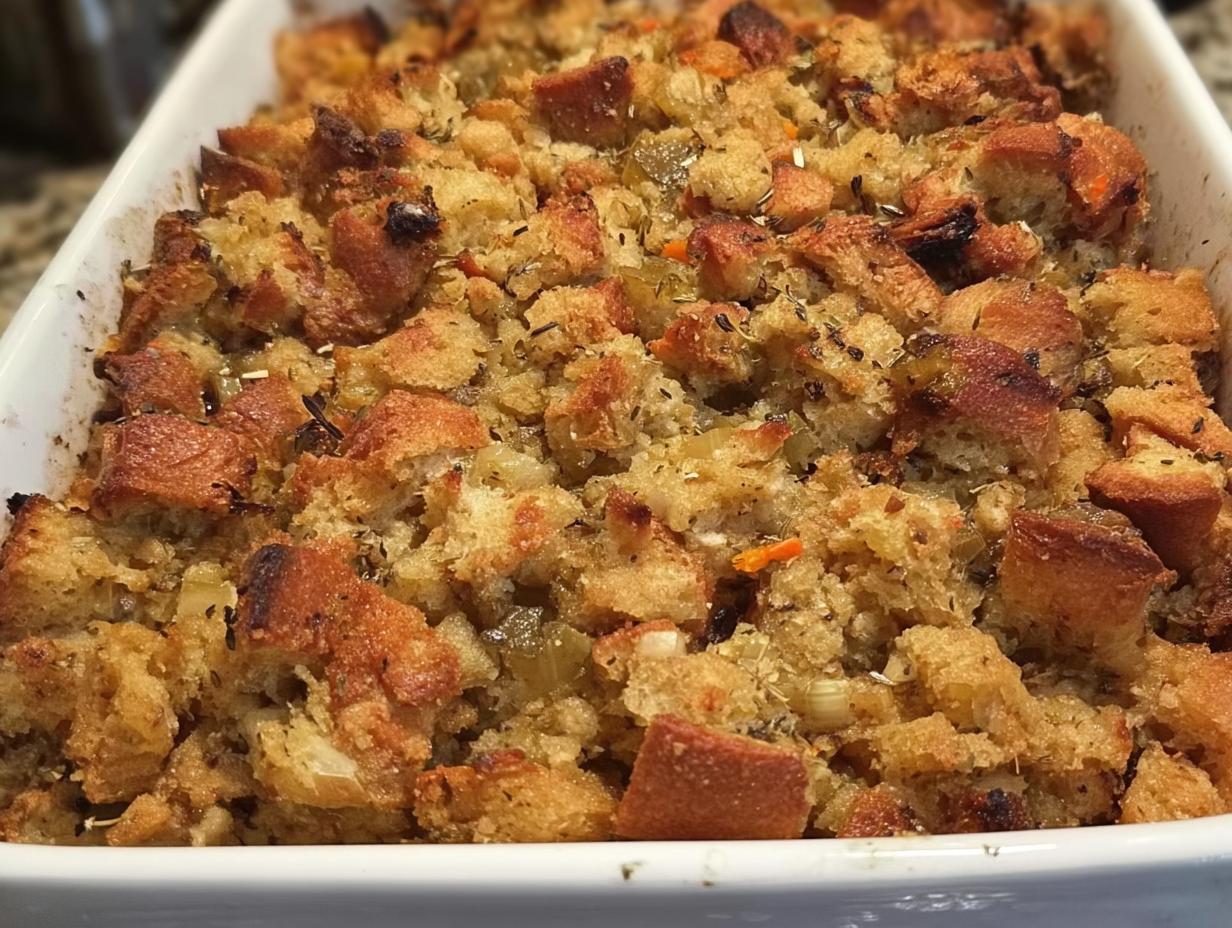
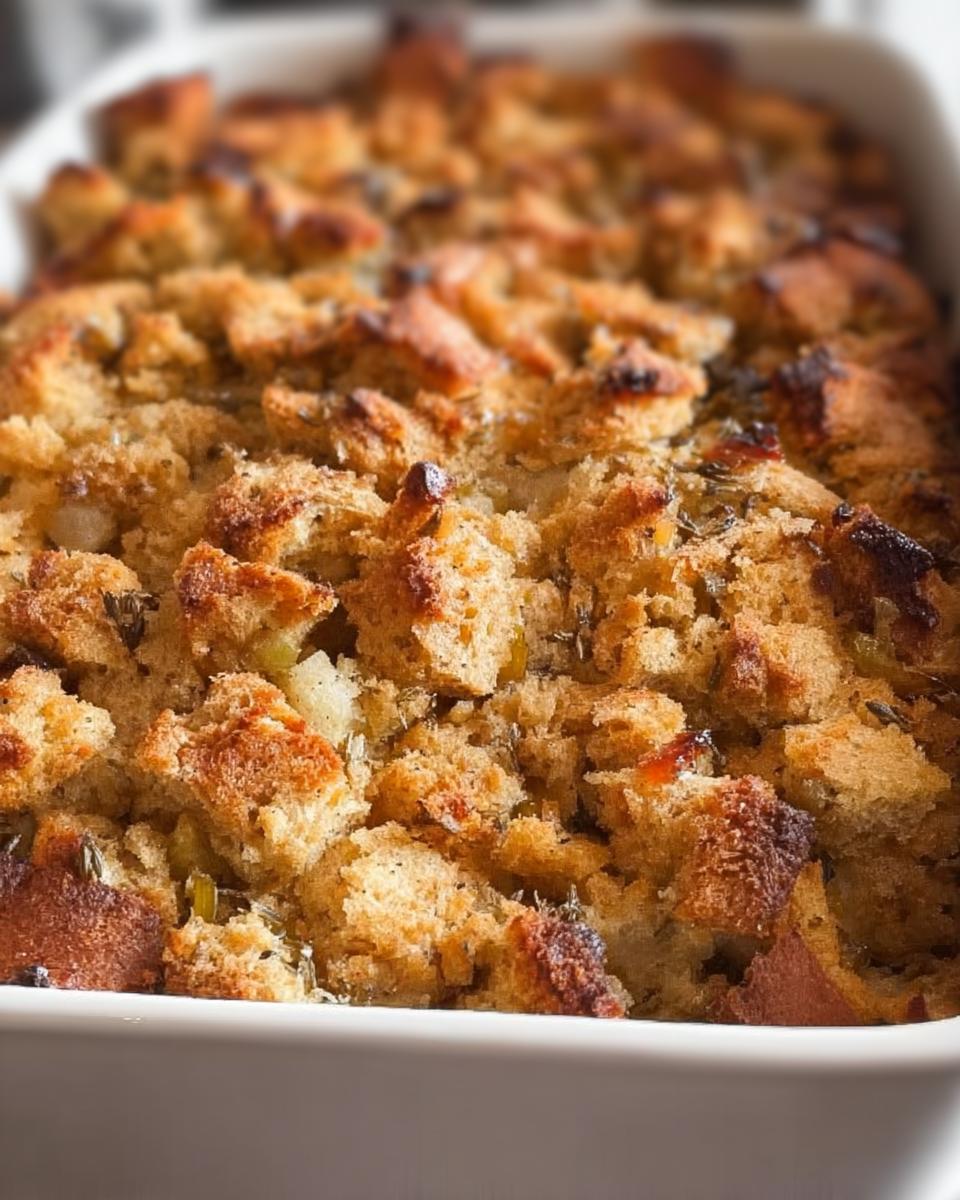
When bread is thoroughly dried—hard as a rock, almost!—it acts like a sponge waiting to happen. It soaks up all that heavenly chicken broth and those buttery herbs without collapsing into mush. The dry bread gives you that wonderful contrast: moist and flavorful on the inside, but beautifully crisp and firm on top. This technique is non-negotiable if you want true restaurant quality on your Thanksgiving table.
Essential Ingredients for Restaurant-Style Stuffing Recipes at Home (2025)
Okay, we’ve talked texture, now let’s talk about exactly what you need to gather. Making stellar Restaurant-Style Stuffing Recipes at Home (2025) means paying attention to every component. I’ve broken down the list so you can shop with confidence. I promise, when you use quality components—especially in your herbs—your holiday table will thank you! If you’re looking for other reliable family favorites, I always keep my best go-to recipes right here—check out my main recipe index!
Bread Base Preparation
This is the foundation, so don’t skimp or rush it! You need 30 slices of white bread. The key here isn’t the type of bread so much as its condition. Remember, those slices must be toasted lightly and then dried out completely for a full 24 hours before you even think about crushing them.
Vegetable Mixture Components
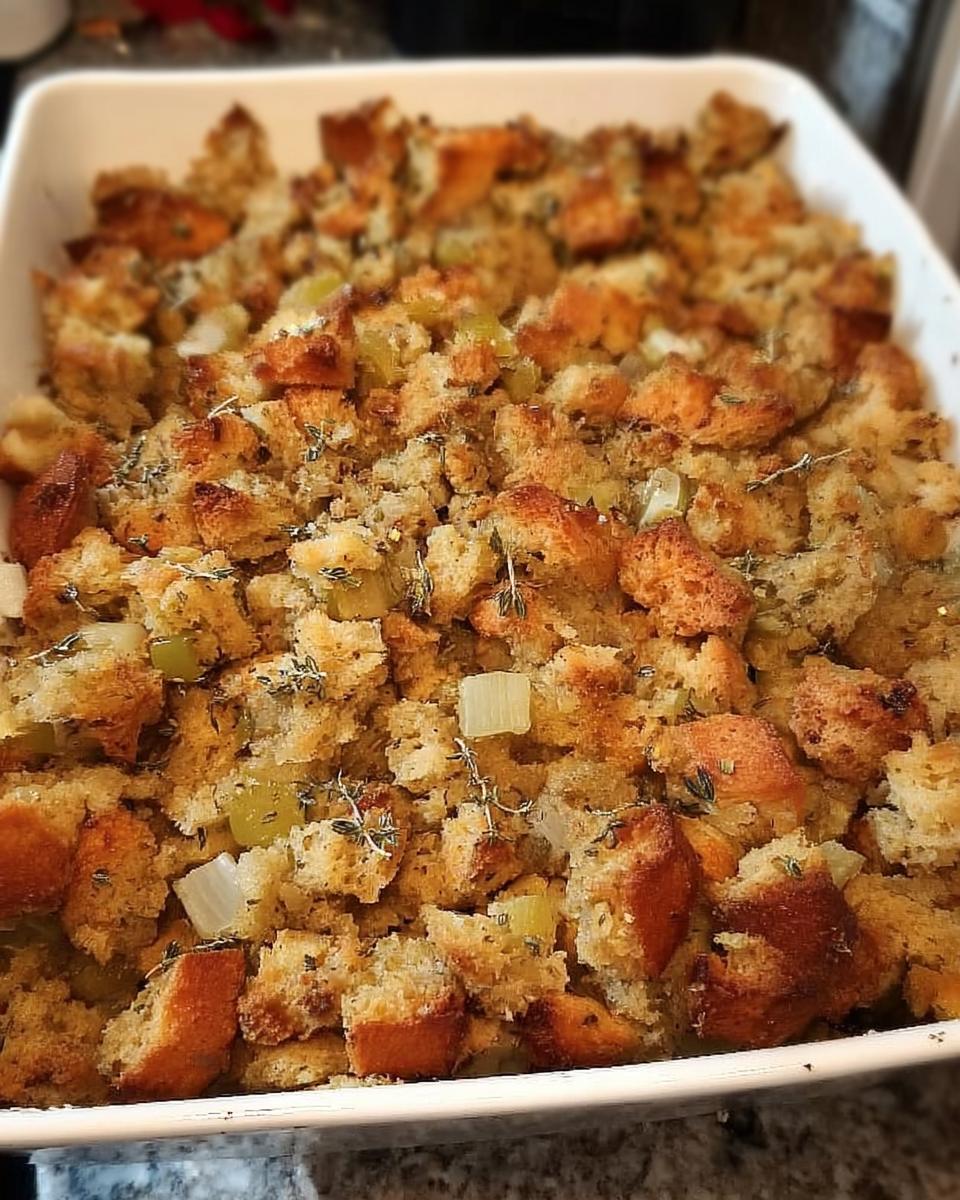
You need two tablespoons of butter to start building that savory flavor. Then come the aromatics: one large onion, finely chopped, and two stalks of celery, also finely chopped. I always stress *finely* chopped! If your veggies are too chunky, they won’t soften properly and they’ll steam the bread instead of flavoring it. Make sure you drain off any excess liquid after you cook these down.
Flavor and Binding Agents
To get that classic, savory holiday stuffing flavor you love, we rely heavily on the herbs. We’re using two cups of chicken broth, two lightly beaten eggs to hold everything together, two teaspoons of rubbed sage, and one teaspoon of garlic powder. Don’t forget your salt and pepper, added to taste! The sage, truly, is what pushes this from good home stuffing to restaurant-next-level.
Step-by-Step Instructions for Restaurant-Style Stuffing Recipes at Home (2025)
Now for the actual assembly! Getting the sequence right is half the battle when you are aiming for those elevated Restaurant-Style Stuffing Recipes at Home (2025). Don’t worry if it feels like a lot of steps; if you’ve already dried your bread, the rest is a breeze. If you’re loving the savory herb vibe here, you absolutely have to try my recipe for herb-roasted baby potatoes when you’re planning your holiday sides!
Drying the Bread: The Critical First Step
If you skipped the crucial 24-hour step, stop right now! Spread those toasted slices out on baking sheets until they are completely hard to the touch. I mean bone-dry. Once they are ready, take your rolling pin and crush those lovely dry slices right into crumbs. You don’t need a food processor for this; crushing them by hand gives you the best mix of fine crumb and tiny chunks.
Sautéing Aromatics
Grab your medium saucepan and melt down those two tablespoons of butter over medium heat. Next, toss in your finely chopped onion and celery. You are just cooking these until they are soft and translucent, which should take about five to seven minutes. As soon as they are soft, pull them off the heat, and please drain off any excess liquid! We want flavor, not water, in our stuffing.
Combining and Seasoning the Stuffing
Time to bring everything together! Pour your broth and your lightly beaten eggs into the bowl with the bread crumbs. Mix gently until everything looks evenly moistened—it shouldn’t be soupy, but it shouldn’t be dusty either. If it seems a little dry, you can add that optional water, just a splash at a time! Stir in your cooked veggies along with the sage and garlic powder, then season generously with salt and pepper until it tastes perfect to you.
Baking for Crisp Perfection
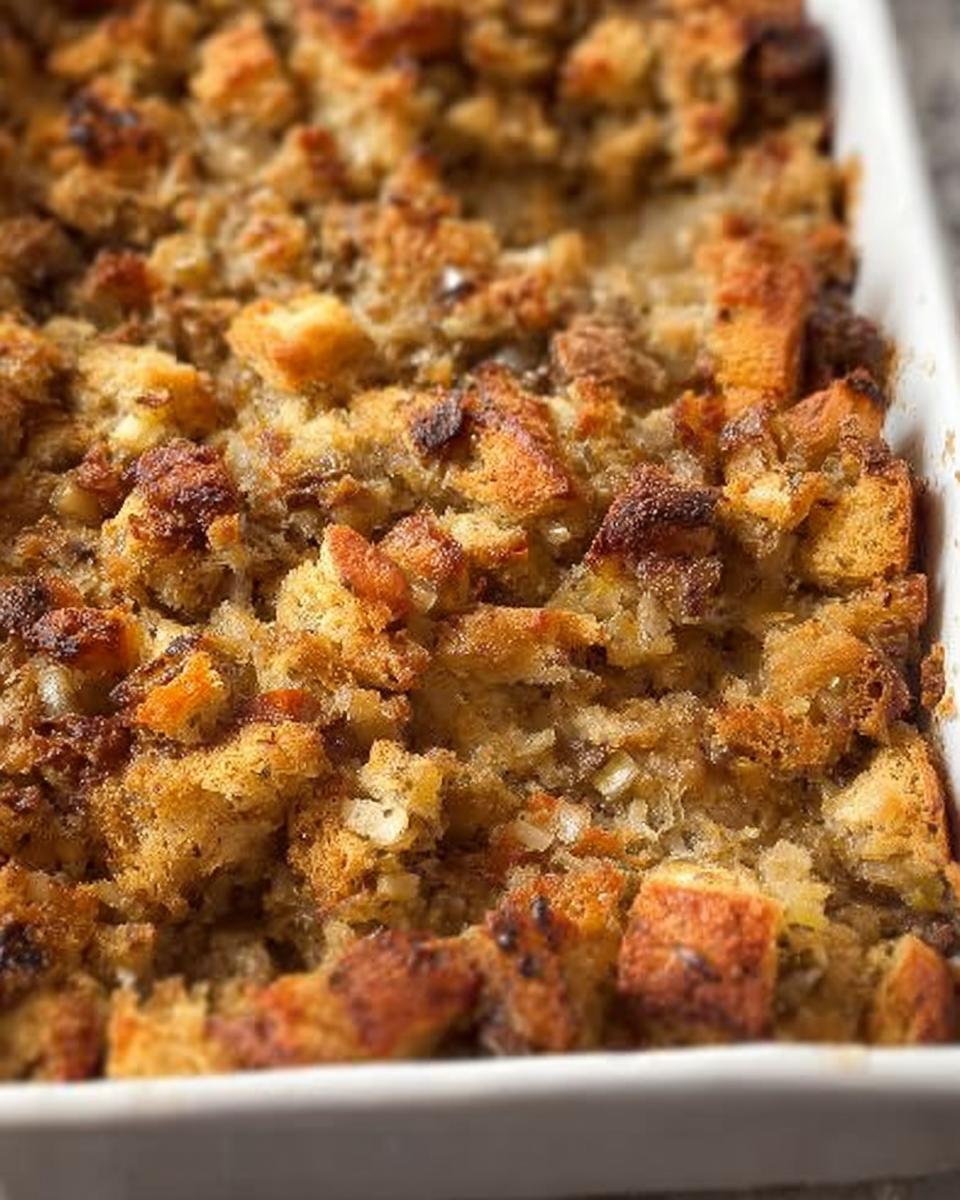
Lightly grease your 9×13-inch baking dish. Press that gorgeous stuffing mixture evenly into the pan. Preheat your oven to 325 degrees F (165 degrees C). We bake this for about one hour until that top layer turns beautifully brown and crisp. If you want a deeper dive on classic methods, this old-school recipe from Allrecipes always gets great reviews, too! Check it out here.
Tips for Success Making Restaurant-Style Stuffing Recipes at Home (2025)
You’ve got the bread dried, you’ve sautéed your veggies, but how do you make sure this is the best stuffing ever? It comes down to the little details we use in Restaurant-Style Stuffing Recipes at Home (2025). Don’t skimp on the quality of your chicken broth; that liquid carries so much of the final flavor, so use the best stuff you can find. If you love heavy herbs like I do, feel free to bump that sage up a bit!
Achieving the Right Moisture Level
This is where people often panic! Once you mix the broth and eggs into your dry bread crumbs, resist the urge to pour in more liquid right away. You want the mixture to look evenly moistened, almost like wet sand, not swimming. If you can squeeze a little bit and only a tiny drop of liquid comes out, you are golden. Too dry, and it bakes up hard; too wet, and you’re back to soggy city. If you’re looking for other savory sides to get this flavor profile right, you have to try my garlic and herb skillet potatoes alongside this stuffing!
Variations on Classic Restaurant-Style Stuffing Recipes at Home (2025)
While this basic template for amazing Restaurant-Style Stuffing Recipes at Home (2025) is perfect, I never stop playing around with additions! Think of this as your base layer for holiday creativity. The recipe notes mention a few additions that really knock it out of the park. You can definitely mix in about a half cup of fresh, chopped parsley right when you add the sage and garlic powder.
For a sweet and savory element, dried cranberries are fantastic! Just toss them in with the bread crumbs. If you want something really hearty and decadent, try frying up some crumbled sausage (like Italian or breakfast sausage) and mixing that in with the sautéed onion and celery. Honestly, once you have that dry bread base locked down, you can add anything your heart desires. If you’re looking for another robust holiday dish, my turkey and sweet potato hash is a lifesaver the day after Thanksgiving!
Serving Suggestions for Your Holiday Stuffing
This amazing savory stuffing isn’t just for Thanksgiving, though it certainly shines at that table! Since this dressing is so well-balanced with herbs and richness, it pairs beautifully with almost any roasted centerpiece. You’ve worked hard to get that perfect texture, so make sure you serve it alongside something that can soak up all those delicious juices.
Obviously, roast turkey is the classic partner, but honestly, this stuffing is fantastic with roasted chicken or even a nice pork loin. If you are looking for a creamy counterpoint to the crispness of the stuffing, you absolutely have to try my recipe for creamy potato leek gratin. They just sing together on the plate!
And don’t forget the gravy! You need that luscious sauce poured right over the top of your perfectly baked stuffing right before you serve it. It makes the whole plate feel comforting and complete. Serve it warm, piping hot off the stove, and watch it disappear!
Storage and Reheating Restaurant-Style Stuffing Recipes at Home (2025)
The best part about making a huge batch of amazing stuffing? Leftovers! Though, we all know reheating stuffing can be tricky; it often dries out instantly. When I store my prize-winning Restaurant-Style Stuffing Recipes at Home (2025), I make sure to keep it in an airtight container. It holds up beautifully in the fridge for about three to four days. Don’t leave it sitting out too long, that’s for sure!
To bring it back to life, you need moisture back in the mix. Don’t just microwave it plain! Cover the serving with a damp paper towel before microwaving, or, even better, reheat it slowly in a baking dish covered tightly with foil. Tip: Adding a splash or two of extra chicken broth underneath the foil before baking briefly helps steam it back to that perfect, moist-on-the-inside texture!
Frequently Asked Questions About Making Stuffing
I get so many questions every year once Thanksgiving approaches, especially about how to get that perfect crunchy texture on top of the stuffing. It’s smart to ask! Here are a few things folks often wonder about when they are trying to perfect their holiday dressing.
Can I use store-bought dried bread cubes instead of drying my own?
You certainly *can*, and if you’re super pressed for time, go for it! But if you want true, restaurant-style stuffing, you might notice a difference. The store-bought cubes are often too uniform, and sometimes they are denser than the bread you use here. We let those fresh slices dry for 24 hours specifically to control the exact density and absorbency. If you use cubes, I’d maybe soak them in the broth for ten extra minutes before mixing to ensure they drink up enough flavor.
What is the best way to adjust the herbs for a stronger flavor?
That’s a great question if you love that earthy sage flavor that defines great Thanksgiving stuffing! If you are using dried herbs, you can absolutely increase the sage from two teaspoons to a full tablespoon. However, if you happen to have fresh sage, that will give you the best, brightest flavor possible. If you use fresh, you’ll need about triple the amount compared to dried, and chop it really, really fine so it distributes evenly throughout the bread mixture.
If you have more cooking questions or need to get in touch about something else, feel free to reach out through my contact page over here: Let’s get in touch!
Share Your Restaurant-Style Stuffing Recipes at Home (2025) Experience
Okay, now that you have all my secrets for making truly glorious, crisp-on-the-outside, flavorful-on-the-inside stuffing, I really want to hear from you! Don’t let this recipe just sit in your bookmarks; get that bread drying today!
Have you tried making these Restaurant-Style Stuffing Recipes at Home (2025) for your family yet? Please come back and drop a comment below to tell me how it went. Did your family notice the difference between this method and the old, soggy version?
If you loved this recipe and it made your gathering extra special, please give it a star rating right here on the page. Saving it to your favorite boards or printing it out means the world to me, as it helps me keep sharing these traditions! Happy cooking, and may your next holiday meal be filled with delicious, perfectly textured stuffing!
Restaurant-Style Stuffing Recipes at Home (2025)
Ingredients
Equipment
Method
- Spread the toasted bread slices on baking sheets and let them sit out at room temperature until they are hard, which takes about 24 hours.
- When the bread slices are ready, gather all other ingredients. Preheat your oven to 325 degrees F (165 degrees C). Lightly grease a 9×13-inch baking dish.
- Crush the dried bread slices into crumbs using a rolling pin. Transfer the crumbs to a large bowl.
- Melt the butter in a medium saucepan over medium heat. Stir in the onion and celery; cook and stir until they are soft, which takes 5 to 7 minutes. Remove the mixture from the heat and drain any excess liquid.
- Stir the chicken broth and eggs into the bread crumbs; mix until the mixture is evenly moistened but not soggy. Add water if you feel it needs more moisture. Mix in the cooked onion and celery, sage, and garlic powder. Season with salt and pepper to your taste.
- Press the dressing mixture into the prepared baking dish.
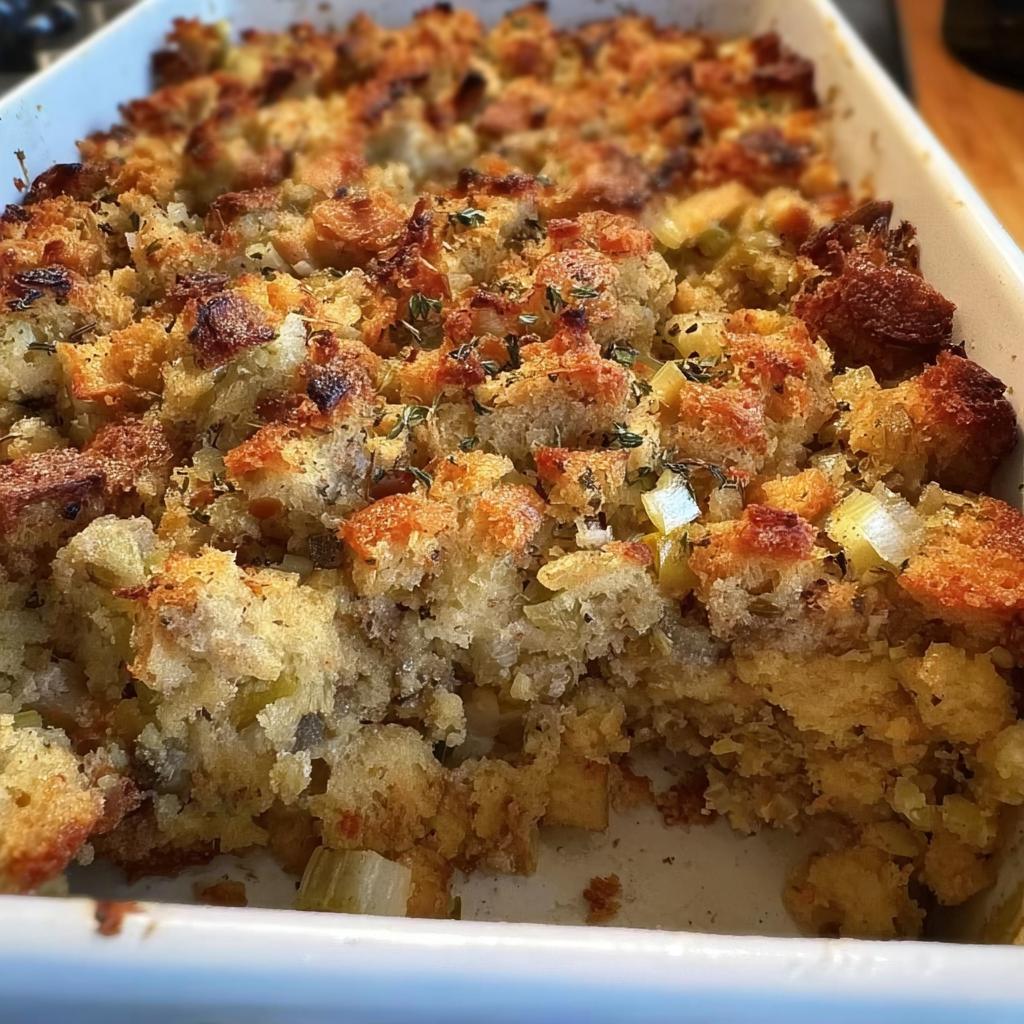
- Bake in the preheated oven until the top is brown and crisp, about 1 hour.
- Serve the stuffing hot.
Nutrition
Notes
Tried this recipe?
Let us know how it was!
Gluten-Free Nutritionist & Family Meal Planning Expert
Working as a pediatric dietitian at Children’s Hospital of Denver, I kept meeting families overwhelmed by managing their children’s celiac disease. Parents stressed, kids frustrated, everyone eating bland boxed “gluten-free” products.
That’s when I realized my calling: creating practical, balanced gluten-free solutions for real families with busy schedules. I’ve developed 375+ family-friendly recipes focusing on lunch boxes, after-school snacks, and make-ahead dinners that actually work.
My meal planning system was featured in Parents Magazine, and I presented research at the Rocky Mountain Pediatric Nutrition Conference. My evidence-based approach ensures recipes meet both taste and health standards—families need solutions that work in the real world, not just perfect test kitchens.