It feels like forever since I realized I was stuck in a dinner rut! Weeknights flew by, and I needed seriously fast, flavorful food that didn’t sabotage our gluten-free eating goals. If you’ve been there, staring into the fridge wondering how to make chicken thighs exciting again, I get it. I remember the first time I introduced chicken thighs into our family meal rotation. My kids used to turn their noses up at anything that didn’t look familiar, but I was determined to make dinner exciting again. I marinated the thighs in a homemade sauce that I found while experimenting one rainy afternoon. The aroma wafted through the house, and to my surprise, when I served them up with just a simple side of veggies, my children couldn’t get enough. They even asked for seconds! That meal sparked a love for chicken thighs in our home that has evolved into countless delicious recipes, all while ensuring our meals are gluten-free and family-friendly, which, as a Gluten-Free Nutritionist, is huge for me. Friends, this combination of juicy texture and easy prep is why I call this The Only Chicken Thigh Recipes Recipe You’ll Need (2025).
Why This is The Only Chicken Thigh Recipes Recipe You’ll Need (2025)
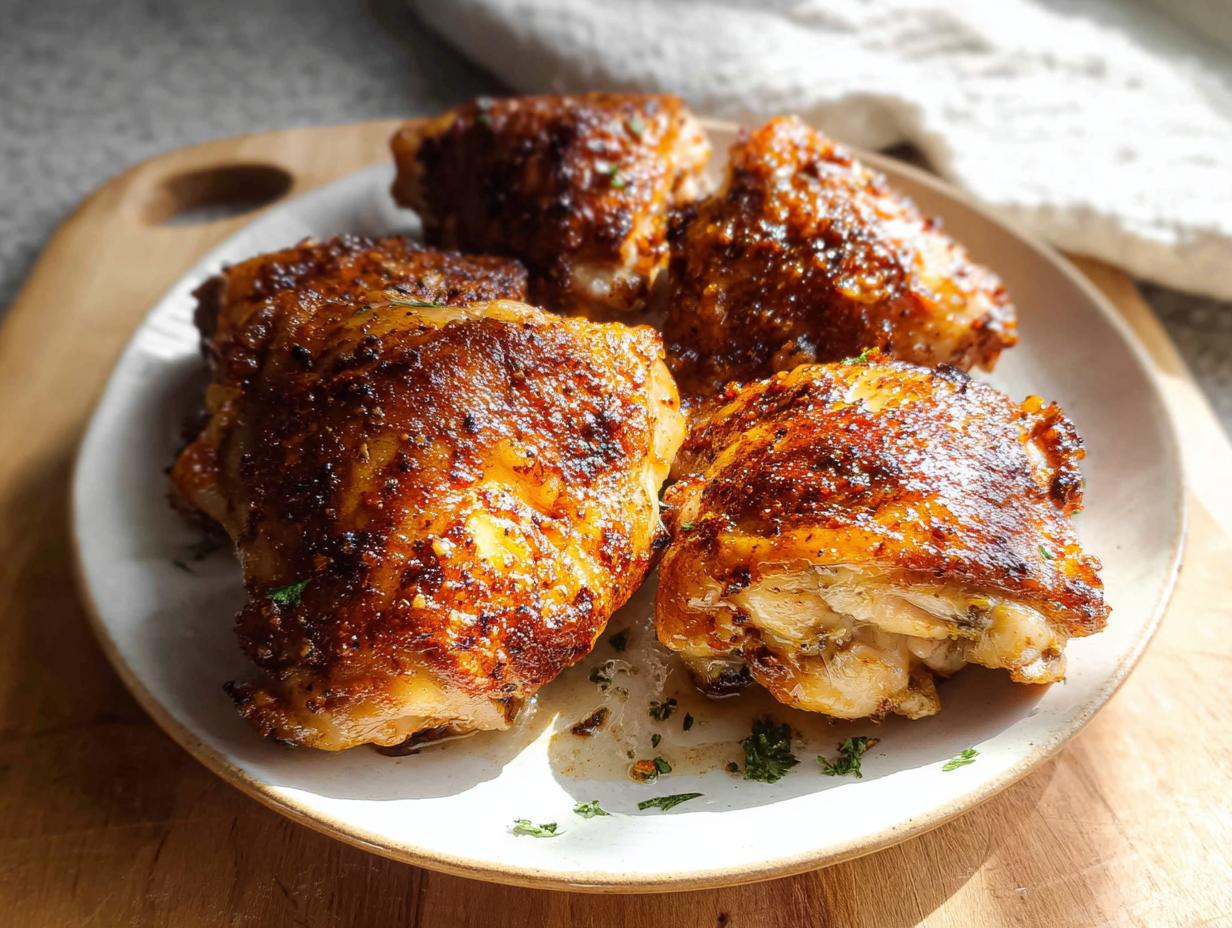
I’m telling you, this baked chicken thigh method is an absolute game-changer when you’re hitting that midweek dinner wall. You get incredible, deeply flavored chicken that falls right off the bone, and it all comes together before you can even worry about which flavor of takeout you want. We skip the complicated marinades here, trust me. It’s all about making amazing flavor possible in minutes so you can get back to the rest of your evening.
This recipe is my go-to for so many reasons that are perfect for families like ours. You can trust that it’s going to deliver a dinner win every time. Check out why this simple bake tops my list:
- It’s completely gluten-free right out of the gate—no need for confusing substitutions!
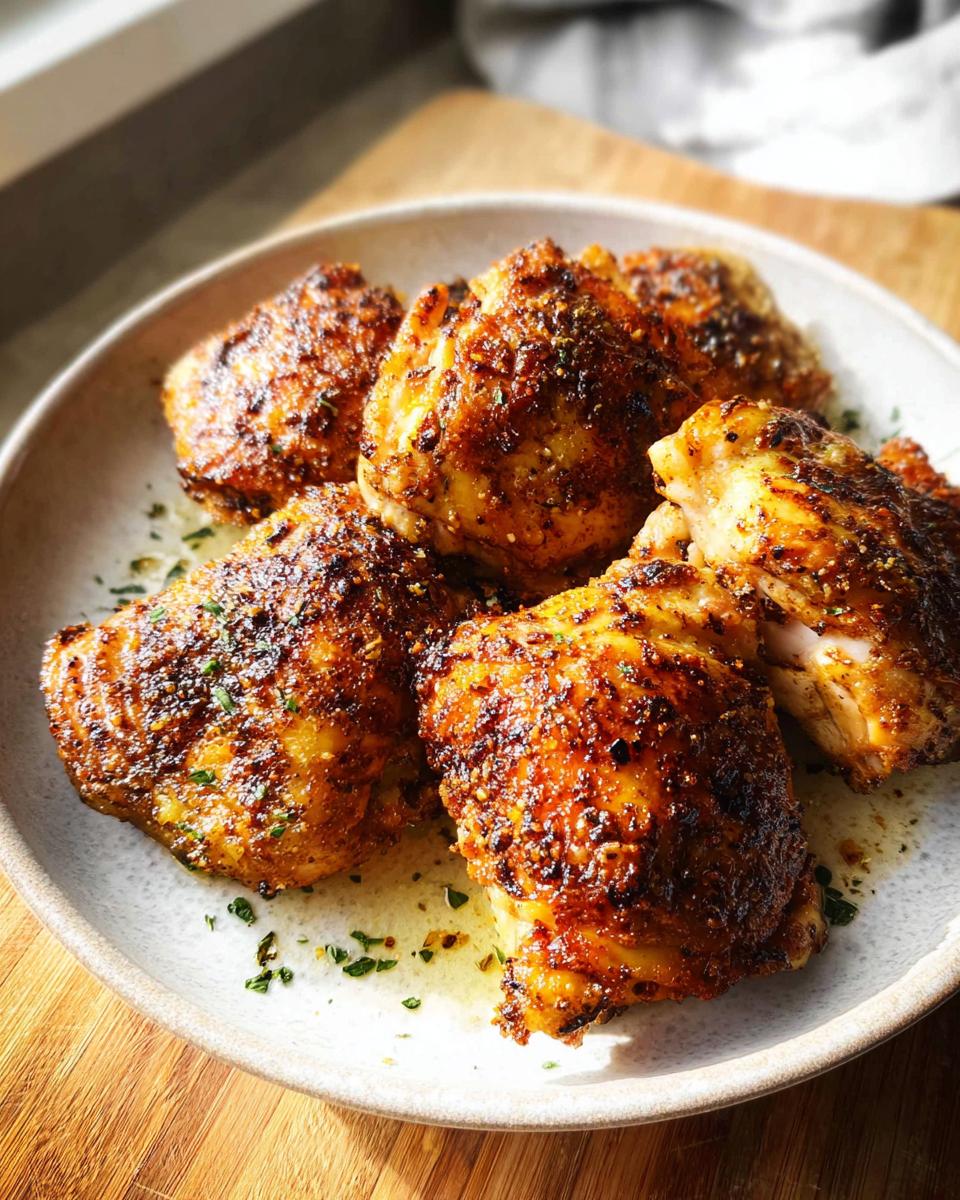
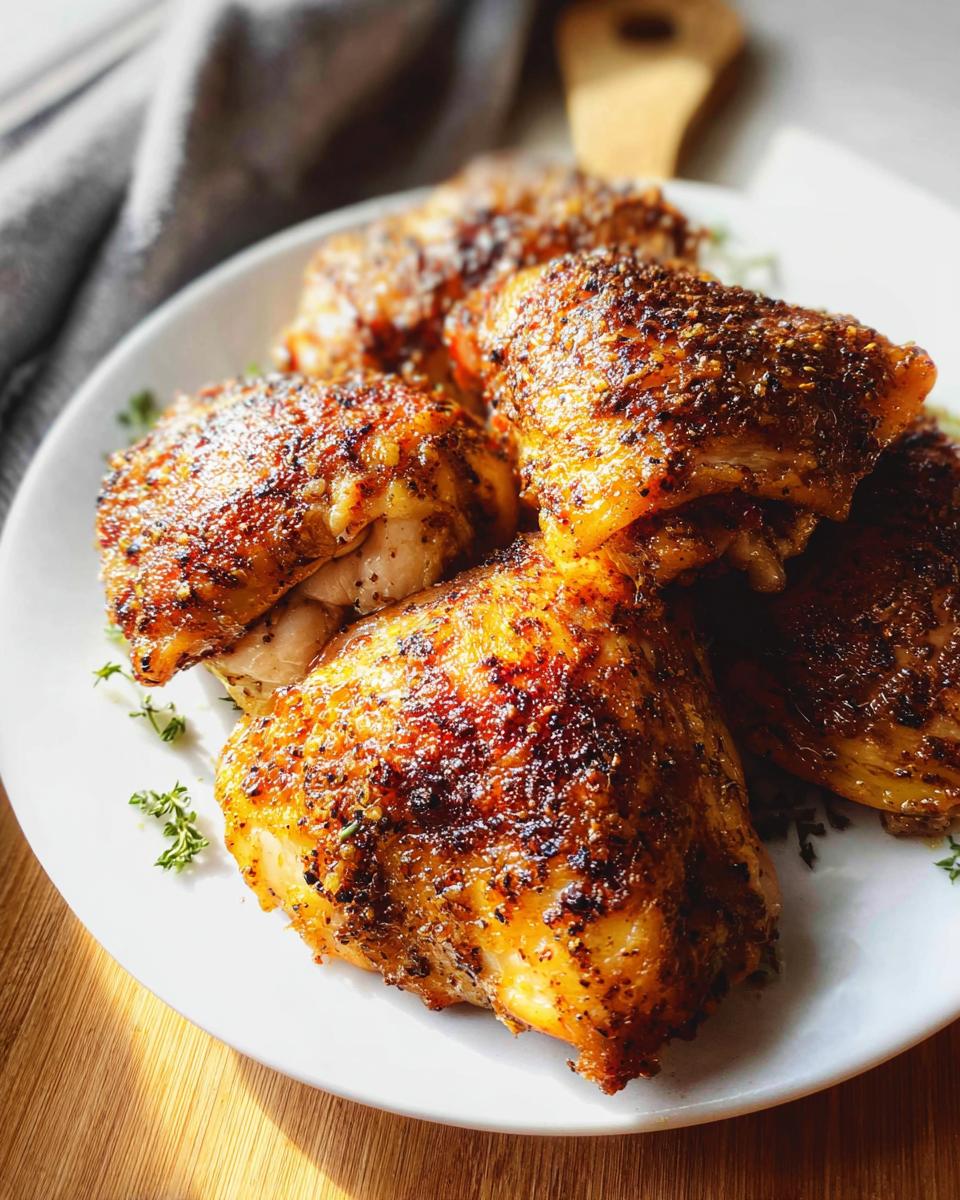
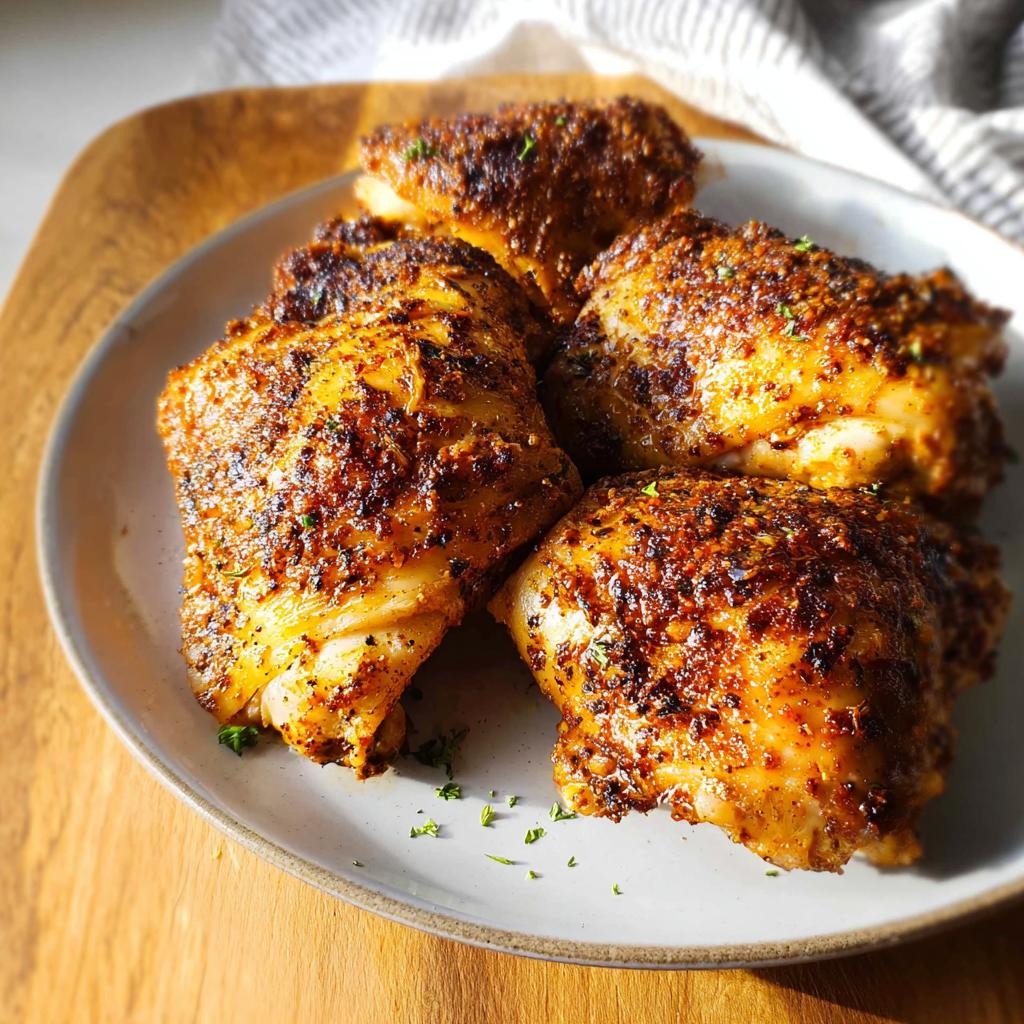
- The texture is unbeatable: juicy inside, slightly crisp outside.
- Cleanup is practically nothing since we use foil on the pan.
Quick Prep and Family-Friendly Flavor
Seriously, you only need 10 minutes to prep this entire meal, which feels miraculous on a Tuesday night! We use a simple, punchy spice mix, and the real trick is getting that oil and seasoning rubbed deep into the skin of the thighs. That step ensures that when you bake them, the flavor sinks right in and keeps them unbelievably moist. Forget dry, boring chicken; this guarantees savory, weeknight perfection that even the pickiest eaters will gobble up.
Essential Ingredients for The Only Chicken Thigh Recipes Recipe You’ll Need (2025)
When you’re aiming for maximum flavor with minimum fuss, the quality of your ingredients really matters. For this recipe, we need three simple groups. I always lay everything out on the counter before I even turn the oven on so I can mix quickly. It’s my go-to strategy for streamlining dinner prep!
I’ve linked some of my favorite chicken cooking essentials that I use all the time if you need to restock your spice rack for this recipe.
For the Seasoning Mix
Remember, the flavor paste is what locks that moisture in! You want your spices to be fragrant—if your garlic powder has been sitting around for ages, grab a new container; it makes a huge difference in the final taste.
- 2 tablespoons olive oil
- 2 teaspoons garlic powder
- 2 teaspoons onion powder
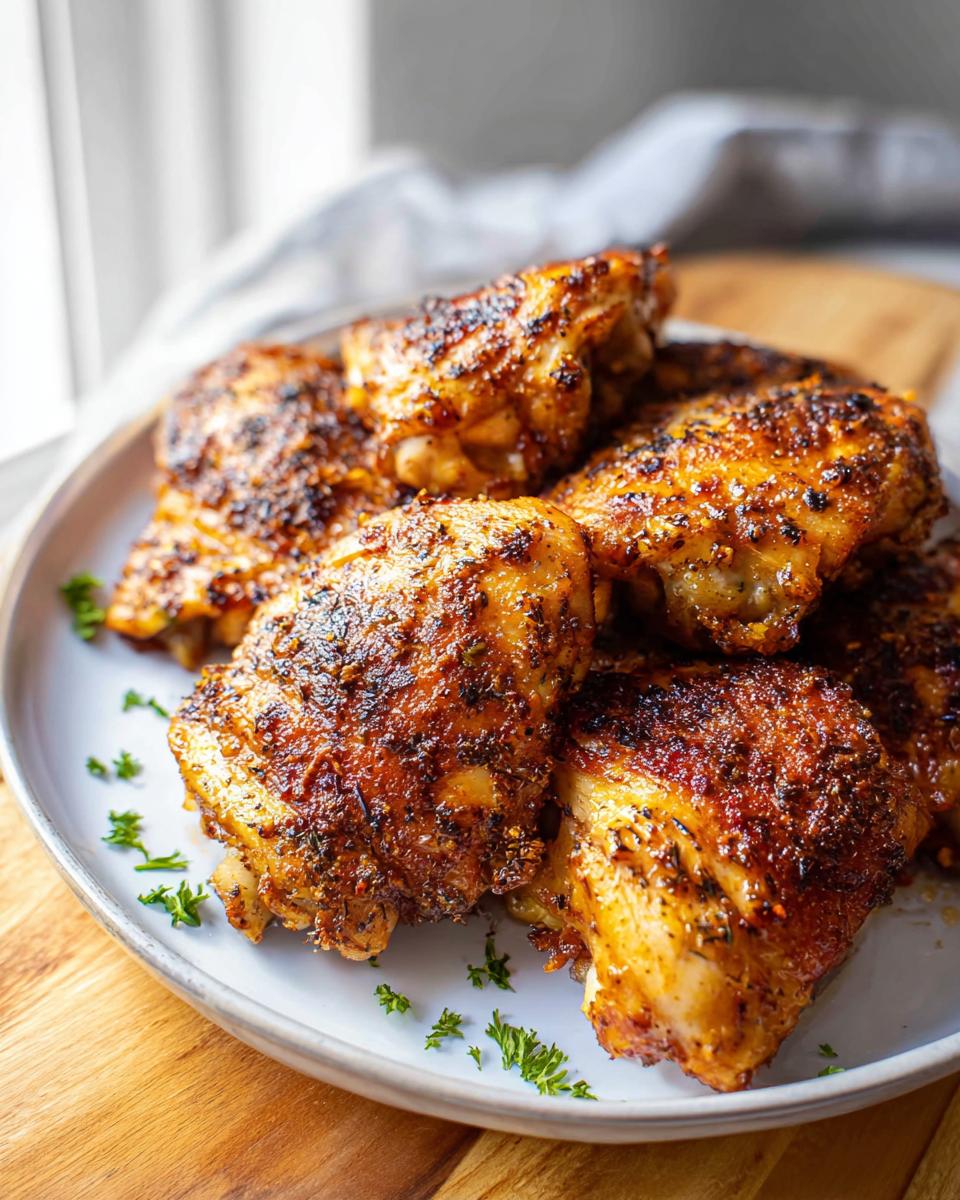
- 1 teaspoon ground paprika
- 1 teaspoon Italian seasoning
- 1 teaspoon dried parsley
- 2 teaspoons salt
- 1/2 teaspoon black pepper
For the Chicken and Finishing
The most important thing you can do here is pat those thighs bone-dry with paper towels. Seriously, take the time! Dry skin bakes up beautifully; wet skin just steams, and we aren’t making soup here!
- 2 pounds chicken thighs (you’re looking for about 6 to 8 pieces), patted dry
- 1 tablespoon butter, diced (this is for topping the chicken later)
Step-by-Step Instructions for The Only Chicken Thigh Recipes Recipe You’ll Need (2025)
Okay, now for the fun part! This method is what separates a good baked chicken thigh from the absolute best one you’ll ever make, and it all hinges on one key piece of equipment: a hot pan. Trust me on this one; it creates the start of that beautiful, crispy skin we all crave.
Preparing the Oven and Seasoning
First things first, get that oven cranked up to 400°F. While it’s heating—and this is important—line your rimmed baking sheet with foil. Then, stick that empty, lined pan right into the oven to heat up. We want it searing hot when the chicken hits it! While that’s happening, grab your large bowl. Dump in your olive oil and all those beautiful spices we talked about—garlic powder, paprika, the works. Stir it well until it forms what looks like a real pasty rub. It should smell incredible already!
Coating and Initial Bake
This next part needs your hands! Take those bone-dry chicken thighs and toss them into the seasoning paste. If your bowl is small, don’t try to shove them all in at once; do it in two batches. Once they look coated, pull them out one by one. You need to actually work the seasoning paste right into the skin. Don’t just sprinkle it; rub it in like you’re giving them a little massage! Carefully lay the seasoned thighs skin-side up onto that *hot* pan you pulled out of the oven. You can find more great tips on baking chicken perfectly right here on my site. Dot each thigh with the little pieces of butter we set aside. Pop them back in for 20 minutes exactly.
Basting and Final Temperature Check
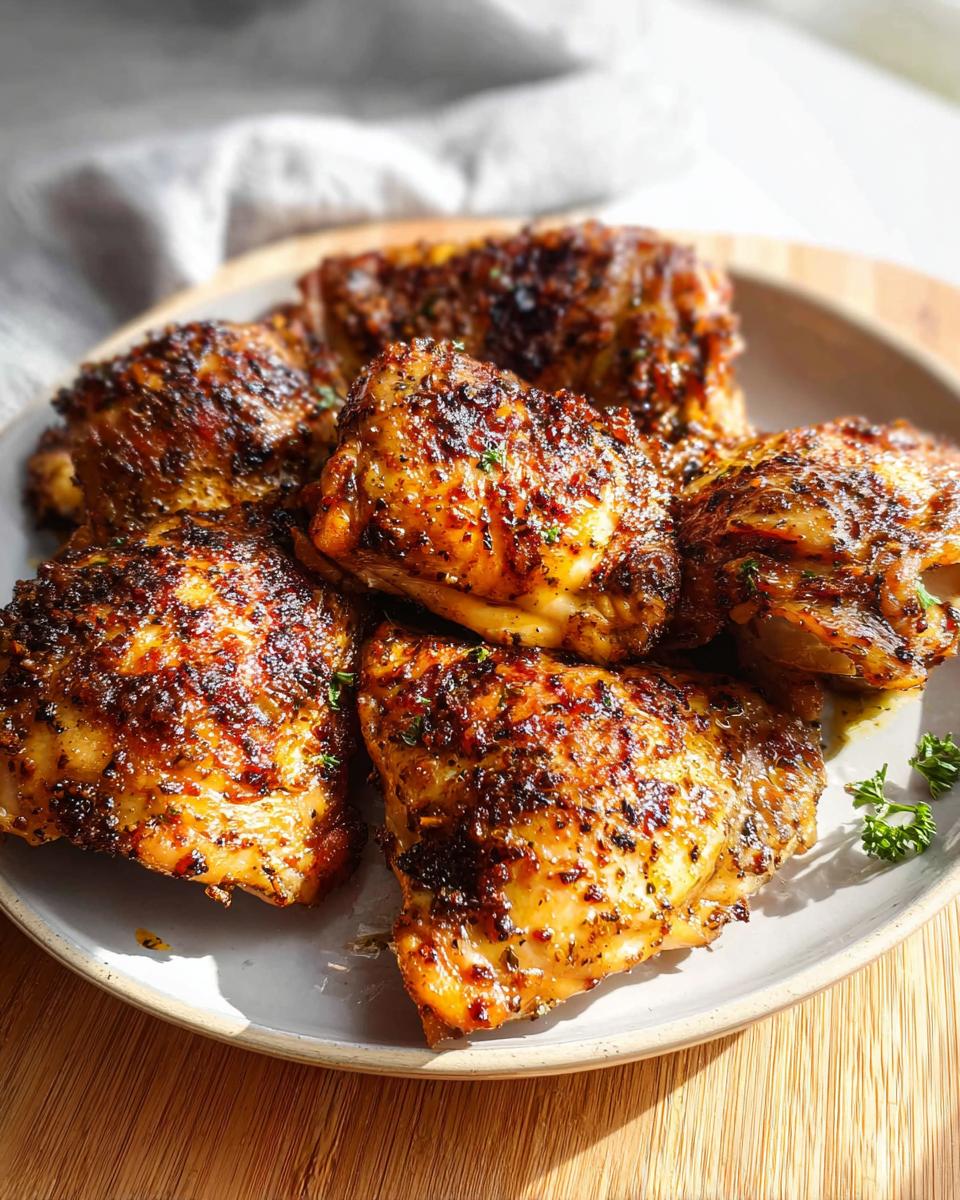
When those 20 minutes are up, pull the pan out carefully. You’ll see liquid pooled around the chicken—that’s pure flavor! Use a spoon to baste that liquid right over the tops of the thighs. Pop them back in for another 10 minutes, and then quickly baste them *one more time* before they finish baking. The final stage depends on how thick your thighs are, but the golden rule is checking the temperature. You’re looking for 165°F internally, right near the bone. I always rely on my meat thermometer for safety, especially when cooking for the kids. We need that internal temp before they come out to rest.
Expert Tips for Perfect Baked Chicken Thighs
Okay, let’s talk about elevating this already great recipe. When I first started making these, I used to just sprinkle the seasoning on top, and honestly? It fell right off into those juices while baking. Oops! I learned quickly that the best flavor comes from treating the seasoning like a real paste. You have to get in there and make sure that olive oil mixture is completely rubbed into every single crevice, especially around the edges of the skin.
If you’re in a pinch flavor-wise, don’t sweat it if you’re missing one of the dried herbs. You can totally swap in dried oregano instead of the Italian seasoning; it gives it a slightly different, but still delicious, earthy kick. And remember, since this is naturally gluten-free, we keep it simple!
If you have little ones who can’t have dairy, the good news is that the final tablespoon of butter is purely for richness, not structure. You can leave it out entirely, and the chicken will still be fantastic. For more inspiration on easy, flavor-packed chicken thigh recipes, check out my dedicated collection!
Ingredient Notes and Substitutions for The Only Chicken Thigh Recipes Recipe You’ll Need (2025)
One thing I love about this recipe is how forgiving it is! Life happens, and sometimes you’re missing that one spice, right? Don’t worry one bit—we can totally make smart swaps without sacrificing flavor. If you run out of olive oil, just grab any other neutral vegetable oil you have on hand, like canola or avocado oil. They work just as well for creating that season paste.
If you’re out of Italian seasoning, swapping in extra dried rosemary or oregano is a fantastic alternative; those savory herbs blend beautifully with paprika and garlic. And remember how I mentioned the butter on top is optional? If you need this meal to be completely dairy-free, just skip that final tablespoon! The chicken will still come out wonderfully juicy because of the basting technique we use. You can find a similar concept using paprika and garlic on my post about chicken quarters too!
Serving Suggestions to Complete Your Meal
Now that you have the juiciest chicken thighs on the planet, you need easy sides that don’t steal the spotlight! Since we are prioritizing speed and simplicity for busy families, don’t pull out anything too complicated. Roasted broccoli or asparagus tossed with a little salt and oil is my absolute favorite pairing. It roasts right alongside the chicken if you time it perfectly, or you can pop it in afterward.
For something heartier, keep it naturally gluten-free! Some fluffy quinoa or even simple roasted sweet potatoes are perfect for soaking up those amazing pan juices. If you want to keep it truly hands-off, you have to check out my recipe for sheet pan chicken and veggies, which takes the cleanup question out of the equation entirely.
Storage and Reheating The Only Chicken Thigh Recipes Recipe You’ll Need (2025)
You know how sometimes leftovers get sad and rubbery? Not with these thighs, I promise! If you happen to have any spectacular chicken left over—and usually, we don’t because the family devours them—make sure you cool them completely first. Then, tuck them into an airtight container before they hit the fridge. They hang out happily for about three to four days. I try to keep my leftovers organized so I know exactly what I’m grabbing for quick lunches, which is why I love my collection of meal prep inspiration.
When it’s time to reheat, toss the microwave if you want them dry! For the best juicy results, I usually pop them back into the oven for about 10 minutes at 350°F until they are warmed through. If you’re truly pressed for time, a quick zap in the microwave covered with a damp paper towel works in a pinch, but be quick so they don’t lose that lovely texture!
Frequently Asked Questions About These Chicken Recipes
I always get so many questions when I post this recipe because everyone wants to know how to nail that juicy texture! It’s funny, people ask me about everything from using different cuts to whether they can swap out the seasonings for something totally new. I guess everyone wants to find their signature weeknight meal!
Can I use bone-in, skinless chicken thighs instead?
Oh, you absolutely *can* use skinless thighs! This recipe is really flexible. However, if you use skinless, you lose that amazing initial crisping step we get from the hot pan and the topping butter. The chicken will still be deliciously moist because of our olive oil paste and basting, but the skin won’t crisp up, obviously. Just pat them dry extra well, and maybe skip the final butter topping. Check out my easy chicken recipes collection for other ideas if you prefer skinless!
Can I cook these directly from frozen?
Please, no! I know we all love shortcuts, but freezing throws off the entire baking time, and you won’t be able to properly rub in that special seasoning paste. For food safety and texture, you *must* thaw your chicken thighs fully before starting this recipe. Even if you’re rushed, defrosting them safely in the fridge overnight is the way to go. We want that 400°F heat to evenly cook the chicken, and frozen chicken just causes problems!
How do I make sure the skin gets as crispy as possible?
Crispy skin is my favorite part! The secret here is twofold, and it’s why I think this is The Only Chicken Thigh Recipes Recipe You’ll Need (2025). First, pat the chicken *super* dry. Second, you must preheat your baking sheet to 400°F before the chicken even touches it; that initial searing contact makes a difference. If that doesn’t do the trick, ditch the butter topping next time and try dusting the skin lightly with a tiny bit of baking powder mixed in with your salt. Weird, I know, but it works wonders! For more great chicken recipes, keep browsing my site!
I don’t have paprika, can I skip it?
You could, but honestly, ground paprika (especially sweet or smoked) gives the chicken such a gorgeous color and a subtle, earthy depth that complements the garlic and onion powder. If you skip it, you might want to add a little extra Italian seasoning to compensate for the flavor loss. Don’t let one missing spice stop dinner, though!
Share Your Experience with The Only Chicken Thigh Recipes Recipe You’ll Need (2025)
I hope this recipe becomes a staple in your busy family’s rotation just like it is in mine! If you whip up these incredible, juicy chicken thighs, please, come back and leave me a quick star rating so others know how great they are. I love hearing which sides you served them with or any little tweaks you tried! Check out all my latest recipes while you’re here!
The Only Chicken Thigh Recipes Recipe You’ll Need (2025)
Ingredients
Equipment
Method
- Preheat your oven to 400°F. Line a rimmed baking sheet or large rimmed pan with foil and place it in the oven while it heats. You want the pan to be hot when you add the chicken.
- Combine the olive oil and all the seasonings in a large bowl until a paste forms.
- Place the chicken thighs in the bowl with the seasoning. Work in batches if the bowl is too small. Toss the chicken to coat. Remove each thigh individually and rub the seasoning into the skin.
- Place the seasoned chicken thighs on the heated pan. Dot the tops with butter. Bake in the hot oven for 20 minutes.
- Carefully remove the pan and baste the chicken with the juices that have collected in the pan. Return the pan to the oven and bake for 10 more minutes, then baste again.
- Finish baking for 5 to 15 minutes, or until the chicken reaches an internal temperature of 165°F. Check the temperature with a meat thermometer before serving.
Nutrition
Notes
Tried this recipe?
Let us know how it was!
Gluten-Free Nutritionist & Family Meal Planning Expert
Working as a pediatric dietitian at Children’s Hospital of Denver, I kept meeting families overwhelmed by managing their children’s celiac disease. Parents stressed, kids frustrated, everyone eating bland boxed “gluten-free” products.
That’s when I realized my calling: creating practical, balanced gluten-free solutions for real families with busy schedules. I’ve developed 375+ family-friendly recipes focusing on lunch boxes, after-school snacks, and make-ahead dinners that actually work.
My meal planning system was featured in Parents Magazine, and I presented research at the Rocky Mountain Pediatric Nutrition Conference. My evidence-based approach ensures recipes meet both taste and health standards—families need solutions that work in the real world, not just perfect test kitchens.