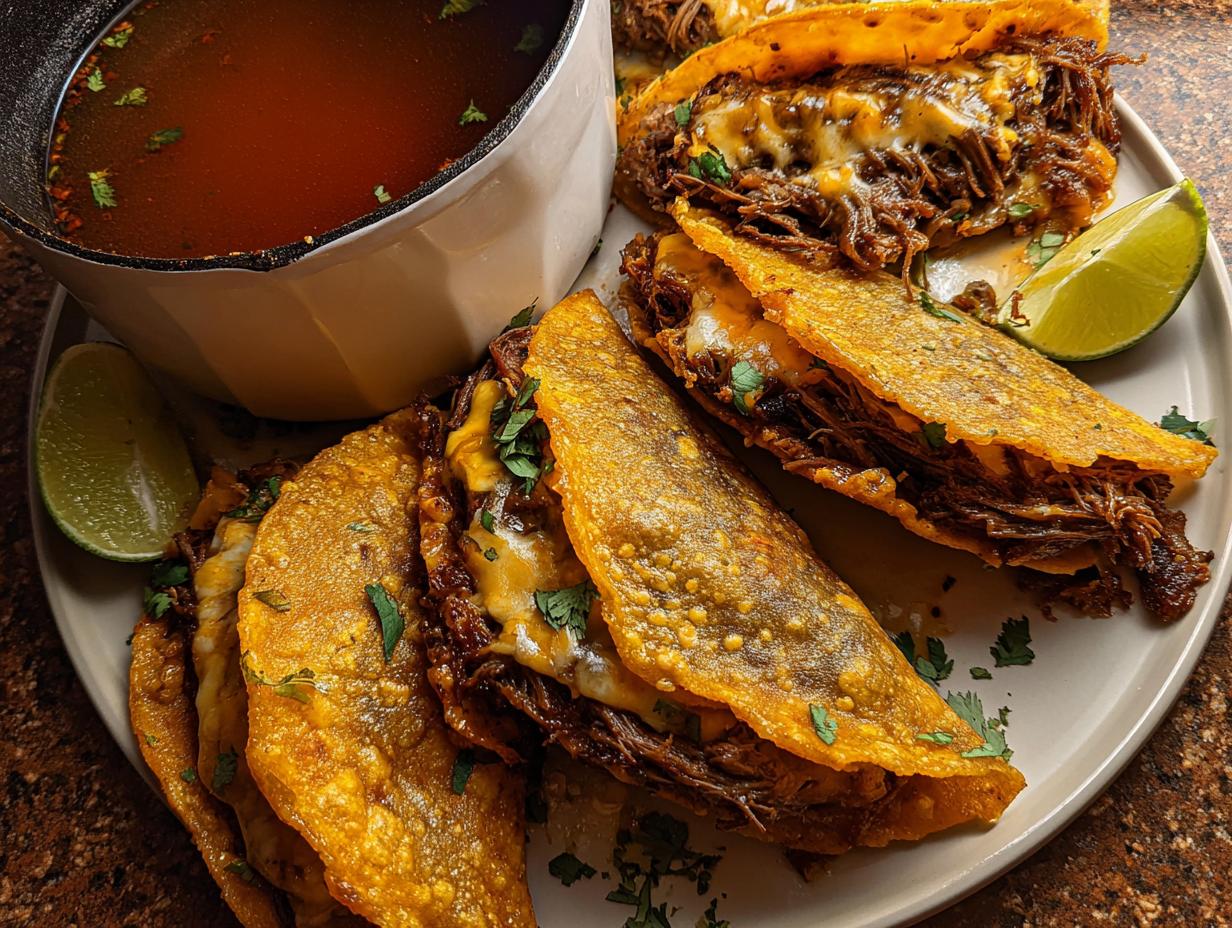
I still remember the first time I had true birria tacos at a food festival—wow, the aroma just stopped me in my tracks! That blend of rich, tender meat and that spicy kick? Pure culinary bliss. But as a Gluten-Free Nutritionist, I immediately started thinking, “How can my family safely enjoy this incredible Mexican comfort food?” Trust me, adapting traditional recipes can be tough, but after a lot of kitchen time, I cracked the code. I’m so thrilled to share My Fave Birria Tacos with you. This version captures every bit of that authentic, deep flavor using accessible gluten-free corn tortillas, making gourmet weeknight meals actually doable for busy families!
Why My Fave Birria Tacos Are a Family Staple
When I first started creating this birria tacos recipe, my goal wasn’t just amazing taste; it was about making something truly inclusive for my family. We shouldn’t have to skip out on amazing food just because of dietary needs, right? These tacos have quickly become what we all look forward to!
Here’s why this recipe is a guaranteed hit at our kitchen table:
- They are surprisingly easy to assemble once the meat is ready.
- The deep, spicy flavor development rivals any restaurant version.
- They provide that warm hug of Mexican comfort food that every family needs.
Dietary Friendly: Gluten-Free Corn Tortillas
This is the game-changer, honestly. Finding delicious, sturdy gluten-free options can be a nightmare, but traditional corn tortillas are naturally GF! We dip them right into that rich, flavorful consomme before crisping them up. It makes serving My Fave Birria Tacos totally stress-free for everyone. You can find lots of inspiration for other family dishes over at all my favorite GF recipes!
Rich Flavor of the Braised Beef Filling
You can’t rush flavor, especially with the braised beef filling. Because we slow-cook the chuck roast immersed in that gorgeous chili bath, the meat breaks down into ridiculously tender shreds. It absorbs so much spice and richness during that long braise. It’s the foundation of the whole dish, and trust me, you’ll want to lick the pot clean!
Gathering Ingredients for My Fave Birria Tacos
Okay, planning ahead is everything when you’re making something this spectacular! You’re going to yield about 12 amazing tacos when you’re done, but this recipe does take a little time—plan for about 180 minutes total, mostly hands-off braising time. Don’t worry, the prep is fast!
Gathering everything beforehand makes the process so much smoother, just like my favorite weeknight dinner ideas show. You’ll want to separate your ingredients into the three main groups we cover below. You can check out how other people organize their kitchen prep inspiration right here: Dinner inspiration for busy weeks!
Ingredients for the Chili Paste
This is where the magic happens! Make sure you get those stems and seeds out of the dried peppers; we want flavor, not bitterness, for our chili base.
- 4 dried guajillo peppers, stems and seeds removed
- 4 dried ancho chiles, stems and seeds removed
- 4 chipotle peppers in adobo
- 1 onion, chopped
- 4 garlic cloves
- 1/2 cup crushed tomatoes
- 1/2 cup organic beef stock (or water!)
- 1 tablespoon apple cider vinegar
- 2 bay leaves
- 2 Tbsps Mexican oregano
- 1 teaspoon dried thyme
- 1/2 teaspoon cumin
- 1/2 teaspoon ground cinnamon
- 1/2 teaspoon smoked paprika
- 1/2 teaspoon ground allspice
Ingredients for the Braised Beef Filling and Consomme
For the meat, I love using chuck roast because it breaks down beautifully, but remember you have options! This liquid component turns into your magical dipping sauce.
- 3 lbs. organic chuck roast beef, chopped into medium-large chunks (Note: You can absolutely use shank cut of beef, lamb, or even chicken if you prefer!)
- 1 tablespoon Extra virgin olive oil
- 1 teaspoon sea salt
- 1 teaspoon black pepper
- 1 teaspoon garlic powder
- 1/2 onion, diced
- 4 cups organic beef stock
- 2 cups water
Ingredients for Assembling the Quesabirria Style Tacos
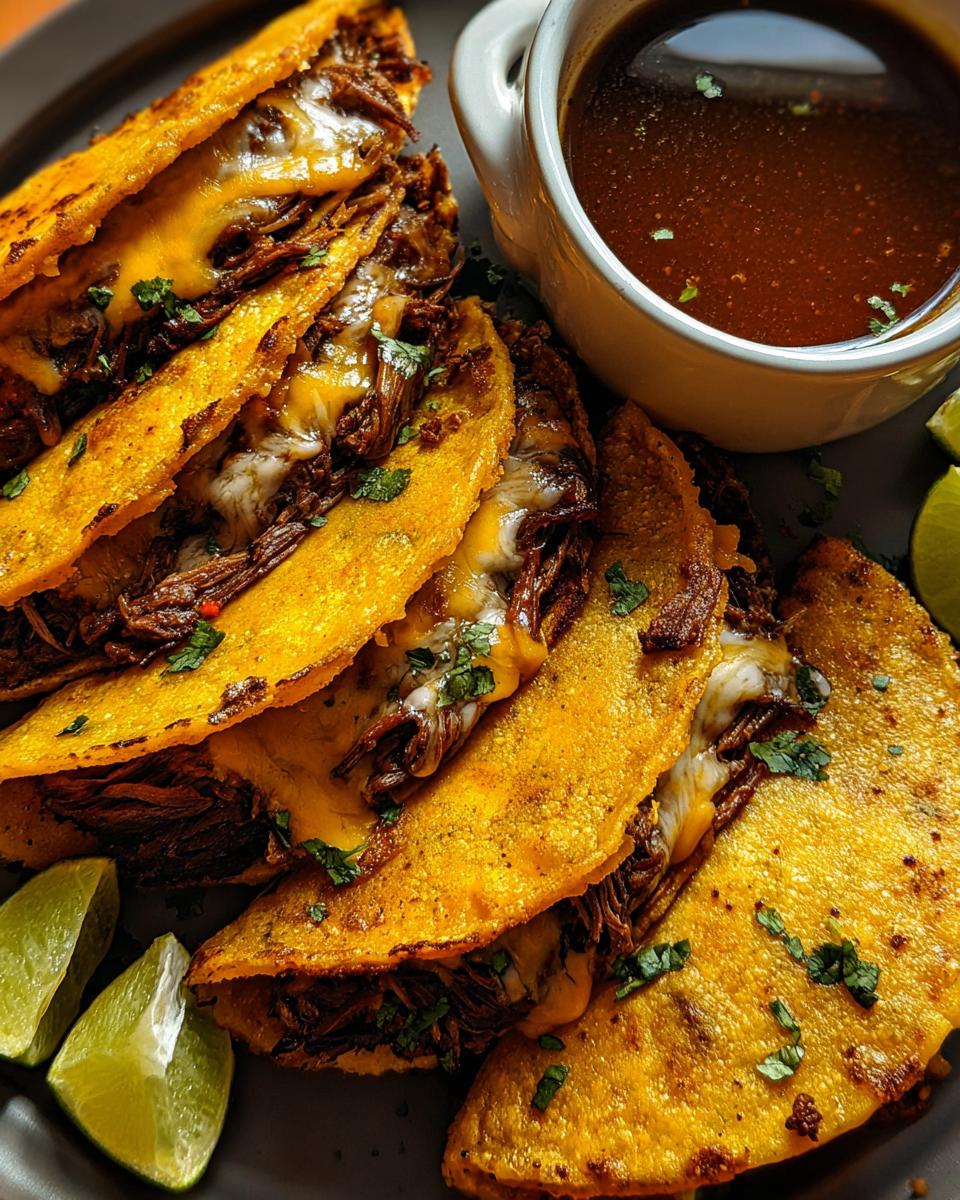
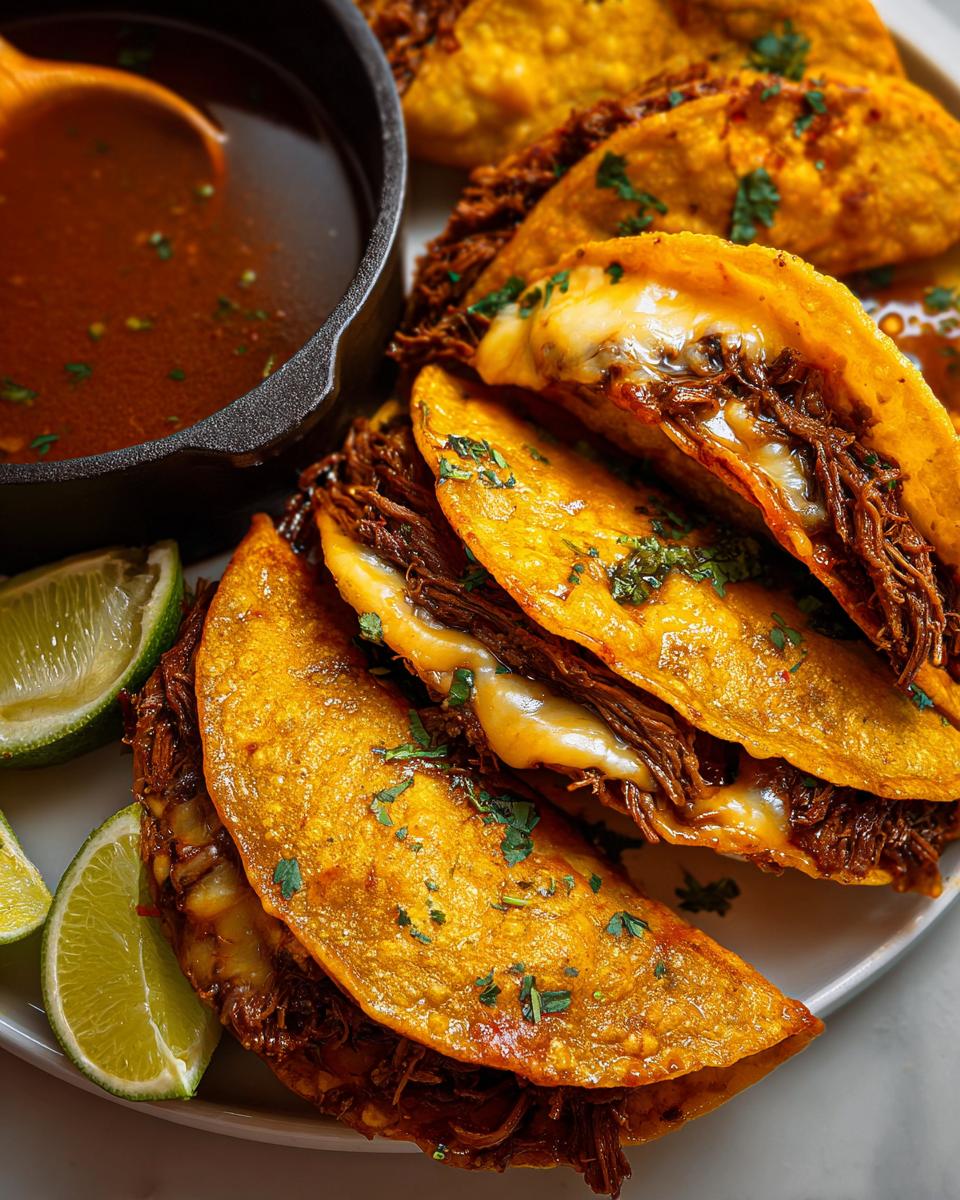
When we get to the final assembly, we turn this into seriously delicious quesabirria style tacos. Getting good cheese is key here—Oaxaca melts like a dream!
- 12 organic corn tortillas (these are your gluten-free superstars!)
- 1 cup shredded Oaxaca cheese
- 1 cup chopped fresh cilantro, for topping/sauce
- As needed Pico de Gallo, for serving
Step-by-Step Instructions for My Fave Birria Tacos Recipe
Alright, time to get cozy with this amazing birria tacos recipe! Since the braised beef filling is the star, we start there. Remember, that 2.5-hour oven time is where the work gets done for you, so put on some music and relax while that magic happens! Finding great family recipes like these is so rewarding; you can find more dinner inspiration over at my dinner recipe collection.
Preparing the Flavorful Chili Paste
First things first—we need to wake up those dried chiles. Remove the stems and seeds, and pop them into your medium pot with the beef stock. Bring it to a boil, then kill the heat, cover it up, and just let those peppers get soft for about 15 to 20 minutes. They should be plump!
Next, everything goes into your high-powered blender or food processor. Add the softened peppers, the onion, garlic, tomatoes, vinegar, herbs, and spices. Blend it all until it is truly smooth and thick. Seriously, keep blending until you don’t see any grainy bits; we want that pure silk coating for the meat!
Braising the Beef for Tender Results
Preheat your oven to 350 degrees Fahrenheit while you sear. Grab your Dutch oven and heat the olive oil over medium-high heat. Season your beef chunks well with salt, pepper, and garlic powder. Sear those chunks on every side for about 3 to 4 minutes until you get a beautiful golden crust. You want that flavor locked in!
Take the seared meat out, and toss your diced onions into that same pot to sauté until they smell fragrant. Pour in your chili paste and let it simmer—just a quick minute while you stir it around so it doesn’t stick. Pour in the beef stock and water, stir it all up, and then nestle that gorgeous beef right back into the pot.
Transfer the whole Dutch oven into your preheated oven. Let it cook slowly, undisturbed, for about 2.5 hours. When it’s done, the meat should be so tender you can shred it with a fork! Once shredded, make sure you keep all that saucy liquid goodness—that’s what makes the meat juicy and creates the base for our dipping sauce. You can see how others made their birria sauce over at this amazing recipe.
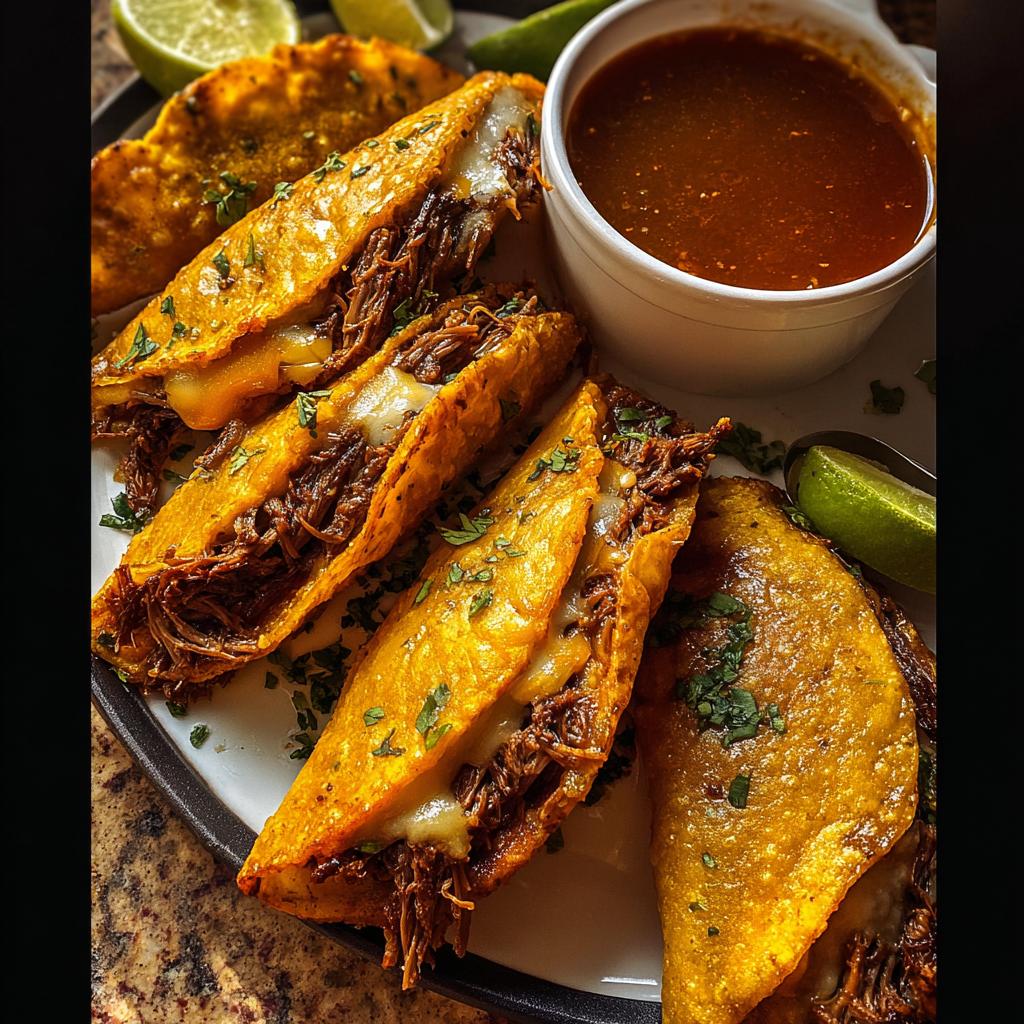
Assembling and Frying the Quesabirria Style Tacos
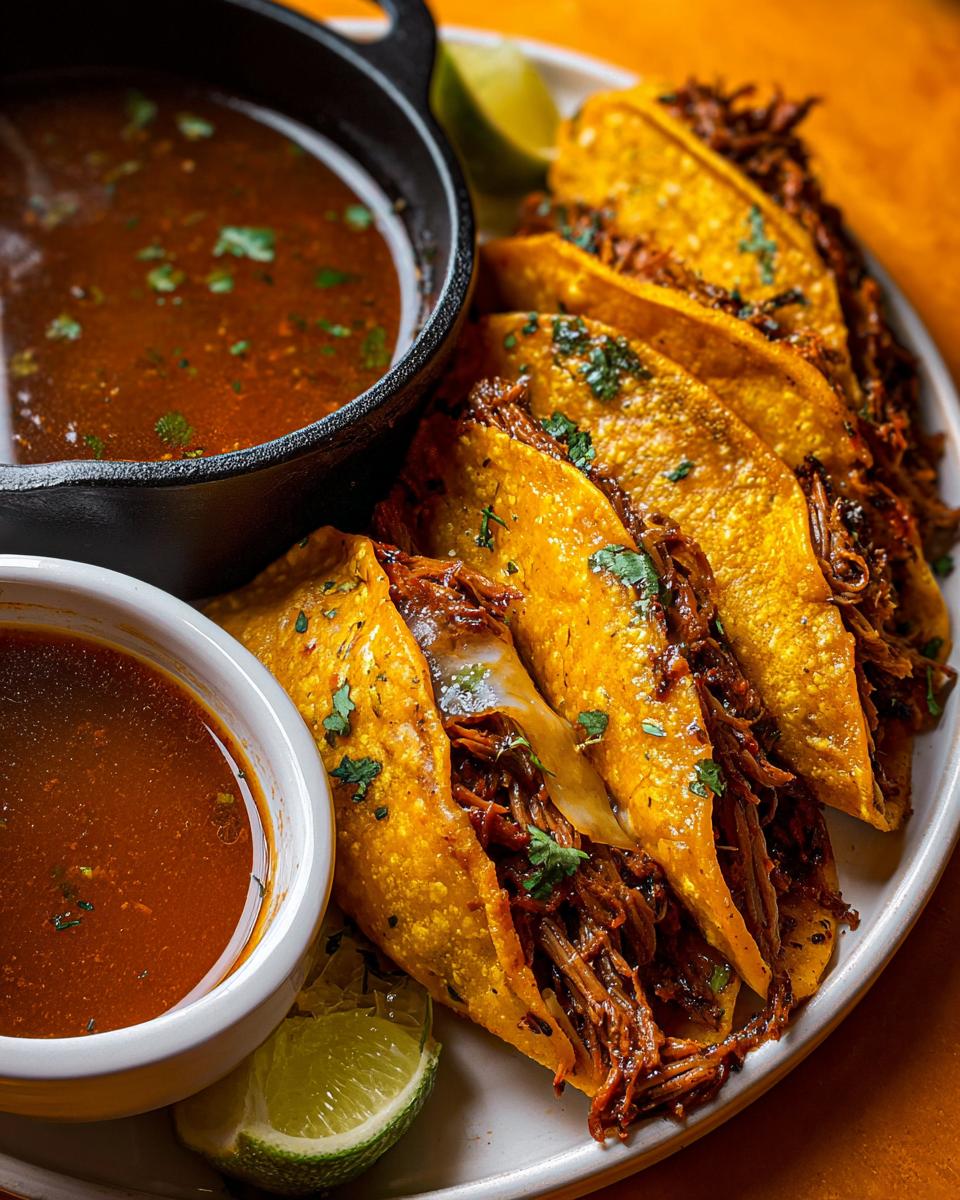
This is the fun part where we turn it into those gorgeous quesabirria style tacos! Take about 1 cup of that rich broth from the pot and put it in a little bowl. Stir in some of that fresh cilantro you chopped up—this is your consomme dipping sauce!
Heat up your skillet over medium heat. Now, take one corn tortilla, one at a time, and dip one side into the consomme just for a split second. Place that dipped side down onto your hot skillet. Immediately layer on some shredded beef, a generous pinch of Oaxaca cheese, and a little more cilantro.
Fold the taco in half. Let it fry until the bottom side is crispy and the cheese is just starting to get gooey. Give it a careful flip to toast the other side until it has a nice little char. Pull it out once it’s golden and look at that beautiful color! Repeat till you’ve made all your My Fave Birria Tacos!

Tips for Perfect My Fave Birria Tacos Every Time
Even with the best recipe, sometimes you just need a little tweak from someone who’s been there! Since we’re aiming for incredible flavor in our birria tacos recipe, let’s talk about keeping things authentic and why certain steps matter so much for that tender meat.
Ingredient Notes and Substitutions for Authentic Flavor
Please, please, don’t try to sneak dried chiles out for fresh ones here! Those specific dried kinds—ancho and guajillo—are what give you that deep, earthy red color and complex flavor. If you absolutely cannot find chuck roast, remember I said you could use lamb or even chicken, but you’ll need to adjust the braising time down significantly, maybe about an hour less for poultry. The long cook time is what gets that amazing braised beef filling texture.
Achieving the Best Consomme for Dipping
The consomme is non-negotiable! After the meat is shredded, you’ll notice a thick layer of fat floating on top of your reserved broth. If you want a cleaner dip, skim off some of that layer—but don’t remove it all, you need some of that fat for richness!
If your final sauce seems a little weak for dipping, you can always simmer that cup of liquid for a few minutes on the stove to reduce it slightly before adding the cilantro. A richer dip makes for a better taco experience, trust me!
If you need tips on getting that amazing broth quality in other recipes, check out my thoughts on getting the perfect au jus here: Secrets for rich sauces.
Serving Suggestions for This Mexican Comfort Food
Now that you’ve done the hard work wrestling that glorious braised beef filling into submission, it’s time for the best part: assembly and toppings! Eating these My Fave Birria Tacos is an experience, and the right sides really elevate this dish from great to absolutely unforgettable.
Because birria is such a rich, hearty flavor profile, you want toppings that give you a little brightness or a cool pop to cut through that delicious fat and spice. We aren’t stopping at just onions and cilantro, nope!
If you are looking for a fantastic fresh side dish that pairs beautifully with this deep, savory flavor, you have to try my recipe for guacamole; the lime really brightens everything up. You can find the recipe here: My famous lime cilantro guacamole.
For that ultimate Mexican comfort food spread, try serving these tacos with:
- A wedge of fresh lime! Seriously, a squeeze over the top before you dip makes a huge difference.
- Thinly sliced radishes. Their peppery crunch is the perfect contrast to that soft, melty cheese.
- Diced white onion mixed with an extra splash of vinegar for a quick, bright pickle garnish.
- A side of pickled carrots and jalapeños if you like that bright tang mixed in with your bite.
Don’t forget the mandatory extra bowl of consomme for everyone at the table! It gets messy, but that’s how you know it’s good!
Storage and Reheating My Fave Birria Tacos
One of the best parts about investing that time into the braised beef filling is that you get leftovers! Or, even better, you can do all that heavy lifting for the chili paste and the slow cook ahead of time, which makes busy nights so much easier. You know I love making things easy for busy families, and you can check out my easy meal prep guides right here: My quick meal prep strategies.
Listen closely, because storing birria components separately is the secret to having that amazing flavor pop again later:
Separating Components for Best Flavor
Never try to store assembled tacos! The tortillas will turn into sad, soggy messes. You need to keep the meat, the cheese, and that liquid gold—the consomme—completely separate. Pop the shredded meat (with as much sauce coating it as possible) into one airtight container. Keep the leftover Oaxaca cheese shredded in a separate bag. The consomme goes into another small, sealed jar. The notes say everything keeps well for about 3 to 4 days in the fridge, which is perfect for lunch prep!
Reheating the Meat and Consomme
When you are ready to make fresh tacos, pull the meat out. My preferred way to reheat the meat is low and slow on the stovetop. Just put the meat in a pot over medium-low heat, stirring occasionally, until it’s hot all the way through. If it looks a little dry, splash in a spoonful or two of your leftover consomme!
The consomme can be reheated quickly in the microwave or a saucepan until it’s steaming hot, just waiting for those tortillas to take a quick dip. If you notice a lot of fat has risen to the top when cooling, you can skim some off before reheating if you want a lighter dip, like I mentioned earlier.
Reheating Assembled Tacos (If You Must!)
If you ended up putting cheese on them too soon and you have leftover assembled tacos, don’t throw them out! They aren’t going to have that perfect fresh crisp, but we can save them. The best bet is the oven—wrap them loosely in foil to steam them slightly, or just place them directly on the rack at 350 degrees Fahrenheit. If you’re impatient like me, a quick zap in the microwave to melt the cheese and warm the meat works, but definitely try to reheat the components and fry a fresh tortilla instead!
Frequently Asked Questions About This birria tacos recipe
I get so many questions about these tacos because I know people worry about the time commitment or making sure they aren’t accidentally adding gluten. Since this birria tacos recipe is so popular, let’s knock out the most common things people ask me about before you start cooking!
Can I make the braised beef filling ahead of time?
Absolutely! In fact, I highly encourage it! Making the braised beef filling and the chili paste a day ahead is a lifesaver for busy weeknights. The flavor actually gets even deeper overnight as the spices settle into the meat.
You can store the meat and the consomme separately in the fridge for up to four days. When you are ready to eat, just reheat the meat gently on the stove, and you’re halfway to fantastic My Fave Birria Tacos. It turns a three-hour recipe into a 15-minute assembly and frying job!
How spicy are these quesabirria style tacos?
That’s a great question! These quesabirria style tacos are definitely flavorful, but I wouldn’t rank them as blow-your-head-off spicy. The guajillo and ancho chiles give you a deep, earthy warmth that balances the richness of the beef. The main heat element comes from the chipotles in adobo.
If you are sensitive to heat, definitely pull back on the chipotles—use just two instead of four, for example. You can always serve a spicy salsa on the side for anyone who wants extra kick, but this base recipe keeps a lovely, warm spice profile that everyone in my family enjoys.
What is the best way to keep the tortillas soft when assembling?
Oh, dealing with corn tortillas can be tricky when you are frying them in batches—they dry out so fast! You need to keep them warm and slightly pliable while you are working through the whole batch. I don’t use a fancy tortilla warmer.
When you are frying the first few tacos, just wrap the remaining stack of dipped tortillas in a clean kitchen towel and place that towel directly on the side of your stovetop that isn’t in use, or near the heat vent of your warm oven door. This low, gentle heat keeps them flexible enough to fold neatly without cracking, which is crucial for perfect My Fave Birria Tacos assembly!
If you have any other tricky kitchen questions, feel free to reach out to me on my contact page! Let’s chat about your cooking conundrums.
Nutritional Estimates for My Fave Birria Tacos
I know many of you are focused on eating well while enjoying these amazing flavors, just like I am as a nutritionist. Since every bite of this incredible Mexican comfort food is based on the ingredients listed, here are the estimated nutritional values per taco serving.
Keep in mind these estimates are based on using the specified ingredients for My Fave Birria Tacos:
- Calories: 38
- Carbohydrates: 5g
- Protein: 2g
- Fat: 1g
- Sodium: 389mg
Please remember these are just estimates, so your actual numbers might vary based on the specific beef cut and how much sauce you use for dipping!
Share Your Family’s Experience Making My Fave Birria Tacos
Wow, okay, we walked through the entire process—from getting those dried chiles rehydrated to searing the beef just right to get that beautiful braised beef filling. I seriously hope you try making these My Fave Birria Tacos soon! The smell alone is going to take over your entire house with the best kind of spicy, meaty aroma.
This recipe is really special to me because it proved we don’t have to sacrifice incredible flavor just because we’re sticking to a gluten-free diet. It’s real, authentic Mexican comfort food made accessible for every family dinner or weekend gathering.
I’d absolutely love to hear what you think! Did your family love dipping their crispy tacos? Were the kids excited about the Oaxaca cheese melt? Please leave a rating right here on the recipe card—it helps other home cooks know they can tackle this, too. And if you snap a beautiful photo of your spread, tag me! I adore seeing your family making these memories.
If you want to know more about my philosophy on family eating and making nourishing food easy, check out my About Me page. Happy cooking, friends!
My Fave Birria Tacos
Ingredients
Equipment
Method
- To make the chili paste: Remove the stems and seeds from the dried ancho and guajillo chiles. Add the chiles to a medium pot with the beef stock and bring to a boil. Turn off the heat, cover the pot, and let the chiles sit for 15 to 20 minutes until softened.
- Add the softened peppers to a high-powered blender or food processor along with the remaining chili paste ingredients. Blend until the mixture is smooth and thick. Add up to an additional 1/2 cup of beef stock or water if you want a thinner consistency.
- To make the meat: Preheat your oven to 350 degrees Fahrenheit. In a dutch oven over medium-high heat, add the olive oil. Season the beef chunks with salt, black pepper, and garlic powder. Sear the beef chunks on each side for 3 to 4 minutes until golden brown. Remove the seared meat and place it on a plate lined with a paper towel.
- In the same pot, add the diced onions and sauté until fragrant and translucent, about 1 to 2 minutes. Add the chili paste and stir, allowing it to simmer for about 1 to 2 minutes.
- Add the beef stock and water to the pot, stirring to combine. Add the seared beef back into the pot, stir again, and reduce the heat to low. Let this simmer for about one minute.
- Carefully transfer the dutch oven to the preheated oven. Let everything cook and braise slowly for about 2.5 hours, or until the beef is very tender and easily shreds with a fork.
- Remove the dutch oven from the oven. Shred all of the meat until it has a pulled texture. Make sure you retain a good amount of the sauciness to serve over the tortillas and for dipping.
- To assemble the tacos: Remove 1 cup of the broth/liquid from the cooked beef and place it in a small bowl. Add some fresh chopped cilantro to the top of this liquid and set it aside as the dipping sauce (consomme).
- In a non-stick skillet over medium heat, add 1 tablespoon of olive oil. Use a paper towel to gently wipe the oil evenly across the base of the skillet.
- Carefully dip one side of a corn tortilla into the consomme and place it in the heated skillet. Fry for a few seconds. Top the dipped side with shredded beef, diced onions, chopped cilantro, and shredded cheese.
- Fold the tortilla in half. Allow the cheese to melt and become gooey before carefully flipping it to the opposite side to get a nice char. Remove the taco from the heat once both sides are golden brown. Repeat this process until all tacos are made.
- Serve the tacos with the dipping sauce, Pico de Gallo, or your preferred toppings.
Nutrition
Notes
Tried this recipe?
Let us know how it was!
Gluten-Free Nutritionist & Family Meal Planning Expert
Working as a pediatric dietitian at Children’s Hospital of Denver, I kept meeting families overwhelmed by managing their children’s celiac disease. Parents stressed, kids frustrated, everyone eating bland boxed “gluten-free” products.
That’s when I realized my calling: creating practical, balanced gluten-free solutions for real families with busy schedules. I’ve developed 375+ family-friendly recipes focusing on lunch boxes, after-school snacks, and make-ahead dinners that actually work.
My meal planning system was featured in Parents Magazine, and I presented research at the Rocky Mountain Pediatric Nutrition Conference. My evidence-based approach ensures recipes meet both taste and health standards—families need solutions that work in the real world, not just perfect test kitchens.